Most versatile flashes – the Profoto B10 series

Most versatile flashes - the Profoto B10 series
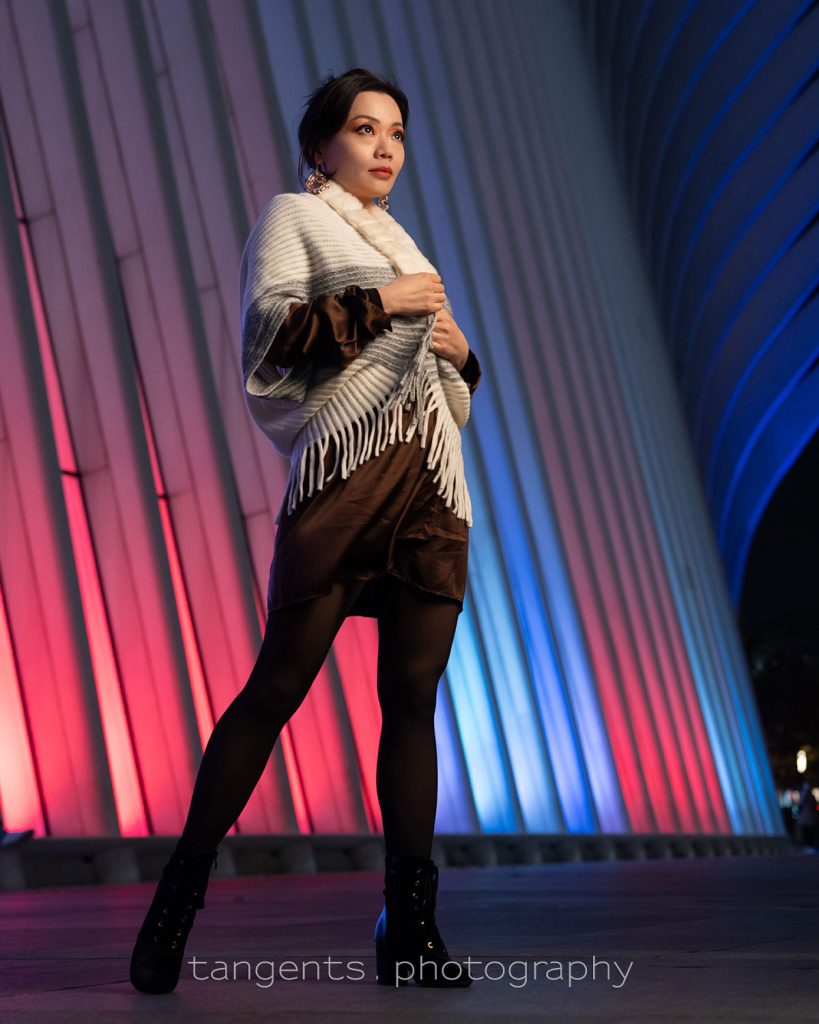
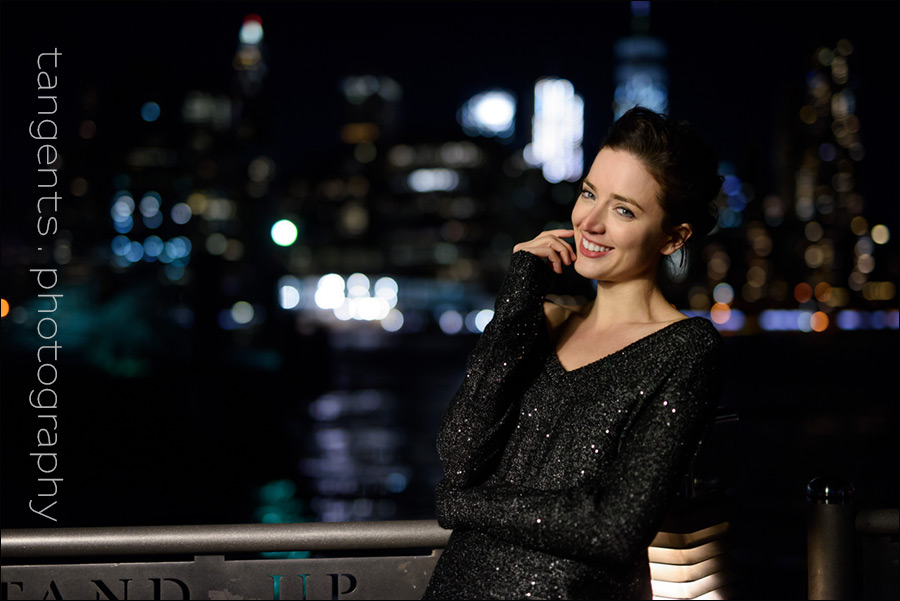
With a headshot / business portrait photo session in Manhattan with Yana, we spent most of the time outside, using the New York cityscape as an out of focus background. But then we also had access the library / lounge area of the apartment complex Yana lives in. The outdoor session was mostly the ambient light outside, with some fill-flash from an off-camera flash. The B10 was more than powerful enough to work with the existing light like that. Profoto B10X flash (B&H / Amazon) Profoto OCF Beauty Dish Read more inside...Wedding photography: Video light vs (gelled) flash
Wedding photography: Video light vs (gelled) flash
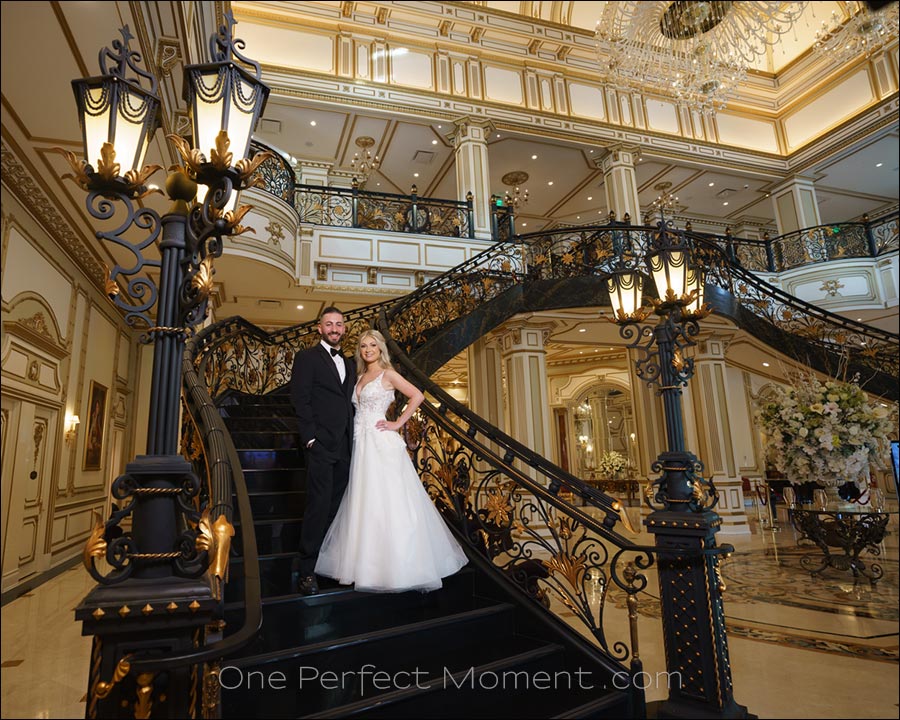
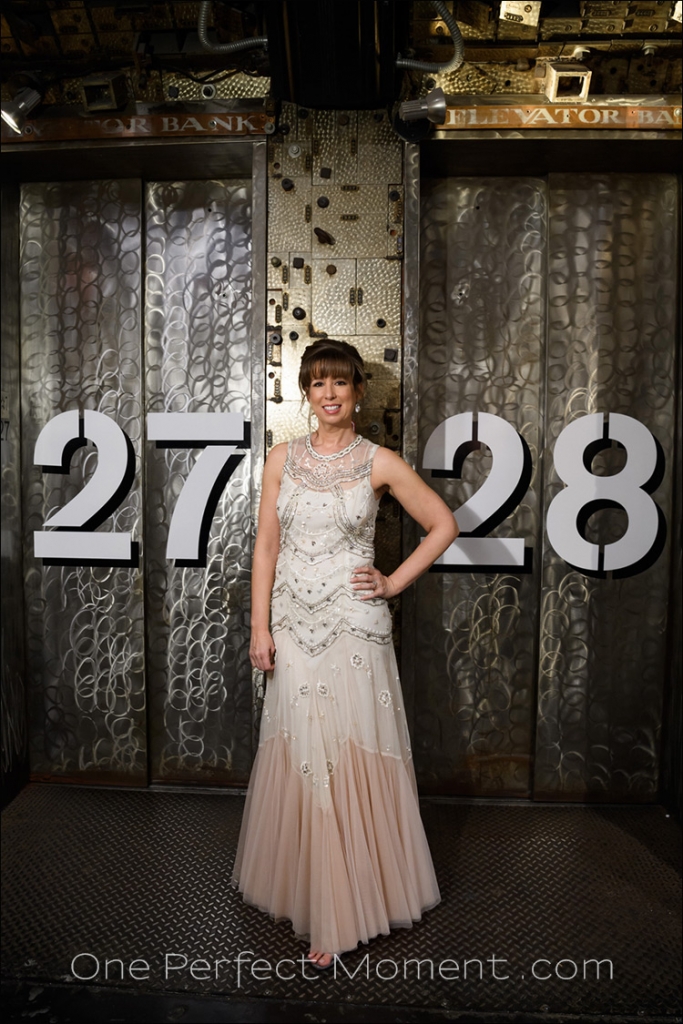
Over time, I've posted several articles explaining how I use gels to bring the color of my flash closer to that of the ambient light. In summary, we gel our flash, to improve the color balance in the photo, and avoid an overly saturated murky orange background, when our subject is lit by flash, and the background is lit by incandescent lighting or warm lighting of some kind. We can reduce this difference in color temperature / white balance, by adding a gel to our flash. The gel can be CTO or CTS. I prefer CTS, and usually as a 1/2 Read more inside...Photo session with the Profoto B10 flash / video light
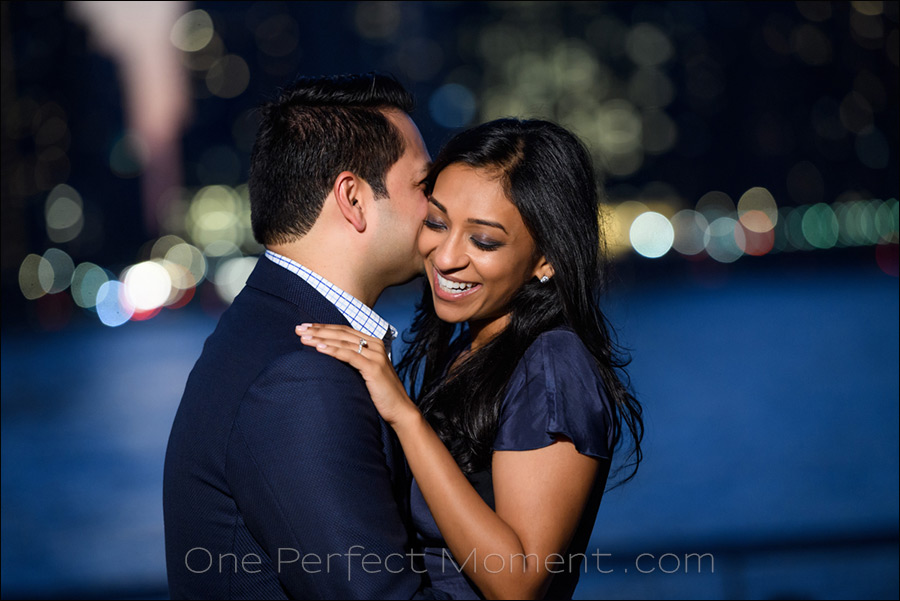
Photo session with the Profoto B10 flash / video light
The real appeal of the Profoto B10 flash (B&H / Amazon), isn't just that you have a powerful (yet compact) flash - the extra appeal is that you have a powerful video light as well. This makes it easier to change it up during a photo session. As light levels fall, you could go from using the flash to using the video light ... without having to change your light source. Let's have a look at some examples from a recent photo session - which took place after a surprise proposal! I had arranged with Rachit Read more inside...Flash with small softbox, vs. Video light
Flash with small softbox - vs - Video light
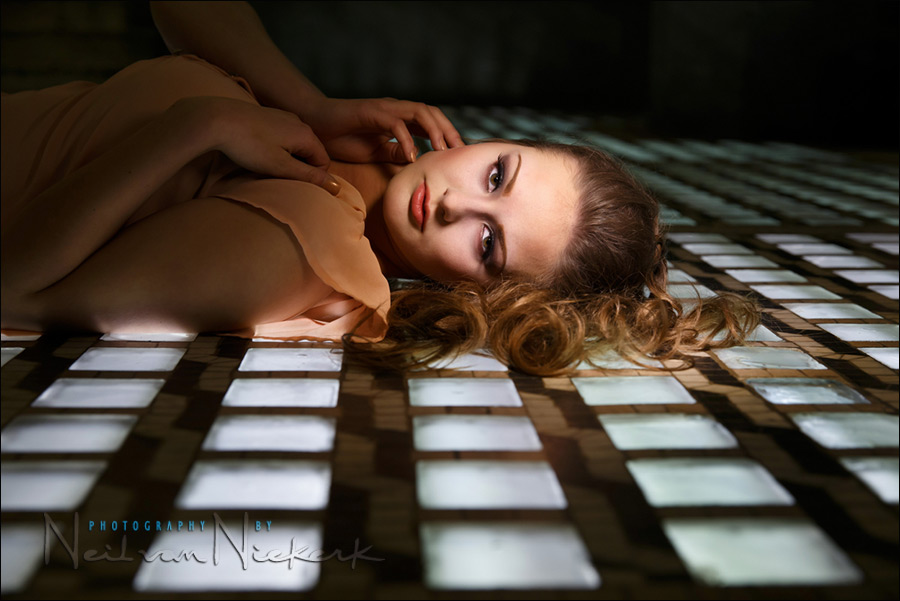
There are advantages to using a video light for photography, compared to using flash with a softbox or umbrella. The spread of light with a video light tend to be more contained, and hence more dramatic. However, if you use a small softbox with a speedlight, especially if it has a grid, you can get a similar tight spread of light. With this session we had our model, Madison, laying down on this glass floor of the old Union Station. It is lit from underneath, creating these repetitive pools of light. Just beautiful. Read more inside...Best LED video light for Photography & Video
Best LED video light for Photography & Video
The use of video lights is a regular theme on the Tangents blog. Specifically, the best LED video light is a versatile must-have piece of gear in my camera bag. Not only do I use it at weddings, I also use it on location shoots. For example, while photographing the interior of one of the largest hardware stores in Manhattan, I used an LED video light to bring up some detail in the more shadowy areas in the shelves and corners. Easier to just point the hand-held video light than to set up off-camera lighting. Especially because the Read more inside...Romantic wedding portraits with incandescent light
Romantic wedding portraits with the modeling light from a flash
Defining your style in wedding photography is, for me, as much about the way you use light and lighting, as it is about composition and posing, and timing. All the facets have to come together, continually through the day to create a successful and representative view of the wedding day. When it comes to the romantic portraits of the couple, posing and lighting are inter-twined. You can't think of them as separate things. With the way I use light, I don't want to be fixed with one specific way of doing it - the style Read more inside...Using the Profoto B1 modeling lamp as a video light
Using the Profoto B1 modeling lamp as a video light
Looking through the past articles on this blog, you'll notice that I love using a video light for low-light photography. A video light adds that sense of drama to portraits, and very often blends better with the existing ambient light, than flash would. Lately though, I haven't bothered to bring a video light to weddings for the romantic portraits - I already have the Profoto B1 there with a substantial enough modeling light! Less gear to carry with me! Since I rely heavily on my Profoto B1 flashes (B&H / Amazon), I Read more inside...Video lights for wedding details
Video lights for wedding details
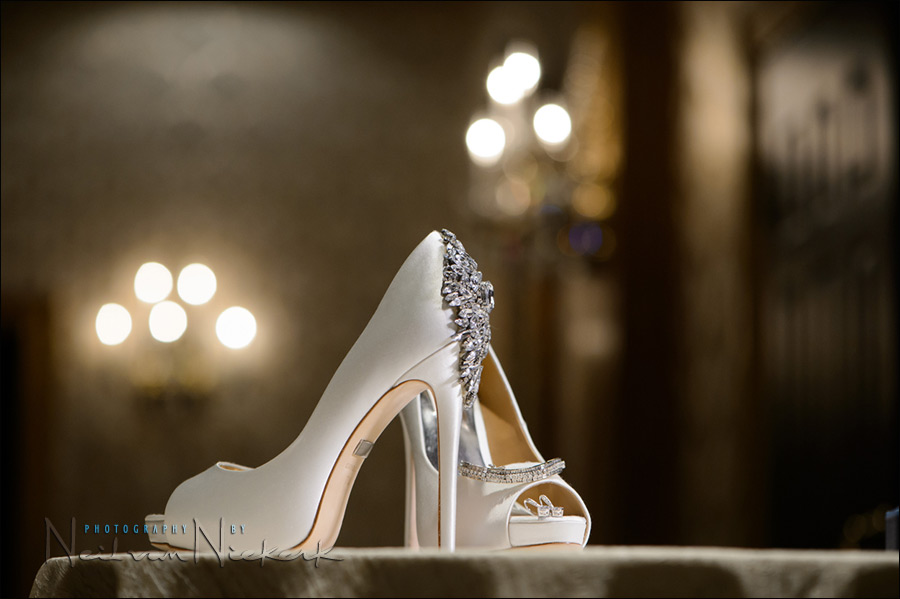
A versatile lighting tool that is always in my camera bag - a video light. With a video light you can localize how you light up something like details at an event. Unlike bounce flash, it doesn't light up the entire scene - just where you point the video light at. Eg: bounce flash vs video light. I love LED video lights (affiliate), since they are compact, don’t run hot, and the color balance can be continuously changed from 3200K tungsten (Incandescent) to 5600K Daylight. Light is produced flicker free at any frame rate or shutter Read more inside...Boudoir photography: Tips on posing & dealing with mixed lighting
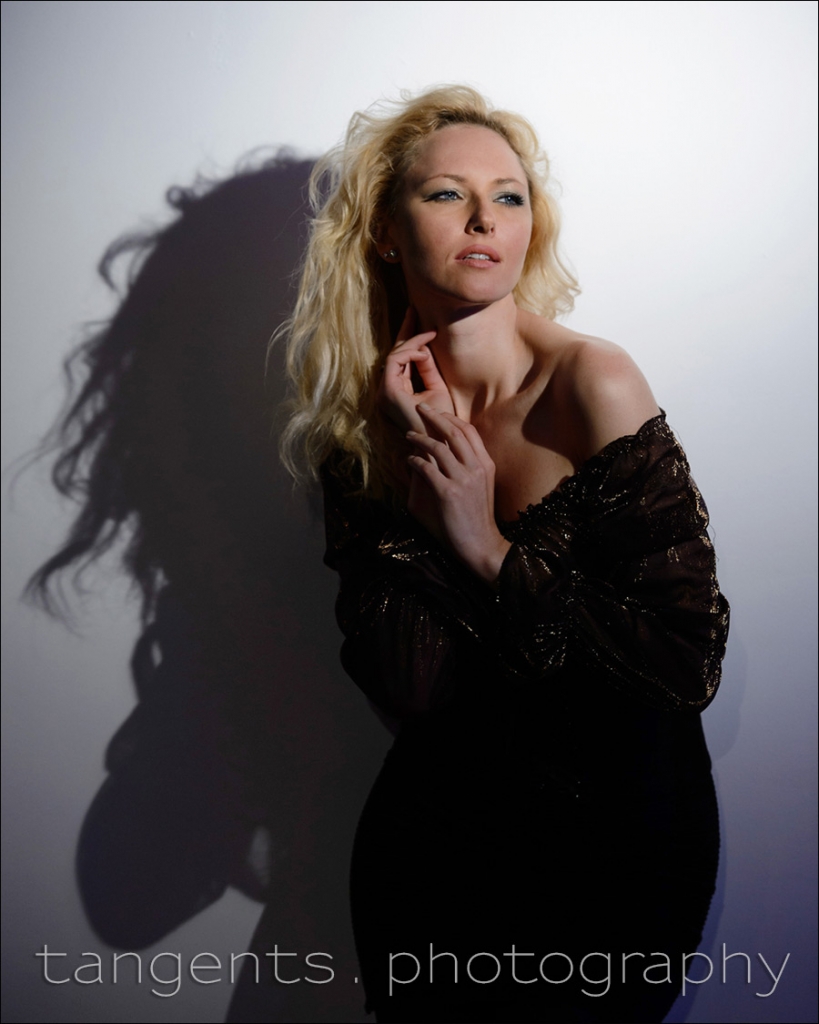
Boudoir photography: Dealing with mixed light - daylight & incandescent
Boudoir photo sessions can be nerve-wracking - not just for your subject or client who undoutably feels vulnerable, but also for you as the photographer. You have to juggle speed in shooting, with meticulous posing and (hopefully) impeccable lighting .... and still keep the flow of the shoot going, and also keep your subject's confidence up. With this boudoir photo session in a NYC studio, I photographed my friend, Jessica Joy. I wanted to use this window of course, and incorporate the boxes. It all just Read more inside...- 1
- 2
- 3
- …
- 5
- Next Page »