Bridal portraits with on-camera bounce flash
With the formal portraits of the bride & groom, and their families, I usually set up off-camera lighting. But I also try to bring in some variety to the portraits – and I shoot on-location portraits of the bride beforehand, just after prep. It’s a good idea to get as much done as you can, earlier on in the day – just in case the time-line gets compressed and things don’t quite follow the original plan. You’ll be much happier then for having some solid portraits in your pocket.
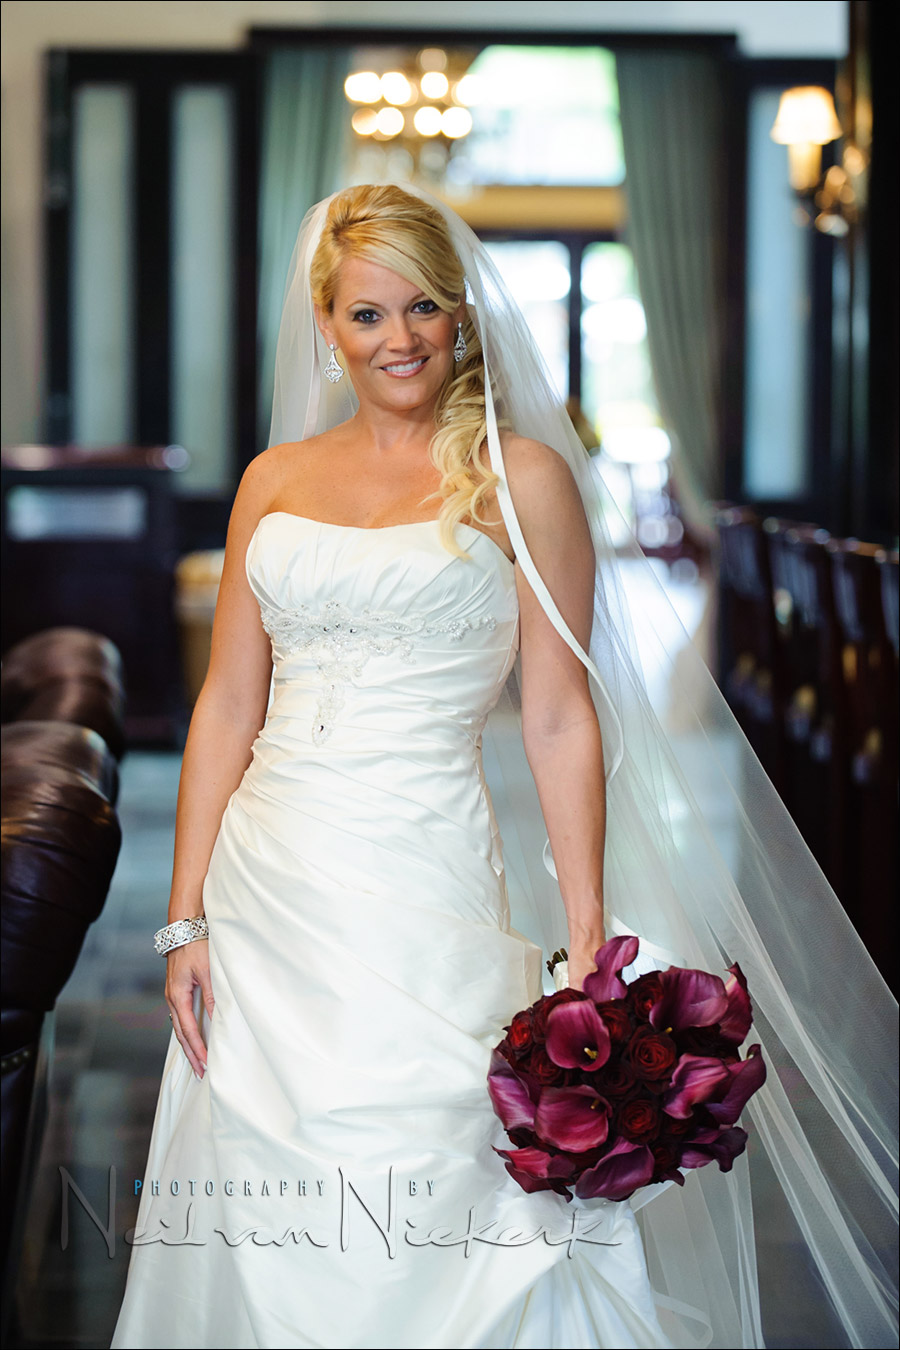
In this example, I wanted a few portraits of Michelle in the hotel’s foyer. I specifically had her stand in a place where the overhead tungsten spotlights didn’t fall directly on her, but there was obviously enough spill light to give a bit of a color cast. So she was relatively in ‘shade’ compared to the brighter background. This was done on purpose, so I could use flash to light her properly. In this case, on-camera flash in TTL mode. And to make sure I don’t get an ugly color cast in adding “blue” flash to the warmer tones of the tungsten+daylight mix .. I gelled my flash with 1/2 CTS gel and had my white balance set to 3700K. I changed the WB of the RAW file to 3300K in post. Here is more about gelling flash for Incandescent light / Tungsten light
I bounced my flash to camera left, and used the Black Foamie Thing to shield any direct flash that would’ve fallen on the bride. I specifically want indirect flash for softer light. The moment that your subject can see any part of your flash tube, there is direct flash … and that would spoil the effect that I am after here … soft indirect light that is still directional.
My settings: 1/100th @ f3.2 @ 800 ISO
I can very happily shoot formal portraits on the Nikon D3 at 800 ISO and still be sure of great image quality. As far as aperture goes, I need a shallow depth of field to isolate the bride against that background. Therefore an aperture around f3.2 will do nicely. My shutter speed was chosen so that I was assured of crisp images with a vibration reduction / image stabilized lens.
Here is the image without flash ..
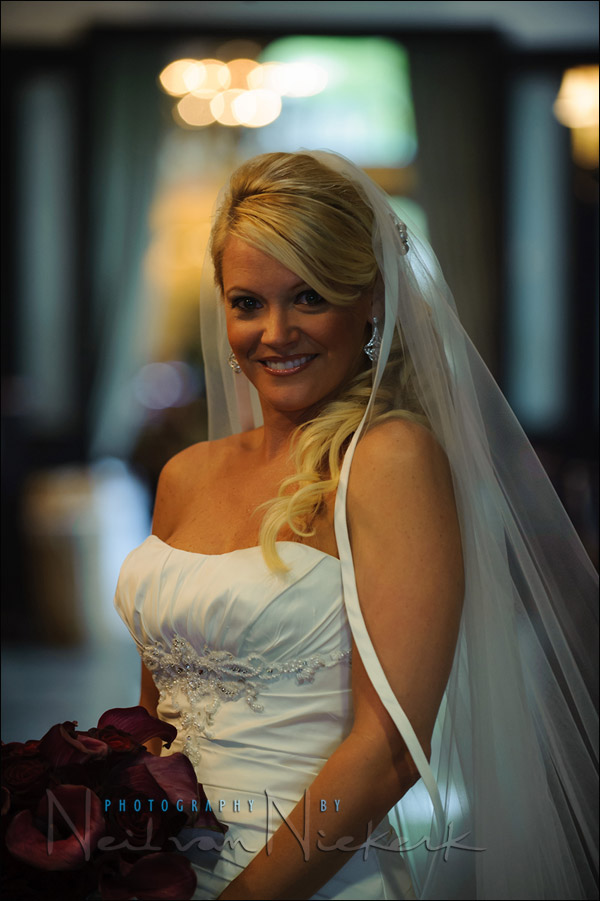
Adding the cold tones of flash to that warm light would’ve resulted in ugly lighting .. something that can’t be fixed in Photoshop. Your best options is to use a gel of some kind on your flash to bring your flash’s white balance closer to the white balance of the ambient light. I am not really after specific accuracy here. Just bringing my flash’s WB much closer to the existing WB solves most of the problem already without having to delve much further into analyzing the colors.
Summary
Working with time constraints, I still wanted to have flattering light on Michelle. I didn’t set up any lights. I simply used my on-camera speedlight with some thought to direction of light and adding the flash (exposure and color balance) to the existing light. Simple, fast .. yet effective.
I also took great care in how I placed her against the background. You have to consider your background in your images for greater impact. It is a very specific decision in how I place my subject against a background when I have a controlled situation like this. A change in position, and some directing of the bride .. and a range of images in that setting is possible while shooting at a fast tempo!
Gelling your flash
Since I frequently gel my flashguns to turn the WB of my flash much warmer (usually for Incandescent light), I use these gels that I cut up and tape to the top of my speedlight’s head. One of these sheets (which aren’t expensive), will give you a lifetime supply of these filters. For me, these gels are an invaluable part of flash photography.
Tape the gels down on your lens hood when not in use.

Related articles
- Gelling flash for Incandescent light / Tungsten light
- Using flash with incandescent / tungsten light
- Simple lighting setup for photographing the wedding formals
- Wedding photography: Positioning your flash for the formals
- How much flash exposure compensation?
Hi Neil, fantastic reading as usual. Can I ask what lens you were using as you mentioned VR? Also forgive my ‘noviceness’ (my own word) but can you explain how you arrive at 1/100th @ f3.2 @ 800 ISO ie:
Do you use the on camera metering system to meter for the ambient background then switch to manual and work back to a shutter speed of around 100? Or do you use a lightmeter? Or do you just evaluate from experience?
I am assuming you chose ISO 800 so as not to overcook the flash?
Please excuse my ignorance as I am fairly new to flash as I am used to metering for available light only, therefore adding a flash to the mix changes / affects how I meter BEFORE I switch on my flash it seems? (I think I am need of one of those ‘AHHHH – now I get it!’ moments)
Finally, when will you be releasing dates for your 2 day courses next year?
Many thanks
Ade
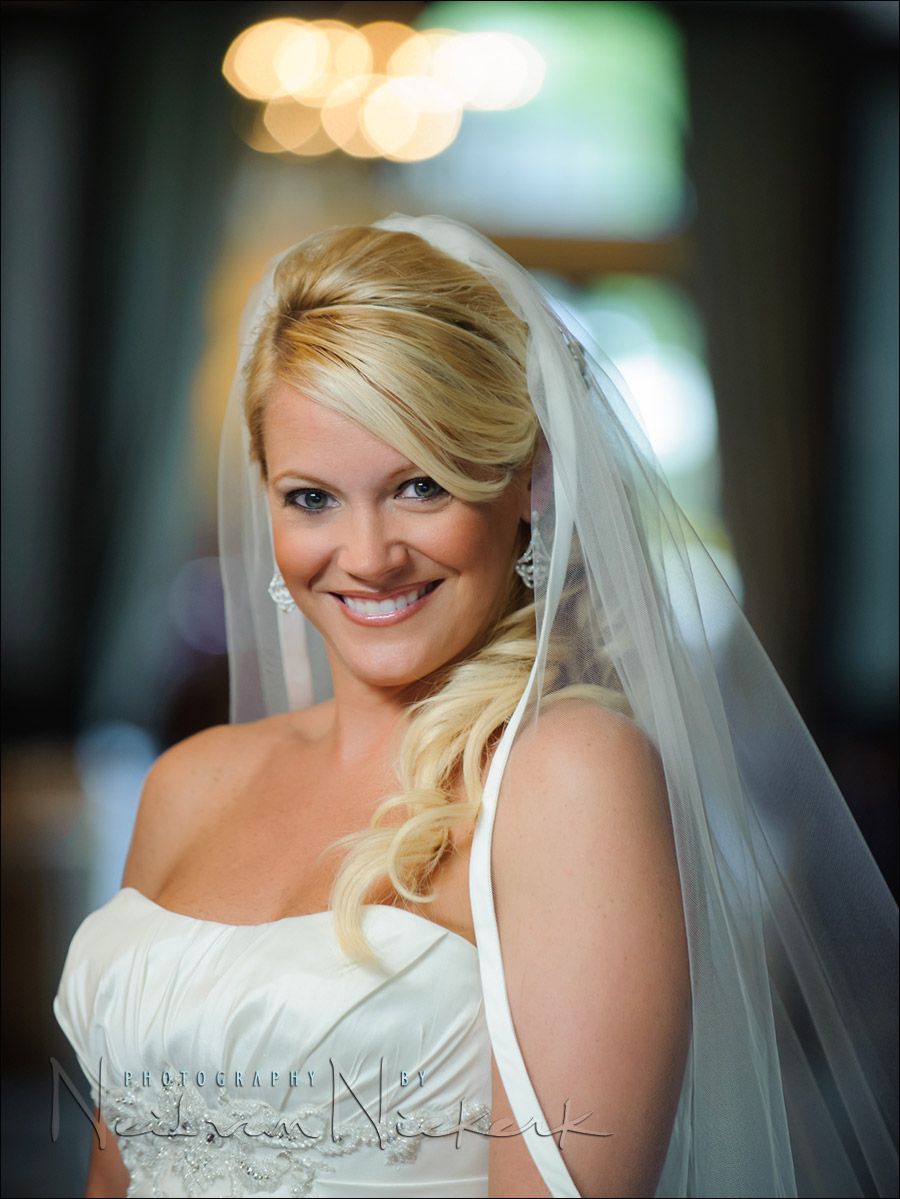
I used the Nikon 70-200mm f2.8 VR for the closer portraits. (If you’re using Canon, then the equivalent would be the Canon 70-200mm f2.8 IS)
I decided on 1/100th @ f3.2 @ 800 ISO since a quick test shot (after looking at my camera’s meter display), showed that the background appeared suitably bright. Then I simply added TTL flash to expose correctly for the bride. It did need the bump in TTL flash exposure by nudging the FEC up.
I didn’t use a lightmeter, but rather my camera’s built-in meter and checking my camera’s preview. I shoot nearly exclusively in manual metering mode on my camera.
I chose 800 ISO since this is clean on the Nikon D3 and would still give great image quality for portraits.
Check the info page on upcoming flash photography workshops.
Neil, as ever, a nice clear post on what you have done. There is always something new to learn from hearing you tell the story of an image. I find myself either seeing the pic and thinking “how did he do that?” to challenge myself before reading the words… or reading the words and thinking “what will that look like?” before I get to the picture. Thanks for your continued willingness to share. Mark.
Neil,
Fanastic imagery as usual. Thank you for sharing. Question regarding the gels though. What is your deciding factor when it comes time to choose between the 1/2 CTS and the full CTS?
Brian, in general I would use a full CTS filter if I wanted my flash’s color balance to be much closer to that of the Tungsten lighting. And a 1/2 CTS if I wanted my background still warm when my subject is primarily lit by flash. It becomes a matter of choice then whether I want my subject & background to be neutral to each other in terms of color balance, or whether I want my background warmer than my subject.
When my subject is partially lit by Tungsten, and partially by flash .. then a full CTS is usually the best way around a problem lighting scenario.
With these portraits, there was enough daylight spilling in from the front windows to make the available light colder than incandescent (Tungsten) white balance … so I used a 1/2 CTS as a quick and happy compromise.
Stunning work as usual. Can I ask what you bounced your flash from? It looks like it might be from that wall camera-left. But with just an SB800? I can never believe the amount of light you are able to grab from such a small on-camera strobe, it just doesn’t seem possible, and that wall looks a mile away. I can bounce my flash just like this but she would be underexposed by a stop every time.
-Dave
David, I didn’t bounce off a specific wall. I bounced my flash over my shoulder into the room behind me, and off part of the ceiling behind me.
I bounce my flash into the direction from where I want my light to come. In a room (even a relatively large room), enough light will return to give you the kind of lighting you want on your subject. But you have to bias your settings to where this would be possible with only a speedlight.
If your subject is under-exposed, then ..
– if it is because your subject is primarily dressed in brighter tones, such as a bride, then you have to dial your FEC up. Check the next reply in this thread.
– if it is because your speedlight can’t give enough light, then you have to open up your aperture or raise your ISO. If you have run out of ISO range you’d comfortably use, then open your aperture. Wide apertures need not be expensive. A 50mm f1.4 and 85mm f1.8 is in the affordable range for most photographers.
What was the FEC?
I added my reply as a separate article to explain how much flash exposure compensation was used.
Neil,
Just outstanding. This image has such pleasing aesthetics all around that I’d even buy a print of it even though I don’t know the bride. Shows you that this is just Crazy Good!
Would you consider using a tungsten stofen diffuser with your half snoot as an alternative to CTS gels? Photography is a serious hobby of mine and I was thinking of getting some CTS gels…but the trouble of having to attach it..remove and store it away just seems difficult..the stofens would be easier to pop in and pop out.
btw, I am keeping an eye out for your 2010 workshops in NJ. Would love to attend one. Also, went through your book once. Love the setup shots you’ve included in there…helps me to better visualize. Good Job!
Derry, I do have an amber / gold Stofen, and it is very useful in changing the flash’s WB down to 3700K. The only inconvenience is that if you don’t want the direct flash from the light modifier, and you want to pop it off, then your WB changes.
That is why I prefer to use a 1/2 CTS gel instead with a white Stofen when I do need to use a Stofen or similar modifier. If I remove the modifier, then my WB remains the same.
And as Stephen mentions in the next comment, I tape pieces of gel to my lens hoods with bits of gaffer tape. It doesn’t look neat, but the photographs are really all that matter here.
Derryl,
Are you using gaffer’s tape? Neil also has advice on where to keep the gels taped.
https://neilvn.com/tangents/lens-hoods-protection-for-your-lenses/
Hi Neil, my first time posting a comment on your site. I can confirm, my images have improved as a result of adopting techniques discussed here on your site.
In reference to the above bouncing technique, I had been bouncing (bare flash) for a long time before I learnt of your foamie thing. I picked up a ‘non-DIY’ version made by HONL. Got it as for a good prices as part of a kit with my SB-900. But it really improves the image by avoiding any direct flash from hitting the subject. My initial understanding was that unless the flash was pointing towards the subject or at least in that general direction, the direct flash light hitting it would have been insignificant – not the case. The HONL Speed Snoot completely eliminates any direct flash ensuring all flash light comes from the bounce surface. Result: nicer light on subject.
Neil, to make me more understand with your new posting about Canon E-TTL flash settings – Average vs Evaluative flash metering, i just want to know what are you ttl setting if you shot with canon system for the second image, do you use average or evaluative setting? Thanks Neil
Hi there Dendy … As mentioned in the article that you are referencing on Canon’s Evaluative vs Average TTL flash metering choices, if I had shot Canon here, I would most likely have been in Average mode since the flash is a dominant source of light, and not just fill.
But, as I tried to point out in that article, you could as easily have stayed with Evaluative TTL flash metering, and just dialed in more flash exposure compensation. Experience is the key here. as well as predictability in how you use your camera.
Neil, small question, when you use the CTS gels do you change your White balance or leave it on auto. Again we all love your great site. Thanks
The camera has no idea what gel you’re slapping onto your flash. In Auto WB most cameras (afaik) default to Flash WB when it senses a speedlight is being used. This, along with the gel, will give you a color balance that is far too warm.
You need to set your WB to your primary light source’s WB.
Ultimately though, it doesn’t matter too much, since you are shooting in RAW. Not negotiable!
Hi
I notice a rectangular catch light in the eyes. So I assume you bounced left into a reflector or open soft box rather than a wall?
John … no reflector or soft box. It really was just the entrance hall behind me that I bounced the flash into.
Re your Black Fomie Thing:
What do you think of setting the Zoom on my Canon flash to maximum Zoom 85mm.
Will that be enough to keep the spill from the flash to a minimum?
Love your work
A real inspiration.
For tighter views, zooming your flash-head will help.
But for wider views, flagging your flash is still the best option.
https://neilvn.com/tangents/bounce-flash-photography/