
Short Lighting with available light – and adding a little bit of flash
When working with available light or flash or video light or any kind of additional light, the most important aspect of the light is the direction of the light. We need to take a moment and observe the light. Where do the light sources come from? What is the quality of the light? As a short-cut idea, I usually aim for Short Lighting, whether I am using flash or available light.
More on the topic of Short Lighting:
– Off-camera flash: Short lighting vs. Broad lighting
– Bounce flash photography – Short lighting\
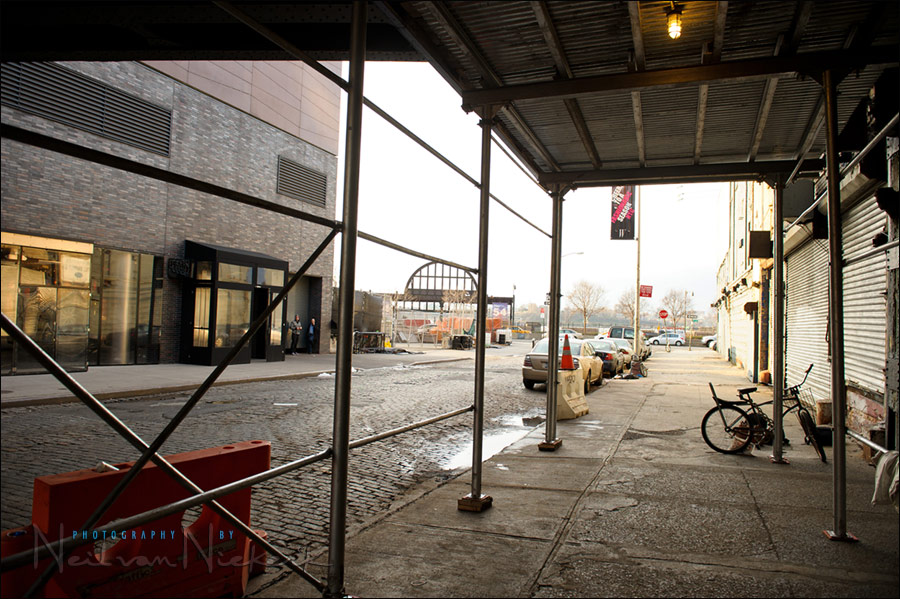
This motif of looking at the available light has been a recurring theme here with various articles on the topic. Using this simple portrait of Alex, our model with a recent personal photography workshop, let’s look at a sequence of photos showing some of the thought process. Working under part of the Highline in Manhattan, we “forced” the available light to come from two directions. Facing Alex, to my left (and slightly behind me), I had the main source of available light. This was the brightest part of the sky,which was slightly overcast. This now acts like a massive softbox that we might have in a studio scenario.
To my right (and slightly behind me), there was another large light source – also the sky – but less bright in comparison.
Now, looking closely at Alex’s face, you can see the way the light is distributed. One side of her face is more brightly lit than the other. For this photo, I posed Alex so that she was facing towards the brightest light source (the open sky to my left). I wanted to get the light positioned on her as short lighting, although the light here is quite even and not that dramatic. With “short lighting”, the side of her face turned away from the camera is better lit than the part of her face turned towards the camera.

You can definitely see how the interplay of the two light sources there, and how the “short” side of her face has more light than the “broad” side.

Direction & Quality of Light
I wanted to distill the essence of what we, as photographers, work with – light! Before we can truly grasp on-camera flash and off-camera flash, and really, any kind of photography, we have to be aware of the direction and quality of light. We need to observe the light that we have, and then decide how best to use it, or enhance it.
With this book, I try my best to share those “aha!” moments with you, and I do believe this book can make a difference to your photography.
The book is available on Amazon USA and Amazon UK, or can be ordered through Barnes & Nobles and other bookstores. The book is also available on the Apple iBook Store, as well as Amazon Kindle.

The light looks good, and the background is a complementary warm color. To give some separation from the background, we decided to add a bit of flash as a kind of “hair light”. Since we already had great light on Alex, we could use the flash and softbox to give that bit of rim lighting there.
I asked that the softbox be feathered away from me so that just the edge of light from the softbox spilled on Alex’s beret and shoulders.

Here we used a Quantum flash in a Photoflex softbox, with the power turned all the way down to 1/32 power.
Camera settings & Photo gear used during this photo session
- 1/100 @ f3.5 @ 800 ISO with manual off-camera flash
- Nikon D3S
- Nikon 24-70mm f2.8 AF-S
- Quantum Q-flash T5D-R
- medium Photoflex Litedome Q39 (24×32) softbox
- Sekonic L-358
- (2x) Pocket-Wizard Plus II Tranceiver
- Softboxes with speedlights
Related articles
- Flash photography tip: find your background, then your settings (model: Alex)
- Off-camera flash – adding dimension with back-lighting (model: Lea)
- Observing and using the available light (model: Anelisa)
- Softboxes with speedlights
- “Using the available light” is not random
- Exposure metering & observing the available light (model: Aleona)
- Flash photography tutorial: balancing flash and ambient exposure (model: Anelisa)
Nice, as usually, seems to pose models in relation to the light source to avoid light comming from sky. Did you use any gel in softbox flash? Light in the shadows are little blue usually, white balance should be set to shade I think, and light from the flash should be similar to blue. To get warm tonality as in the photo is it necessary to gelling flash at all?
Regards from Poland :)
Hi Neil-
Just wanted to let you know how much I enjoy Tangents. Very informative, right to the point, technical but not presented in a un attainably technical way.
The article on finding your background exposure first and then introducing off camera electronic flash has been presented before by so many photographers yet this was so easy to digest.
Thanks,
Mark
Neil
Really like the way that little ‘lick’ of flash coming in from behind can add contour and form to the model. This is a real lesson in how something so simple – perhaps, so obvious – can mean the difference between a good and a great photograph.
Great stuff!
Roy
Hi, Neil! Beautiful photo! Did you use the Lightmeter for this work? Thanks!
Great work. Such educational material that you put together. Just wanted to say thanks and keep it up… your notes and website help tremendously.