Exposure metering: Photographing in snow
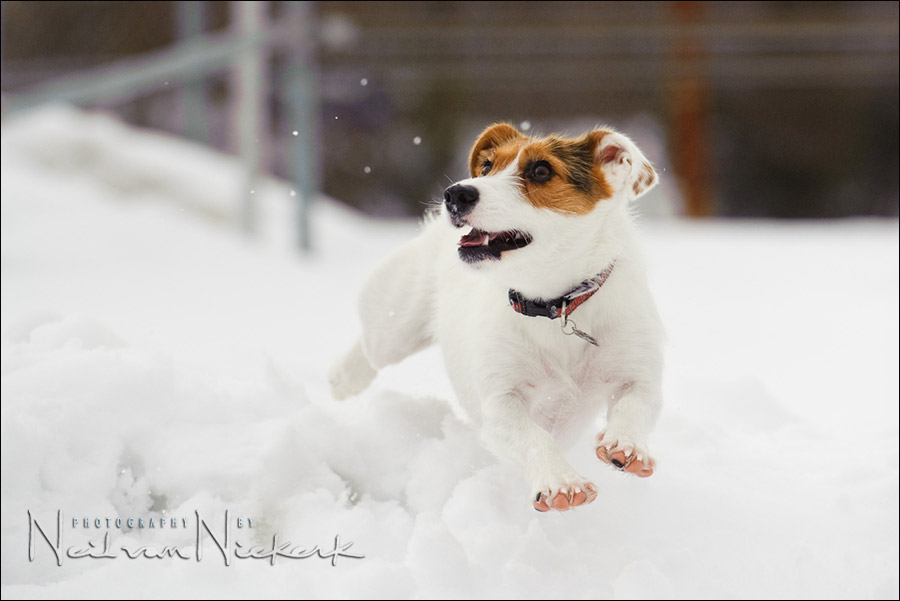
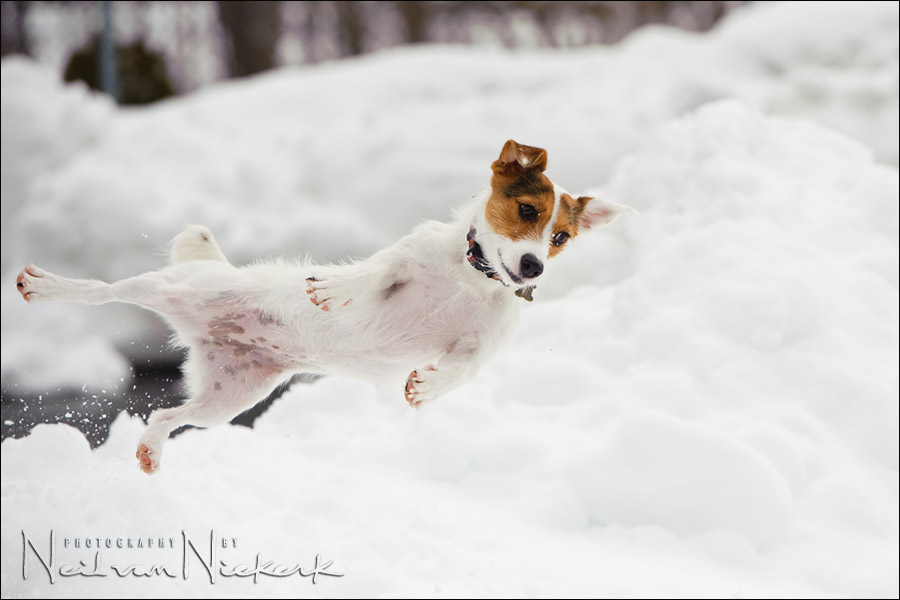
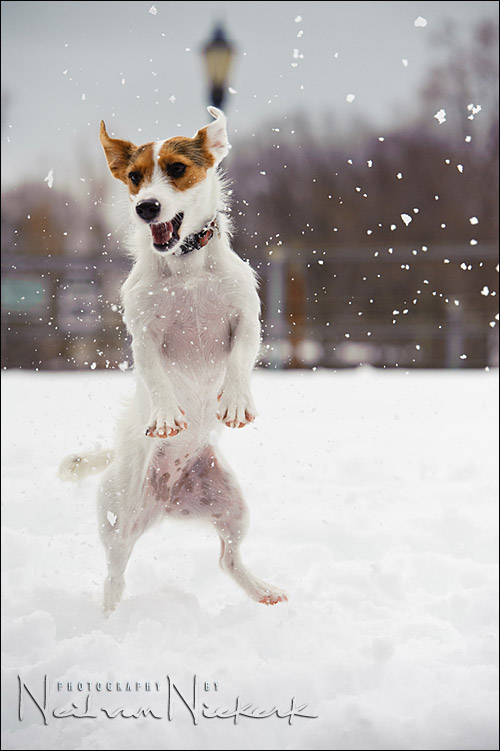
I had the pleasure challenge of photographing this super-cute Jack Russell terrier, Sundae. She just loves snow! After one of the heavy snowstorms, we went to a park where I could photograph her acrobatically snatching at bits of snow hurled at her. The exposure metering for the snow was the least of the challenges here. It might have been the easiest part of photographing this fast-moving dog.
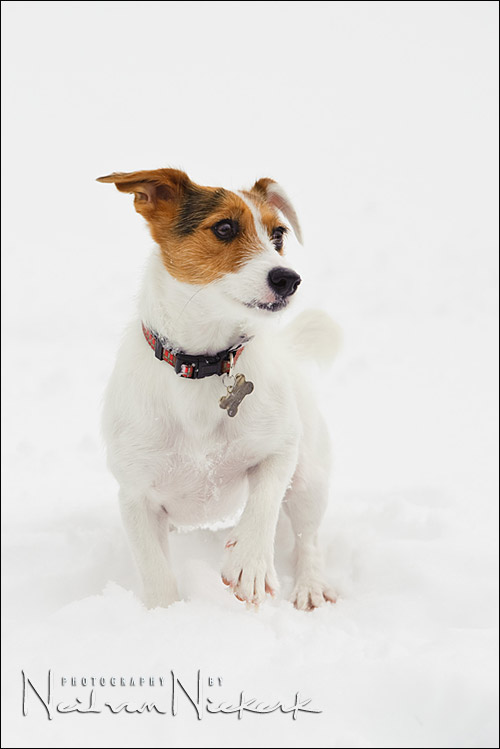
This is a white dog on white snow. Fortunately, it was overcast, so the light was very even / flat. (One man’s meat / even light, is another man’s poison / flat light.)
With the tonal values mostly bright, I used my camera’s built-in meter to get to my initial settings. I couldn’t just zero my camera’s meter since the snow is white, and any camera wants to take the scene it is metering, towards middle grey. For this, I used the camera’s histogram display to get the correct exposure setting. I am guided by the histogram, pushing the exposure of the white areas up so that it spikes near the right-hand side of the histogram. That will place the brightest part of the scene at the correct “place” on the histogram.
That is the essential part of photographing anything in the snow – realizing that you can’t just use an automatic exposure mode without Exposure Compensation, and neither can you use Manual Exposure Mode and just center your camera’s metering display. You need to place the white tones, which will be the brightest relevant part of your scene, on the correct place.

I therefore had to push the meter up so that white would appear as white in the final image, and not grey. For most cameras this would be around 1.7 stops (5 clicks) up from zero. For the Nikon D3, I know it is around 1 stop up. (3 clicks) You have to figure out for yourself how your own camera responds, and where the brightest area is, in relation to what the camera meters .. and what the sensor can record without clipping.
I double checked my histogram to be sure I had correct exposure. Using the histogram is actually the most important step for me in determining correct exposure in this situation. The usefulness of the histogram will of course vary, depending on the situation you find yourself in.
Then I also used the blinking highlights feature as even more assurance that I wasn’t blowing the important highlights of the scene.
Oh, essential to all of this, I have to shoot in manual exposure mode on my camera. For images where I got more of the background of the park, I didn’t want my camera to change exposure on me. I wanted all the images to be exactly the same. This speeds up post-production if I don’t have to adjust individual images.
My white balance was set to Cloudy for the photo session, but I changed it slightly in post-processing of the RAW files. I wanted the snow to be approximately neutral white.
I also bumped up the contrast and local contrast and black point as part of processing the RAW files. You can also pull down the Saturation for Blue in editing the RAW file, to take away some of the blue-ish tones which tend to happen on overcast days.

She was very fast! Even with the Nikon D3 set to maximum burst rate of 9 frames-per-second, I could barely get 2 frames before she was back on the ground.
So there were a few challenges, aside from the exposure metering.
– I needed a responsive camera, and a lens that focuses fast. For this session I used the Nikon D3 and the Nikon 70-200mm f2.8 AF-S VR II (affiliate). This lens is surprisingly fast to focus for such a large optic.
– I needed a very fast shutter speed, and enough depth-of-field. A few initial images showed that I was getting movement blur even at 1/2000th of a second. I therefore pushed up my ISO to 800, and settled on 1/8000 @ f5 for the majority of the photo session.
– focusing modes. With the D3 set to AF-C (continuous focus mode), and 51 AF points, I let the camera control most of the focusing for the session. For a few more static images, I did flip to AF-S mode to be sure of exact focus on her eyes.
– I was again surprised by my success rate. To compensate for how difficult it was to get a neatly composed shot of Sundae, I completely over-shot and had to wade through more than a thousand images to pick the best for my clients. Of those, about 250 were solid keepers, so it was tough to pare the selection down further to just give the best and most representative shots.


Related articles
- Tutorial: Exposure metering
- Tutorial: Flash exposure compensation
- Tutorials on Exposure metering technique
Neil
Great article.Thanks again for explaining yet another challenging topic – shooting white on white. the tips are great.
You also touched upon focusing modes.Which combination of focus mode and focus points you use to quickly grab some wedding candids where you do not have time to think and focus. May be a separate article for this blog ?
Thanks again.
-MP
Neil, great images there, I own a jack russell, and know just how fast they are. That 2nd image is the best dog image I’ve ever seen bar none! Fantastic, Thanks!
Gotta say that second shot rocks.
Too cute!!! He is adorable. And I can imagine how hard you worked to get these amazing images.
Love the second one … looks like a scene out of an action/adventure movie where the main character is jumping sideways through the air firing their gun … of course, this one is much less violent lol … great shots and thanks for the site! one of my regular sites that I always read! :)
Jesse .. she does look like she is effortlessly sailing through the air like a superhero. She just needs the cape.
Love the shots. Your in-depth explanation is second to none. You give us all the details we need. Love your work. I used a friends 70-200vr2 for a model shoot. Fab lens must get saving. Looking forward to the second book. Keep up the good work. Thank you for the time you put in to help us all much appreciated. x
Hi Neil,
very helpful post – photographing such a small bundle of energy is a challenge. Question – when in AF-S mode, did you use the 51 AF points, or single point focus…?
Groete, S.
You wrote that you “set to AF-C (continuous focus mode), and 51 AF points, I let the camera control most of the focusing for the session. For a few more static images, I did flip to AF-S mode to be sure of exact focus on her eyes”
I wonder what kind of autofocus do you use in wedding photography, specialy when shots in churches or venues when persons are moving? Do uou also use AF-C and 51 points, or 3D mostly?
I don’t think there is enough time to set it manualy, but how to do it fast and accurate? Could you let us know what is your practical way to use autofocus during fast moving scenes during ceremony?
MP and Sinuhe .. during a wedding I mostly use Single Focus mode (AF-S), and the center point. I keep it simple then.
Neil, on comment 12 you said that “during a wedding I mostly use Single Focus mode (AF-S), and the center point. I keep it simple then”. Is that mean that you mostly do focus and recompose? How do you recompose to keep the subject in focus when you recompose especially is you use aperture 2.8 or larger?
Adi .. by using a camera that has lightning fast AF acquisition -the Nikon D3. Therefore the subject hasn’t had much time to move yet.
Also, by not wildly re-composing off to the side, I run less risk of focus errors due to curvature in the plane of focus.
I do change my composition by slight crops in post-processing of the RAW file if my composition needs tightening up.
Also, I do favor more central compositions, if you look at my work.
Thank you, Neil. This was so educational!
which RGB tonalvalue you give snow?
because 255/255/255 would complete blown out.
is it between 230/230/230 – 240/240/240?
grts
olympus
I might finesse the exposure of the RAW file that way, by looking at the RGB values, but I wouldn’t take it up to 255/255/255 for there is no detail there anymore. The whiter tones need to be bright, but there needs to be detail.
The crucial step is in the actual taking of the photographs – then I am guided by the histogram, pushing the exposure of the white areas up so that it spikes near the right-hand side of the histogram.
Great post. I have had a similar problem with beach portraits where the family was wearing white shirts on a really bright day.
Thanks for the insight!
Curtis
Hi Neil, I really enjoy and find your web site extremely informative. I am new to photography so I’m sorry if this question illustrates my ignorance. Would you have used a flash for Sundae’s shoot if there were no snow on the ground? If so what would be your basic settings for the camera and flash? Also if it were a sunny day with snow would you have used a flash? Same question two different scenario’s. How would you go about using fill flash on subjects that don’t stand still for very long.
Thank you
Gary
Hi all,
Following a discussion with Neil, he asked me to share this to the (hopefully) benefit of all…
I personally use the Ansel Adams zone system approach. The zone system indicates that light areas in your scene are a zone 7 and up. So I go manual, select spot metering (important !). Then, aim for the brightest snow patch and put your exposure at 2 full stops above neutral (neutral /center is zone 5, … the 18% gray). Each step of the zones is 1 stop. Then, you should be set. .. as long as the light condition is stable.
In my opinion, this method is more precise and gives you full decisive control on what is happening. Being full manual also provides that all your shots have the same exact exposure when you’re back at your desk to develop the series. I used this often for aerial photography and it works flawlessly. I can shoot in any direction in the field and just forget about exposure (keeping an eye on the sun, clouds etc as they change too much). You have to calibrate the initial exposure on the brightest spot on the whole 360 degree field of view for this to work obviously.
Using the histogram is okay, but as you probably heard, it’s using the jpeg engine of your camera body, so it is an interpretation of the real raw exposure (it’s usually safe as it indicates saturation before raw saturates…. it cover less stops of the full raw dynamic range). … and it is also (to be verified) influenced by the white balance and other settings, which do not affect the raw version stored in your card.
For more information on the zone system, see
https://en.m.wikipedia.org/wiki/Zone_System
https://photography.tutsplus.com/tutorials/understanding-using-ansel-adams-zone-system–photo-5607
Regards