Using tilt-shift lenses for greater depth-of-field
Using tilt-shift lenses for greater depth-of-field
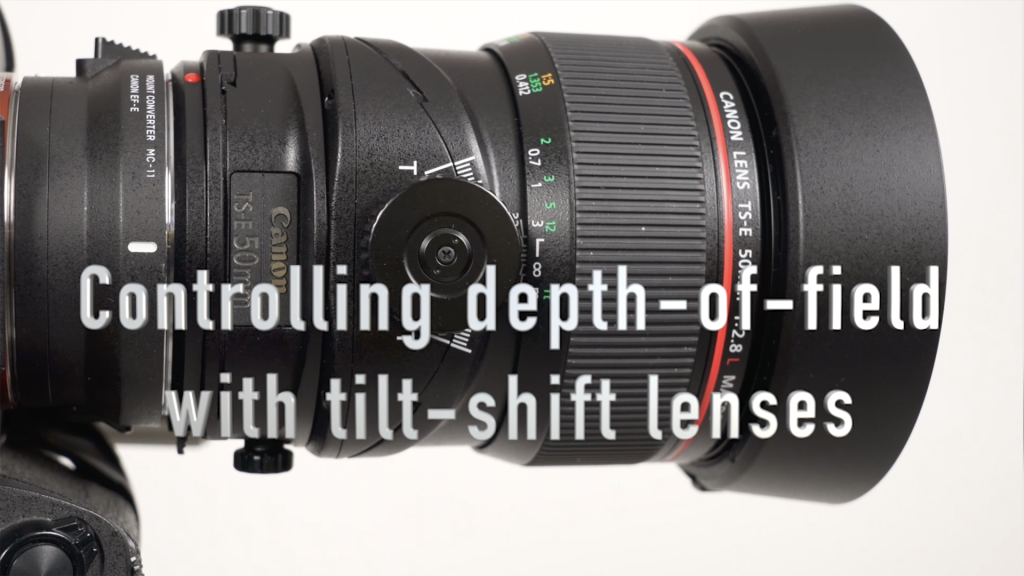
When you can't get enough depth-of-field (DoF) with a small aperture, and your subject is more or less on a single plane, (ie, 2D), and focus stacking isn't entirely feasible, then using a Tilt-Shit lens to control your depth-of-field .might be the solution. This video will show you how that work. In this video, I used the Canon 50mm f/2.8 tilt-shift lens (B&H /Amazon) on a Sony A7RivA via a Sigma MC-11 adapter. In the video I also discuss the limitations of using a small aperture for maximum depth-of-field. Read more inside...Lighting a portrait for visual weight and gravitas

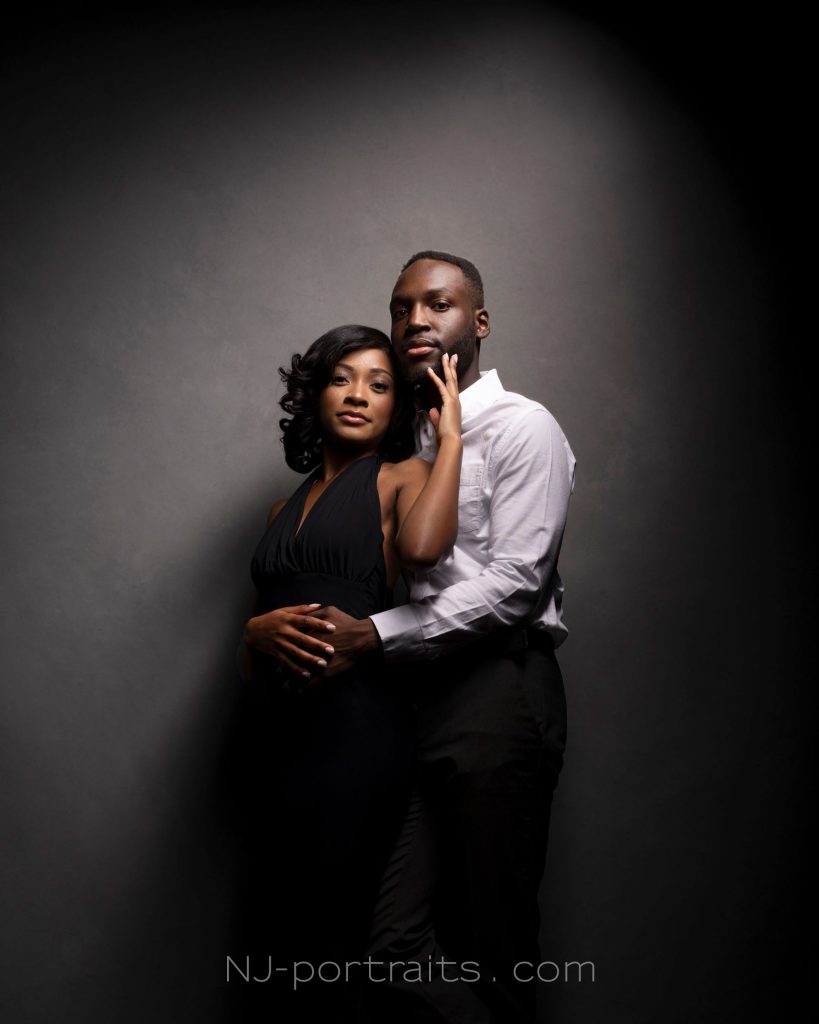
When I was contacted by Judge Caposela's daughter about possibly doing a portrait of him, I knew I would have to create a portrait that has some visual weight. It would have to show the dignity and character associated with his standing. Even more pressure when she told me that a B&W version would be framed and all hang in the entrance of the rotunda in the Passaic County courthouse. The days preceding this photo session, I worked out in my mind what I would do for the lighting. I wanted somewhat dramatic lighting, but also very flattering. I wanted the lighting to show the gravitas, Read more inside...
Crazy, fun New York photo session!
Crazy, fun New York photo session!
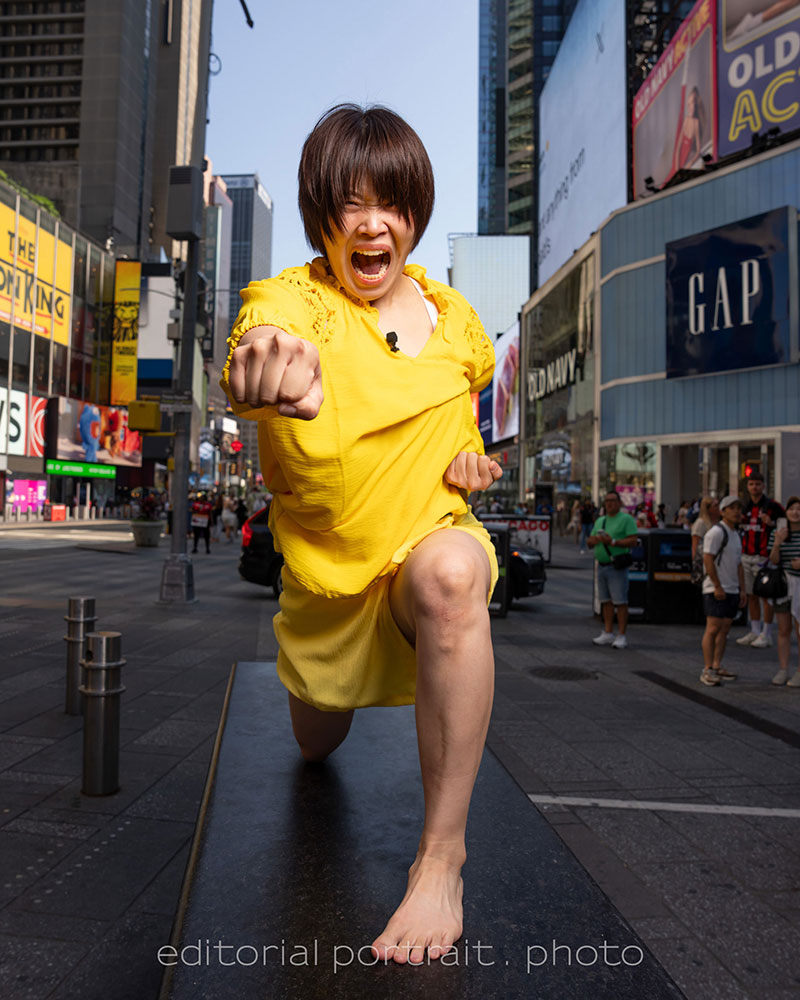
I finally have permission from the client to post this. The photos are of a comedic duo named Ganbareruya, who apparantly is (and I quote) super-famous in Japan. We even had Japanese tourists on the street recognize them. Their management team (?) found me via Instagram, and was drawn to use me because of the dance photography I regularly posted on Instagram. The premise was this comedic team, Ganbareruya, would be visiting New York, and meet up with a famous dance photographer (moi?!) who would show them dance moves (again, me, of all Read more inside...Studio lighting example for pet portraits
Studio lighting example for pet portraits
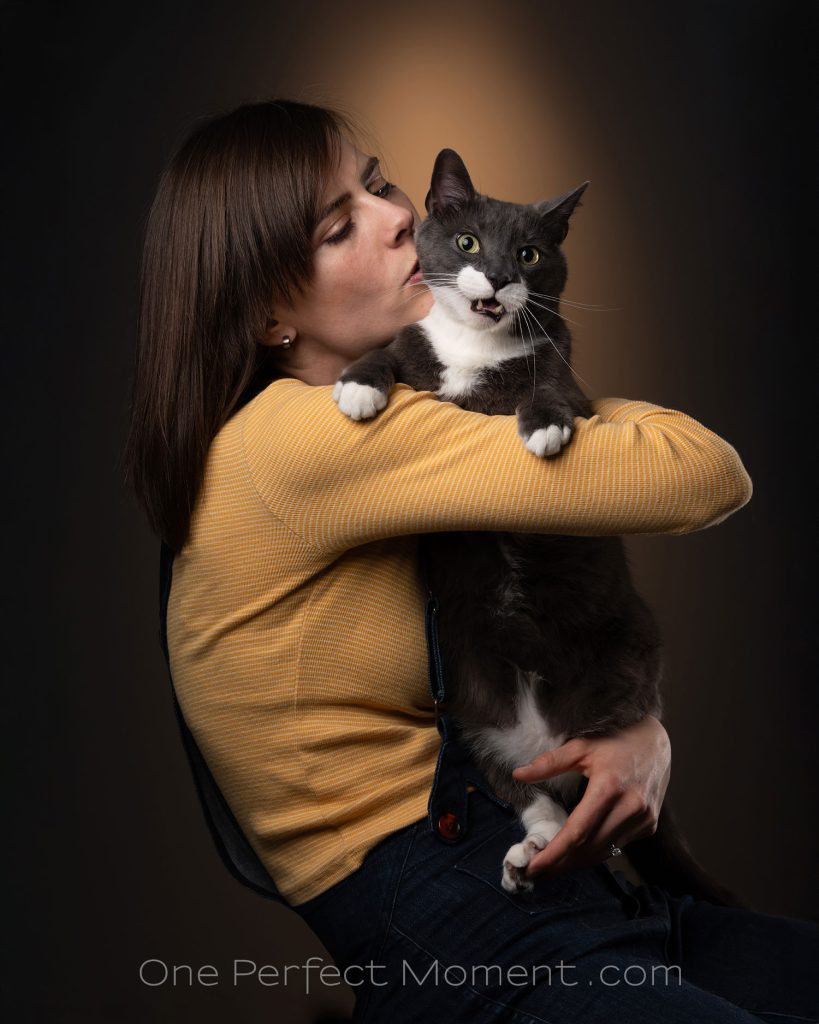
Rosa who I have photographed before as model, also lives out her love for cats as a catsitter. (Check out her Instagram page). She brought her cat, Happy, in to the studio for a few portraits ... but Happy had definite opinions about that! My career as a photographer of cats seems to be off to a somewhat shaky start! He was just being a typical cat - adorable, but with a mind of his own. In setting up the lights, one of my main considerations, just like it would be when shooting on location, is to make sure I have a background that Read more inside...Having fun with personal photography, to learn and grow

Having fun with personal photography, to learn and grow
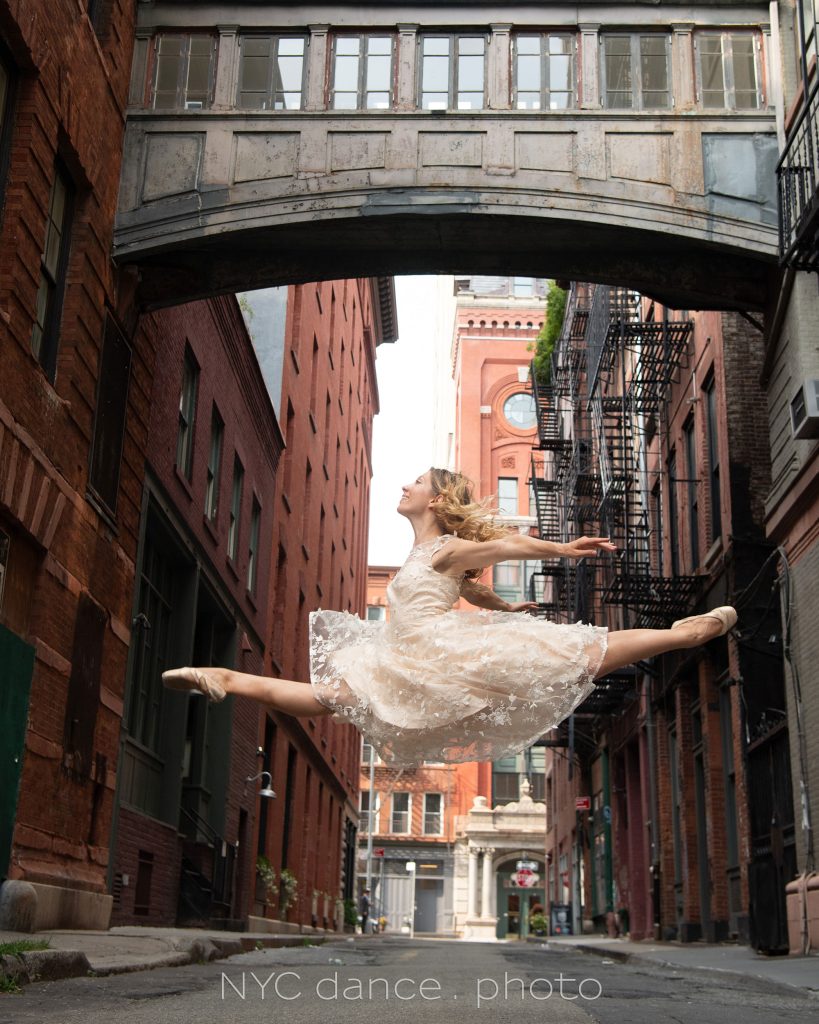
Having fun photographing people and their crazy hats during the Easter Parade and Bonnet Festival on 5th Ave, Manhattan. This year I challenged myself in photographing portraits at f/2 only, using the Sony 28-70mm f/2 lens (B&H / Amazon) … and I purposely looking for compositions that worked with the bright overhead sun … still taking care to not lose important elements in the blown highlights. Those constraints did limit who and what I photographed, but I do like the results. I feel that doing this - Read more inside...Dance photography – studio lighting setup
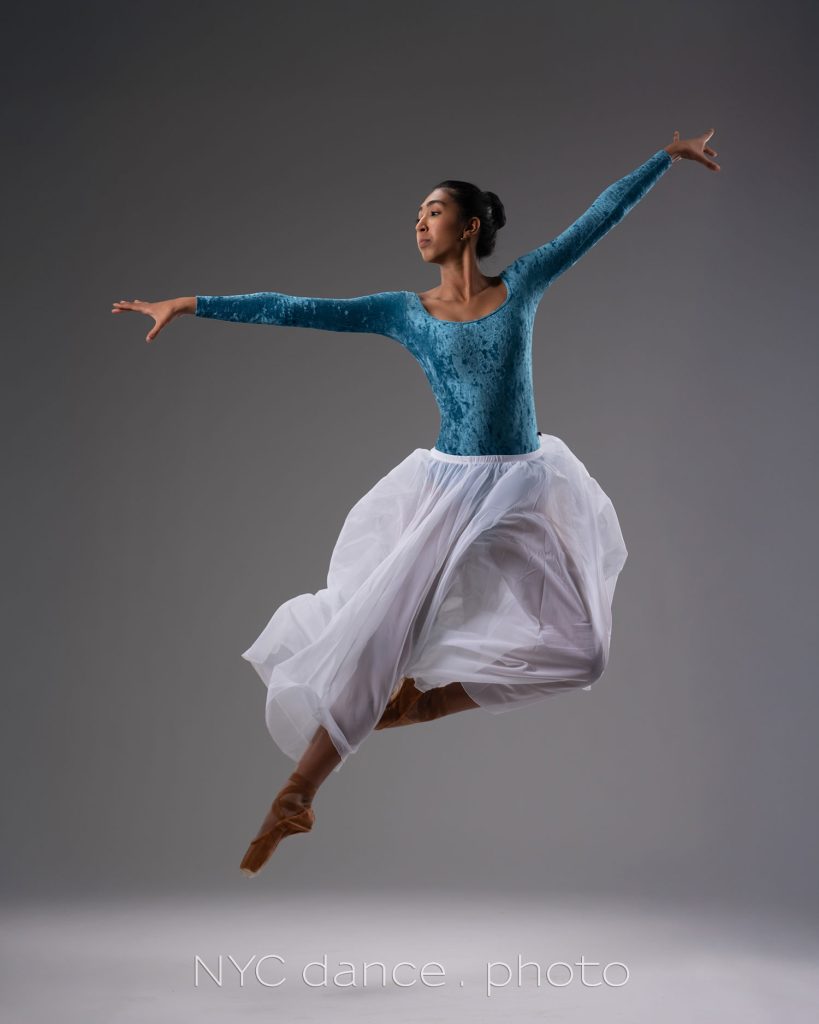
Dance photography - studio lighting setup
Before we even start discussing this specific studio lighting setup, I might need to quality if by saying this is but one lighting setup of many, many possibilities. The consistent idea behind this (and other lighting setups), is that the lighting should be dynamic -- and have that interplay between light and shade that really flatters the dancer, and enhances the mood of what you are trying to capture as the photographer. Ideally you don't want your lighting to be flat - for me, there has to be at least a little bit of drama to the Read more inside...Review: Canon RF 24-105mm f2.8 L IS lens
?
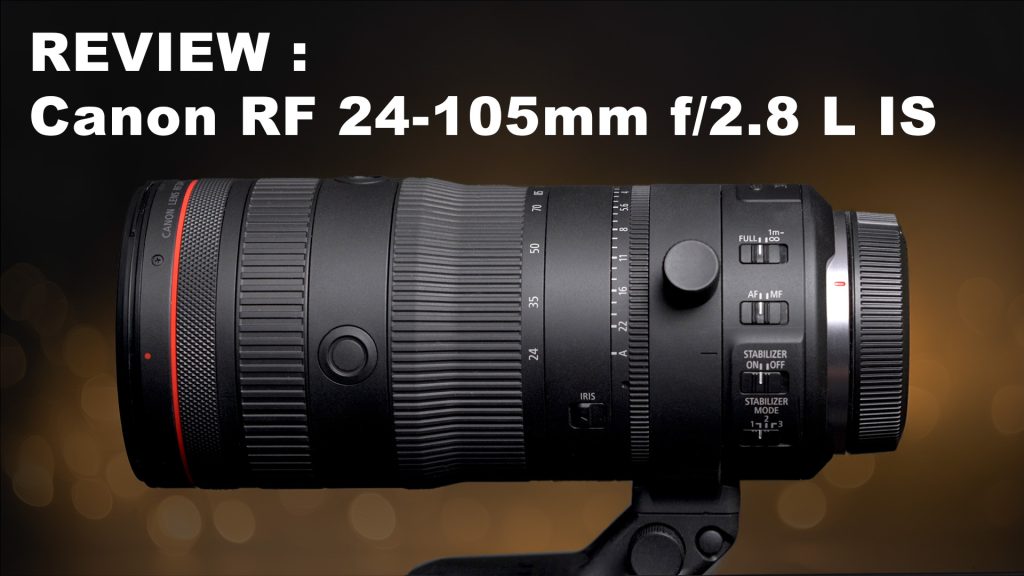
Review: Canon RF 24-105mm f2.8 L IS lens
For me, 24mm-105mm is a perfect general range for so much of photography, whether you photograph corporate events, weddings and headshots. That 105mm focal length is perfect for portraits! Lenses with this range is pretty standard for every brand as an f/4 option ... but with events, we are often working in low light ... and that faster f/2.8 becomes somewhat of a necessity. Now that Sony has its own superb version of the modern legend by Canon - the 28-70mm f/2 lens -- here's another lens that I think Sony needs to have in its line-up Read more inside...Off-camera lighting – continuous light or flash?
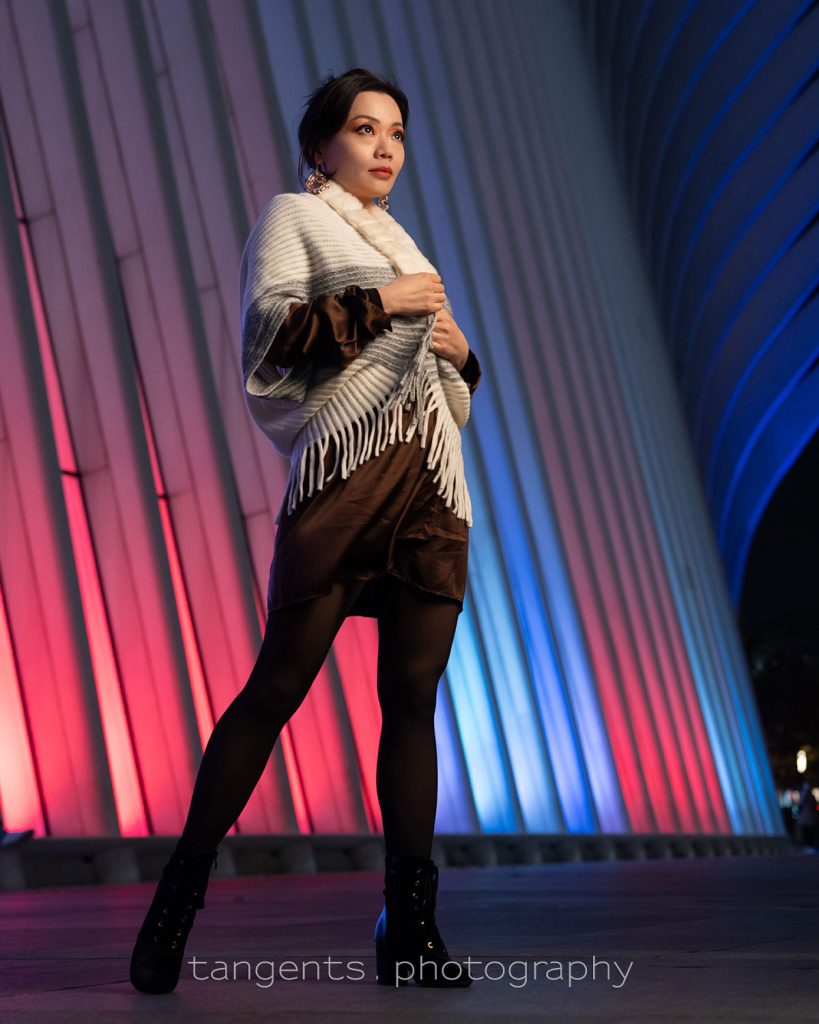
Off-camera lighting - continuous light or flash?
When we think of off-camera lighting, we usually immediately think of off-camera flash. But there is another option: off-camera continuous lighting. One main advantage that continuous light for portraits has over flash is the WYWIG aspect - what you see is what you get. It is easier and faster to position the light to better effect for your portraits. This of course is only viable when working in relatively low light. In brighter light, you'd obviously be better of using proper flash photography. With a photo session in New Read more inside...How to dramatically change your studio lighting with a gridded stripbox
How to dramatically change your studio lighting with a gridded stripbox
I have posted before about one of my most favorite light modifiers in the studio - a gridded Profoto 1’x6’ strip-box (B&H / Amazon). It is a surprisingly adaptable light source in how you can swivel it and tilt it and rotate it. This tall stripbox gives a soft light, but highly directional. Once you realize you don't have to use stripboxes in a strict vertical position, a lot of options open up. For example: Using a gridded stripbox as the main light (model: Claudia) Profoto: Read more inside...- 1
- 2
- 3
- …
- 103
- Next Page »