
My favorite infrared B&W photo … so far
My favorite infrared B&W photo ... so far
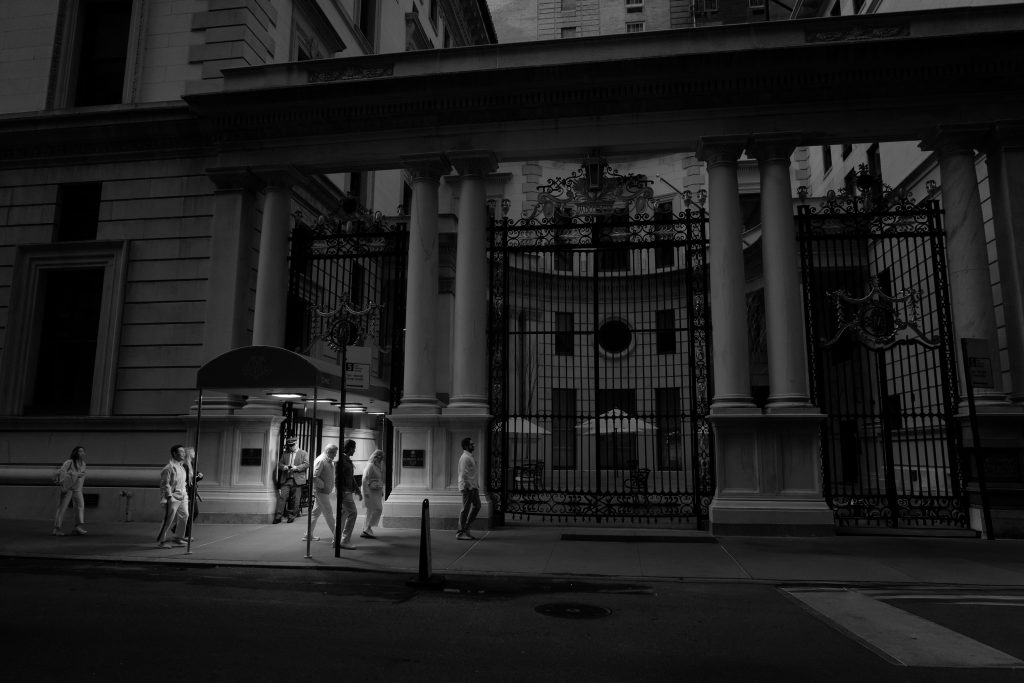
This might perhaps turn out to be one of my all-time favorite B&W infrared photos that I have taken. Walking to a restaurant in Manhattan - we were on the shadow side of the buildings, and the light was blue. In other words, "cold" ... except for the lights under this awning outside the Metropolitan Club. I immediately noticed these were incandescent lights, and I knew that this would show up as a much brighter splash of light in the frame with the infrared camera. To the human eye, the entire scene was fairly flat lighting ... but Read more inside...The glamorous life as a photographer
The glamorous life as a photographer
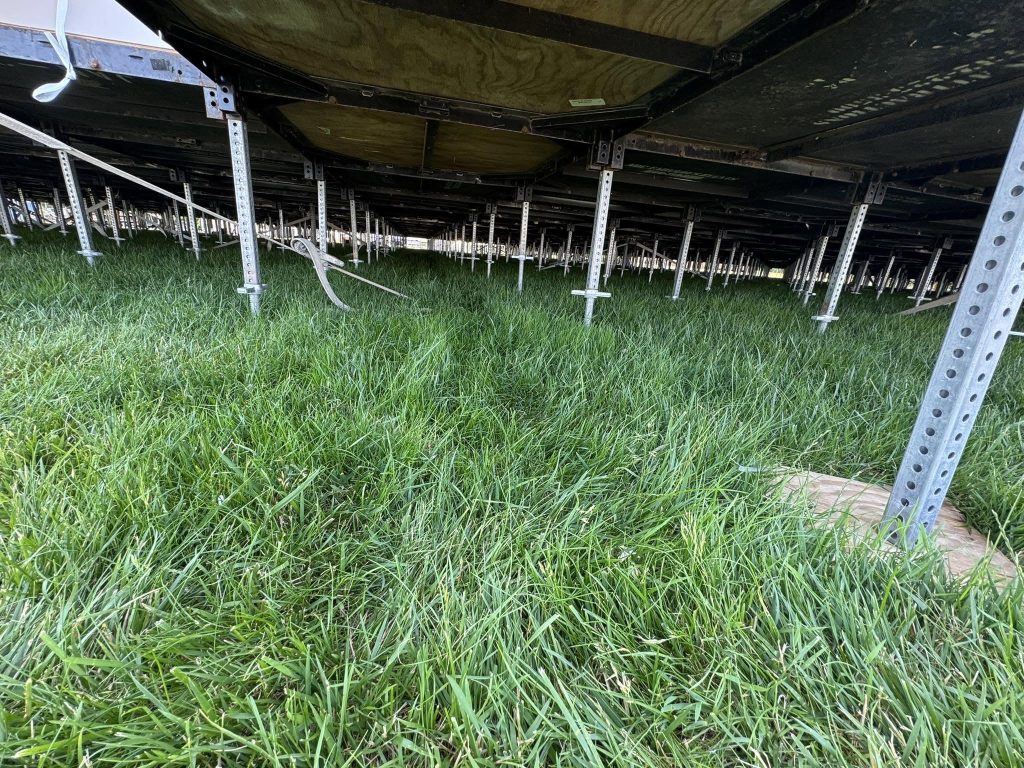
While crawling on my hands and knees for nearly 200 ft underneath this platform to run electricity for several timelapse cameras … I had some time to reflect on my life as a photographer. I immediately thought back to a comment my wife made a few years ago. We were huddled under a canopy in the cold rain … where I had cameras set up to do a timelapse of the final event of that year’s New York Fashion Week. The event was on a stage they built for Tommy Hilfiger … and there were a bunch of celebrities around … and on paper this all sounds quite Read more inside...How to decide on settings for high-speed flash sync
How to decide on settings for high-speed flash sync
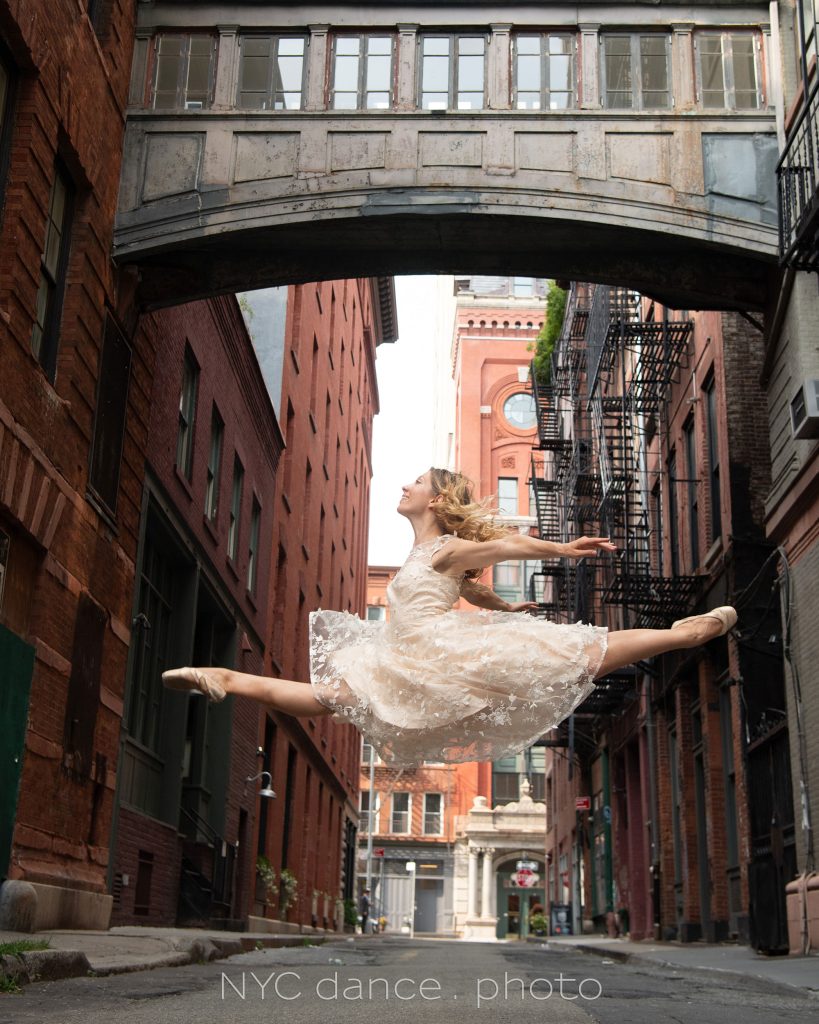
A sequence of dance photos where I collaborated with Anna Russel, aka PoppySeedDancer. Anna is incredibly athletic in her explosive movements. Amazing experience to work with her. To freeze movement, I was in high-speed flash with the 1/800 shutter speed. Since HSS reduces flash output by 1-2 stops, and with the softbox attached, the flash output was reduced a lot to the point where it was just enough of a fill-flash. Scroll through the images to get to the last two photos which are the test shots with which I confirmed that I Read more inside...Using tilt-shift lenses for greater depth-of-field
Using tilt-shift lenses for greater depth-of-field
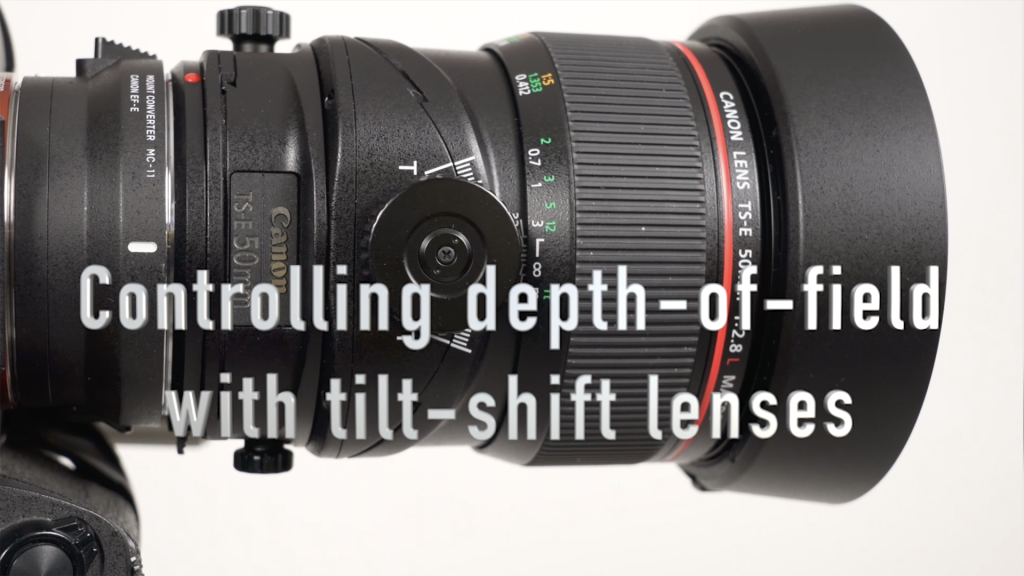
When you can't get enough depth-of-field (DoF) with a small aperture, and your subject is more or less on a single plane, (ie, 2D), and focus stacking isn't entirely feasible, then using a Tilt-Shit lens to control your depth-of-field .might be the solution. This video will show you how that work. In this video, I used the Canon 50mm f/2.8 tilt-shift lens (B&H /Amazon) on a Sony A7RivA via a Sigma MC-11 adapter. In the video I also discuss the limitations of using a small aperture for maximum depth-of-field. Read more inside...Lighting a portrait for visual weight and gravitas

When I was contacted by Judge Caposela's daughter about possibly doing a portrait of him, I knew I would have to create a portrait that has some visual weight. It would have to show the dignity and character associated with his standing. Even more pressure when she told me that a B&W version would be framed and all hang in the entrance of the rotunda in the Passaic County courthouse. The days preceding this photo session, I worked out in my mind what I would do for the lighting. I wanted somewhat dramatic lighting, but also very flattering. I wanted the lighting to show the gravitas, Read more inside...
Crazy, fun New York photo session!
Crazy, fun New York photo session!
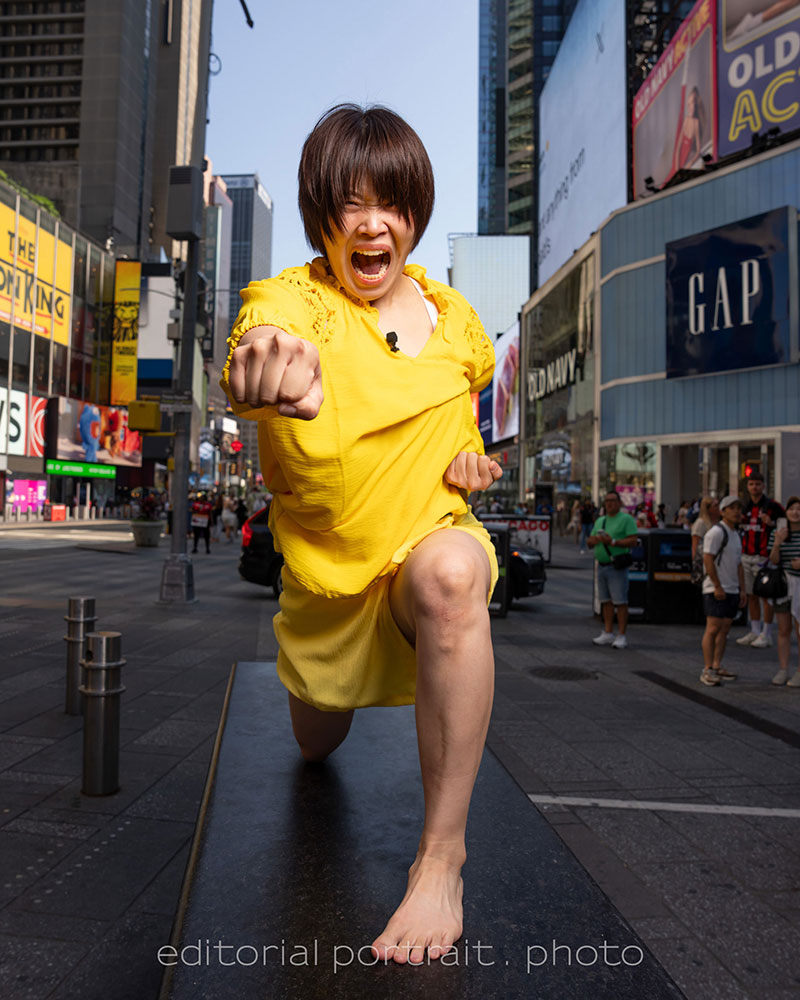
I finally have permission from the client to post this. The photos are of a comedic duo named Ganbareruya, who apparantly is (and I quote) super-famous in Japan. We even had Japanese tourists on the street recognize them. Their management team (?) found me via Instagram, and was drawn to use me because of the dance photography I regularly posted on Instagram. The premise was this comedic team, Ganbareruya, would be visiting New York, and meet up with a famous dance photographer (moi?!) who would show them dance moves (again, me, of all Read more inside...Studio lighting example for pet portraits
Studio lighting example for pet portraits
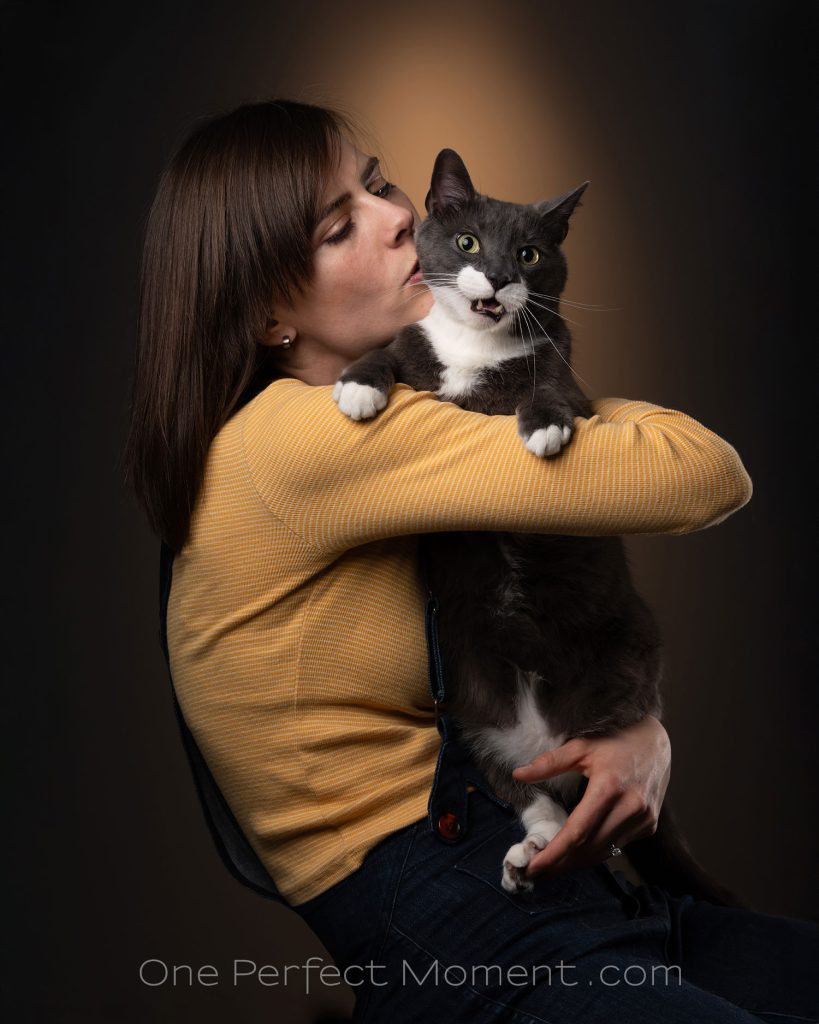
Rosa who I have photographed before as model, also lives out her love for cats as a catsitter. (Check out her Instagram page). She brought her cat, Happy, in to the studio for a few portraits ... but Happy had definite opinions about that! My career as a photographer of cats seems to be off to a somewhat shaky start! He was just being a typical cat - adorable, but with a mind of his own. In setting up the lights, one of my main considerations, just like it would be when shooting on location, is to make sure I have a background that Read more inside...Having fun with personal photography, to learn and grow

Having fun with personal photography, to learn and grow
Having fun photographing people and their crazy hats during the Easter Parade and Bonnet Festival on 5th Ave, Manhattan. This year I challenged myself in photographing portraits at f/2 only, using the Sony 28-70mm f/2 lens (B&H / Amazon) … and I purposely looking for compositions that worked with the bright overhead sun … still taking care to not lose important elements in the blown highlights. Those constraints did limit who and what I photographed, but I do like the results. I feel that doing this - Read more inside...Dance photography – studio lighting setup
Dance photography - studio lighting setup
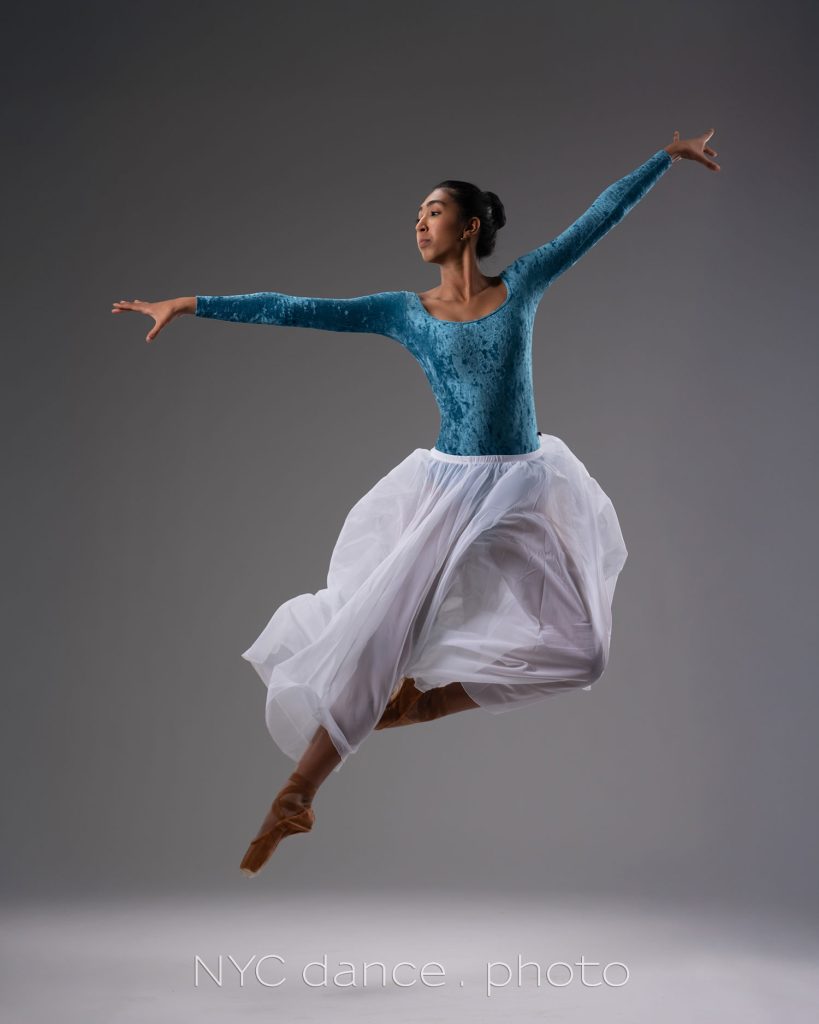
Before we even start discussing this specific studio lighting setup, I might need to quality if by saying this is but one lighting setup of many, many possibilities. The consistent idea behind this (and other lighting setups), is that the lighting should be dynamic -- and have that interplay between light and shade that really flatters the dancer, and enhances the mood of what you are trying to capture as the photographer. Ideally you don't want your lighting to be flat - for me, there has to be at least a little bit of drama to the Read more inside...- 1
- 2
- 3
- …
- 103
- Next Page »