Which image resolution? 72 dpi /ppi, or 300 ppi / dpi?
I feel that as modern photographers who shoot with digital cameras, there are a few basics which we absolutely need to know and understand. Some concepts that are so intrinsic to the digital format, that we have no excuse not to grasp them. One of these things would be the resolution of images – the image size. Not in kilobytes or megabytes (since this is rooted in a more archaic form where images were scanned) – but image resolution as in pixel dimensions. Megapixel size. That kind of thing. The confudled question often then also hinges on which image resolution should you use? 72 dpi or 300 dpi? (Or also, 72 ppi vs 300 ppi.)
It is a topic that has been discussed here before:
Image size & Resolution – 72 dpi or 300 dpi
But if that is something you don’t understand and you’d rather not deal with in your workflow … I’m offering a new service to photographers – I can change your images from 72dpi (or ppi) to 300dpi (or ppi). I can also change them back. Either direction. As often as you want.
This is for the low, low fee of 25c an image. There is a bulk rate of 10c an image.
After reading some threads in various photography groups on FB, I see there is an urgent need for this. I think this could be a real boost to your workflow if you’re stuck.
But before anyone showers me with easy money, let’s go over this 72 dpi / ppi thing …
The first thing we need to be aware of – ‘dpi’ is for ‘dots per inch’ which is a printer option. We will usually work with ‘ppi’, which is for ‘pixels per inch’. For our work, this is the definition we will most likely work with – how many pixels per inch we need.
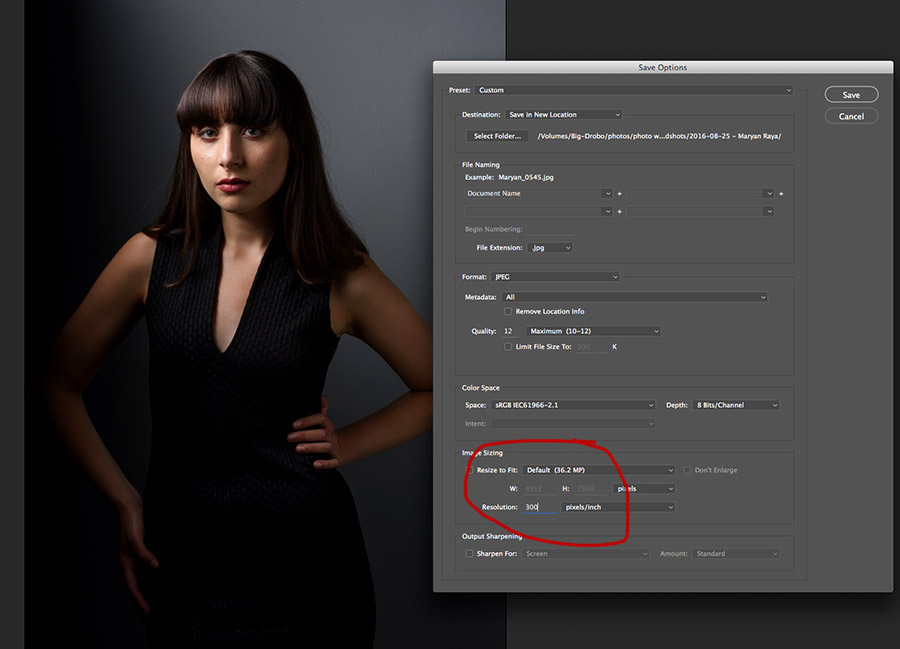
When you export your RAW file to JPG (or TIFF), then the Save Options menu will give you an open choice as to what you want your resolution to be. How many pixels per inch. The reality is that you can just leave it at any default option in that box. It doesn’t matter … unless you start working with dimensions in inches or centimeters.
Let’s say you have a 24 megapixel image: 6000 x 4000 pixels.
If you multiply that, you will see you get 24,000,000 which is 24 million. In other words, 24 megapixels. So far, so good.
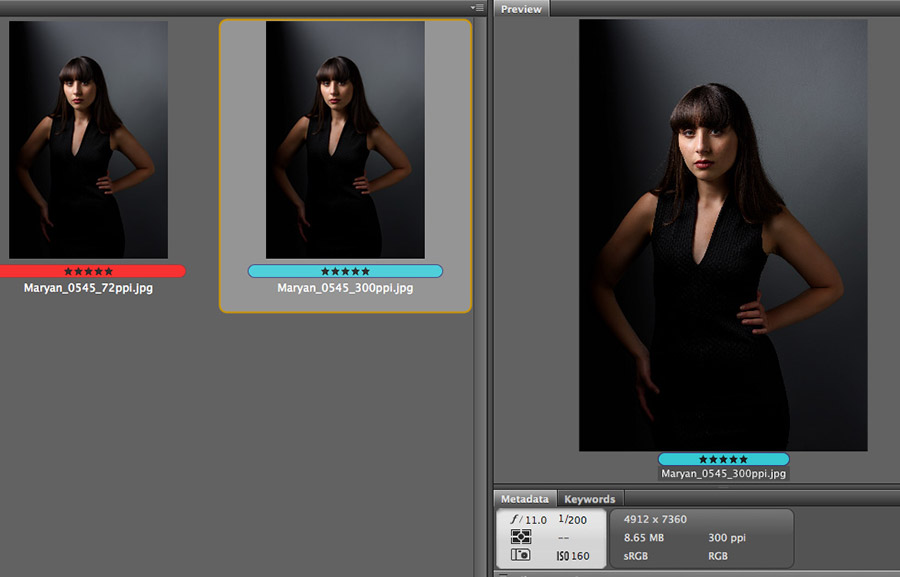
Now, whether you export that 24mpx RAW file as 72 ppi or 300 ppi (without resizing), you will end up with an image that has the same pixel dimensions. It will remain 24 mpx. Nothing lost, nothing gained. Try it. Have a look and see for yourself. You end up with exactly the same size image.
Ergo, the choice in ppi has no real bearing here. It does not matter. Your image remains the same size.
Now, if you should resize the photo as a specific size (in width and length) in inches or centimeters, then we need to know how large the image can print, or will appear on a website. Then we need to know how many ‘pixels per inch’ we need.
Largely though, the choice between various resolutions are immaterial.
This is also an instant give-away that someone is clueless about digital photography – when they request full-resolution images as “72 dpi” images. That measurement there has no relation to the digital image you have … until you start measuring image size in inches or centimeters.
Similarly, if you are requested to send someone images at 1200 px wide (at 72dpi), then you know they have no idea what they are asking for.
You could just as easily send them images at 999 ppi …
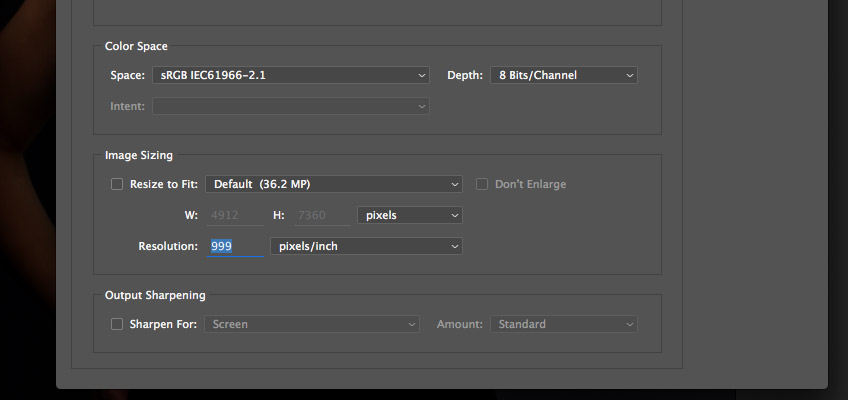
… because the image size in pixel dimensions will be exactly the same as any of the other ppi settings. (Unless of course there are actual inches and centimeters involved in defining image resolution.)
As mentioned at the start, this article also covers the topic: Image size & Resolution – 72 dpi or 300 dpi
Summary
Again, if you’re still not sure about all of this, do try it out on a test image. See for yourself. As a digital photographer, you owe it to yourself, your clients and the world, to understand this.
In the meantime, if you need to convert images from 72 ppi to 300 ppi, (or vice versa), then hit me up. I need the cash.
Camera gear (or equivalents), and lighting gear used in this photo session
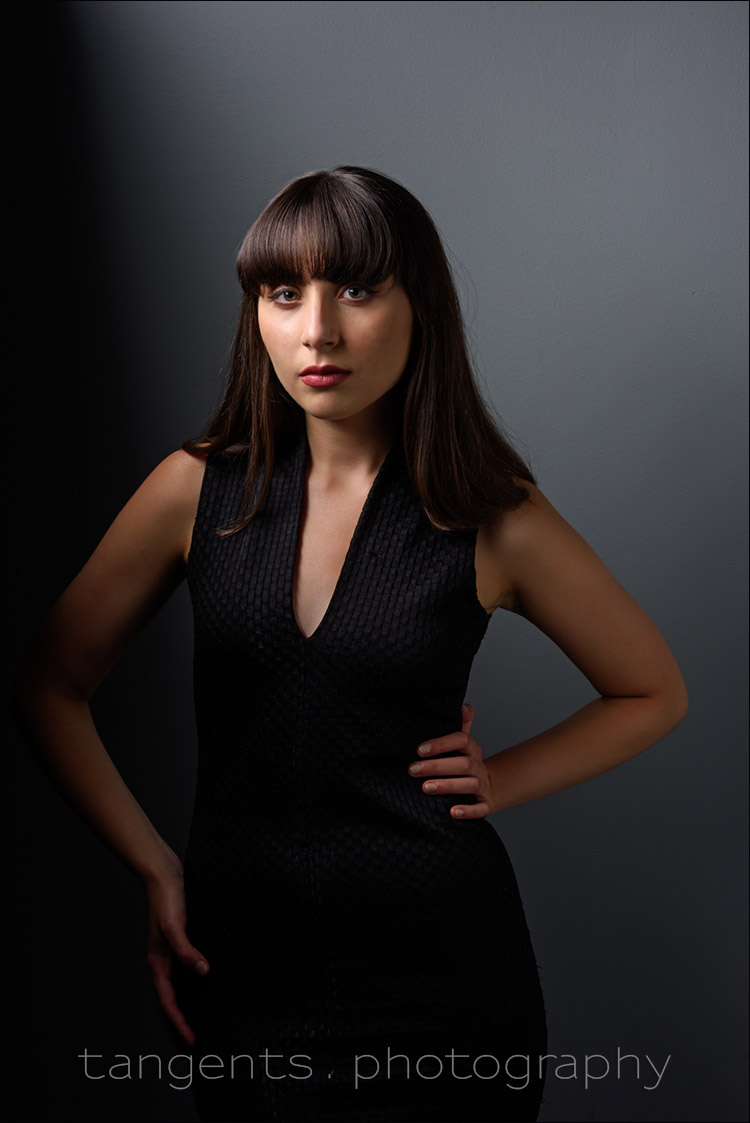
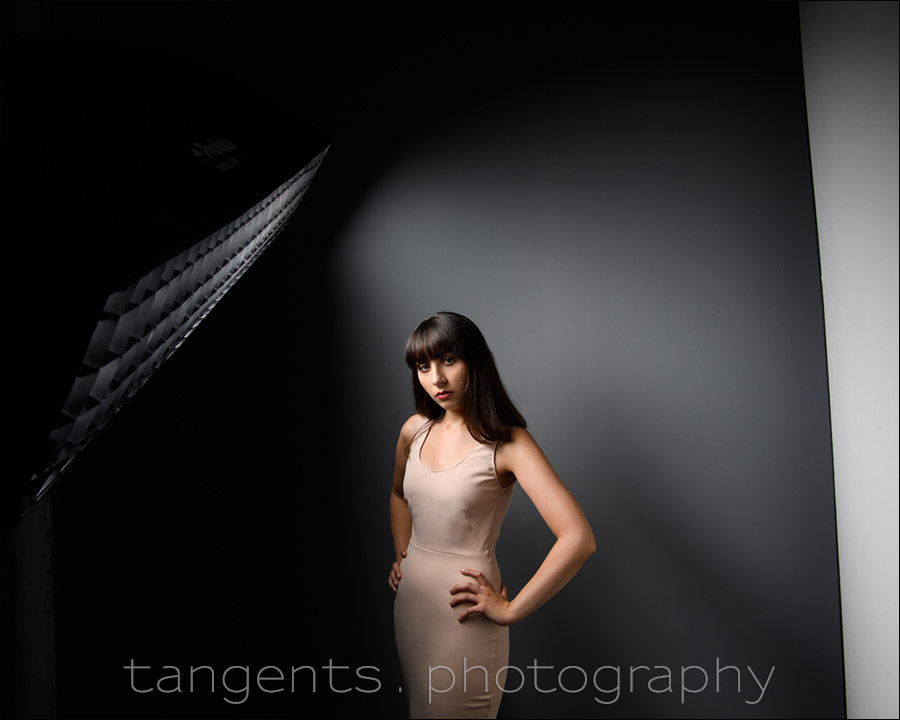
The light was from a single Profoto D1 studio flash (500 Ws) (B&H / Amazon), but the important part of the lighting setup here is the Profoto 1’x6’ gridded strip-box (B&H / Amazon). A gridded sjtripbox gives an interesting light on any subject – soft, but directional. Dramatic, but not too contrasty. Also, this long (gridded) softbox gives a unique light fall-off when used close to a wall. I love how I can scallop the light, and either have some of the light fall on the wall … or not. On the right-hand side you can see the white V-flat that was used to reflect some of the light back as fill light.
- 1/200 @ f/11 @ 160 ISO
- Nikon D810
- Nikon 24-70mm f/2.8E VR /equivalent Canon 24-70mm f/2.8L II
- Profoto D1 studio flash (500 Ws) (B&H / Amazon)
- Profoto 1’x6’ gridded strip-box (B&H / Amazon) with a Profoto 50 degree soft-grid
Related articles
- Image size & Resolution – 72dpi or 300dpi
- Using a gridded stripbox as the main light
- Headshot photographer NJ
I remember making this same explanation back in 2001 (or was it 2003?) when I was the “expert photographer” in the Digital Imaging Department of CompUSA (remember them?) in Holyoke, Massachusetts.
I had an entire handout created and printed out that I would give to customers explaining how “megapixel” was nothing more than the square area of a rectangle defined by pixels in height and width and was irrelevant to screen display as long as the dimensions remained the same and that pixels per inch related to final print size for a given image’s dimensions.
100x100px at 5,000ppi did NOT give a better printed image than 3000x3000px at 180ppi.
Adrian Feliciano
https://alphajulietfoxtrot.com
…funny one, Neil. Quantum measurements for the newbe.
I’ve always found it funny when asked to provide an image at 300dpi with no other measurement.
It’s like being told that their office is 50mph away.
Brilliant! I have come across several people who don’t understand this. Is the money rolling in yet? :)
Disappointingly, no takers yet.
I have a Canon EOS T100. I would like to email a photo of a drawing to a company that cuts rubber stamps of any image that is sent to the company. My camera takes photos with 72 DPI. The rubber stamp company requires 300 DPI image, in order to use it to cut the stamp. I don’t know how convert my 72 DPI images to 300 DPI on my camera. Are you able to advise me on what I can do to solve this dilemma? Thank you.
Nope, your camera doesn’t take photos as 72 DPI (or 300 DPI). If the client is requesting images as 300 DPI, they have no idea what they are asking … so just send them the high-resolution files without explanation. That should do it.
My Kodak C875 takes photos at 480 dpi. Another camera Samsung EX2F 72 dpi. The sensor of both apparatus is 1/1.8” in size. Only Kodak C875 is 8 mpx. Samsung EX2F is 12 mpx. In Kodak’s photos, the details are impressively clear accurate and bright, and samsung’s poor. So there’s a difference.
I still had a phone Nokia N82 , its photos are very bright, and with it sensor 1/2.5” 5 mpx and the photos are 300 dpi
Gerai — you would need to re-read the article carefully again. When the megapixel count is given, or the size of the image is given in pixel dimensions, the “dpi” value is irrelevant.