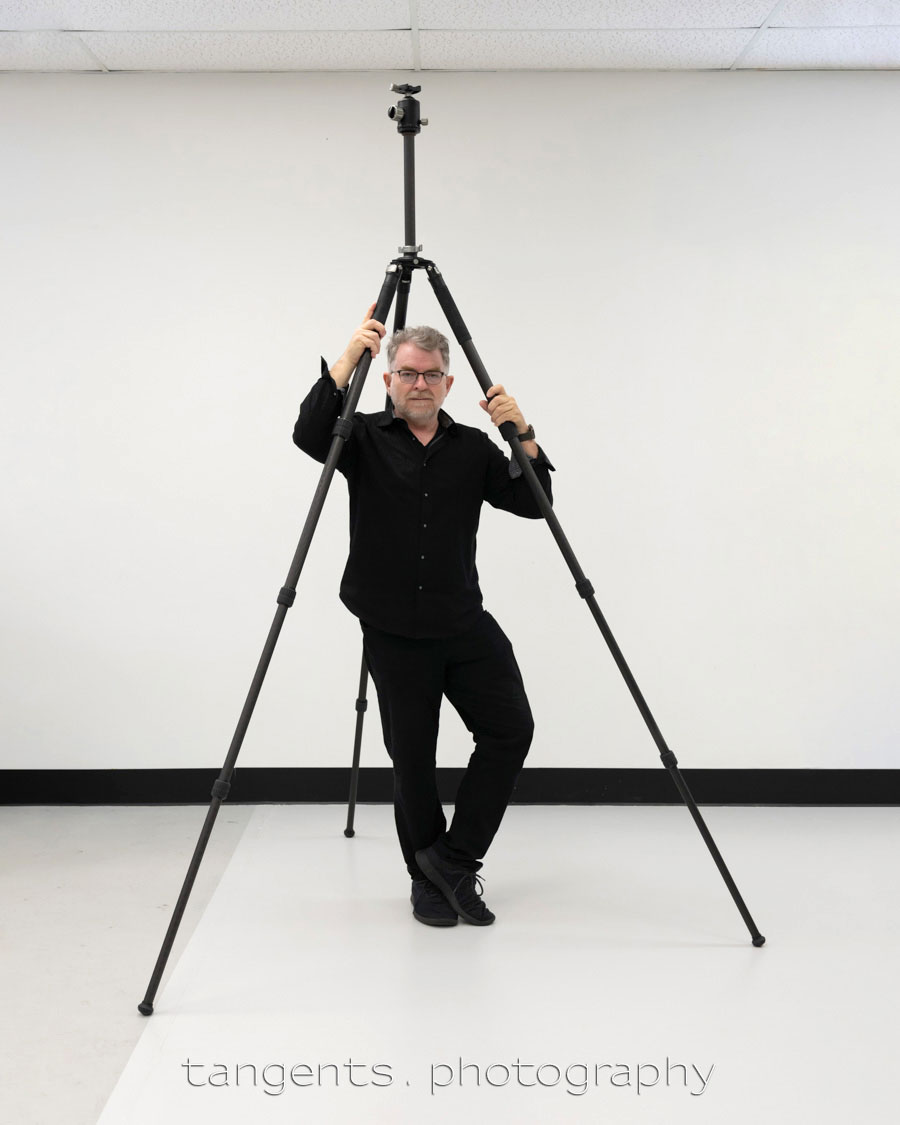
Photo gear you need : a tall tripod
We all started out with a light-weight tripod as our very first tripod. Most likely then after several uses, and budget allowing, you upgraded to a much sturdier tripod. If you’ve ever struggled with a light-weight tripod, you know exactly why. And then the occasion strikes where you realize at times you also need a really tall tripod. Then the options become fewer. It’s that intersect between affordable, robust, easy to carry … and really tall. Nothing else will suffice. For this kind of situation, I got the Robus RC-0888 carbon fiber tripod (B&H). Check out the specs as listed on B&H’s site.
This timelapse video shows what went into the taking of a big group photo on the day.
Portable studio lighting – all Profoto of course, a ladder, and a very tall tripod were part of the setup to make this photo work. We carefully positioned people in the frame, and since I shot (wirelessly) tethered to the laptop, the images could immediately be viewed by my client. I used the Camranger 2 for this. Shooting wirelessly tethered made it easier for my client to see the results, and then change people’s positioning and posing to make sure we get the photographs my client wanted.
I used the Sony A1 (B&H / Amazon) here for the very high resolution.
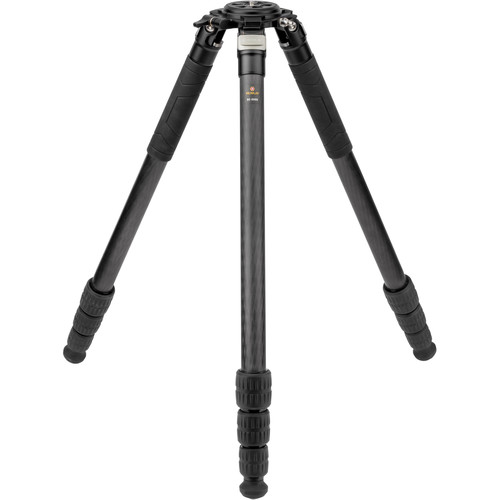
A really tall tripod – the Robus RC-0888
For a tripod that’s tall enough that I can stand under it when it is fully extended, the Robus RC-0888 carbon fiber tripod (B&H) is surprisingly light-weight and relatively compact. And yet, sturdy. Just what I needed for scenarios as shown in the timelapse clip above. Highly recommended.
As the basic ball-head for this tripod, I matched it with the Robus RTH-1050 tripod Ball Head (B&H). It has that similar feel of quality as the tripod.
Other accessories for this tripod
- Robus center column (B&H)
A ball-head camera mount for the tripod can be problematic if you are trying to make small adjustments in the Roll and Tilt of the camera’s position. The camera and lens can be too top-heavy and make adjustments awkward. For this, you need a leveler or leveling base of some kind.
- There is the Leofoto LB-75S leveling base (B&H) which works well, especially for video where you need your camera to be perfectly level.
- However, I prefer the Arca-Swiss Core75 Leveler (B&H) for these kinds of minor adjustments to the Roll and Tilt of the camera.
A boom arm for the tripod
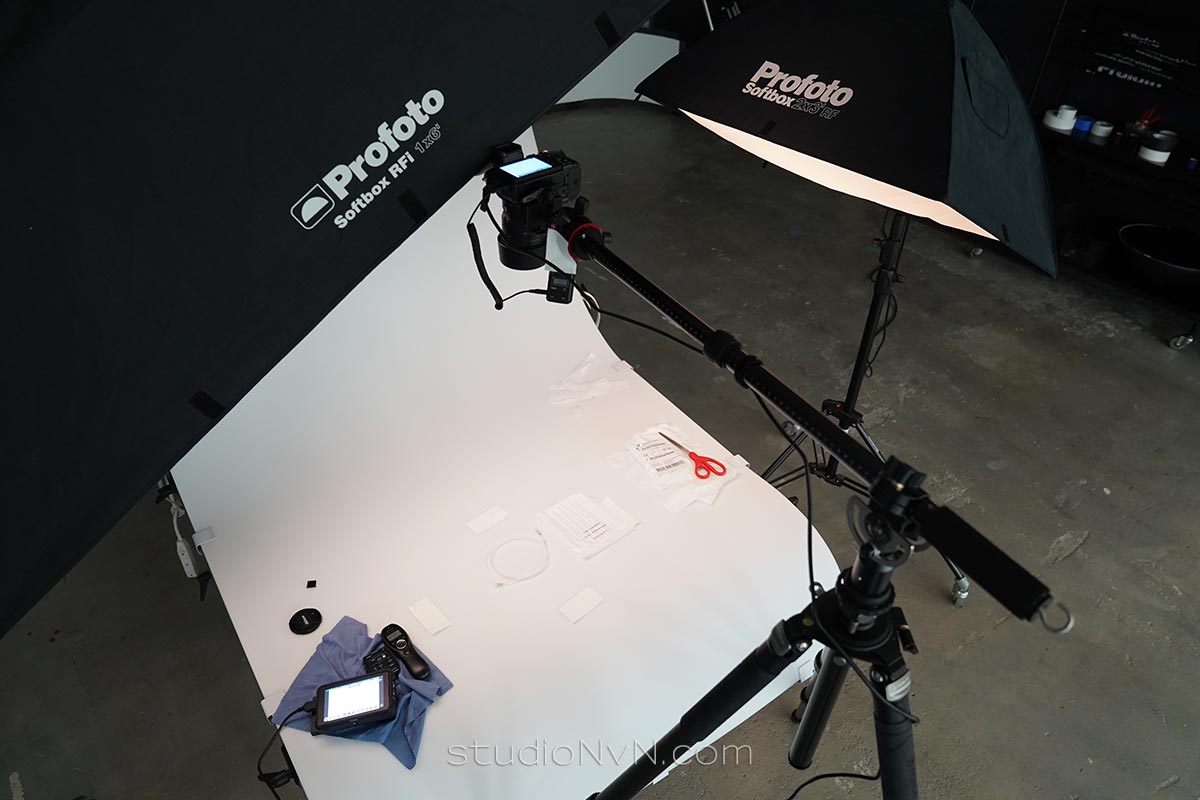
Another accessory for the tripod, in fact any tripod that you use in the studio, is some kind of boom arm to be attached to the top. I use the Sirui tripod boom arm (B&H).
This photo shows where it is used – to give an overhead view of something. In this case an item on the still life / product table. The boom arm allows the camera to have a fixed view from above. Usually perpendicular. It is also useful if you do copying work of art or documents.
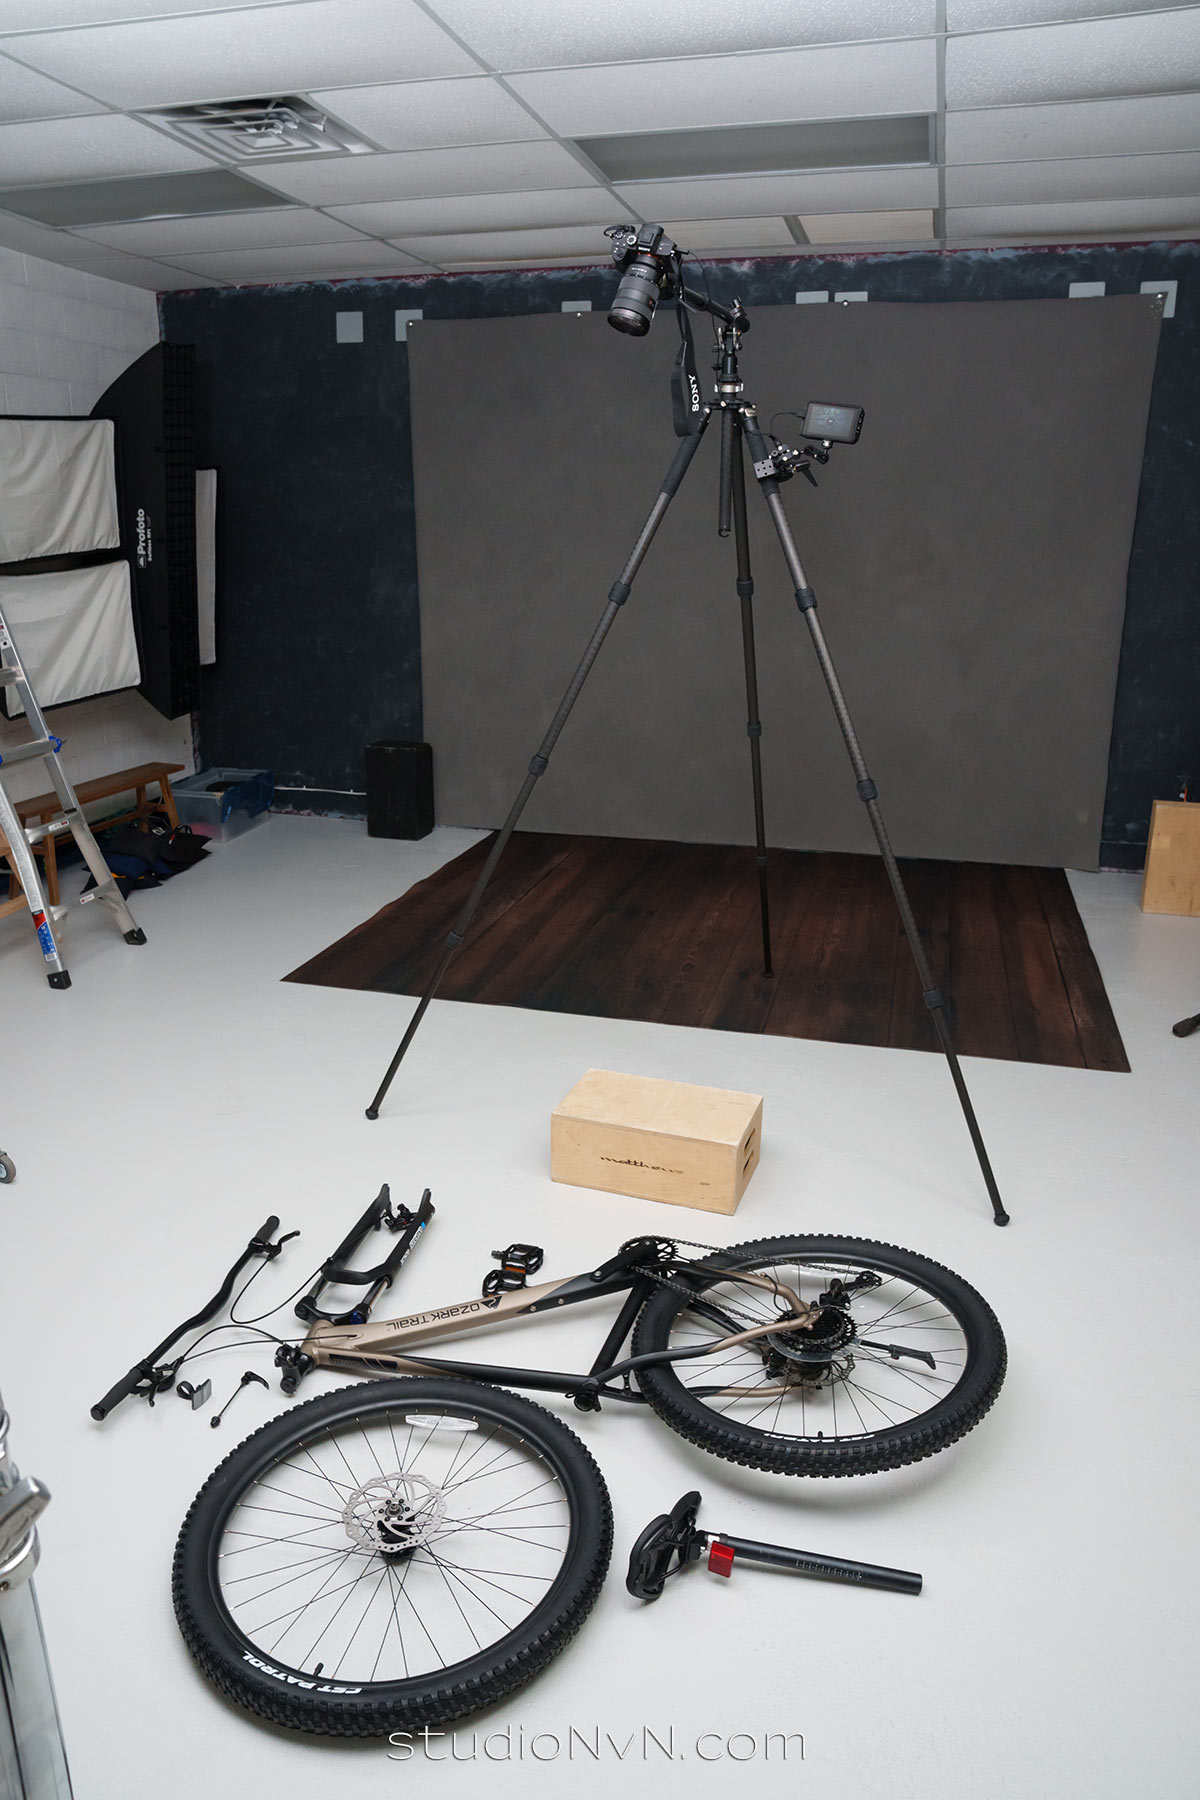
This client wanted an “exploded view” of the bicycle range he is selling in his store. We needed that high view from above that the tripod allows, as well as the boom arm to shoot from nearly vertically above.
More examples of using this very tall tripod
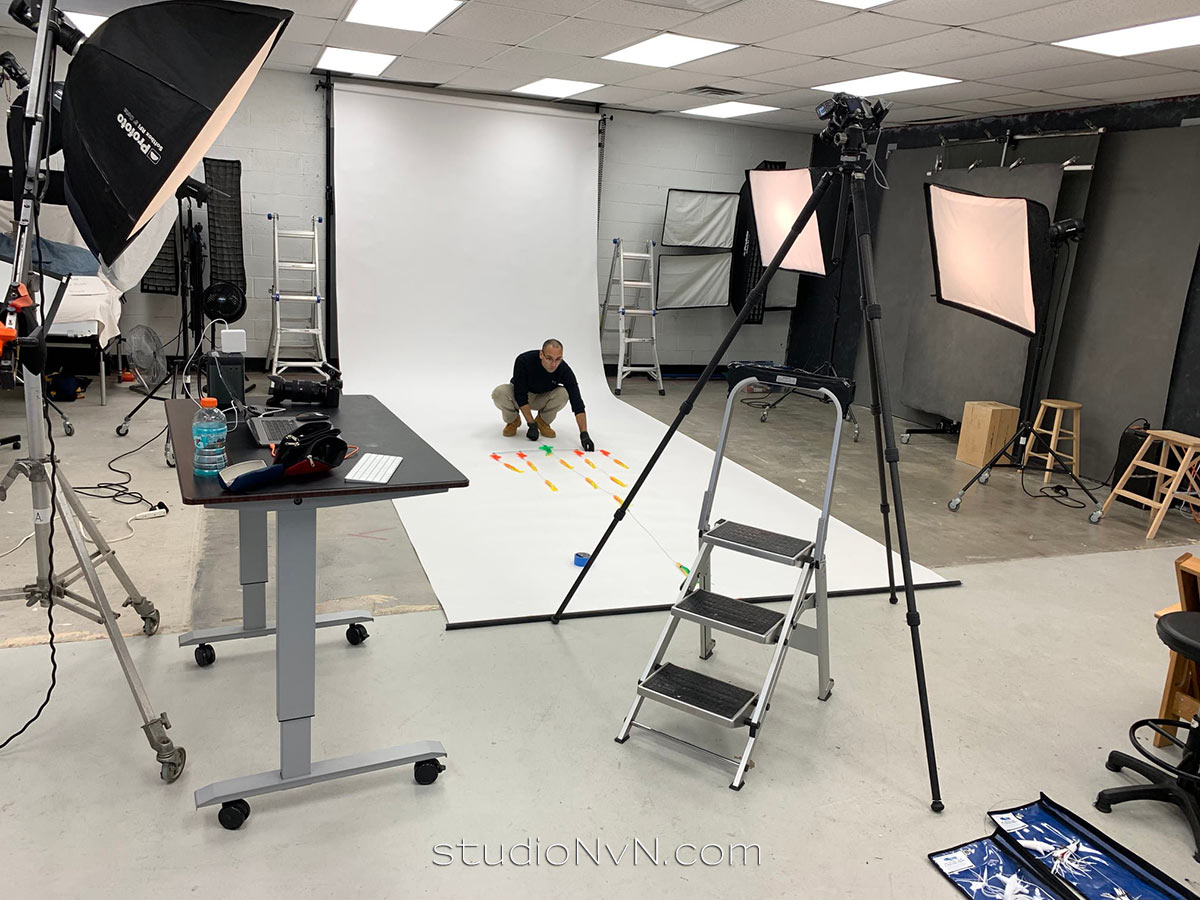
In the photo below, we needed an elevated view in the studio, photographing fishing lures spread out. A 35mm tilt-shift lens helped bring the forefront and back items sharply in focus without having to rely on really small apertures were diffraction becomes a problem, and you still don’t have enough depth-of-field. I find tilt-shift lenses to be invaluable for some kind of work.
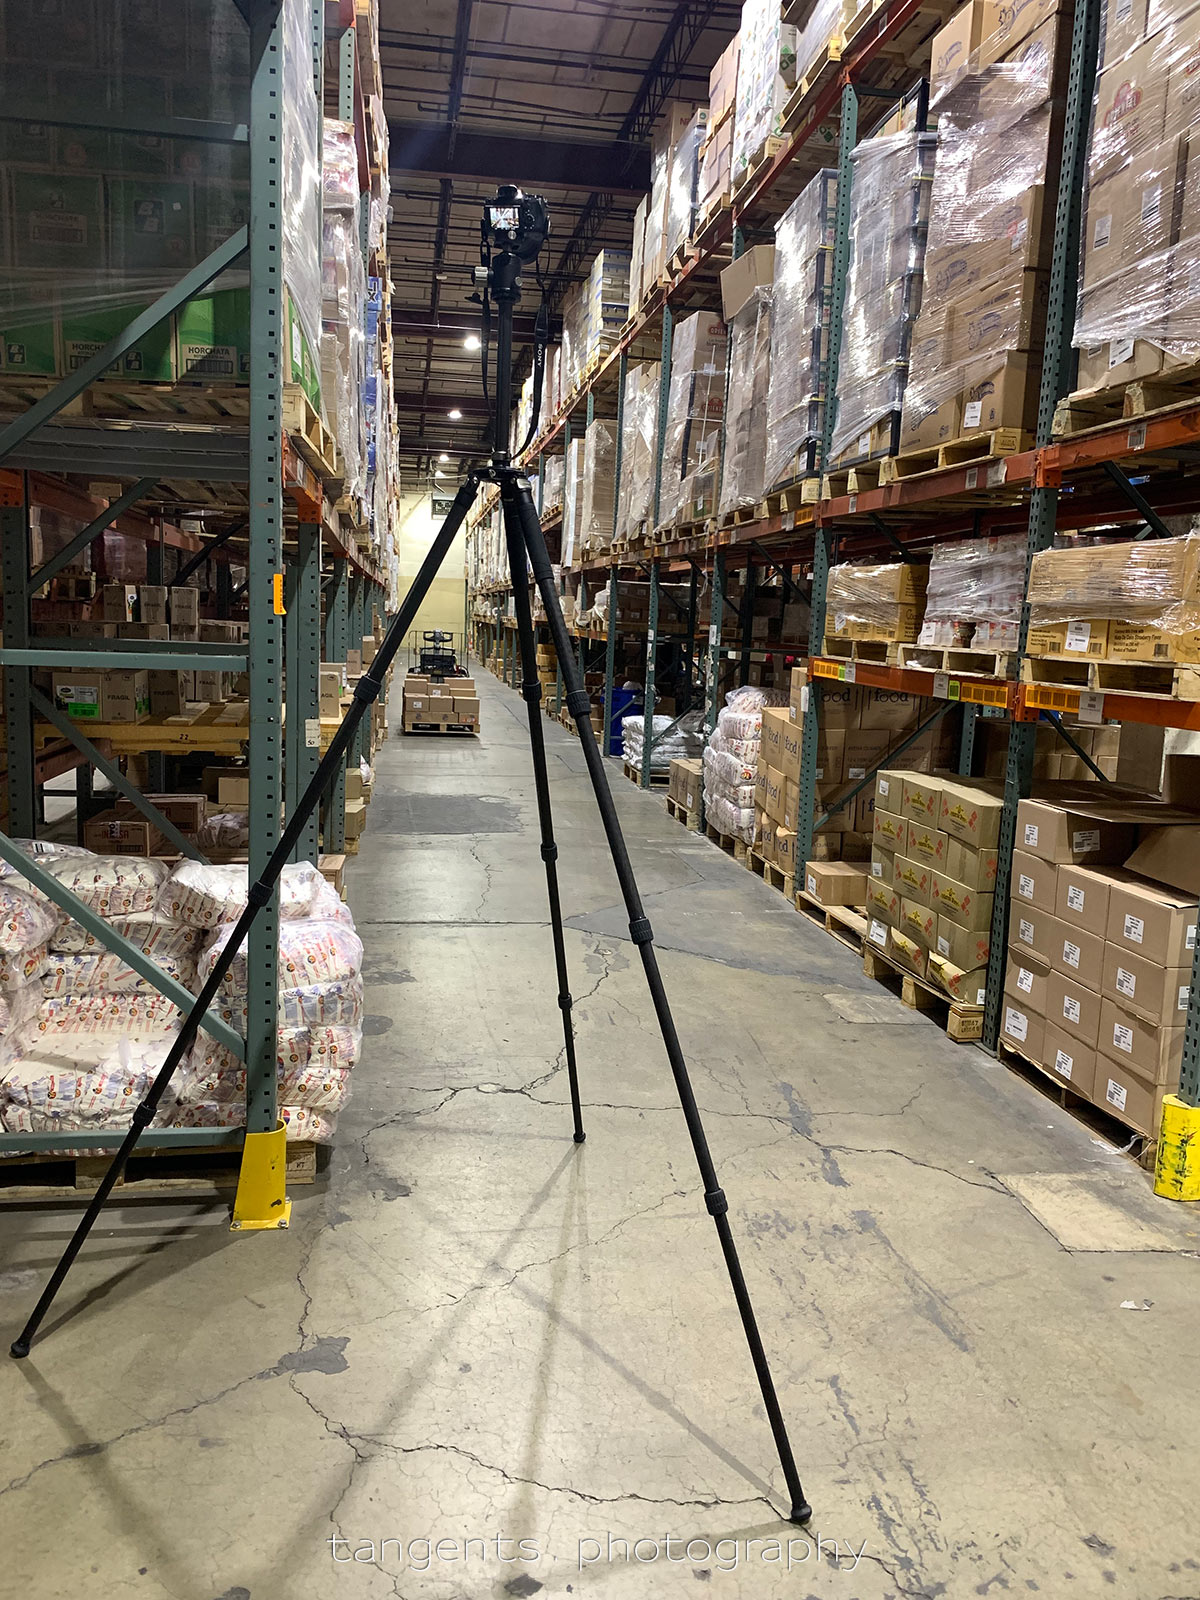
Tilt-shift lenses are also used to avoid perspective distortion – the kind of visual distortion that you see when you shoot upwards (or downwards) with a wide-angle lens. That kind of perspective distortion can be avoided by shooting with the camera leveled out horizontally (and vertically). But that also means you need an elevated view. In this image below, I had to photograph this warehouse. I did have a 17mm tilt-shift lens as well as a 24mm tilt-shift lens with me, but they need a more thoughtful and exact handling to give the best results.
The other option that worked well here, was to use that very tall tripod, and minimize how much the camera is tilted upwards – which minimized the amount of perspective correction needed to be applied to the RAW file in post-processing.
Yes, my first tripod was the cheap, flimsy job that really served no purpose at all. When, I later marched into a photography shop (here in Sydney) I was prepared to spend $100-$150 on a new tripod. I walked out with a Giottos carbon-fibre tripod with Manfrotto ball-head. My wallet was $500 lighter, but I’ve never regretted that investment as it has served me well and has met every requirement made of it.
I do have a simple, but lightweight GEEKOTO CT25Pro Craftsman 79″ Carbon Fiber Tripod for when I need some stability. But, this is a nice article to see situations where a very tall tripod would be warranted.
A good tripod is such a sound investment. My carbon fibre tripod has lasted many years and is still working fantastically. The ease of setup and pull down, the smoothness, the stability.
I’m old school on this one: the Manfrotto 3258 legs & the Manfrotto 405 Mini Gear Head. This combination is Everast Tall, requiring a Sherpa to carry it (it’s heavy as hell, but rock solid)! AND after close to 22 years of use, I’ve never felt the need to upgrade it. (Okay, I’d openly lust after a Manfrotto Carbon Fiber Version of my beloved 3258)
Wow, this tripod is a real colossus. Impressive!