
using video light for portraits
In reply to some questions on using video light for portraits, here are some images of Sasha, a model who brought an entirely appropriate sense of the dramatic to the photo session. With vintage clothing and hats, the video lights appeared a good choice for lighting.
For this session, I had an assistant who held up two Lowel ID-lights (affiliate), each with barn-doors to flag the light and stop light spill .. and in this way get a lot of control over the direction and placing of the light. The one light was used to light up our model, and the other light was to light up the background. We were standing out on the dark street in Brooklyn, and we needed the second light to create some interesting background. In this case the background was a brightly painted brick wall.
In explaining here how I use the video light, I also thought it pertinent to show some of my less successful images as examples of the progression in getting to images that have impact ..
Firstly though, in using video light for portraits my assistant who is holding up the light(s) need to be very aware of what I am trying to achieve, and what I am looking for .. so that any movement by the model is taken into account in how my assistant holds the light(s). What I am immediately looking at, is how my the shadow of my subject’s nose falls on his / her face. Now, this advice isn’t prescriptive, and there will certainly be numerous examples of very effective and dramatic lighting with video lights, that go against the following advice. But it is how I immediately approach lighting my subject with video light.
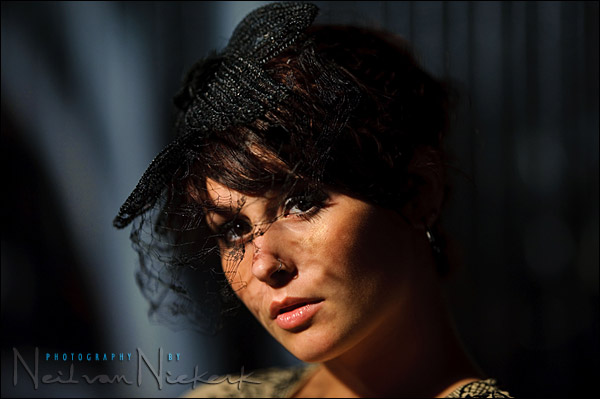
If you look at the shadow of her nose, it falls under her nose .. or in other images slightly below and next to her nose. This would be variations of ‘loop lighting’. If you search for the phrase on Google, there will be websites who explain this in depth.
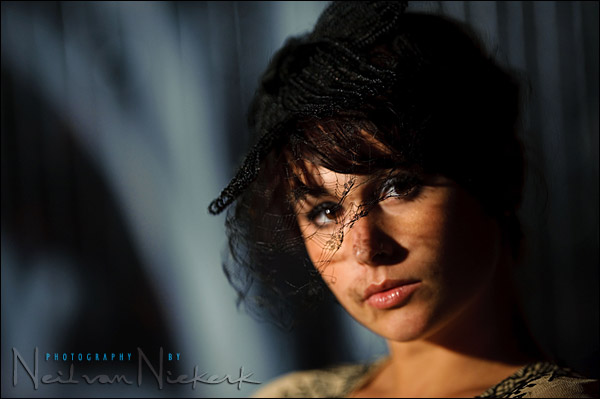
In this next image, you can see that the shadow of Sasha’s nose falls across her face in a way that makes for a less pleasing portrait. To compensate for this (if I really liked the background and her expression and pose), would be to ask my assistant to move the light more directly onto her instead of off to the side.
Another problem appears in the next image – the light comes in at too steep an angle from above, creating a shadow under her brow which I didn’t like. The same way to correct this would be to ask her to lift her head slightly, or to ask my assistant to drop the video light slightly in position.
So these are the simple guidelines that I start off with in using video lights for portraits – I look at the lighting pattern on my subjects face by looking at the shadow of my subject’s nose. And then also how the other shadows fall on my subject’s features. In these two examples, I also don’t like the way her head melts into the shadows in the background. Ideally, there would be some light there to isolate her from the background.
So there it is .. a simple method as a starting point for dramatic portraits with video lights.

- other articles on using video lights for photography
Clear simple guidance with great examples. Thank you for such for this valuable information.
<>
Neil, thanks for the post. Could you explain though why you decided to go with video light in this instance, as opposed to off-camera flash?
Thanks!
Neil
A very interesting effect it has a hard light look top and bottom and a soft look side to side. Looking at picture 1 and 4.
in 1 the shadow from her hair and chin are hard light and face and arms have a sofft light.
A very pretty model and great pictures
John
I love my video light!!!!!!!!!!!!!!!!!! glad to see how you rock it out!!!!!!!!!!!!
Great article on using video lights in this situation.
One question: How low does the ambient light level have to be before video light is effective?