
Dance photography – studio lighting setup
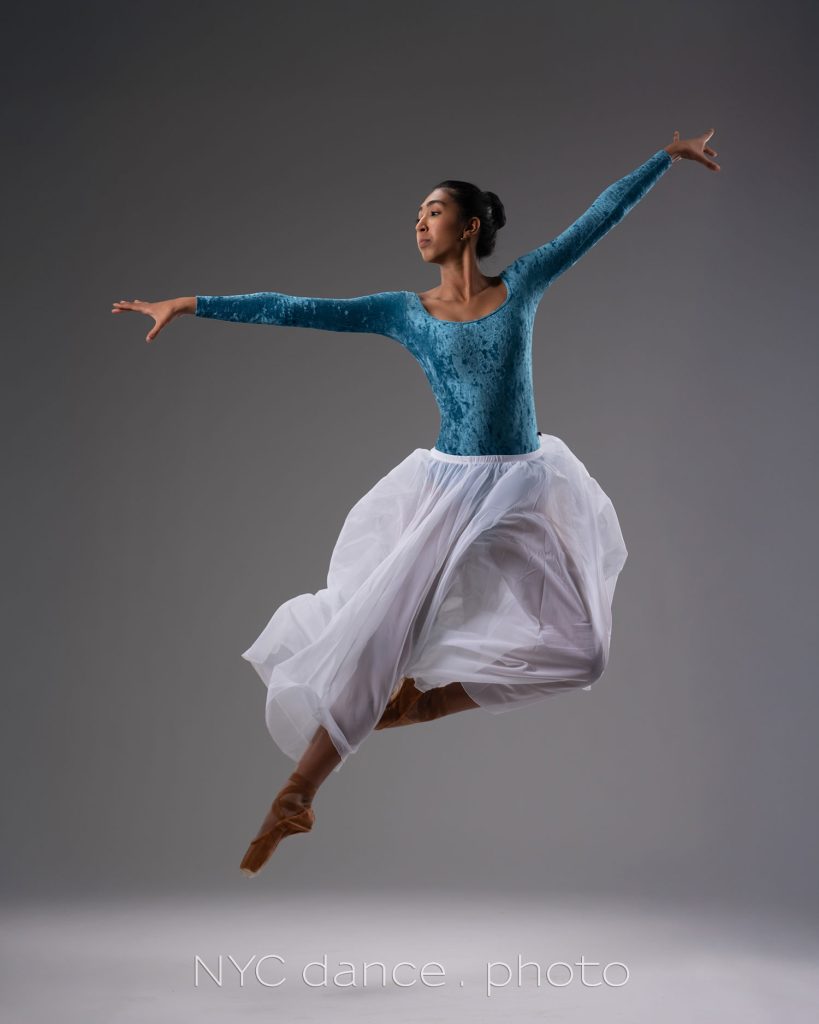
Dance photography - studio lighting setup
Before we even start discussing this specific studio lighting setup, I might need to quality if by saying this is but one lighting setup of many, many possibilities. The consistent idea behind this (and other lighting setups), is that the lighting should be dynamic -- and have that interplay between light and shade that really flatters the dancer, and enhances the mood of what you are trying to capture as the photographer. Ideally you don't want your lighting to be flat - for me, there has to be at least a little bit of drama to the Read more inside...Review: Canon RF 24-105mm f2.8 L IS lens
?
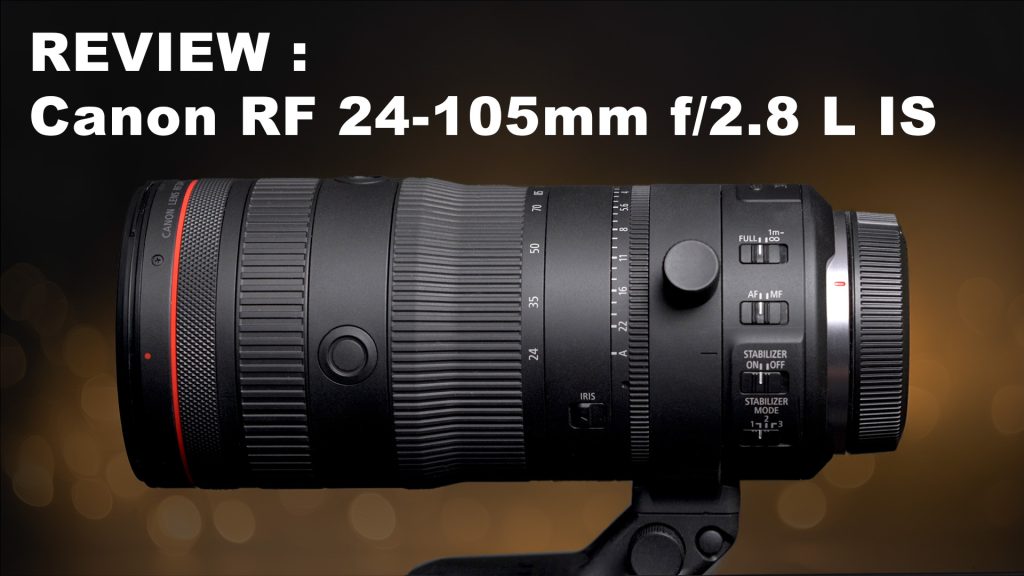
Review: Canon RF 24-105mm f2.8 L IS lens
For me, 24mm-105mm is a perfect general range for so much of photography, whether you photograph corporate events, weddings and headshots. That 105mm focal length is perfect for portraits! Lenses with this range is pretty standard for every brand as an f/4 option ... but with events, we are often working in low light ... and that faster f/2.8 becomes somewhat of a necessity. Now that Sony has its own superb version of the modern legend by Canon - the 28-70mm f/2 lens -- here's another lens that I think Sony needs to have in its line-up Read more inside...Off-camera lighting – continuous light or flash?
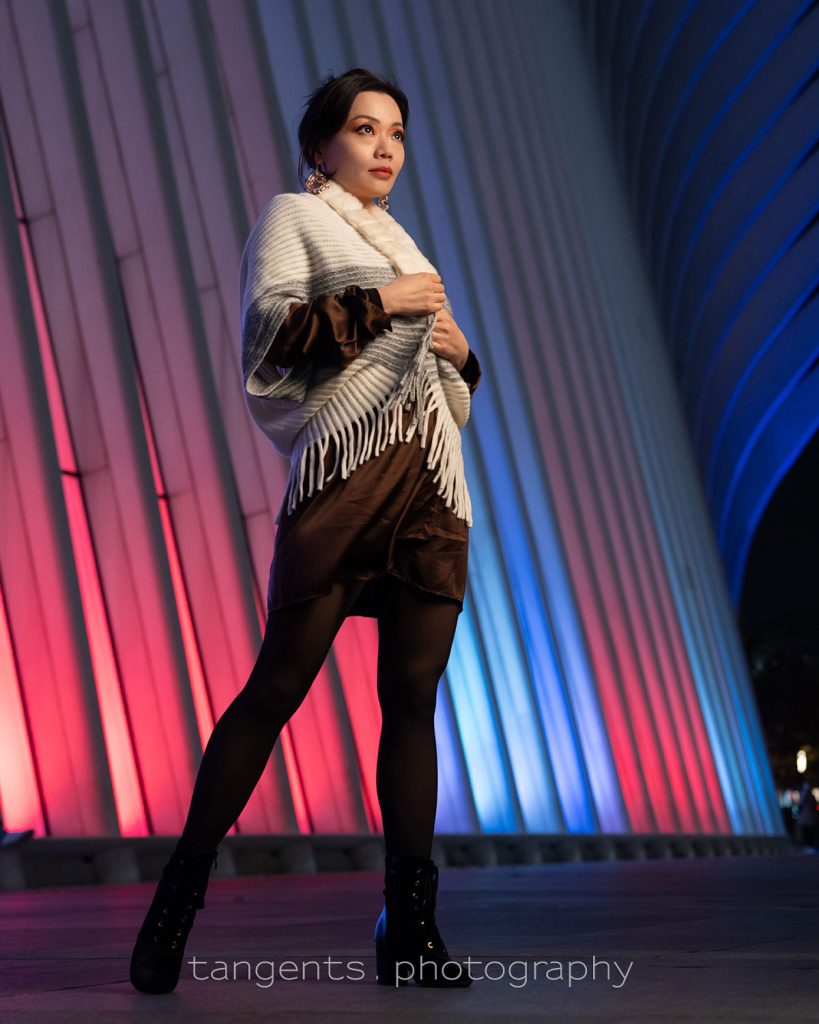
Off-camera lighting - continuous light or flash?
When we think of off-camera lighting, we usually immediately think of off-camera flash. But there is another option: off-camera continuous lighting. One main advantage that continuous light for portraits has over flash is the WYWIG aspect - what you see is what you get. It is easier and faster to position the light to better effect for your portraits. This of course is only viable when working in relatively low light. In brighter light, you'd obviously be better of using proper flash photography. With a photo session in New Read more inside...How to dramatically change your studio lighting with a gridded stripbox
How to dramatically change your studio lighting with a gridded stripbox
I have posted before about one of my most favorite light modifiers in the studio - a gridded Profoto 1’x6’ strip-box (B&H / Amazon). It is a surprisingly adaptable light source in how you can swivel it and tilt it and rotate it. This tall stripbox gives a soft light, but highly directional. Once you realize you don't have to use stripboxes in a strict vertical position, a lot of options open up. For example: Using a gridded stripbox as the main light (model: Claudia) Profoto: Read more inside...Detail photographs with controlled on-camera bounce flash
Detail photographs with controlled on-camera bounce flash
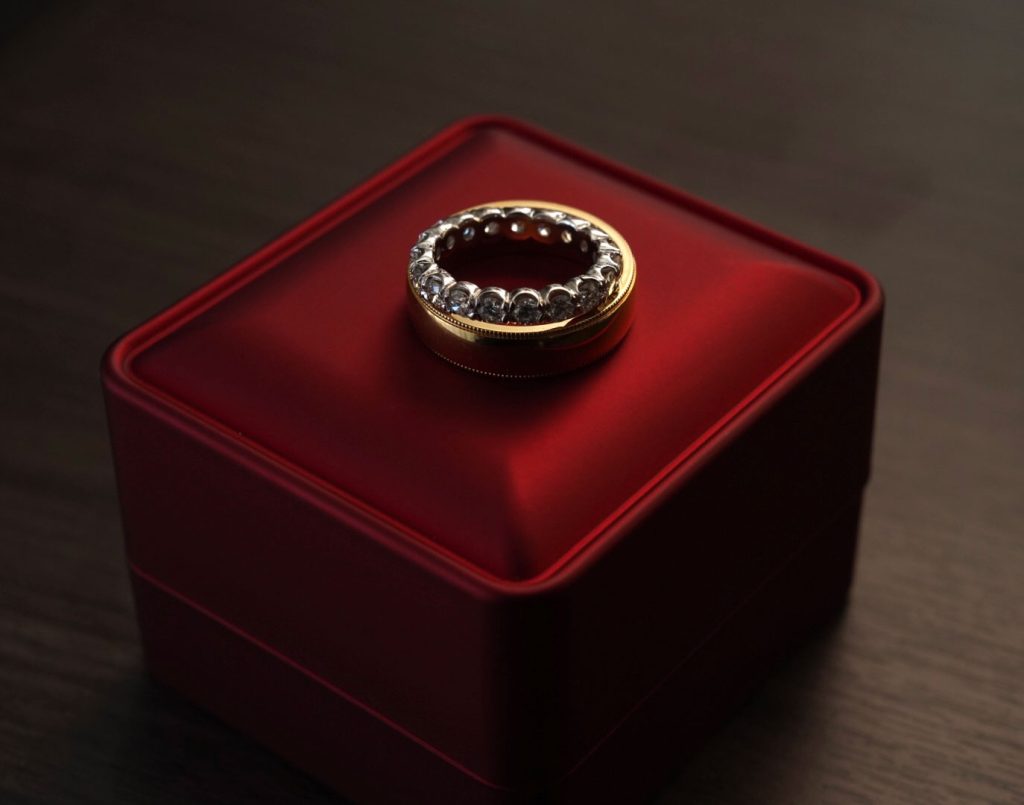
A detail photo from a recent wedding — a fairly uncomplicated ring shot. This is straight out camera, sent directly to my phone. No manipulation or editing at all, except for a mild crop to center the image. The light on this ring is entirely on-camera bounce flash, using the Black Foamie Thing. This on-camera flash modifier acts as a flag, and allows me to better control the direction of the light from my bounce flash. I want to bounce my flash into the direction that I wanted the light to come from. That is one of my key Read more inside...On-camera bounce flash for beautiful portrait light
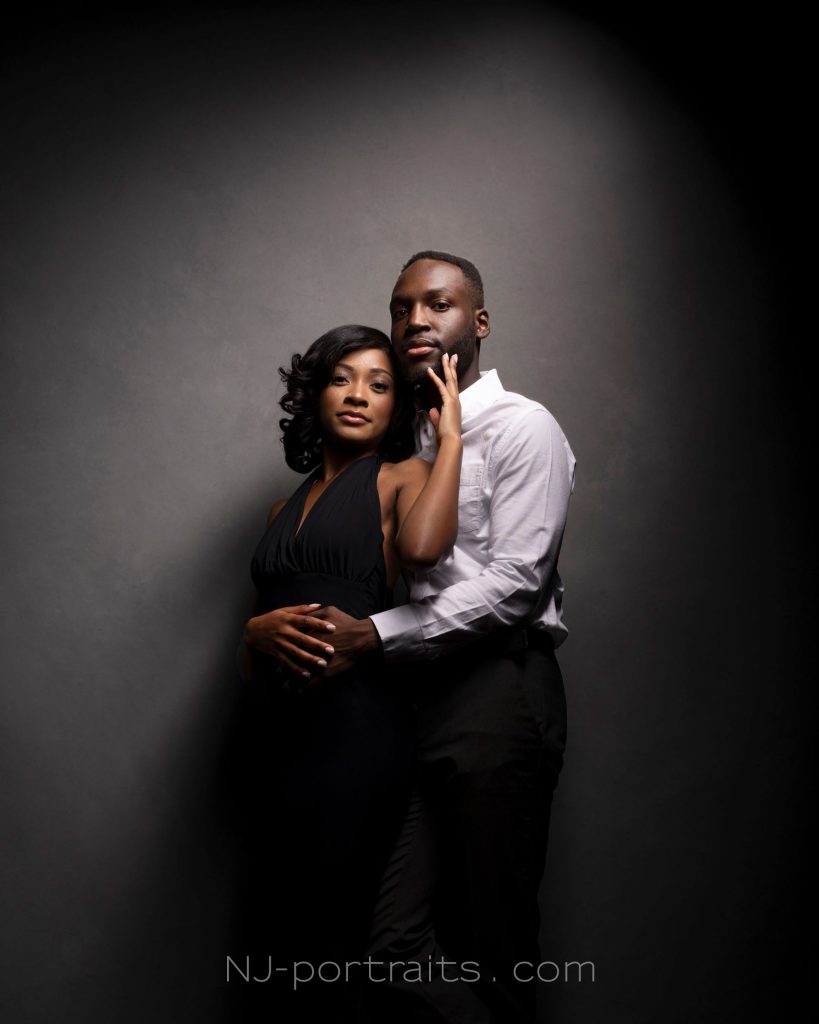
On-camera bounce flash for beautiful portrait light
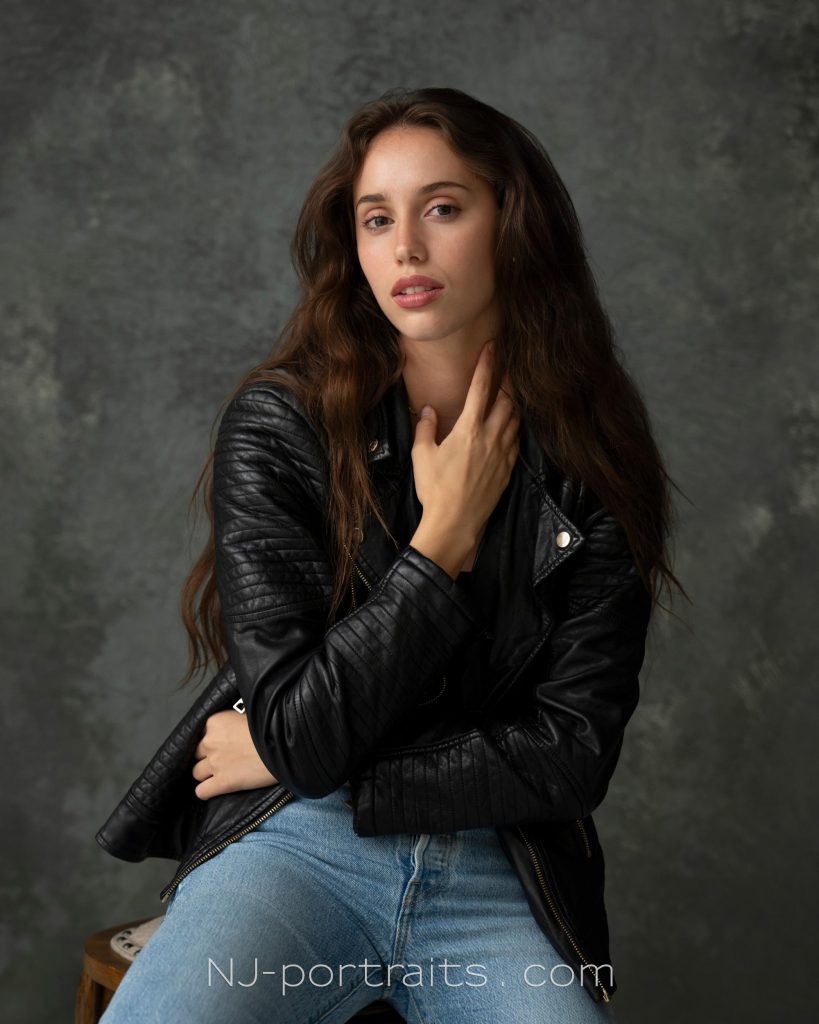
Here are several portraits of a model, Koko, taken during a workshop in my studio last week. She was phenomenal with her posing. Just on all the time. I will post her IG account lower down. The lighting -- notice how soft and even it is, but with a gradual contrast to the one side of her face. No hard flash shadow. Just big, soft, directional light in the studio. All achieved with on-camera bounce flash. Just the one light. No Fong Dong! No MagMod boob! No Rogue Flash bender! Seriously calm down with that unnecessary stuff. You Read more inside...Camera & flash settings : high-speed flash sync & off-camera lighting

Camera and flash settings : high-speed flash sync & off-camera lighting
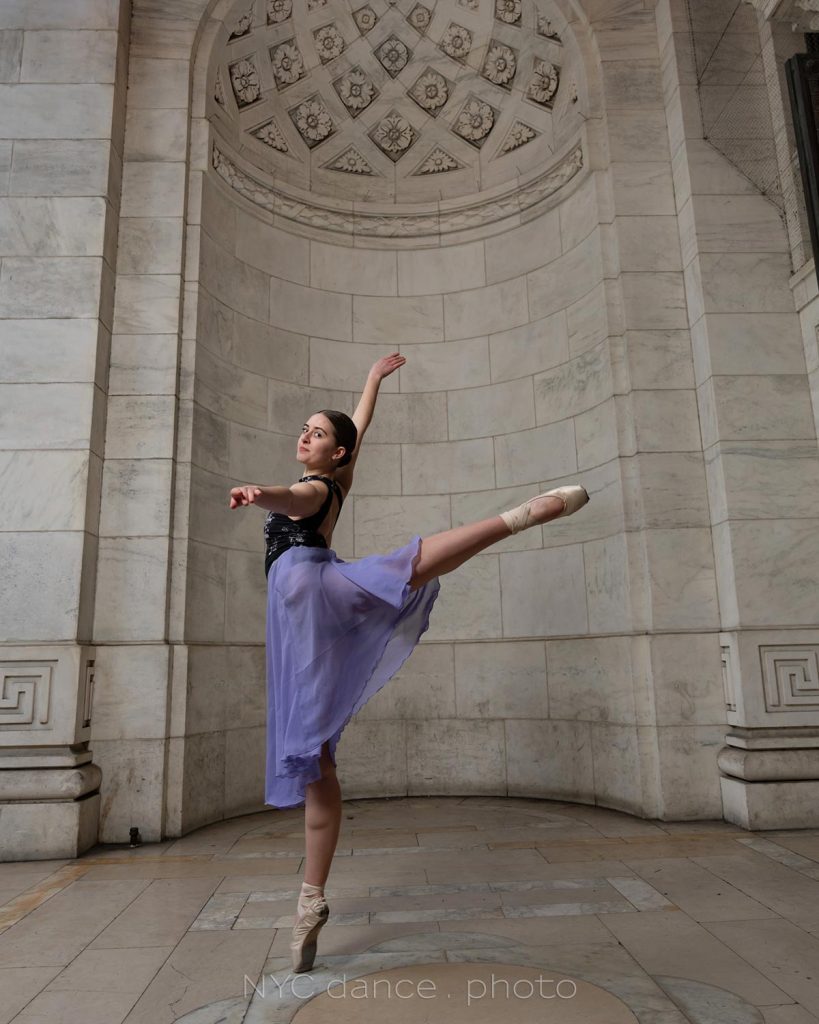
I recently had the pleasure of photographing a remarkable young dancer from Slovakia, Sara Sobolova, who was visiting New York on a 2-week long training event for ballet dancers. Her mom arranged for a photo session in New York since this is her first time here, and because, let's face it, New York is a big deal! This is one of my favorite images from the sequences we shot in various spots in Manhattan and Brooklyn. Below is the pullback shot to show the lighting -- a Profoto B10X flash Read more inside...Dramatic and dynamic lighting for group photos

Dramatic and dynamic lighting for group photos
This group photo appeared as part of a sequence of images, for a story on the CEO for a financial magazine. The group photo was a composite of a number of photos of the individuals. For a first attempt though, I took a safe shot first of the group with two Profoto B1 flashes bounced into the hallways behind me (photo shown below) … but it kinda looked dull in comparison to the final collage image which the client much more preferred. For this collage / composite photo, I had my assistant light each person individually with a Profoto Read more inside...Compact, portable off-camera lighting : Profoto A2 flash
Compact, portable off-camera lighting : Profoto A2 flash & Clic softbox
Very often when I use off-camera lighting on location, I'm not among for dramatic lighting, but rather using the off-camera lighting to enhance the existing light. I want to get a cleaner, slightly more punchy look - but one where the use of flash might not be that immediately obvious. To this end, I love using light-weight portable off-camera lighting. Something compact that is easy to carry, and easy for my assistant to hold up. When working in Manhattan, the use of a light-stand might get you in trouble in Read more inside...- 1
- 2
- 3
- …
- 103
- Next Page »