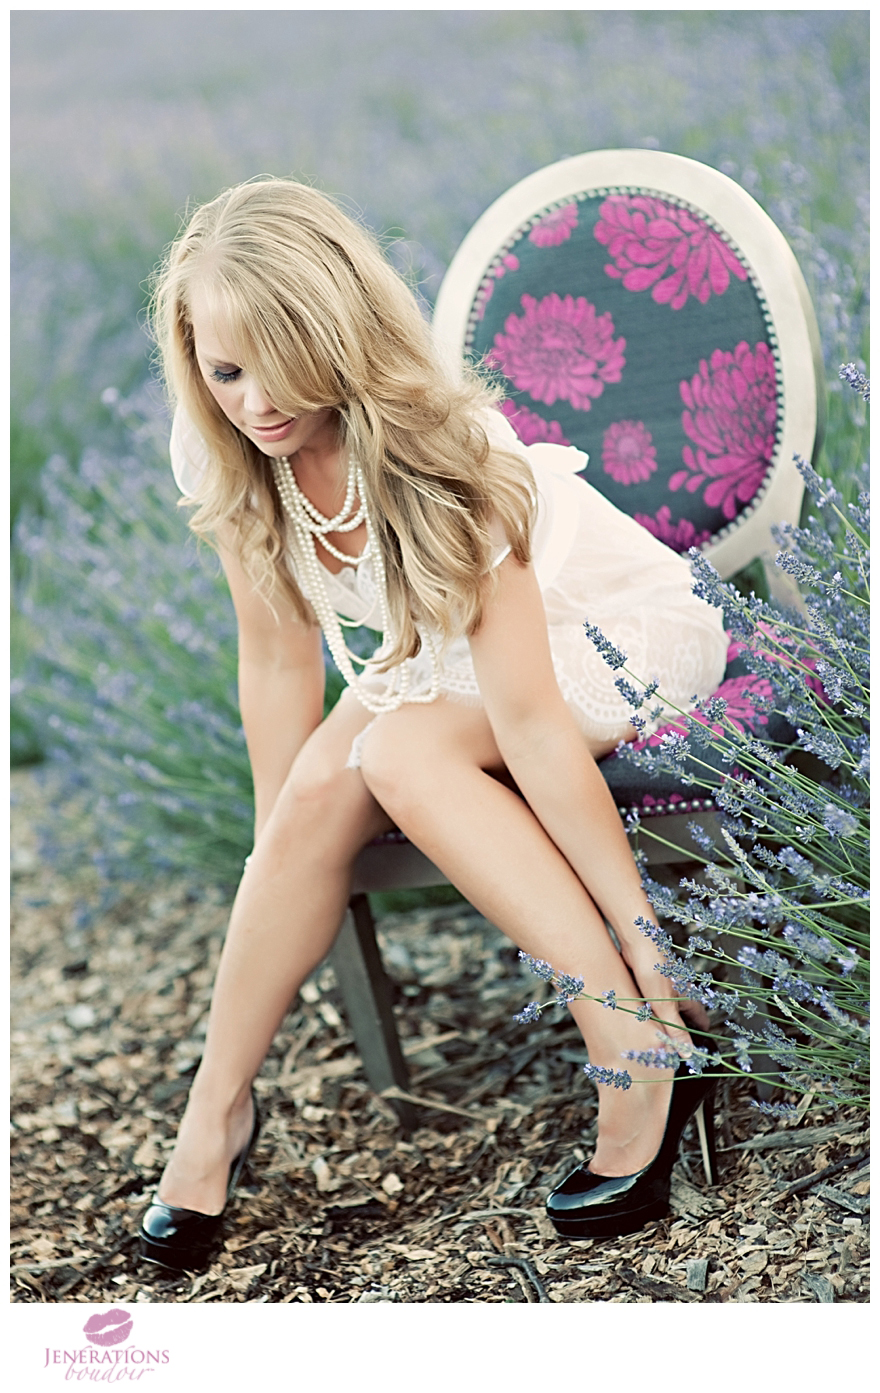
Jennifer Rozenbaum of Jenerations Boudoir, is a New York boudoir photographer who is fast rising in prominence. She was featured in a recent interview on Good Morning America with their insert on boudoir photography for Valentine’s Day. For a Tangents guest post, Jennifer kindly sent in a few tips on how we can improve our boudoir photography.
3 Tips to improve your boudoir photography
by Jennifer Rozenbaum, New York boudoir photographer
“WOW! I can’t believe that is me…I AM hot!” This is always the reaction that I aim for when a client first sees their boudoir images, and thankfully it is usually the reaction I get.
Getting a reaction like this one isn’t easy. It takes planning and a lot of thought. What do I do to ensure this reaction? There are three main areas of consideration that I always address before pressing the shutter.
1. Pose
The way you pose a woman can easily accentuate her “goods” and minimize her “not so goods”. Seems simple, right? Well it is….kind of. See, every woman is built differently. They have different shapes, they are different sizes, and of course what they are wearing plays into the equation as well. So how do you know what pose will flatter the woman standing in front of you?
My best advice for this is to PRACTICE! Even if you are a guy – practice posing in a mirror. See what happens to your body when you put your weight on one side of your body – then shift it to the other. Does your body look different? What happens when you turn your shoulders, or arch your back?
Once you are sick of looking at yourself in the mirror, it’s time to practice on real women. Ask them to make those same adjustments and see how it works on their bodies. See how it looks in camera and make adjustments from there. I do this with every single client. You can’t guess what will look good – you have to see it to believe it.
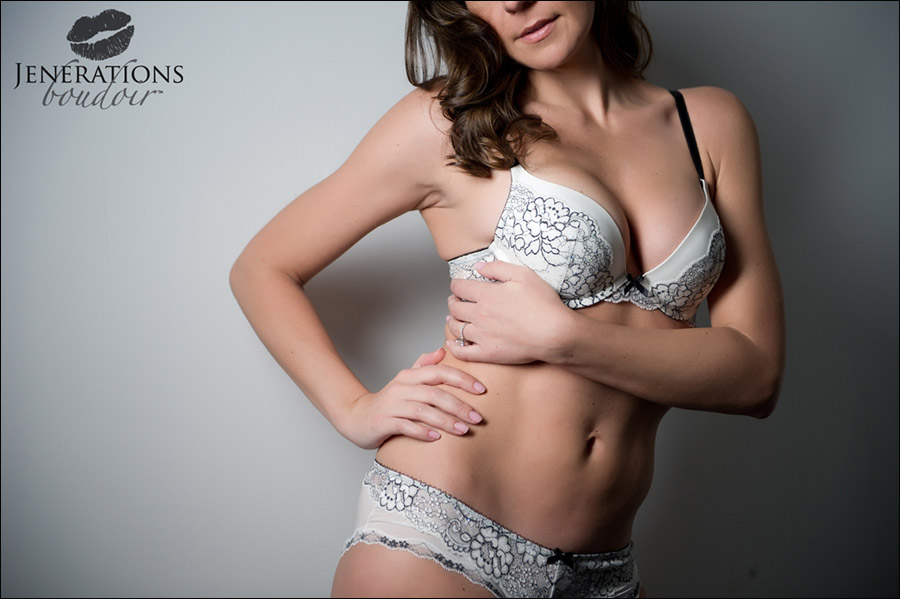
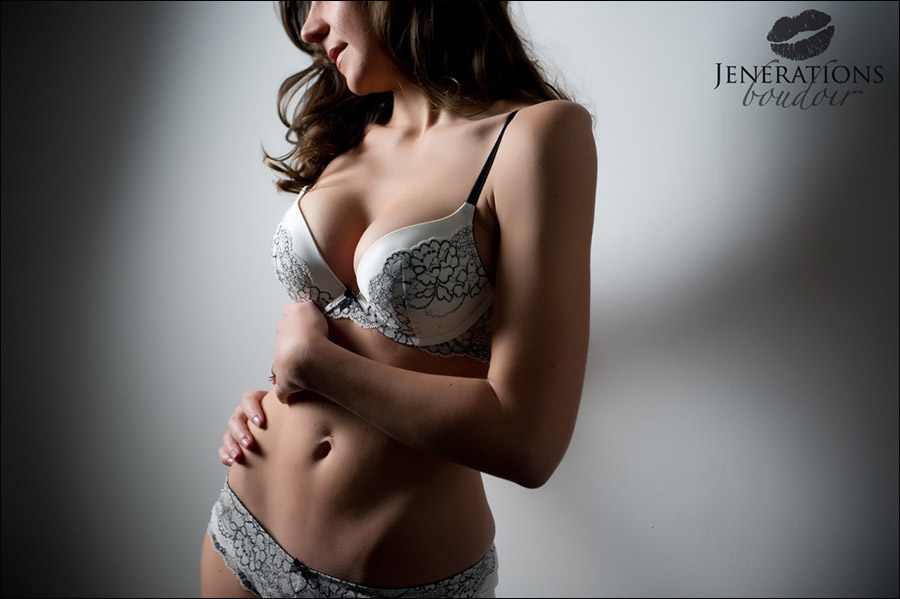
In the photos here you can see how my position with the camera, in relation to the client’s pose and the light, affects the entire way the image looks. In photo #1, my clients hip is pushed toward the camera. This makes her look much larger than she really is. In photo #2, she is in the exact same pose – but I moved around to the other side of her body and immediately I could see it was much more flattering from that side. Her hips looks smaller, her waist looks tiny, and her shoulders not as broad.
2. Light
This might seem like an obvious one, after all we are photographers…and what is photography without light? But consider this…how AWARE are you of the light? Have you tried to move your client around to see how the light will hit her (especially in natural light). Have YOU moved around your client to see how the light looks in different directions? I so often see photographers just snapping away without really observing. Make smarter lighting decisions.
In the sample photos, I am using one Alien Bee and a Strip Softbox on the left hand side. When I shoot from the same side as the light, you can see how the light is really not accentuating her “goods”. Let’s face it, she has a beautiful body and she certainly doesn’t look awful – but when I move to the other side of her (again same pose in photo #2) – look at how the light is skimming her stomach, showing off the definition she works so hard for. Her breasts also benefit from this light. Notice how much fuller and rounder they look in photo #2. All of these changes were simply made by me taking 4 steps to the right.
3. Camera angle
This is such a tricky one. So many photographers seem to offer the advice “shoot down”, especially on curvier girls. Break out your step stool and shoot from 2 feet over her head. I cringe when I read this and then cringe more when I view all the photos of curvy women with stumpy legs. Please be careful with this one. Chose you camera angle carefully. It can make a difference. Photo #1 was shot at a little bit of a lower angle than photo #2. Here it is more flattering to shoot on level with the client making sure her proportions are correct. The most important thing to keep in mind is to not only move around your subject, but up and down as well.
All the advice I have given you today is fairly simple to implement, doesn’t cost a dime and will kick up your images 100 notches. It takes a little time, so don’t rush through your sessions. I used to worry that if I wasn’t pressing the shutter at every moment, then the client would think I was a novice. Well, that’s because I was a novice! Now that I have a lot more experience, I take my time. If a client questions it, I simply say “I am just looking at how beautifully the light is hitting you and making some decisions”. We are not only working when we are pressing the shutter. In fact, that’s the easy part!
– Jennifer Rozenbaum
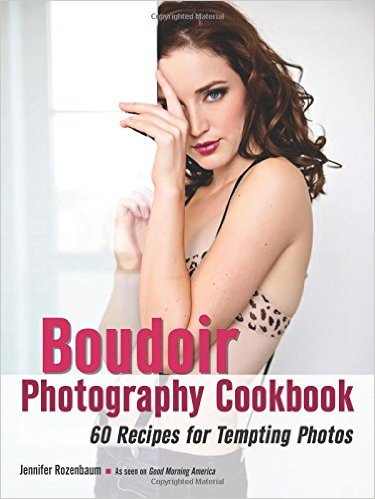
Boudoir Photography Cookbook
Boudoir Photography Cookbook: In 60 easily digestible sections, (aka the recipes), Jen Rozenbaum presents essential skills that will help you with boudoir photography. Of course I am a little biased when it comes to this book – Anelisa is on the cover.
While Jennifer covers lighting, wardrobe, and other aspects of boudoir photography, the core of those book focuses on posing. The book has a targeted look at various posing strategies that will really enhance your subject.
You can order it through Amazon USA or Amazon UK.
Related articles
- Lighting for boudoir photo sessions
- More articles about boudoir photography
Thanks for info (=
Very nice article. Thanks for sharing both words of advice and the photos.
Great article Jennifer, and the photos you chose to illustrate your point are perfect. Not only is the light on her body more flattering but the background is so much more interesting in photo 2. You’ve inspired me!
Thank you! What useful information. You make it look so easy and we know that it is not. While both photos are beautiful the difference in #2 is striking. Beautiful lighting.
Thanks for the info.
Patty
Beautiful work… beautiful woman! I’m curious as to the lens that you used for these shots, and the lenses that you normally like to use for your boudoir. Thanks.
Lovely work. I’ll take the advice give and apply it. One quick question….what modifier was using with the AB400?
Great! I would love to learn more from Jennifer!
Wow, it is the great article and advice.. But why light comes before camera angle??