lighting for boudoir photo sessions
The one type of photo session where I work the most at getting my lighting just right, is with a boudoir session. These intimate photo sessions can be quite a challenge since you have to get a variety of looks in a short time. For this you have to not only concentrate on posing and angles, but also concentrate on the lighting. On top of that, you have to make sure your model or client is comfortable and relaxed at all times. The session has to be fun and really show her off at her best.
I bring a variety of lighting equipment to these shoots – speedlights to be used on camera,
and as a softbox setup. I also favour video lights.
But I keep the equipment portable and compact and easy to set up .. which means that I mostly use available light where I can. By closely looking at the direction of the various light sources in a room, I can position my subject in relation to the light (eg, a window), or simply move the light source if it is a bedside table lamp.
With the light levels fairly low indoors, this necessitates fast optics and high-ISO capable cameras. The style that I prefer is sensual and romantic. Sexy without being overly sexual. With boudoir photography, I feel that a ‘hint’ works better than being more direct. But styles and tastes vary of course.

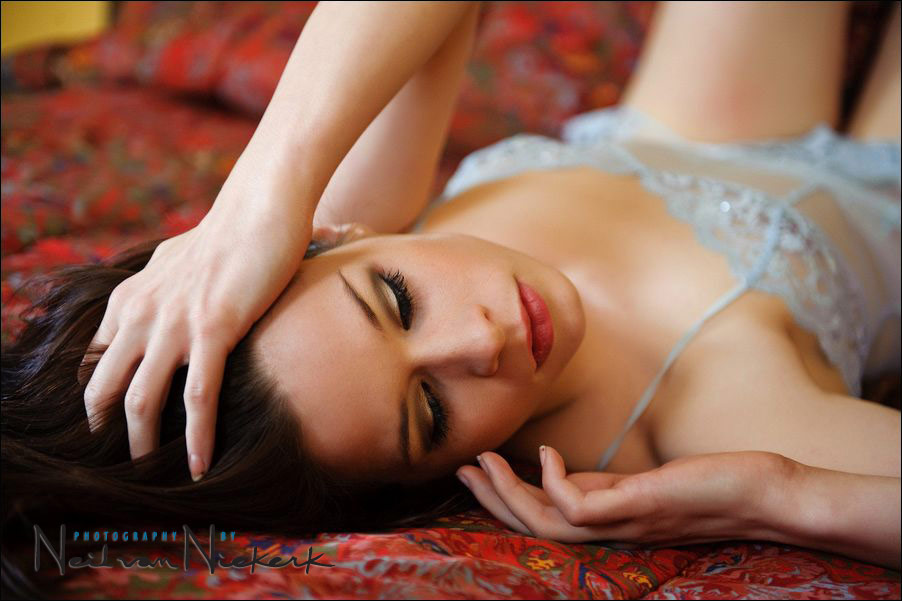
1/30 @ f2.8 @ 1600 ISO
Nikon D3
lens: Nikon 24-70mm f2.8G AF-S (Amazon) / Canon 24-70mm f/2.8L II (Amazon)
Looking again at this image – it is a typical example of where I used the soft light coming through the window as the main light source. I didn’t add any light to this. The window light was soft, and it was the dominant light source from this viewpoint. Easy to use. Now I could concentrate on directing the flow of her movement.
The image above was shot ‘with’ the direction of light, giving even light on her. It is also good to break it up a bit and shoot ‘against’ a light source, or at an angle to a main light source …
In this case I positioned her so that the bedside table lamp gave a beautiful rim lighting on her. Her reflection is lit up directly, but from my point of view, I get a more dramatic light.
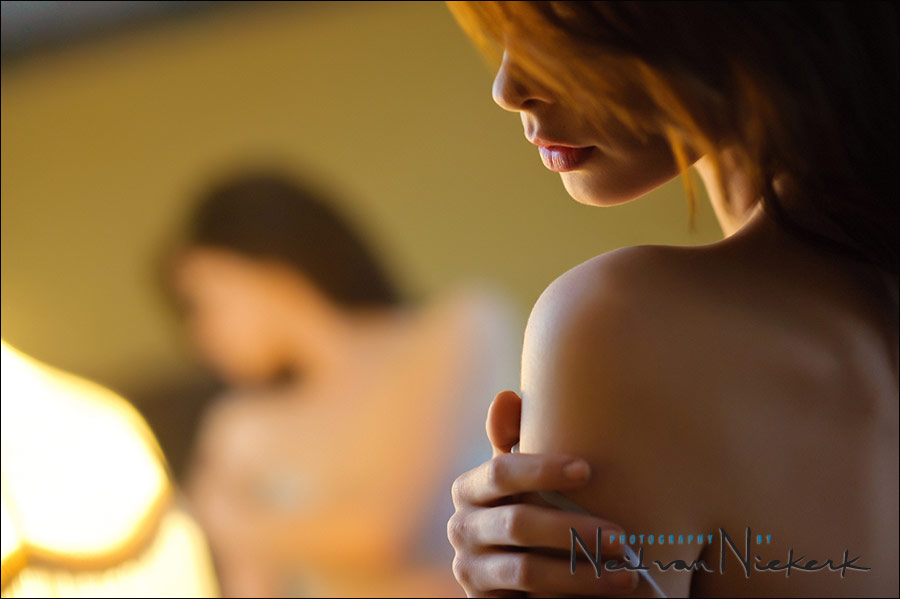
1/250 @ f2 @ 1600 ISO
Nikon D3
lens: Nikon AF-S Nikon 85mm f/1.4G (Amazon) / Canon EF 85mm f/1.2L II USM (Amazon)
Before specifically directing her, I loosely positioned her so that I can figure out the direction and quality of light falling on her. The background is of huge importance as well. Only when I am sure there is something there to work with, do I guide my model or client, and then start shooting a few frames.
It helps immensely to show her on my camera’s preview what we’re getting. This reinforcement is a huge boost to everyone’s confidence in the shoot.
Another image where I shot against the main source of light. I specifically wanted those highlights in the background to blow out like that, and positioned her for that.
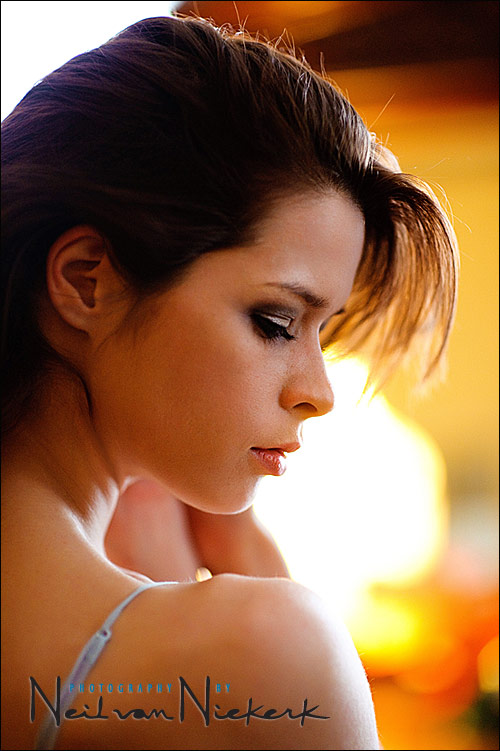
1/160 @ f1.6 @ 1600 ISO
Nikon D3
lens: Nikon AF-S Nikon 85mm f/1.4G (Amazon) / Canon EF 85mm f/1.2L II USM (Amazon)
Choice of lenses obviously also have an influence on the final look of the images. The change in perspective forced by a different focal length, helps breaks things up again. The change in depth-of-field between using a fast prime lens and using a zoom, also helps create variety in the images.
Two images from a recent boudoir photo session, where I changed to different lenses for parts of the session. A 50mm f1.4 optic and a 105mm f2.8 macro lens. Again, both where taken with just the available light from the window in the hotel room.
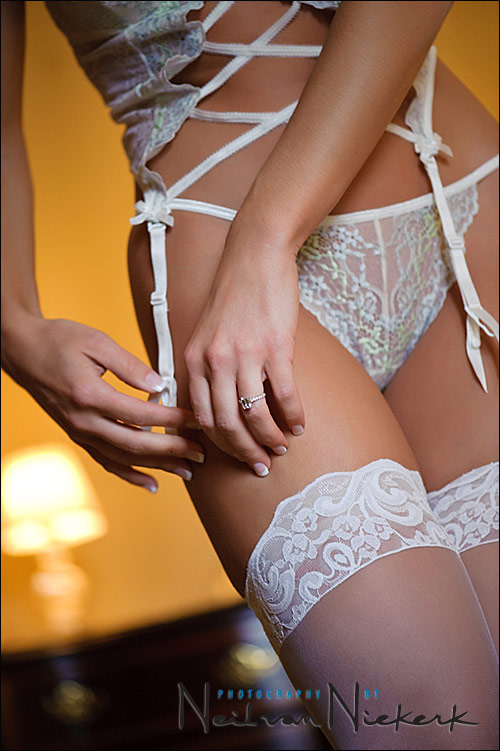
1/100 @ f3 @ 1250 ISO
Nikon D3
lens: Nikon 105mm f/2.8 IS macro (Amazon) / Canon 100mm f/2.8 IS macro (Amazon)
.
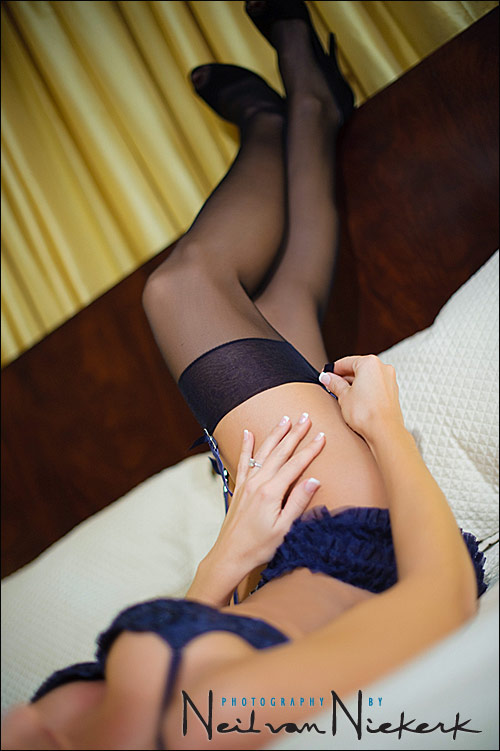
1/160 @ f1.6 @ 1250 ISO
Nikon D3
lens: Nikon 105mm f/2.8 IS macro (Amazon) / Canon 100mm f/2.8 IS macro (Amazon)
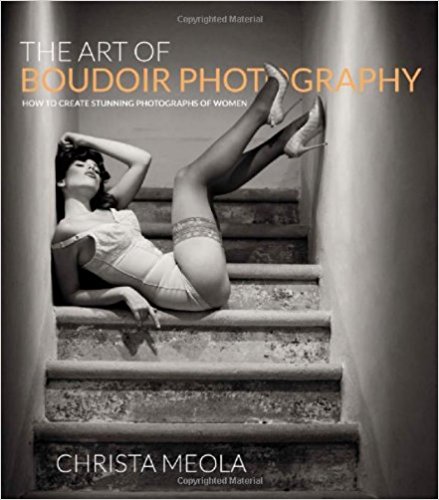
Books on Boudoir Photography
Bounce flash
I do use on-camera bounce flash during these sessions, but I concentrate on using the existing lighting in the room. Part of the problem in using bounce flash, is that it can open up the scene too much. You quite often lose the interesting lighting patterns and the interesting way that the available light falls onto your subject.
But it can work, if that’s the effect that you want …
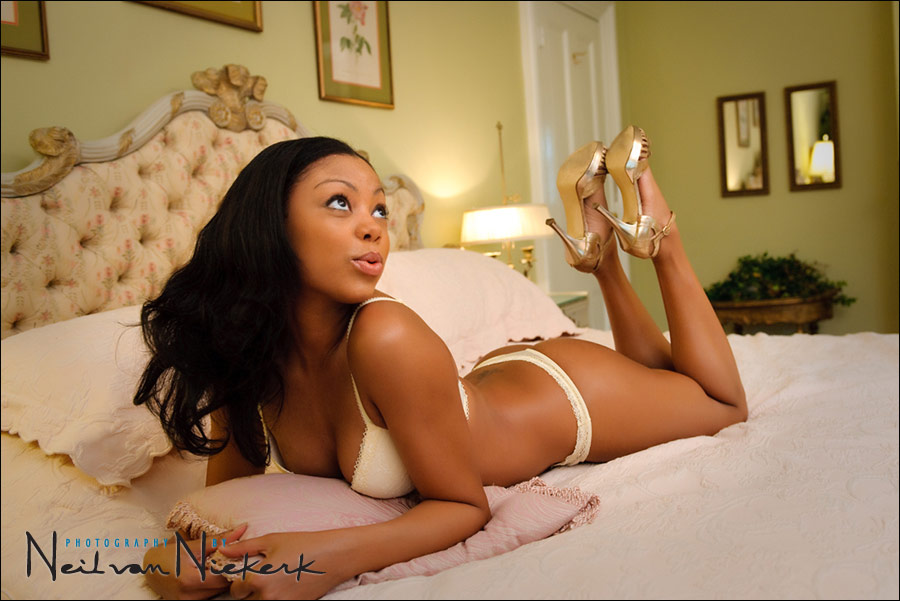
1/100 @ f3.5 @ 1250 ISO
Nikon D3
Nikon 24-70mm f2.8G AF-S (Amazon) / Canon 24-70mm f/2.8L II (Amazon)
Nikon SB-910 Speedlight (Amazon) / Canon 600EX-RT Speedlite (Amazon)
With that image above, my settings were such that the ambient light in the room registered. I could’ve used a much lower ISO and smaller aperture, but that would’ve given a different effect than I wanted.
With this next image, I had her stand in a doorway. This kept the rest of the room from ‘opening up’ with the bounce flash. But I then had to carefully position her against the background to create some separation. I also wanted some interesting defocused elements in the background.

1/250 @ f3.2 @ 1250 ISO
Nikon D3
Nikon 24-70mm f2.8G AF-S (Amazon) / Canon 24-70mm f/2.8L II (Amazon)
Nikon SB-910 Speedlight (Amazon) / Canon 600EX-RT Speedlite (Amazon)
.
Video lights
Video lights are one of my favourite piece of lighting equipment at a boudoir photo session. Here I used the Lowell iD-light.

1/60 @ f3.5 @ 1250 ISO
Nikon D3
lens: Nikon 24-70mm f2.8G AF-S (Amazon) / Canon 24-70mm f/2.8L II (Amazon)
Lowel iD-Light (Amazon)
The video light gives a concentrated light, which can be quite dramatic if used carefully. The key is to look at the way the light falls on your subject’s face, and how the shadow of your subject’s nose falls. It is best if you avoid the shadow of your subject’s nose falling over their mouth or across their cheek. With this in mind, I always instruct my assistant to follow my subject’s movement with the video light .. and to carefully look at how the nose’s shadow appears.
To counter-balance that effect of the video light, I often add bounced flash to the equation. But I dial down the flash exposure compensation so that the flash merely helps to lift the contrast of the scene. And it is also essential that I gel my flash for Tungsten in a case like this.
1/250 @ f2.5 @ 1600 ISO
Nikon D3
lens: Nikon 24-70mm f2.8G AF-S (Amazon) / Canon 24-70mm f/2.8L II (Amazon)
flash: Nikon SB-910 Speedlight (Amazon) / Canon 600EX-RT Speedlite (Amazon)
But then, just to mix it up, here I used video light and ambient light. I diffused the video light with a coffee filter to give a softer light. With the video light diffused like that, and mixed with the daylight filtering through the curtains, it gave a nice warm mix to the scene. And it works.
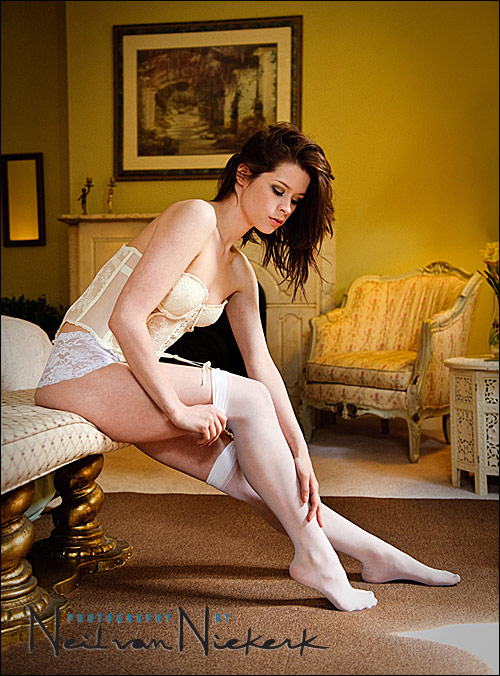
1/250 @ f3.2 @ 1600 ISO
Nikon D3
lens: Nikon 24-70mm f2.8G AF-S (Amazon) / Canon 24-70mm f/2.8L II (Amazon)
flash: Nikon SB-910 Speedlight (Amazon) / Canon 600EX-RT Speedlite (Amazon)
.
The idea remains then that it is crucial to really consider the existing light. Look at the direction of the light. See how many light sources you have. Then figure out whether you need to add additional light, and what kind of light you want to throw into the mix. In the end it always comes back to the quality of light you have … and how you use it and supplement it.


Great article and fantastic photography.
Dave
Hi Neil
Cool blog entry. I’ve looked a few times at your boudoir “channel” and love the kind of photos you shoot!
Greets,
René
Hi Neil,oustanding photos as usual.I really love the brunette of the first,and last pic (before the “video lights” tag).I expect to be able to do something like this after…say…some 3000 photographs ;).BTW,I do prefer natural light,over this more “dramatic” (but less realistic,at least to me) one.
One question,when you say “…carefully position her against the background to create some separation”,you mean blurring the background,or adding extra light,so that the foreground is more lit?
Thanks for your kind help :-)
Hi there Gorka
Re my choice of words there:
“…carefully position her against the background to create some separation”
I meant both those things … shallow depth of field, but also moving myself such that she is positioned against part of the background such that she doesn’t blend in with a dark background, but stands out. Separation.
Hi Neil!
The second pic is totally amazing! I love the lighting, pose, background, mood and everything else!
Wow. Way to make me close the browser-tab quickly when reading your blog in the office!
Lovely photos though. Love hearing insights about your thought processes, and your comments on how you direct your clients are fascinating and instructive.
When my wife was meeting with a photographer for our wedding, he suggested I read your site after she told him about my interest in photography. While I was reading this entry, she came into my office and hit me in the head for what she thought to be debaucherous behavior. I said “Hey lady! This is the site YOU told me about!”
Regarding the post, outstanding work. I agree with Jack. The second shot was just perfect.
I love reading all your blog entries
How do you handle shadows on the background walls in a small room when bouncing a flash, they still sometimes create light shadows on walls and when the contrast is bumped in pp they really show up.
I’m not particularly concerned about those shadows. We DO need that interplay between light and shade to give form, shape and dimension to what we’re photographing.
So I don’t try to avoid shadows at all costs. What I do try to avoid is that hard-edged shadow from direct flash. That’s just ugly.
(I am assuming that the light shadows you’re talking about are not the shadows you still get when using a diffuser cup on your flash?)
Neil
I think I know what your speking of here, but can you further explain this comment
most of what is writen about is the amount of light not (quatily)
“In the end it always comes back to the quality of light you have … and how you use it and supplement it.”
Thanks John
John .. it’s a wide description that encapsulates a few things.
For example, one thing that would be indicated is the way the light falls on the model’s face:
Are her eyes shrouded? Or can you see her eyes?
Is the light top-heavy or is her face nicely lit?
How does her nose’s shadow fall? Over her mouth? Or in a way that visually just looks pleasant?
Are there odd colour casts across parts of her face?
There are a number of things you need to simultaneously consider here.
Somehow, these things also need to be considered intuitively in a way.
On some level we need to move away from being ‘technicians’ and being artists … and look at our subject (or scene), and intuitively think .. yes, I love this! .. or .. hmmm .. I need to change something.
I hope this helps.
7th photo should be the 1st photo of this article because that is second to none for the composition, lighting and creativity. Call up this photo to your laptop and keep your head away from the normal distance to screen and see it. ‘Created’ subject separation and defocused background elements leading this 2d image to 3d effects. Neil, it is incredible. It is filled with mind-blowing colors.
You said, ‘you had her in a door way and you made the background room filled with bounce flash’. Where did you bounce the flash there with the required camera tilt? How did you light the subject? I feel there was a soft light just right to you.
The lens used is 24-70. It means you are very closed there.
I would be grateful to you if you could provide the full diagram of this lighting pattern.
Hi there Rafiyaub … I think you misunderstood me there in the description.
“With this next image, I had her stand in a doorway. This kept the rest of the room from ‘opening up’ with the bounce flash. But I then had to carefully position her against the background to create some separation. I also wanted some interesting defocused elements in the background.”
The doorway blocked the bounce flash from lighting the room behind my model.
The lighting is simplicity itself. Bounce flash with the black foamie thing – bouncing the flash over my shoulder towards the room and ceiling behind me. Just as described in numerous places on this site. : )
Neil vN
Hello Neil.
Just a quick question. On the 6th photo, where you used flash, did u put any gel on it? Or was just ordinary flash light?
Thanks for your reply.
And of course, amazing photos again! Really like 2nd one ;)
Saso
>Saso, as is usual, I had a 1/2 CTS gel on my flash there.
In terms of the locations, do you mainly shoot these in the clients’ homes, or do you rent rooms, or check in at a hotel, or do something else?
Paul .. clients’ homes, hotels .. and my choice, bed and breakfast places. They are usually more warm and homely than the average hotel room.
Neil, awesome guide. I have read all your posts and your book, but you never mention how you find models who are willing to work with you. Can you write a step by step guide on how to find models. It seems that whereever you go, you are able to find amazing photogenic models. I am sure everyone would like to know too. thanks.
Jon .. I most often use models from Model Mayhem.
Every model has a portfolio, and you can use the quality of their portfolios as a guide.
Thanks Neil,
But do you pay your models? If so what are the average rates? For example, sometimes you have seminars and need to hire models for the whole day. In that case, how much do you pay your models for a whole day? Or if you just need a couple hours of photo shoot, then do you pay by a fix rate or by a hour rate?
I hope I did not ask you too much questions. Again thanks you very much for your response above. ^__^
Jon, I invariably pay the models that I use. Obviously a boudoir session commands a higher fee.
I don’t do time-for-images/CD/prints unless a model should approach me. But for any of my own projects, or shoots or for a workshop, I always pay the models. I feel that since I am a professional photographer, the images will benefit me greatly, and as such the model needs to be compensated for her time. I still supply the images to the models.
There’s a side-benefit to offering money to models when announcing a call for a shoot – you end up getting the better more experienced models.
A model that is experienced is a huge boost during any session, since that allows you to concentrate on the actual photo session, and not have to overly direct the model.
As for specific fees … that will vary. Negotiate and arrange with your models. They usually have rates that they charge. I honour those … and add a little extra just to be generous.
Stunning light!
Thank you for sharing your knowledge, Neil. I have been reading your blog for awhile, and have learned so much from your flash photography blog. Thanks.
The image by the doorway is marvellous, good contrast between well lit model and dark background, even her black hair is falling on light area behind (for separation), the DOF is beautiful as well .. many thanks to you Neil.
Thank you for all of the information and beautiful imagery! I have found this to be quite useful.
I really liked this information. The types of lenses and setting, were also helpful