photography: using interesting found light / available light
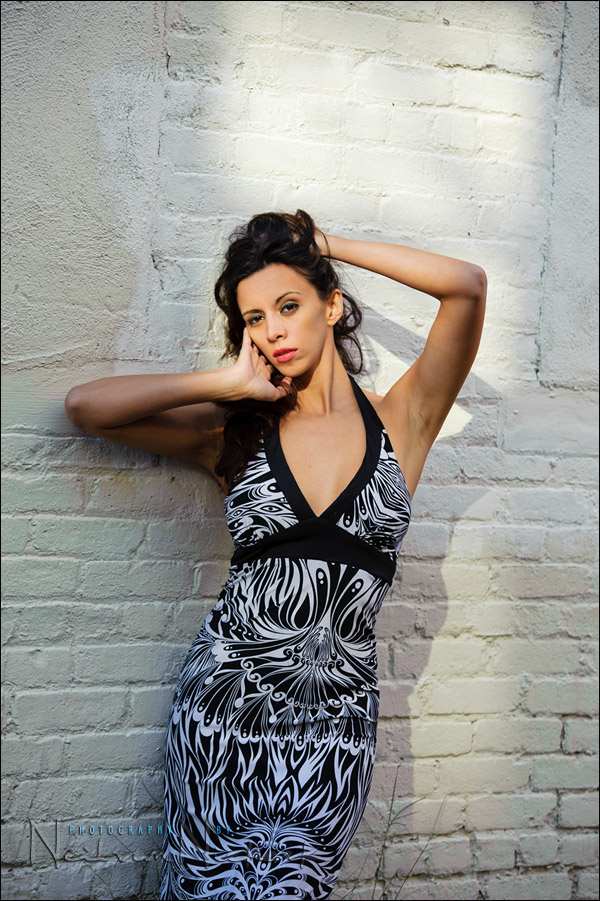
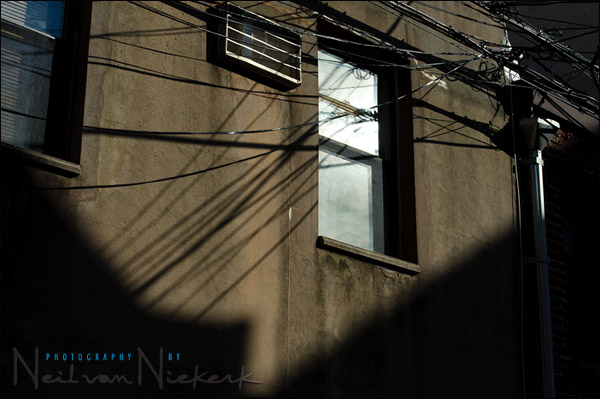
Photographing Kerri in an alley that I’ve used a few times before, I was looking for other interesting angles and backgrounds. This one stretch of white-washed wall was particularly bland … but then I noticed small splashes of light …
The sunlight reflecting off the windows on the opposite wall, was throwing interesting rectangular patterns on the white wall.
I decided to position Kerri in one of those splashes of light. This immediately created a much bolder image. The near mono-chromatic tones of the wall and the dress, now draws attention to the areas with color – her arms, shoulders and face.
In this way, I often look for interesting available light. But what if you can’t find available light that is interesting or dramatic? Well, then you just create your own:
equipment used during this session:
Nikon D3; Nikon 70-200mm f2.8 AF-S VR II (B&H)


Hi Neil
I personally just wanted to thank you FREELY contributing your time, knowledge & expertise with us all. Your tangents are MOST interesting & informative. Your principles of “sowing & reaping” is clearly evident. Keep up the GREAT work.
PS! Wish you’d pop back in to South Africa for a workshop :)
Regards
John Botha
You are the quintessential generous giver of great lighting knowledge on the net…
Thank you ;-)
Thank you very much for your wonderful posts.Please keep posting more.Neil it`s one of the best!,best!,best! and more best!Thank you!
Now is the moment when I have to say that every day I’d write to Neil thanks for what it does, and like me – certainly many more. Just to know, Neil… From all my heart, Thank you.
I always appreciate the back story and the images to go along with it.
Neil
Great shots and I to have learned much from your teachings, Thanks.
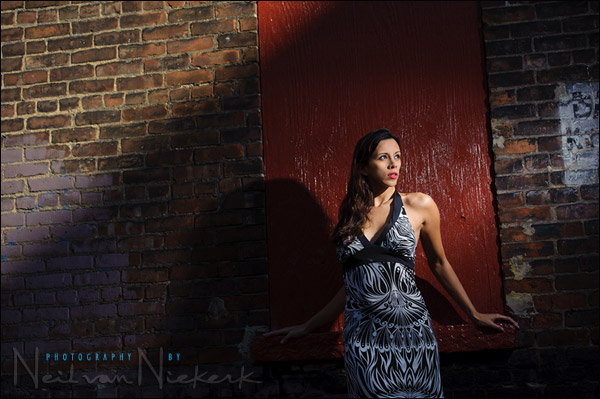
On the last shot above did you use a spot meter or matrix ?
Just thinking about the light and dark area. If spot was it maybe 1/2 stop plus for the skin tone.
Thanks again.
John
John the last shot isn’t just available light. The wall to the left is available light. The model was lit by off-camera flash.
I started off by selectively metering off the wall to get my basic exposure .. and then I added unmodified (ie, direct) off-camera TTL flash to light up the model.
Neil,
Great work as always. I’ve noticed in some of your recent posts you have some color fringing (not sure if that is the technical term) going on. As a fellow Nikon D3 shooter, I had the same thing happen from my Lightroom RAW processing using the Nikon Color Profiles. I assume that is what you are using as well. They are very accurate to the LCD and close to what Capture NX does but that color issue, seen here in your first image where the white brick has a purple/green cast to it, is unavoidable with those profiles. I recently found an updated version of the profiles that corrects it and I now get the best looking files I’ve ever had. Here is the link to it: https://forums.adobe.com/thread/602274
I highly recommend you give them a try. The highlights become a little brighter but the color cast is gone completely. Just thought I’d point it out in case you were as frustrated by it as I was.
Keep up the great work!
Curtis
I didn’t even notice the posterization in that first image. Is the posterization a serious issue?
This situation seems like the story that Neil talked about regarding noise in wedding images. The photographer notices it, but the client doesn’t even notice or care about it, because the composition is engaging.