Studio photography – Working with a large Octa Softbox
It was exciting when I equipped my studio last year with a variety of lighting gear – so much to choose from. A little kid in the toy store! I want everything. The decision obviously has to be made between various lighting items that are only slight changes from other, with little real world difference. And then there ia also lighting gear that is quite esoteric.
I chose various gridded stripboxes and reflectors, in addition to the soft boxes and beauty dish that I had. Then I had my eye on an octabank – specifically the large Profoto 5.0′ RFi Octa Softbox (B&H / Amazon). When I first unfurled that thing in my studio, my reaction was, “holy crap, this is huge!”. My studio is 1000 sq ft, which is fairly large, but you know, that’s also not all that huge. I was wondering if I should just return this to the camera store, and whether my 3×4 soft box would suffice.
Then I started using the 5′ Octa soft box, and something clicked for me – one more thing fell into place for me in my understanding of light. My reaction turned from that perplexed, “holy crap!”, into a “holy smackeroni!” when I realized that this large Octa Softbox might just be the single most versatile piece of lighting gear in my studio!
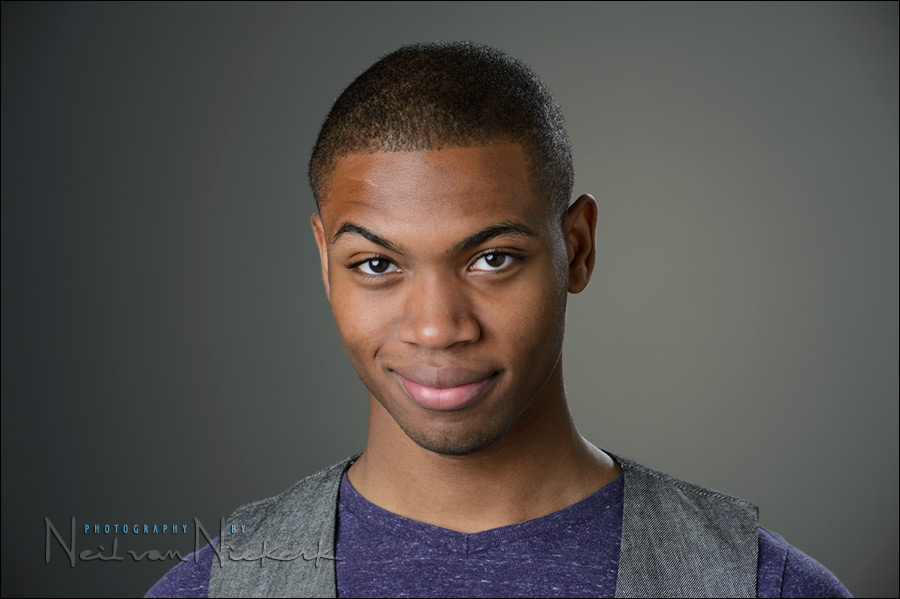
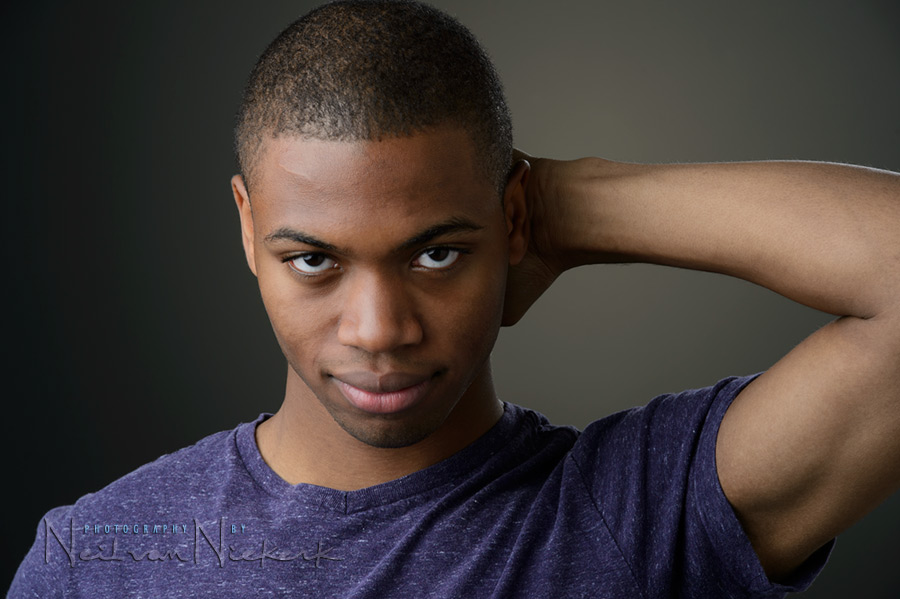
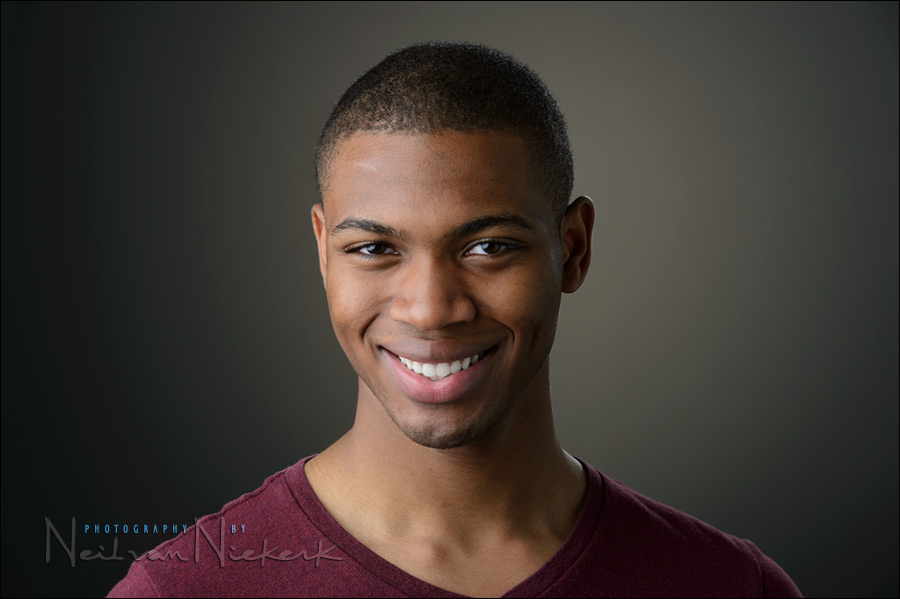
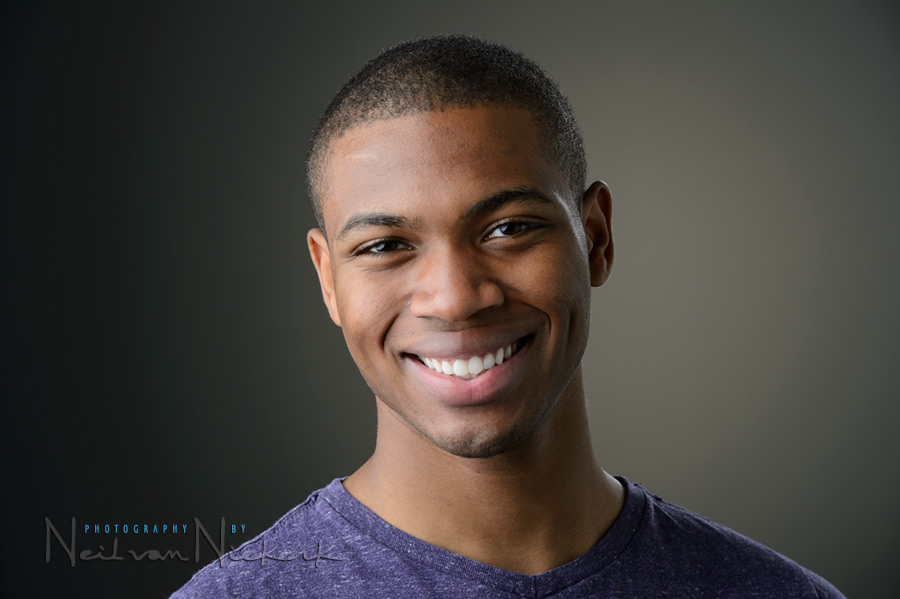
The lighting for those two photographs of John were exactly the same setup. The light in the top-most photo is clearly more even, and the next one more dramatic.
The one difference is that John moved forward or backward by a little shuffle. The instruction I give people is, “a little penguin shuffle forward”, otherwise people tend to take an actual step and move too far. But they get “penguin shuffle”.
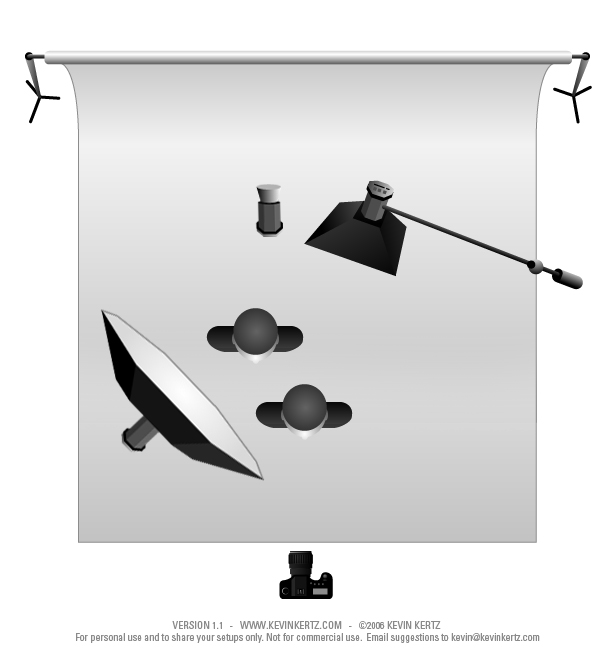
The main light is that big Profoto 5.0′ RFi Octa Softbox (affiliate), and if my subject moves back, then the light comes in nearly evenly to both sides of the face. Moving closer to the camera, the light comes more from the side, and is more dramatic. You can get split lighting this way too. All from that one large light-source, and how you position your subject. Check the diagram to see if this makes sense to you.
So I mark a small square area on the studio floor, and ask people to move within that confine. This way I can change the lighting, subtly or in a more pronounced way, by having my subject move a little bit in relation to the main light.
If they move laterally to the light-source, then the exposure remains pretty much the same! But it is easier to change the exposure a bit by adjusting the power on the main light. This will explain why the light in the background is darker in the 2nd photo.
So why is this my favorite light modifier? Because I get soft light from it, and with a little adjustment in positioning my subject, the light can be flat and even, or dramatic … but still soft.
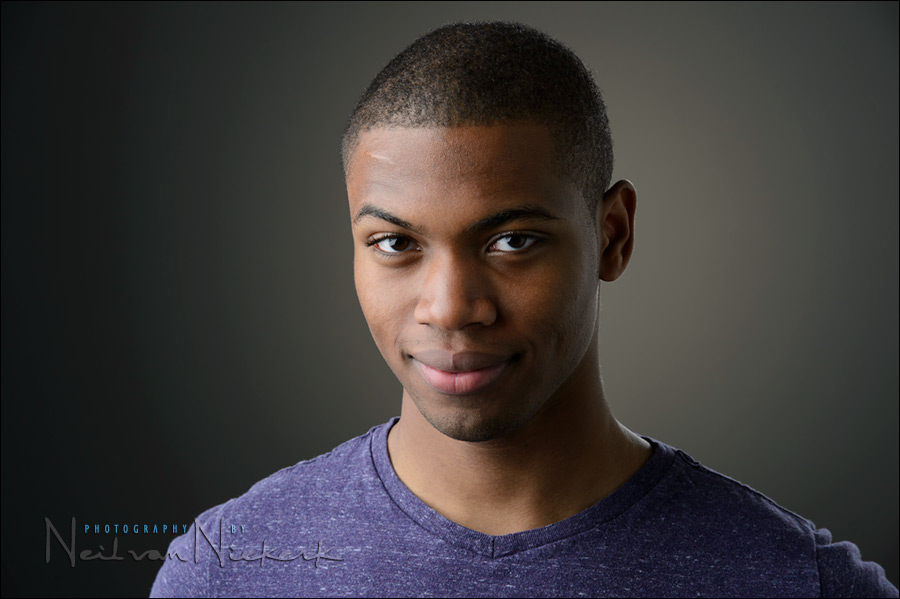
A few more photos from the session:
The lighting setup for the headshots photo session
The lighting setup for these head shots are very similar to that shown in these two articles:
– Headshot photography in studio (Mike)
– Headshot photography: what makes for good head shots? (Nicole)
With this photo session of John, the grey background was lit up with a 7″ reflector with a grid. I placed a 1/2 CTS gel over that light to give it some warmth.
- I used three Profoto D1 500 Ws studio flash (affiliate) for my lights:
- The main light on her was diffused with the huge Profoto 5.0′ RFi Octa Softbox (B&H / Amazon)
- Fill-light was via a white V-flat which acted as a reflector.
- The hair light was diffused with a Profoto RFi 1’×4′ softbox (affiliate);
and a Profoto 50 degree 1×4 soft-grid (affiliate) - The background was a grey painted wall, lit by one of the D1 flashes, with a gelled Profoto 7″ Reflector
Camera settings & photo gear (or equivalents) used
- 1/160 @ f/11 @ 100 ISO
- Nikon D4
- Nikon 70-200mm f2.8 AF-S VR II / Canon EF 70-200mm f/2.8L IS II
Related articles
- Headshot photography: what makes for good head shots? (Nicole)
- Headshot photography in the studio (Mike Larose)
- Modern / contemporary business headshots in the studio (Matt S.)
- More articles on headshot photography
- NJ / New Jersey headshot photographer
- NJ photography studio space rental
Studio lighting workshops
If you are interested in learning more about studio lighting, including lighting for headshots, I offer workshops on studio lighting. The workshops will be held at my studio space in NJ, and it has a wide range of studio lighting gear to play with!
Thanks for sharing this. This a great little piece. The light diagram really helps.
Nothing beats a big light source…nice Neil. how many speed lites needed to push enough light through this big monster? I realize it depends on f stop, iso and situation but have you tried a flash in it yet?
I like the ‘Penguin shuffle’, have to adopt that because even when I say ‘tiny step’ they invariably take at least 1/2 to full step.
Love the slight alteration in what the softbox can give by merely doing that ‘Penguin shuffle’.
Really, it’s a bit of a thrill to be featured on the Profoto blog.