Using the MagMod MagBeam kit for projection effects
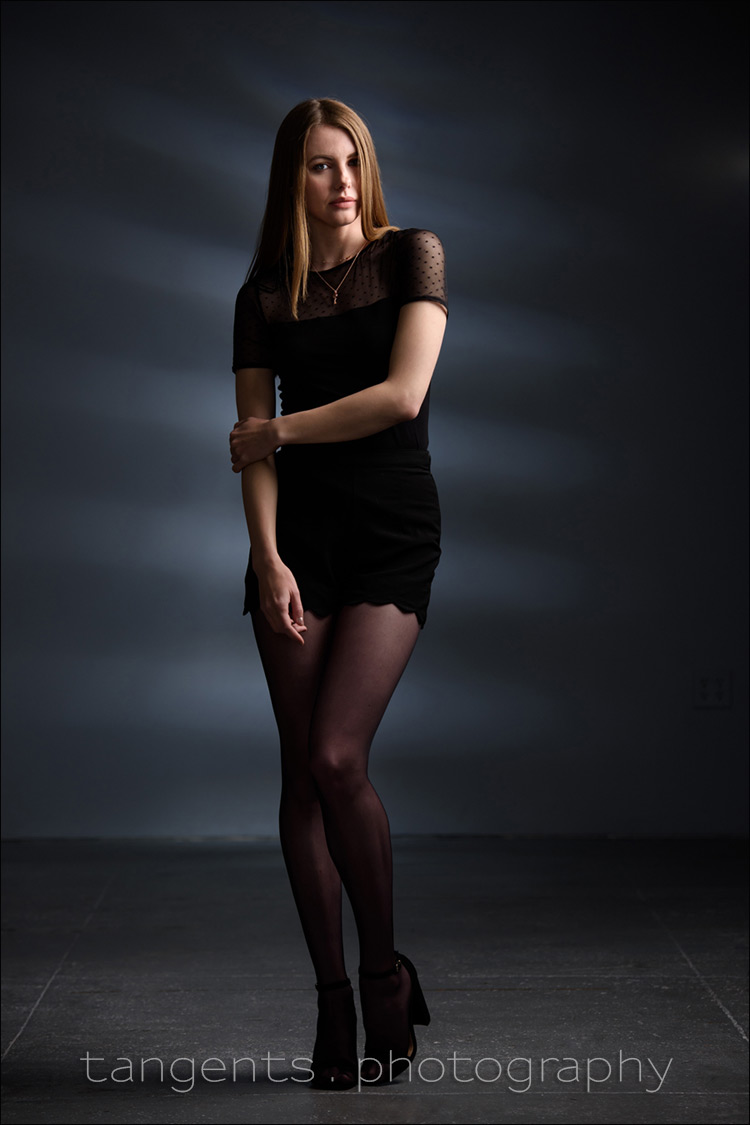
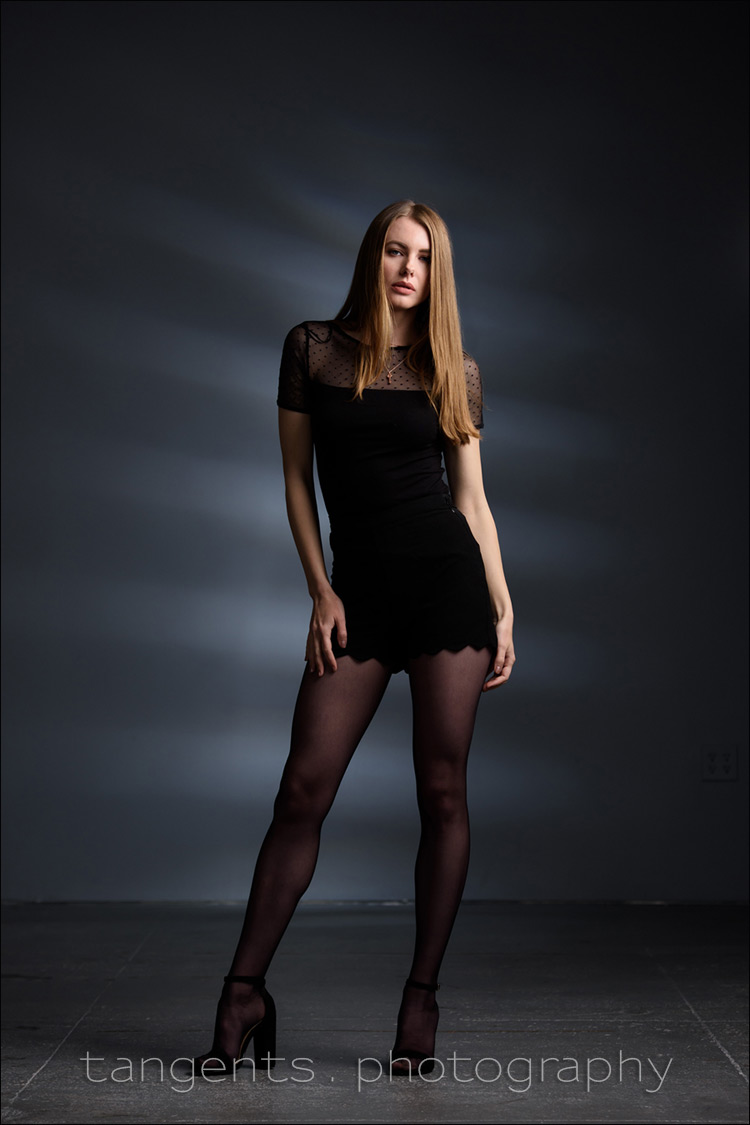
The lighting pattern on the background here, is 100% in-camera, created with a gobo and a light-projection kit: the MagMod MagBeam Kit (B&H / Amazon). So no Photoshop going on here (aside from mild retouching of skin blemishes.) Even that little bit of a halo around Anastasiya, is part of the effect. In-camera. With the test shots, I noticed there is a brightening of the pattern in the middle, so I placed Anastasiya directly on front of it. A bit of serendipity that I took advantage of.
Several articles on the Tangents blog about projection effects with gobos show how you can use this to create a more interesting background without a backdrop. One more tool available to use to add some spice to our photos.
Here the basic MagMod2 Kit (B&H / Amazon) was used with the gobo included in the MagMod MagBeam Kit (B&H / Amazon). In the recent article – Studio portrait lighting ideas – The MagBeam kit was also used, but with a gel. Of the other brands I have used for projection effects, the Light Blaster (affiliate) has the advantage that you can focus or defocus the effect as you want. But where the MagBeam kit excels, is in putting it all together, or changing it, or adding gels … all because of magnets!
If you’ve already bought into the MagMod system, then this is an interesting addition to your lighting arsenal. I need to add that I didn’t use the MagBeam kit for its other use – creating a narrower, brighter spot of light. It’s not something I would need in my photography, but others might have a use for it. I just checked out the gobos … and in this instance just explored the one gobo. Next time, something else.
Let’s have a look at the lighting setup, and other examples of this photo session with Anastasiya:

Photo gear and lighting used during this photo session
- 1/180 @ f/4.5 @ 100 ISO
- Nikon D810
- Nikon 70-200mm f2.8 AF-S VR II /equivalent Canon EF 70-200mm f/2.8L IS II
- (1x) Profoto D1 Air 500Ws studio light
- Profoto 5-ft RFi Octa Softbox
- speedlight with the MagMod MagBeam Kit (B&H / Amazon)
The main light on Anastasiya was used exactly as described here: working with a large Octa Softbox. By posing her towards the light, and having her move forward or back, I could affect the contrast of the light, without having to move the light. You move your subject by increments for a change of lighting!
I half-circled the MagMod setup in the background so that you can more easily see where it was positioned. With a slight angle to the effect, the slats of light weren’t exactly horizontal, but at a more dynamic angle. As mentioned above, I specifically positioned myself so that the brighter portion fell behind Anastasiya for that halo effect.
That’s it. Simplicity itself … but the effect is quite striking.
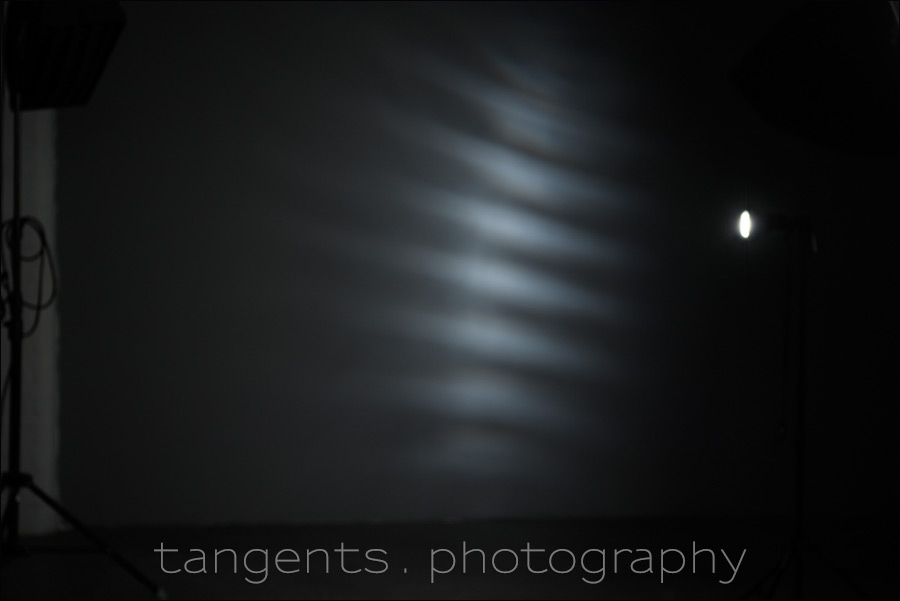
The test shot to position the light, and get the correct level of flash exposure on the background for what I wanted.
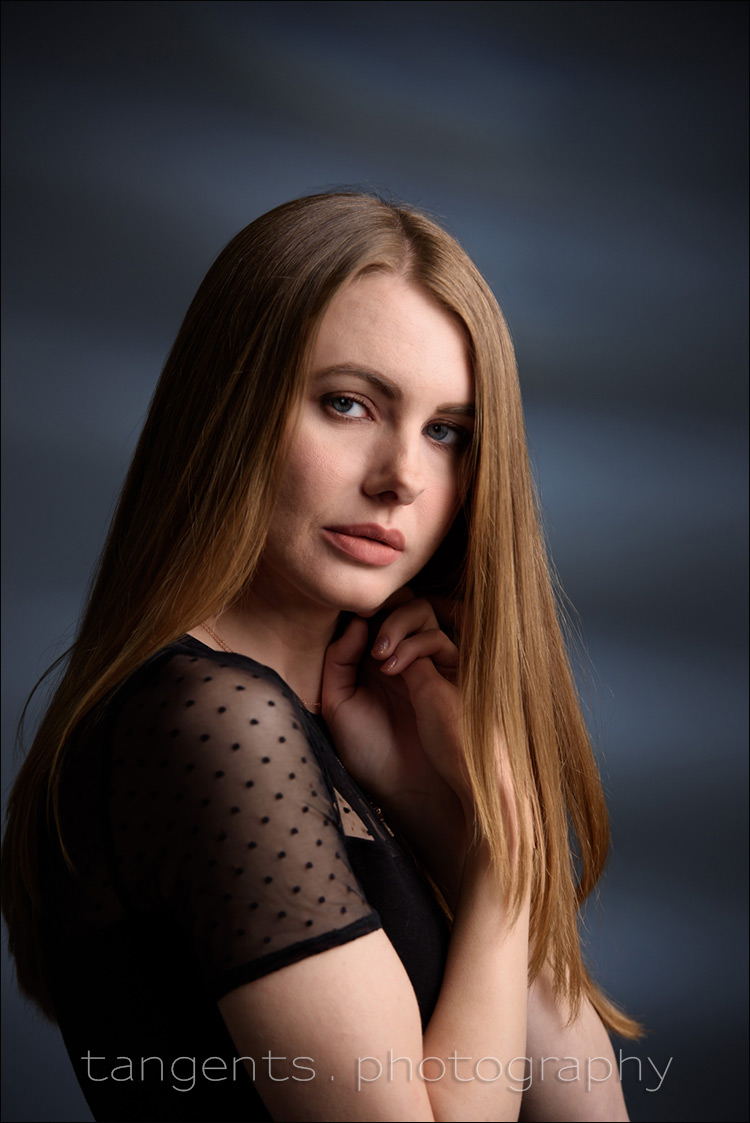
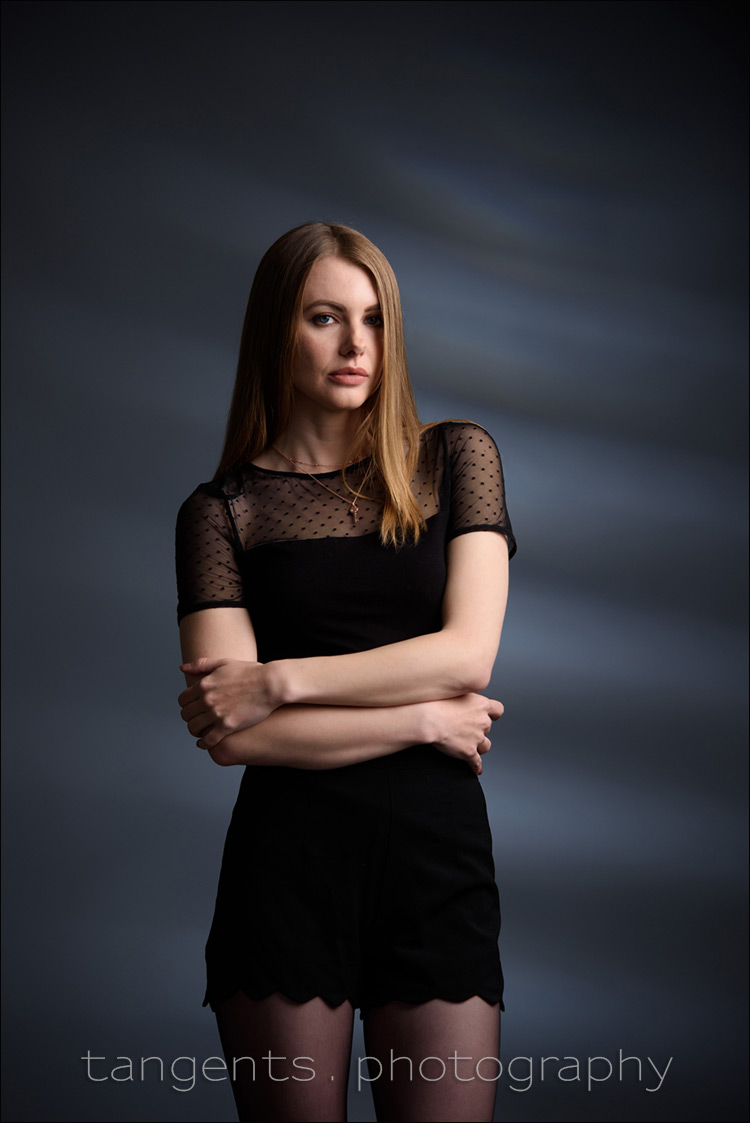
And more of the results:
I don’t know when I could ever use an effect like that, but this article stretches my brain. Thanks.
Thanks Neil,
need to give this a try!
S.
Very effective, yet surprisingly simple (at least when you do it). How did you trigger the speedlight?
Andrew
Andrew … I used the Profoto trigger as a receiver, and connected it to the speedlight’s PC socket.
What about if you are using strobes. I have Profoto gear and only thing I can find to do the same is there Small Spot modifier. Not going to pay $1,000.00 any other options?
Keith … I think you’ll find that a grid on your D1 / B1 flash will give you fairly similar results – a controlled beam of light. Check this article on using grids with the Profoto.