review: Aurora HDR software
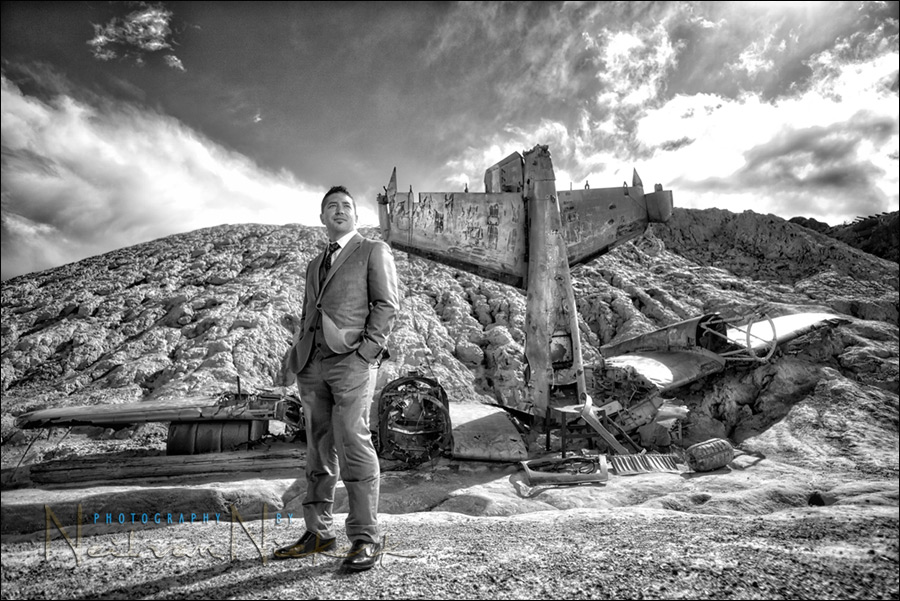
If you have a love for bold images with punch to the colors and details, then you might be drawn to High-Dynamic Range (HDR) software. The HDR effect is often overdone and can look garish, but done with a certain deft artistic eye, can look wonderful.
I’m drawn to the look of HDR, but found the software options that I’ve tried, to either be clunky or limited. Now combine this with my preference for things that work, and is easy to use, or at least, easy enough to delve into right from the start … and it will help explain why I immediately liked Trey Ratcliff’s new HDR software, called Aurora. It offers vast control over the final image, with much of it automated for you – yet, you can control it at every step.


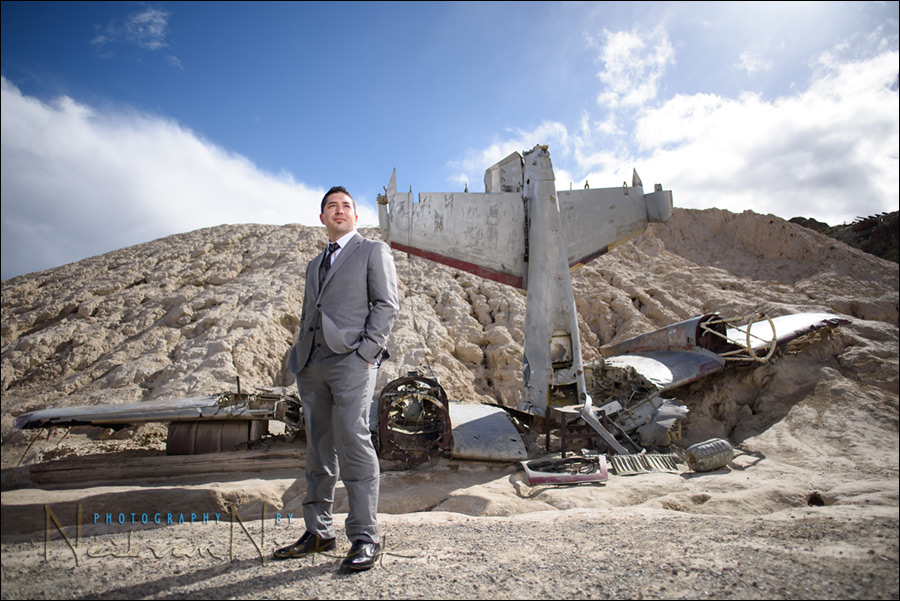
With the HDR image, I used one of the many default options, but tweaked the color balance back to normal. This HDR version was created with minimal user intervention. Aurora offers a large number of default choices, and you can tweaks every control along the way, to nudge the image to where you want it.
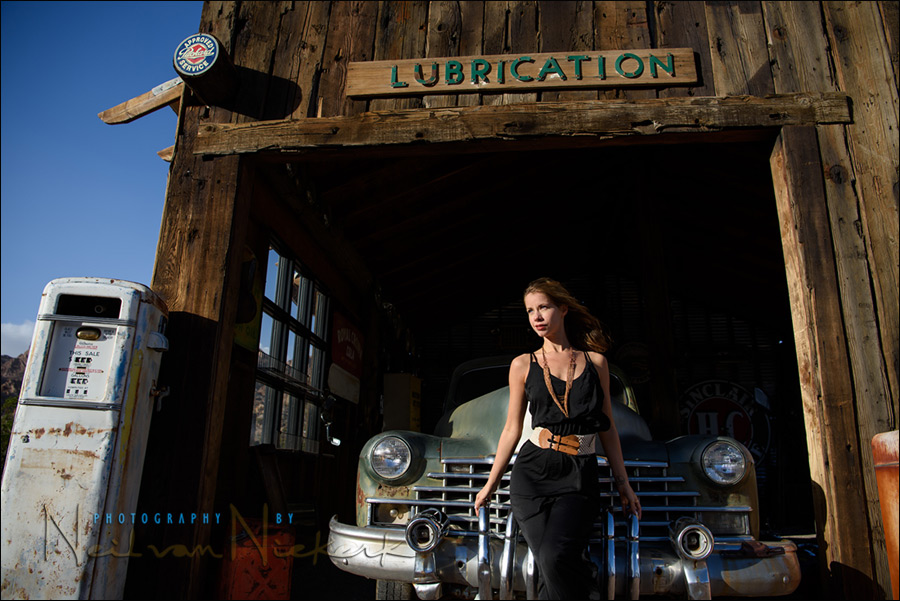
You can especially see the effect of the Aurora HDR software here, in how the details in the deep shadow of the barn, are revealed. I did have to blend the model’s face back to the original image – HDR software generally isn’t all that kind to skin tones, so it needs that kind of intervention, unless your intention is to really boost the details to that level.
- 1/800 @ f/4 @ 100 ISO
- Nikon D810
- Nikon 20mm f/1.8G (B&H / Amazon)
- Available light.
The straight-out-of-the-RAW-converter image compared to the default B&W HDR version from Aurora. Even though it is a color to B&W comparison, you can immediately see how much Aurora punches up the local contrast and details.
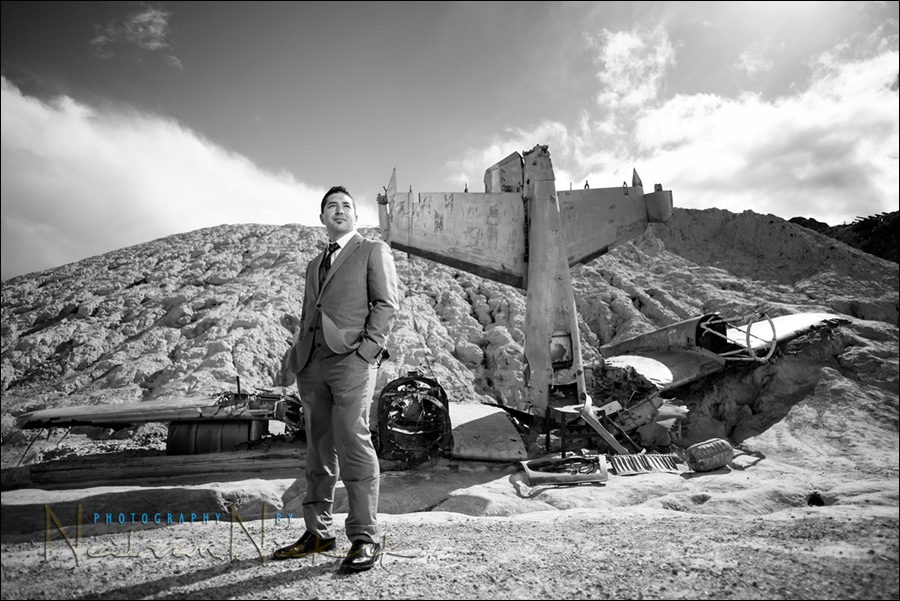
Here is a comparison then between a high-contrast B&W version as created from the RAW file, by increasing the Contrast & Local Contrast, and dropping the Black Point. It could be improved by blending our model’s fave with the ‘straight’ version, and remove the HDR effects to his features.
- 1/2000 @ f/2 @ 64 ISO
- Nikon D810
- Nikon 20mm f/1.8G (B&H / Amazon)
- Off-camera lighting with the Profoto B1 flash (B&H / Amazon)
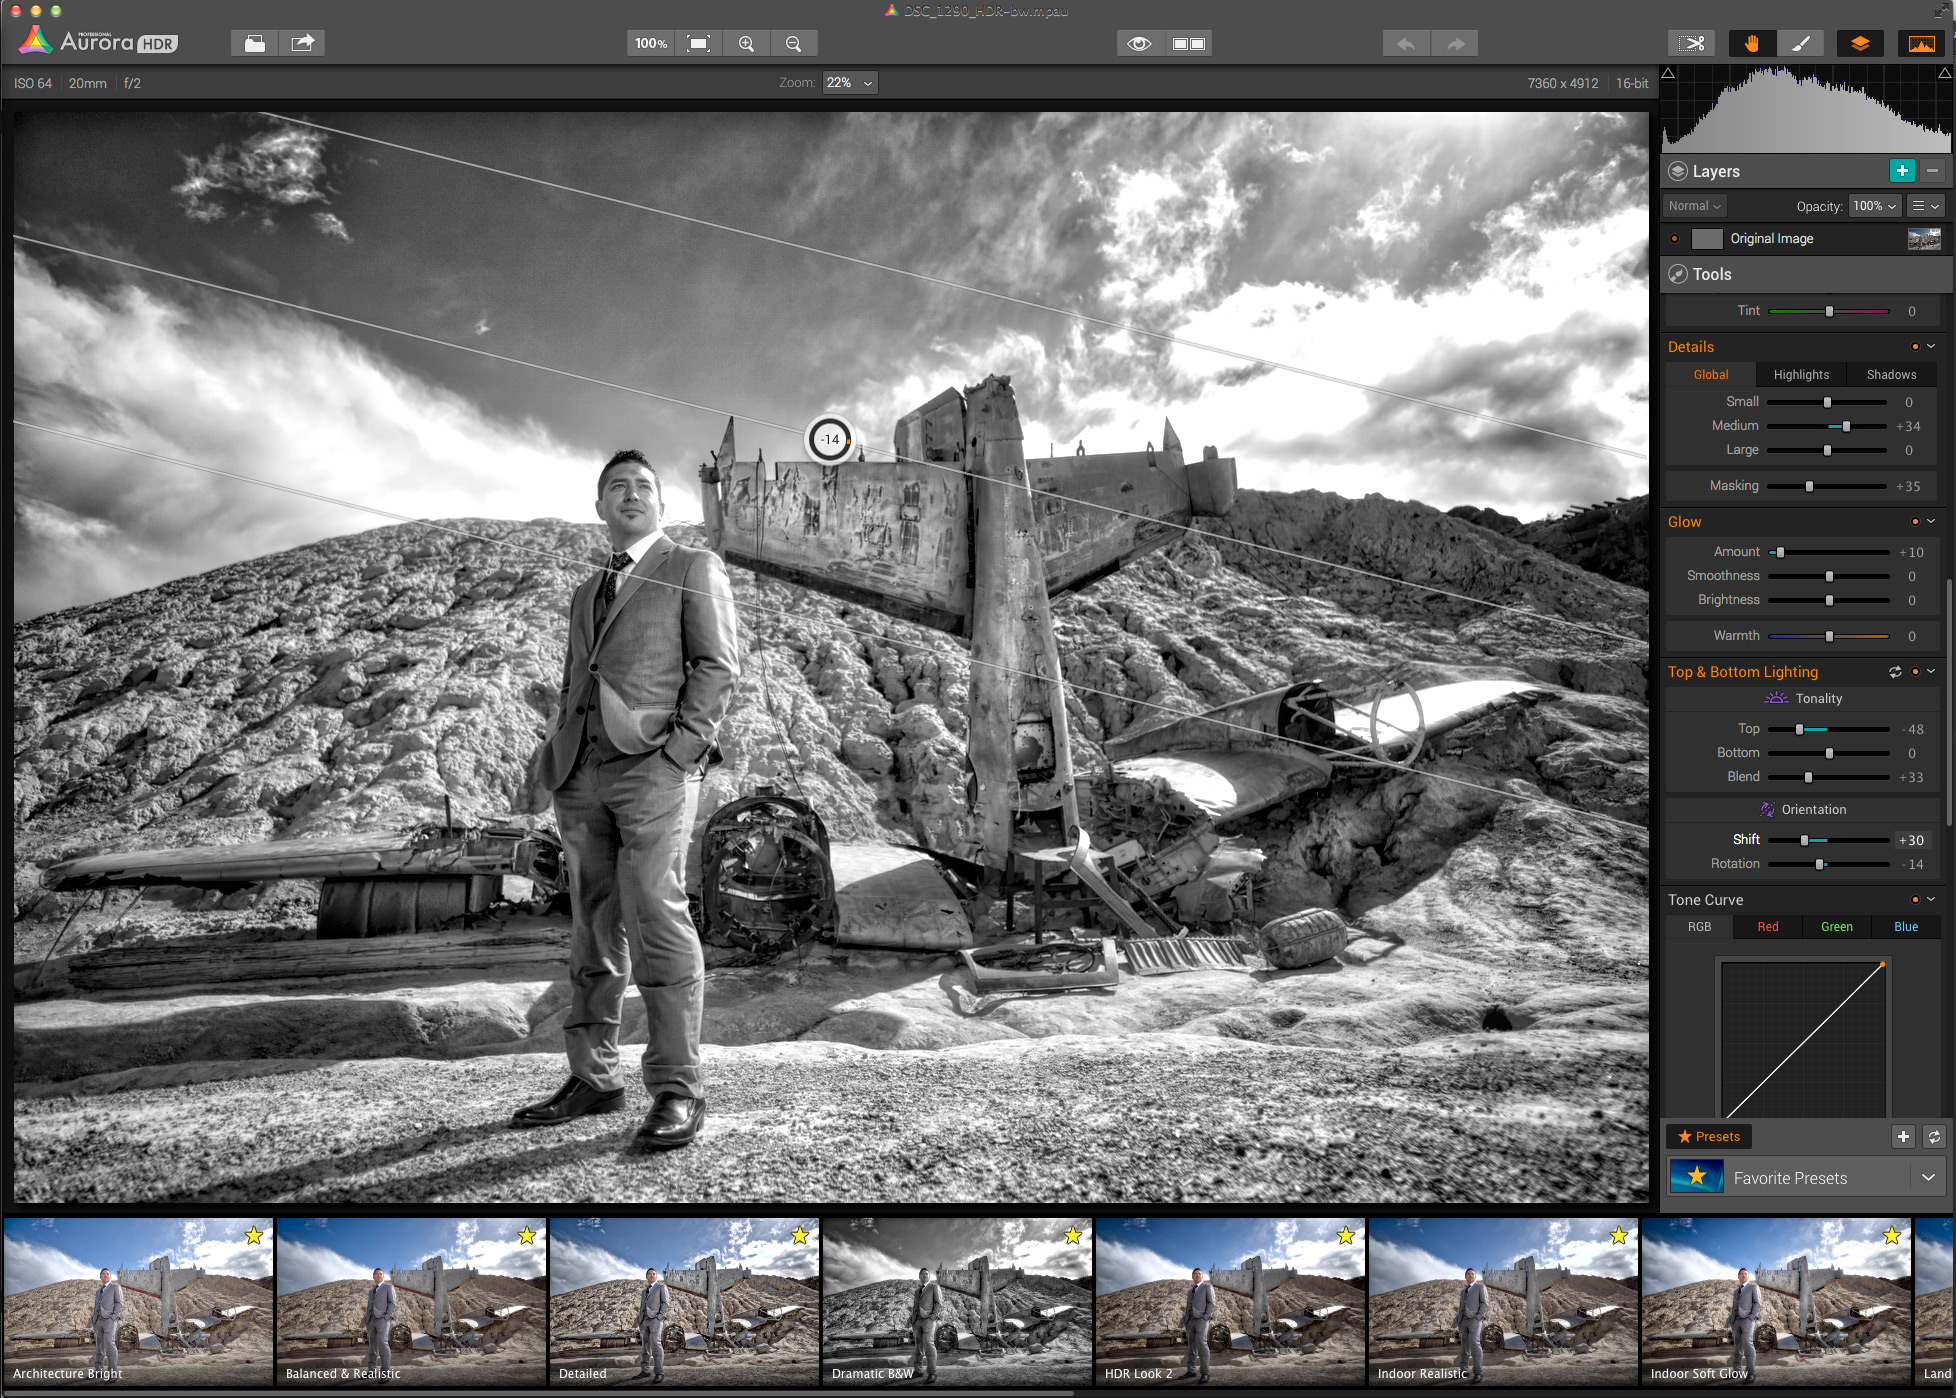
You’ll notice that the sky is brighter towards the top right-hand side. Aurora allows you to select and move a gradient from top to bottom, and then to rotate it. In this instance, I wanted to bias it towards that corner. This screen-capture will explain it visually. (Click on the screen-capture for a larger image.) It will also show you the lay-out of some of the control panel, as well as the selection of presets at the bottom which you can tab through as options. You can create and save your own Favorites from any of the Presets available.

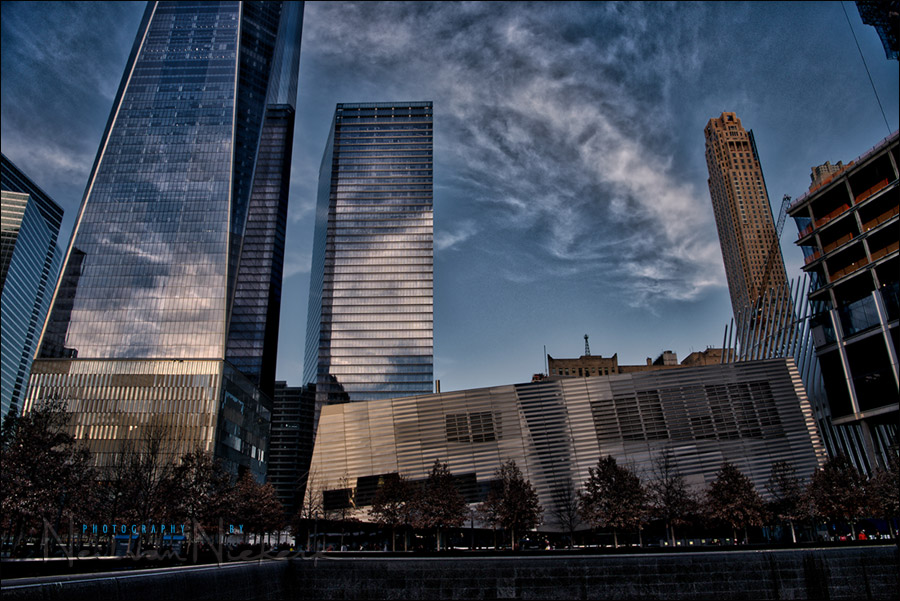
A visit to lower Manhattan, at and near the 9/11 Memorial site for the impressive architecture – and a further test to see how Aurora HDR software renders the cityscapes. It is perfect for enhancing the micro-detail in the photographs, turning the scenes into slightly more surreal scenes.
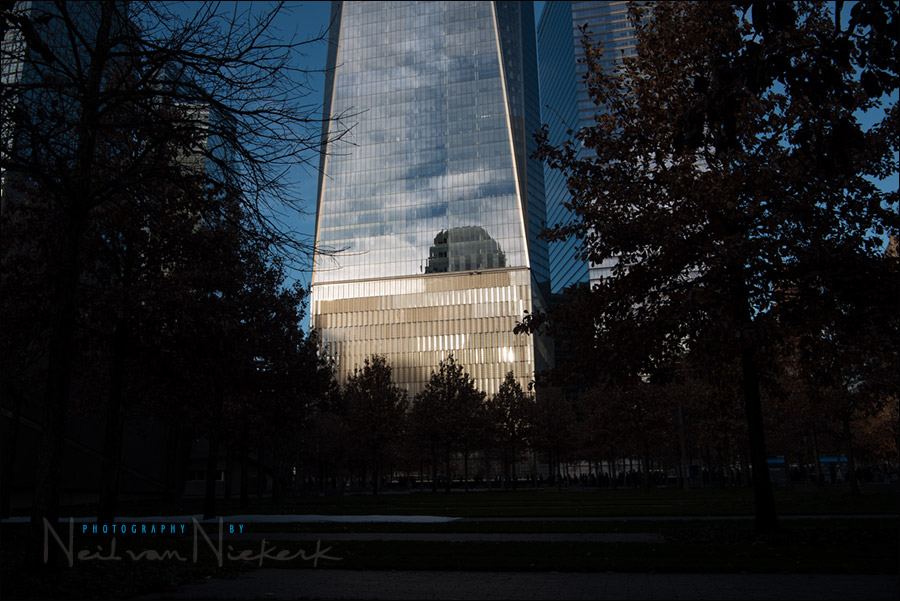
The base of the Freedom Tower, lit by the last remnants of the afternoon sun, as seen through the trees in the park.
The straight image (out of the RAW converter), vs a rendition from Aurora.
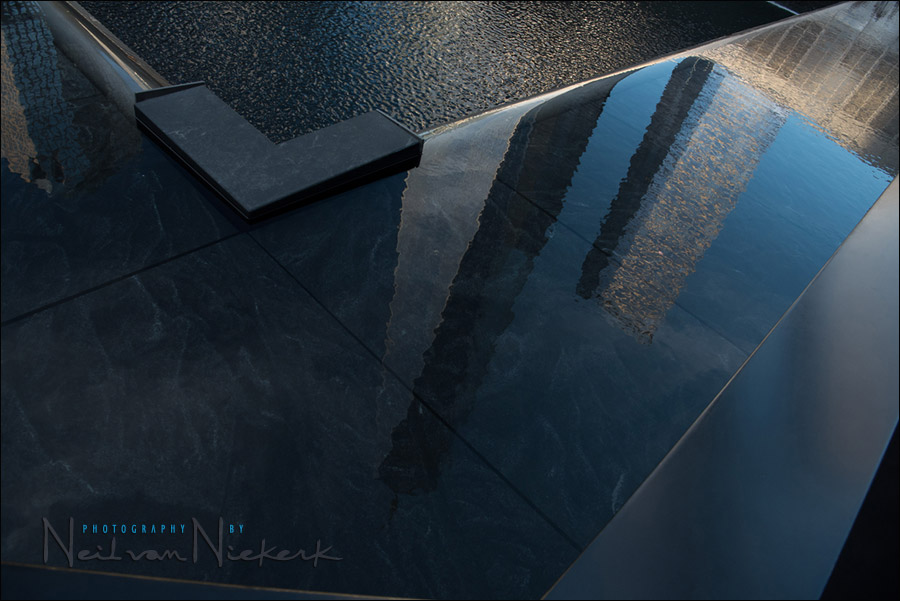

The reflection of the Freedom Tower in the pool at the 9/11 Memorial center.
Again, the straight image (out of the RAW converter), vs a rendition from Aurora.


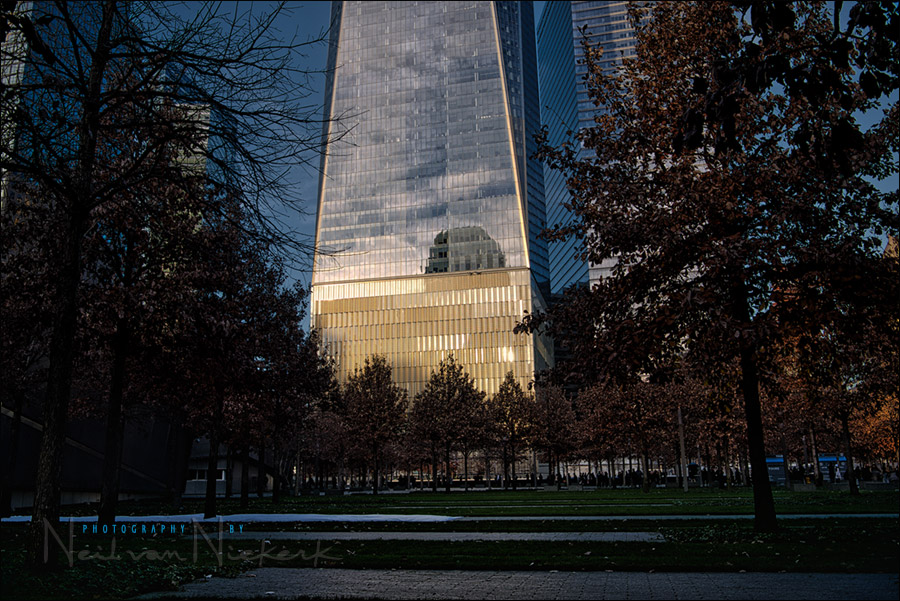
Above: The straight image (out of the RAW converter), vs a rendition from Aurora.
Below: For another test, I cranked the Local Contrast, Contrast, Saturation and Black Point in Lightroom / ACR, to create a kind of faux-HDR. An interesting look – but still different than the HDR look via Aurora. Admittedly, there are numerous ways to tweak the RAW file in Lightroom / ACR, and numerous ways to tweak the same image in Aurora – so this is of course just one comparison. Still, it will give you an idea of how the results can differ.

Summary
I absolutely love the ease of using Aurora. It gives you a wide range of possible results which you can then tweak to your taste. Download the trial version and see for yourself!
Related articles
- Photoshop tutorial: HDR technique
- Tilt-shift lens vs perspective correction in Photoshop / Lightroom
Mac only, it appears.
Did you know that it’s possible to edit 32-bit files right in Lightroom? I often use the “Merge to HDR Pro in Photoshop” option to let PS merge the source files, and then re-import the 32-bit result back into LR (so no tone mapping in PS!). The main advantage of this to me is that I can keep using LR’s editing controls (which I use nearly all the time for nearly all my images), while benefiting from the increased dynamic range of the HDR file. For me this gives more natural images than I’ve ever gotten with any of the HDR tools I’ve tried (like Photomatix and PS). That being said, your results with Aurora look impressive. :)
The latest version of Lightroom does the HDR merge without having to go into PhotoShop.
I use it often. My default when shooting outdoors while walking about exploring is to have my A7RII set to 2 EV 3 frame auto bracket.
I’ve purchased Aurora because I like, from time-to-time, to manipulate color, contrast etc. beyond a natural photo look.
Thanks Neil, Aurora looks like useful HDR software. I’ve previously tried other programs but never really got on with them, either the images look too over processed or the defaults need a lot of adjusting to make something that looks more realistic. I really like what you did with the barn shot, it looks natural yet Aurora has really lifted the details. Thank you.
Hi neil, thanks for the tip. I recently tried the Nik collection since it’s free, and found that their HDR tool is very good, much more natural and controlable than what I had been previously using (Photomatix and Photoshop HDR)