Boudoir Photography tutorial: Top-selling images & quick posing tips
Posing women in boudoir portraits is both an art form and a learned skill. Women are by nature sensitive about perceived body flaws. Expert posing aimed at highlighting her favorite features (and downplaying others) can make or break her experience and love of her photos—and ultimately your sale.
Petra Herrmann, an exceptional boudoir photographer, based in Kansas City, has the guest spot here with a few of her top-selling poses with some quick posing tips you can try out during your next boudoir session.
Here is Petra’s Top Five Sellers in boudoir photography – the images that really appeal to clients …

Natural light; ISO 400, 1/125, f/3.5
Canon 5D mk III, Sigma 50mm f/1.4
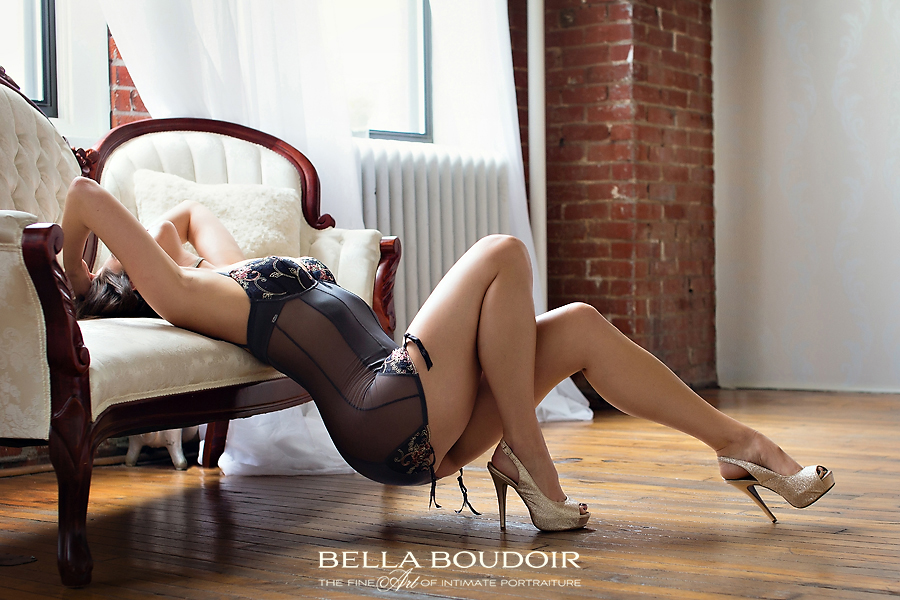
1. Bent Legs Can Hide “Issues”
This pose is one of my calling cards. It looks good on every body type, every age and is always a hit with my female clients and their male counterparts. It’s very complicated to direct a client into this position so I always demonstrate it first then walk them through positioning each element.
Keys to nailing this pose: Have her drop her hips, pull her chin as high as possible and stagger her legs. I break a rule by having her bend her close leg most to hide any issues created in her midsection. This pose can work on a couch, bench or chair.
Natural light; ISO 200, 1/160, f/2
Canon 5D mk III, Sigma 85mm f/1.4
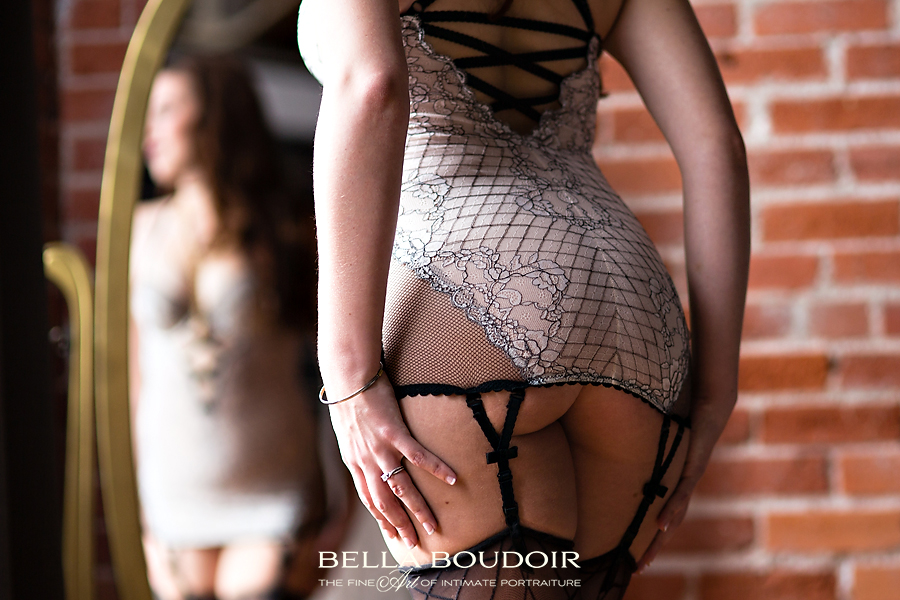
2. The Secret to an Amazing Tush Shot
Every woman needs an amazing photo of her own rear end. The secret is to lower your camera perspective. By shooting from down low and often angling your lens up you give the caboose an instant lift. I have my client stand with her far leg crossed over her near leg to create a lovely criss-cross and hide any unmentionables for a classy image.
Hand placement is also key: I like positioning her hands on the sides of her hips to frame her. This pose is always a favorite, and often lands in a full-page spread in her album.
Natural light with soft silver reflector; ISO 1600, 1/160, f2.2
Canon 5D mk III, Sigma 50mm f/1.4
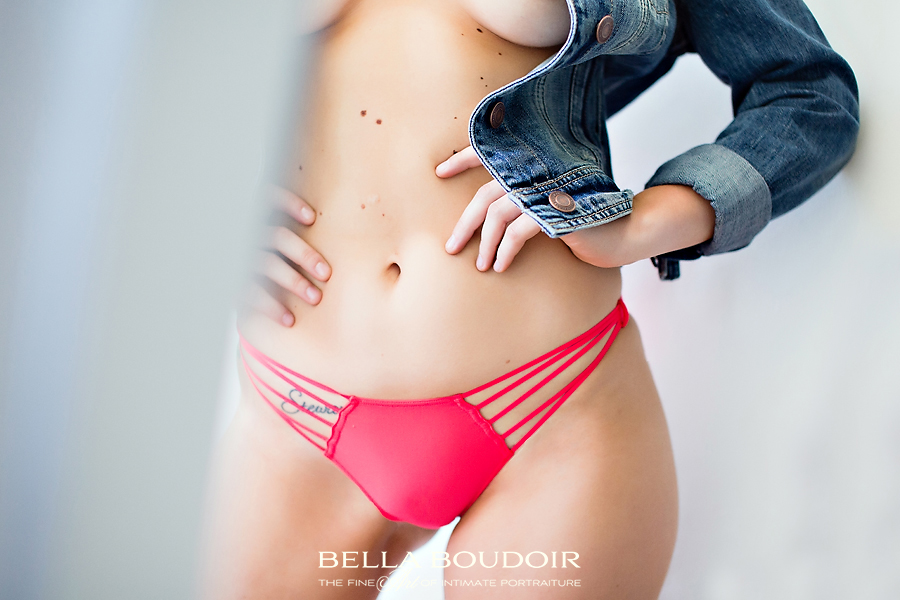
3. Power Position and “Under-boobie”
When I shoot from a lowered camera perspective, I put my client in the power position. Her stance in this detail shot is wide, weight shifted to one hip and hands on hips to capture this woman’s feisty attitude. I’ve also made a point to capture the “almighty under-boobie” in this angle.
I have this theory on boobs. Cleavage—yeah, it’s nice, but it’s also something we see every day. Under-boobie (and side-boobie too!) is something only the privileged can view. This pose can be flattering for most clients who feel confident about their tummies.
Natural light with soft silver reflector; ISO 1100, 1/160, f/2.8
Canon 5D mk III, Sigma 50mm f/1.4
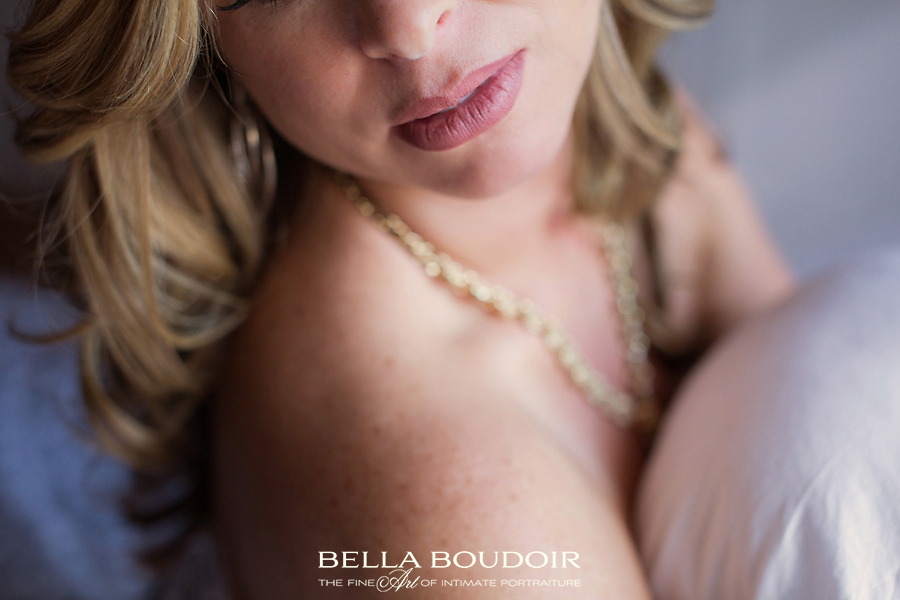
4. Sensual Details of Her Favorite Features
I make it a point to ask each client before their sessions what they love about their features. I grab a few shots of what they love. This client loves her lips. Since I only shoot with prime lenses, I zoomed with my feet to grab a quick, sensual detail shot of this favorite part.
Also, by shooting her lips from above , I’m able to create a defined jawline and hint and what’s below. This pose (and other detail shots) is not only flattering for every woman, it works well for wall art.
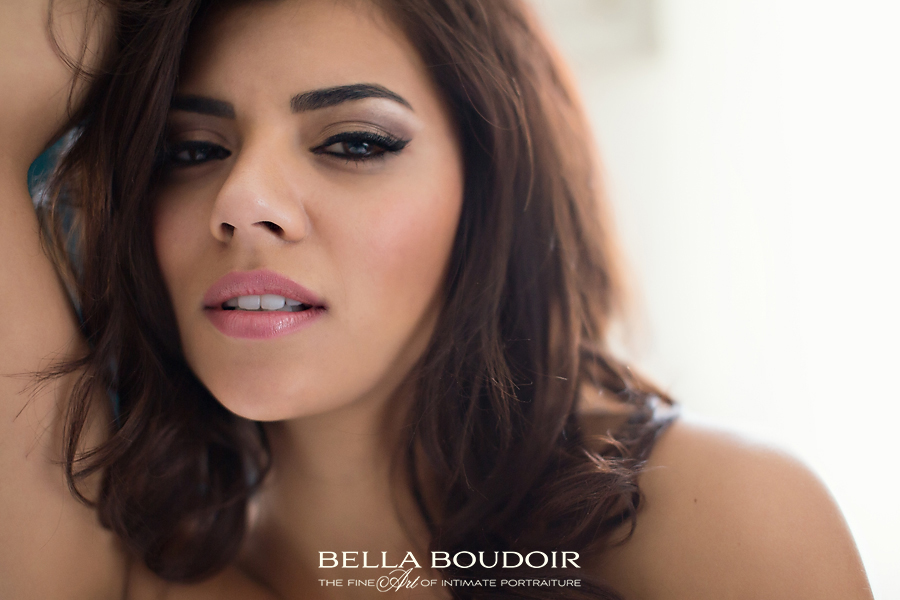
Natural light with soft silver reflector; ISO 1000, 1/160, f2.0
Canon 5D mk III, Sigma 50mm f/1.4
5.Direct Eye Contact
I’ve been on the other side of the camera for three boudoir sessions, and I can tell you that looking directly into the camera can be a bit awkward and intimidating when you’re half naked. I always start my sessions with clients eye-lines cast down their bodies or across the room. Then, being careful to speak in a soft and gentle tone, I have my client breathe deep and turn her eyes to the lens.
By letting her warm up and allowing her to relax, I’m able to coax seriously seductive expressions from her that look natural.
Related links
- Details and sequences – increase your sales in boudoir photo sessions
- Yes, that was shot at 50mm, but isn’t a close-up head-shot
- Kansas City boudoir photographer
Books on Boudoir Photography


I missed an wide frame to show how the legs were posed on pics 2 and 3.
Criss-cross applesauce with the legs, up at the thigh not just at the ankle, then the weight is shifted to one leg to further accentuate her curves.
This was an awesome boudoir tutorial, I have never been able to get a really good “behind” shot, but I am going to try your technique and see what I get! Thanks!
Camera perspective is the key, I think. With your next opportunity to shoot a rear try a sequence of shots starting at where you would normally grab the shot and with each frame move your camera down lower. When you get down low angle your lens upward. It works!
Great article, thanks for the share. i will try some of these. thanks.
Awesome article. I really love how you breakdown the why behind each pose.
The last photo seems a little wide and distort-y to me, and I’m curious why photographing longer here to flatten the features a little bit wasn’t opted for. Is it because you were trying to create a candid kind of intimacy in the feel of the photo ?
What is specified in your model releases or contracts regarding your use of images? I imagine the terms would be more restrictive than a standard portrait 1.
Love the shots. Great article. Thanks for sharing
Hi Petra.
I have a question. I have a 7D, what is the highest ISO do you recommend I should use for these kind of photos? I see your photos and the 5D MKIII ISO is still good at 1600. Any recommendations as to how high I should go?
First shot is amazing! Excellent …Thanks for sharing.