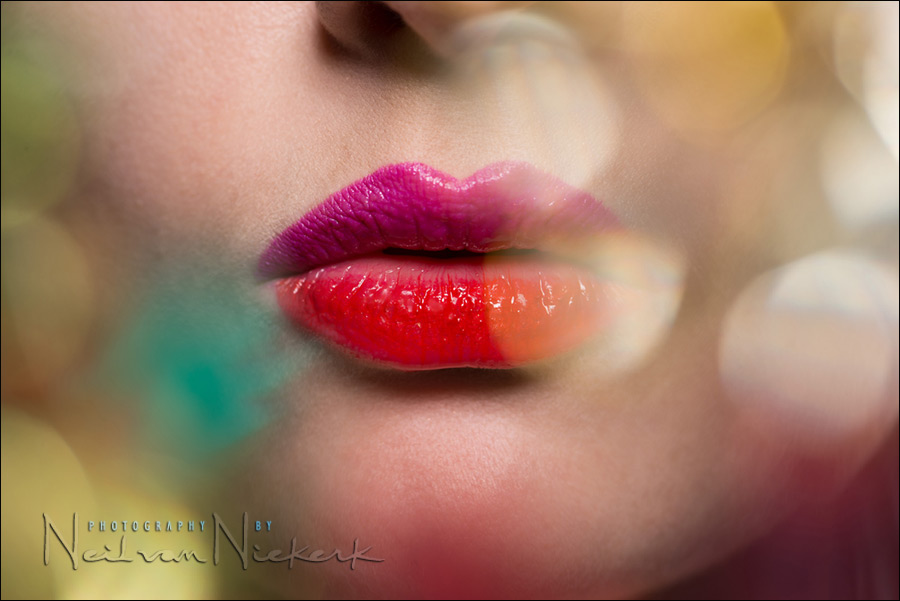
Creating foreground bokeh effects in-camera
The closer you move to a foreground object, the more it’s shape and color and opacity will affect the image … in unpredictable ways. It’s a well-established technique then to create unusual color splashes and shapes in the image by creating flare highlights. It is often called “foreground bokeh effect”.
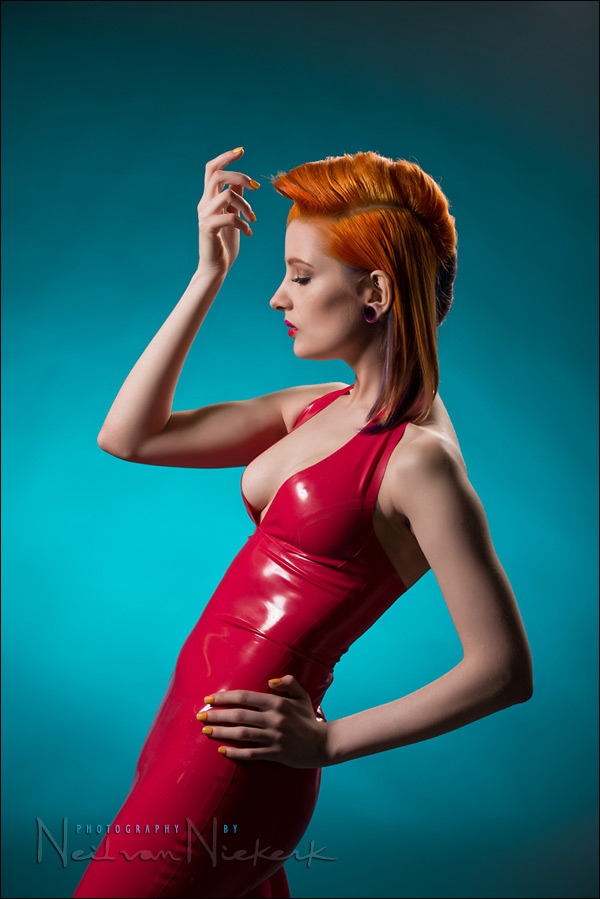
Ulorin Vex is an unusually photogenic model that I have photographed on a few occasions. When Ulorin visited the East Coast again recently, I jumped at the opportunity to meet up with her again and play in the studio. Her striking looks and colorful latex dresses would work perfectly with this technique – the random kaleidoscope patterns and colors wouldn’t be incongruous.
With a standard lighting setup in the studio, using a beauty dish, I also added an extra light to throw light directly towards the camera. I then held up various colored objects right in front of the lens – a colorful translucent plastic flower with colorful petals and leaves worked best. Shooting through an opening between the petals and leaves of the decorative plastic flower, all kinds of interesting random patterns appeared. It was unpredictable, and that is what made the effect interesting in part – you wouldn’t quite know what you’re going to get.
If this effect appeals to you, it would make sense to collect all kinds of objects to try out – glass elements and prisms work well too. Anything that will create a pleasant visual surprise.
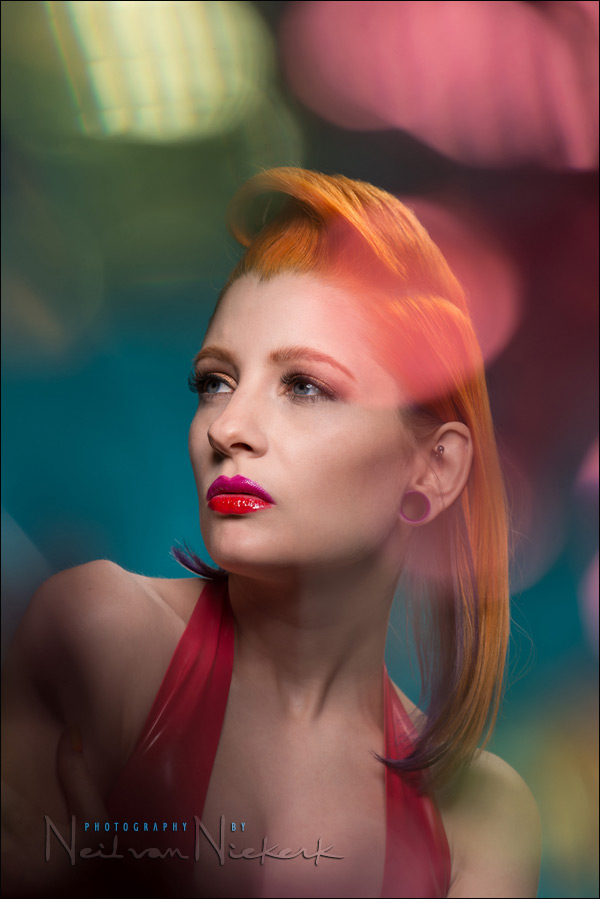
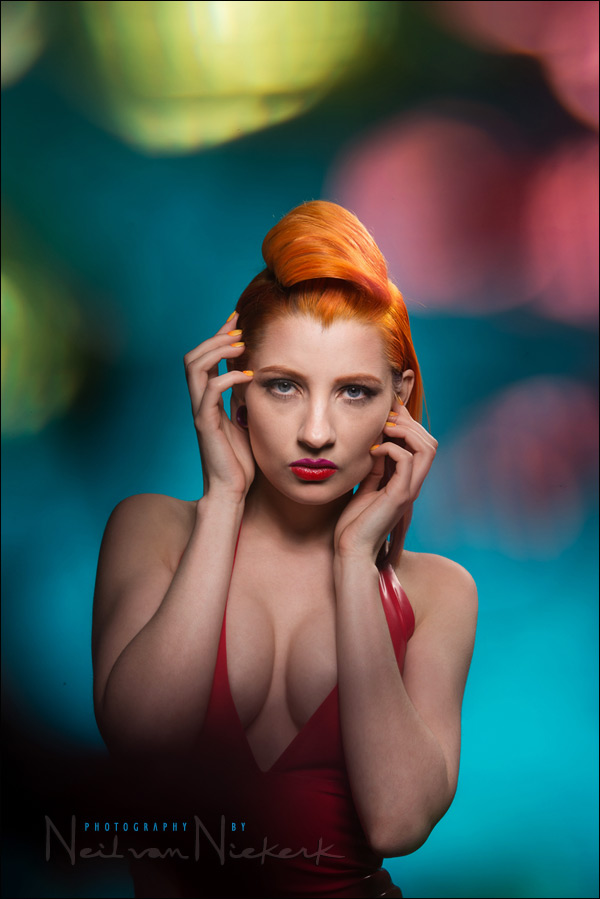
Photo gear (or equivalents) used in this photo session
- camera settings: 1/200 @ f/9.0 @ 200 ISO
- Nikon D800
- Nikon 70-200mm f2.8 AF-S VR II / Canon EF 70-200mm f/2.8L IS II
I was once again stunned at the amount of detail the 36 megapixels from the Nikon D800 delivered. I went for 200 ISO on the camera to get to f/9.0 to get enough depth-of-field. The increased resolution affects the apparent DoF when viewed at full resolution.
- (2x) Profoto D1 Air 500 Ws studio light
- Profoto beauty dish with a honeycomb grid (25 degrees)
- Profoto RFi 1’×4′ softbox with a Profoto 50 degree 1×4 soft-grid
- Manfrotto 025BS boom w/ 008BU stand & casters
- Manfrotto 1004BAC – taller, heavier light-stand
The lighting was via Profoto D1 moonlights and various modifiers. The background was lit up by a speedlight and had a colored gel over it.
- Nikon SB-910 Speedlight / Canon 600EX-RT Speedlite
- Nikon SD-9 battery pack / Canon CP-E4 battery pack
- Honl Photo Filter Kit – Hollywood
- Honl Photo Filter Kit – Autumn
- Honl speed strap
The lighting setup
The pull-back shot here shows where the lights were in relation to the basic setup – the beauty dish, as well as the 1×4 stripbox in the back to give rim-light on her. The light that is not shown here is the 1×3 stripbox that I placed to camera right, to the side and slightly back from Ulorin Vex – it was this light that shone directly onto the flower ornaments that I was holding up directly in front of the lens for the colored splashes.
There is also a speedlight on the ground with a blue gel on it to give the background some color. A blue-green tone seemed like just the right color to complement the bright red latex dress. I had the speedlight set to full power so that it had a chance to match the Profoto heads for the aperture used. I triggered the Nikon speedlight by setting to the SU-4 mode so that the light pulses would trigger it – in other words, it was an optically slaved flash.
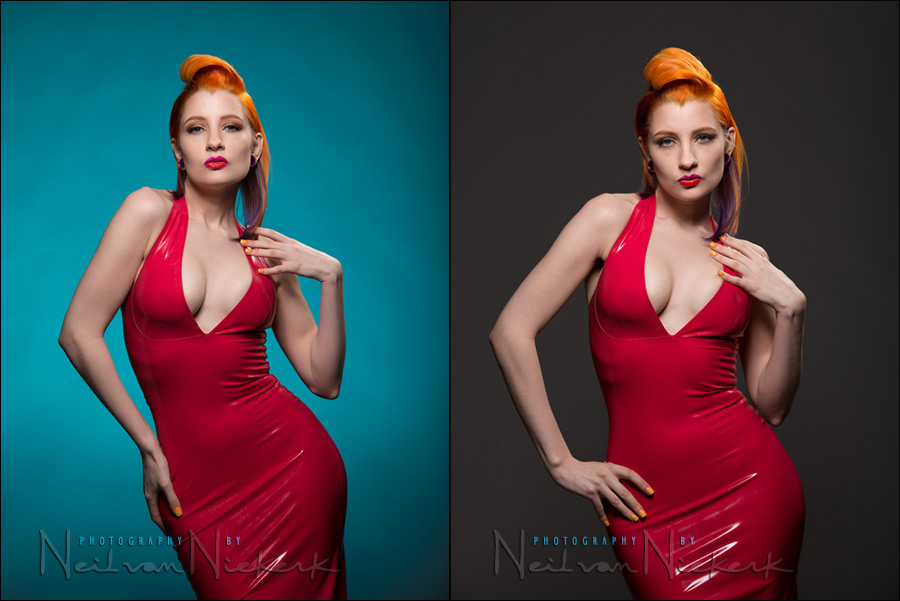
Here is the comparison to show the way the medium-grey background would’ve appeared, compared to being lit up with a speedlight and the blue-green gel from the Honl Photo Filter Kit – Hollywood (affiliate)
Credits
- model: Ulorin Vex
- make-up artist: Nicole Whitehall
- hair dresser: Karla Serrano
A little bit of homework
- How were the lights positioned for this photo with Ulorin Vex in profile?
- What were the camera settings?
- How did I get to those settings?
Related articles
- Other articles on Tangents featuring Ulorin Vex
- Studio photography: Low-key lighting variations (model: Ulorin Vex)
- High-key studio lighting / portraits (model: Ulorin Vex)
- High-key studio lighting (part 2) (model: Ulorin Vex)
- Colored gels with flash photography (model: Jessica Joy)

Great article Neil,
May I ask if there is a secret to getting gelled lights to produce the maximum color effect. I have tried to use gels on lights using blue gels as you have, but the color tends to be very subtle and washed out – almost white. I am thinking that my keylight (no gel) may be overpowering the gelled light and neutralizing the effect?
Also, if possible, couold you write an article on how to achieve that Jill Greenberg type background. Is it achieved with a colored backdrop or mutiple lights (with and without gells)?
Thanks.
The less power used on the flash the more saturated the color will appear with the gel. If you need the output you may have to double up the gels. The key light can wash out the effect if it is uncontrolled and close to the background.
Jill Greenberg uses numerous light and specific post production to get the results she does.
Thank you Mike,
I figured as much in terms of distances. I rarely have the luxury of having the subject far from the BG.
Fantastic!
(I’ve got tons of baubles to play around with this effect, too. Thanks for the inspiration)
Great job,
Very informative.
A question. What kind of boom are you using that supports the weight of the beauty dish and strobe head?
Thanks
Manfrotto 025BS heavy-duty boom & stand
I found this extremely interesting. I have not played with the foreground bokeh effect like this, but I surely am inspired to give it more of a try given the fun info you shared here.
I maybe wrong, but it’s worth a try. I would say that the camera settings and light position are the same, but the model turned to her right.
The shadows on her changed.
Alright, one more try, if I don’t get it, I am throwing the towel, although I am dying to know the answer :-) It appears to me that the light shooting towards the camera did not move. The main light seems to have been moved to the model’s right. It seems this way to me because there is a gradient of shadow across her left cheek.
For the shots without the foreground effects, I turned that flash off. (As noted, it isn’t visible anyway in the pull-back shot anyway.)
You might be referring to the flash supplying rim-lighting?
Yes, I was referring to the rim-lighting.
Love those shots Neil. One question, did you get any lens flare from the light pointed back at camera? Can you remember power setting for that light? Inspiring as always!
I had taken the filter off my lens, and was surprised that I didn’t see any noticeable flare with the flash pointed towards the camera. Part luck; part awesome optics.
Neil, thanks for all the articles, your site is one of my favourites.
Re the lighting for the above image:
– Background light – the aforementioned speed light with gel
– Rim light – on camera right, above and behind Ulorin, not sure what type of modifier
– Main light – vertical strip with grid, on camera left, very slightly in front of Ulorin
For the profile shot I think the background light has remained the same. The rim light has remained the same, hence the light on the hair and the light on the back of the neck. The beauty dish has been moved to camera-left to shine directly onto the front of the model.
Provided the distances of light sources to model have been maintained from your previous shots, I’d say you used the same camera settings. They worked great then why bother revisiting them when you had a good result.
Yup, no real need to meter again, if we keep to the same distances.
Neil, I have wanted to ask you a question for months, but it’s off topic. Maybe some reader will chime in instead. I started gelling my flash about a year ago (I bought 1/2 straw just because I’ve read where you have used that particular color), but I usually shoot at or near max sync speed (1/250th) and at a low ISO. Without the flash the images are very dark. Is it not necessary to gel a flash indoors if the ambient light is so dim in the image?
If you’re not really trying to blend the flash with the available light, then there’s no reason to gel the flash – the flash in your case is pretty much the only light source.
Hi neil
1) same background , same gel, same everything ( why bother)
2) Rim Light same but in vertical position instead of horizontal
3) Front light strip light in front of the model with grid.
one question already posted. You said you had your speedlight set to full power. How could you achieve such a deep blue color? double gelled?
thanx for sharing all info.take care
claudio
hey neil,
great post!
Homework: my guess is that u simply kept the main light on the same axis in relation to Ulorin
Thanks Neil! Wow the lighting is so perfect.
If you held up opaque objects, like a plastic flower, directly in front of lens, why are they not opaque in the finished image? Even if you shot thru the petals why wouldn’t the opaque petals still be opaque to the left and right? Why did they go translucent?
Translucent! I meant to say translucent. But writing this late at night, the mistake crept in. I fixed the text now.
That explains it! Thanks Neil.
Great article Neil. Thanks for sharing such great info. I have pinged it out on our Alien Skin social feeds.
Neil, how do you decide between a softbox and a beauty dish?
It depends on how dramatic I want the lighting on the person. And it also depends on the subject’s skin.
A softbox and soft flat light is easier on imperfect skin.
for the visual person – can I get a shot of how you held up those objects in front of the lens???
A behind-the-scenes video clip is on its way.
By far my favourite shoot! You’re awesome!