Studio portraits of children – Lighting and textures
Going towards the brighter, less moody way of lighting children’s portraits, as shown here – dramatic portraits of kids – I went with the parents’ request with how they wanted this 3 year old’s portraits to look like. I therefore lit it differently, but still with (mostly) just a single light source. For my own portfolio, I added a texture to the background. More about the lighting and post-processing in a moment …
The family stopped by the studio on their way to Chuck E Cheese’s for this kid’s 3rd birthday party. So there was excitement, and it was all a little too overwhelming for him. We started off with group portraits of the four of them together – mom & dad, and his baby brother. Then we progressed to the portraits of the birthday boy by himself. I didn’t want all the grown-ups to call him from every direction to “look at the camera!”. That never works – kids will look at the person talking. When there are multiple people calling and giving instructions from every direction – it just doesn’t work.
So I had his mom right behind me, over my shoulder where I was sitting on the studio floor, to talk to him to get his attention. When it seemed like he was fine with being there, I had his mom join everyone else on the living-room side of the studio. So it was just me and him, and I could talk to him about stuff. Kid’s stuff. No, he doesn’t like Sponge-Bob Square Pants. He loves dinosaurs and even roared a few times like dinos do. Gradual steps – not too fast, not too slow – just right, to have his attention, and not have him feel overwhelmed, or alone. With that, we got several sequences of lovely portraits of the little guy.
I started off with a bit of skin retouching, cleaning up a few small marks and boo-boos. Kids tend to bounce around and get some scuff marks – all part of growing up. I clean those marks up with the Healing Brush.
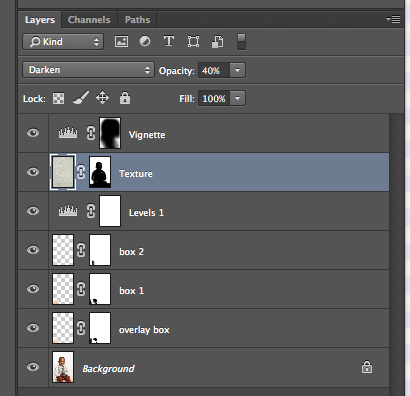
Then I extended the box, copying part of the box from the right-hand side from the un-cropped image.
To bump up the contrast, I added an Exposure Adjustment Layer. I don’t change the Exposure with this layer, but I change the mode. I usually have this as a Soft Light layer, but this time I had it as an Overlay layer. That works too.
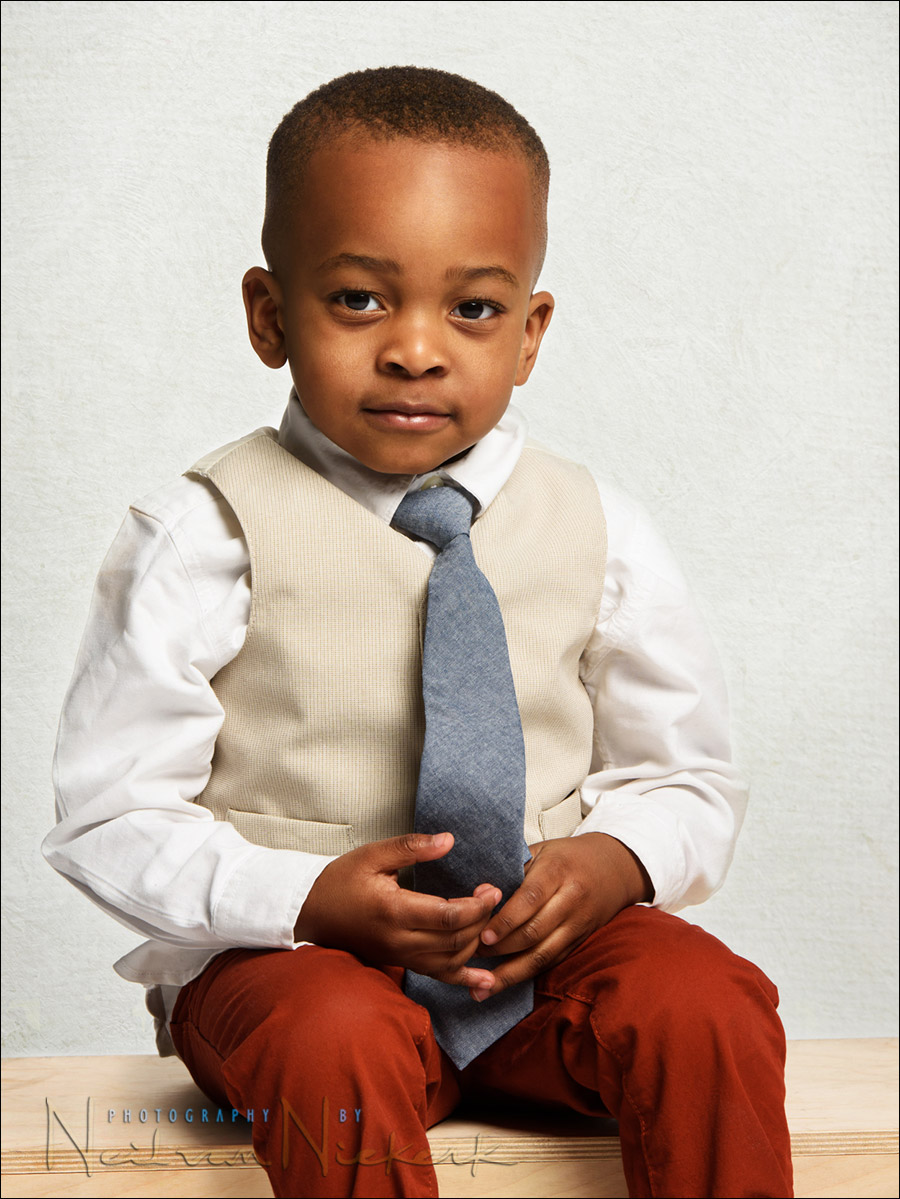
The white paper backdrop was too clean for my liking, although the parents wanted exactly that. So for my own portfolio, I added a texture. I changed the mode to Darken, and lowered the opacity.

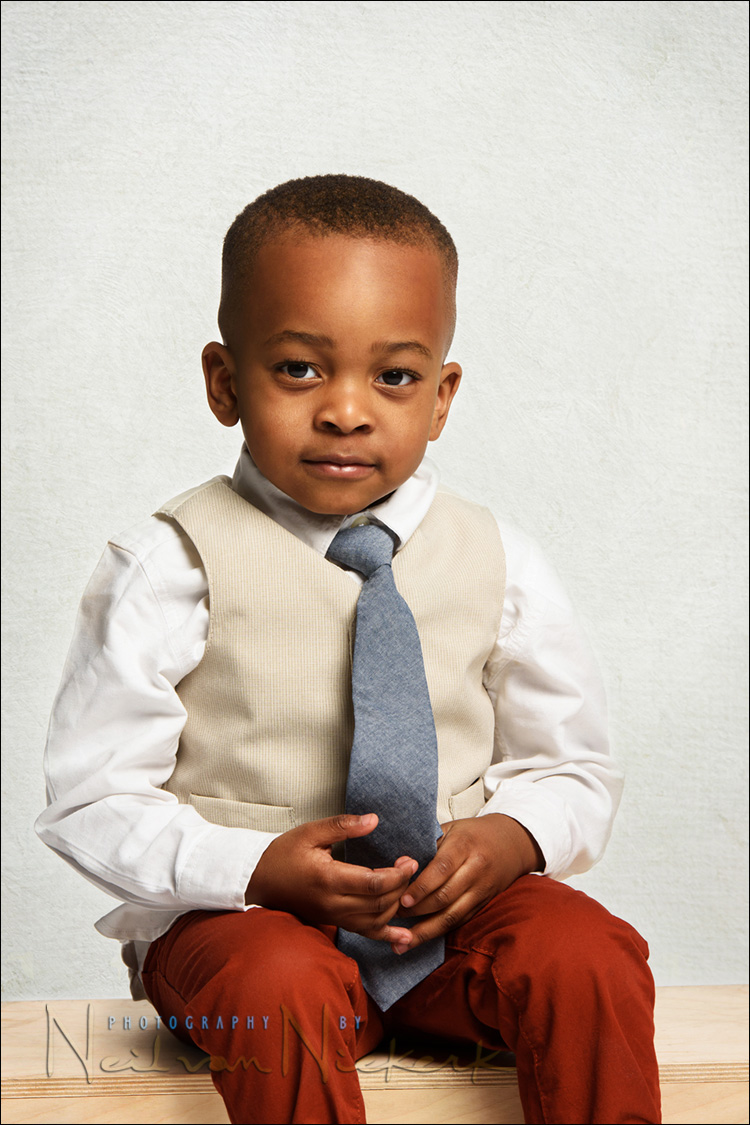
The post-processing was very similar for this image, also edited for my portfolio.
Photo gear (or equivalents) used during this photo shoot
The lighting setup for the image at the top (with the white background), was simplicity itself – one light with a softbox on the background, the Profoto 5’ RFi Octa Softbox (affiliate). As described in this article – working with a large Octa Softbox – it is one of my favorite light modifiers in the studio. A large light source that gives gentle light – but it can be swiveled to give more directional, but still soft light.
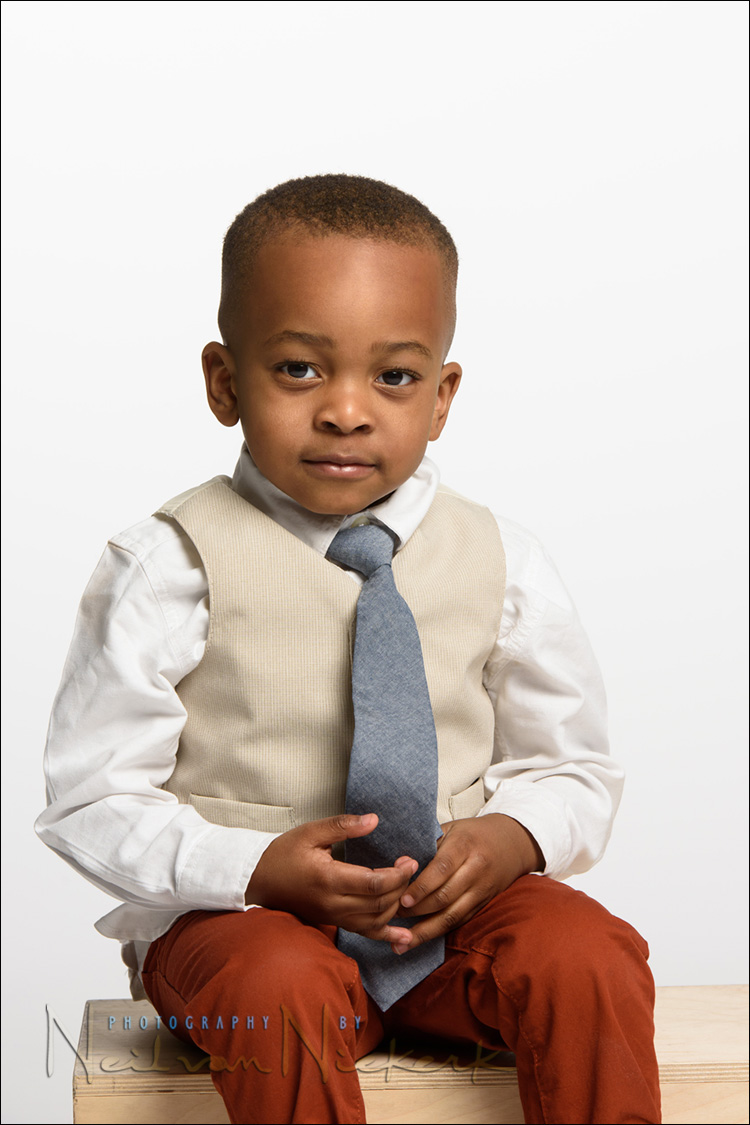
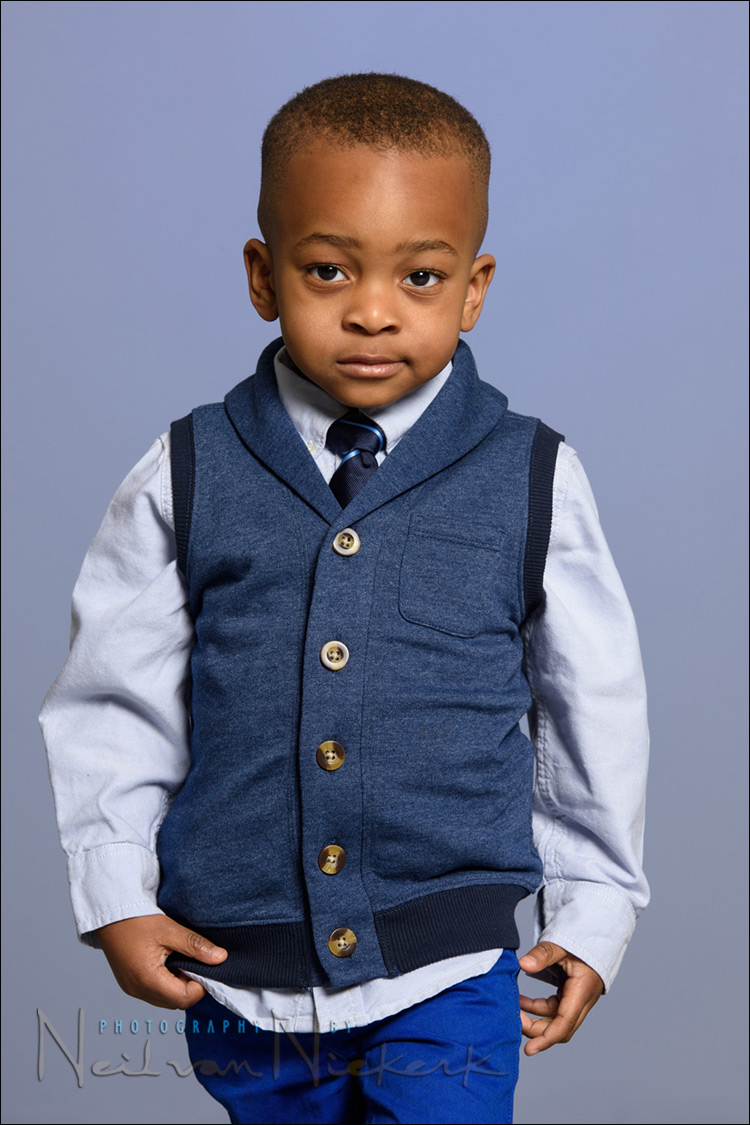
For the second image, where the little boy is wearing blue, that was the only light source.
For the image at the top, where he is sitting on the box, I had to add a second light to bring the white paper backdrop up to pure white. There is a way to use the histogram to determine exposure for the white background – I look at how the white background spikes right on the edge of my histogram. Then white is white.
The background light was diffused with the Profoto 3.0’ Octa Softbox (affiliate), and it was mounted on a Manfrotto 025BS boom w/ stand & casters (affiliate), to keep a light-stand from being in the way in the background.
The studio flashes used were the Profoto D1 Air 500 Ws studio lights (affiliate).
Studio lighting workshop
If you are interested in learning more about studio lighting, including lighting for headshots, I offer workshops on studio lighting. The workshops will be held at my studio space in NJ, and it has a wide range of studio lighting gear to play with!
Related links
- Dramatic portraits of kids – Lighting and intent
- Using a gridded stripbox as the main light (model: Claudia)
- Studio photography – Working with a large Octa Softbox
- Studio Photography Workshops
Let’s hear from you
What are your tips for working with kids?
Excellent work as always, love that you were able to establish a rapport with him and that helped imbue the picture with character.
That texture is absolutely spot on. Perfect balance with Little Man’s shirt/vest to create a great shot.
Trev
Yes I totally agree, the textured backgrounds work perfectly. Interesting how you created the textured backgrounds, thanks for the idea.