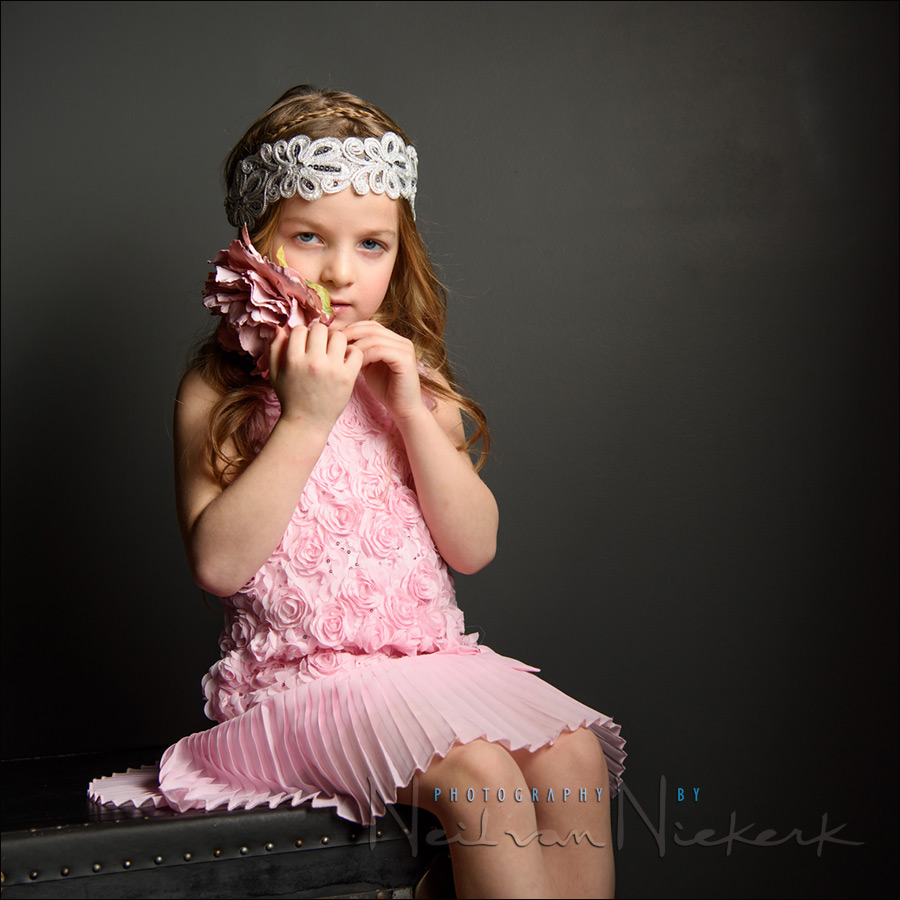
Dramatic portraits of kids – Lighting and intent
When photographing portraits of someone, we can only leave so much up to serendipity. Deliberate action produces deliberate results. While things don’t always work out to plan, having a plan helps propel things in a certain direction.
With that, we need to be able to pre-visualize the photographs we want. We need to shoot (and use light) with purpose. Even if you are just experimenting and playing with your camera and lighting, you will fare better if you have some intended result in mind. Always that question in mind – what is it that we are trying to do here?
When I had the opportunity to photograph my friend Cate’s three kids, I knew I had to bring something else into the mix to make the photographs stand out. I always feel an extra bit of pressure when I am taking portraits of a photographer – or in this case, the kids of a photographer.
I’ve shown in previous articles here how I love the dramatic quality of light that can be achieved with a single gridded strip box. Working with a single light helps simplify the process.
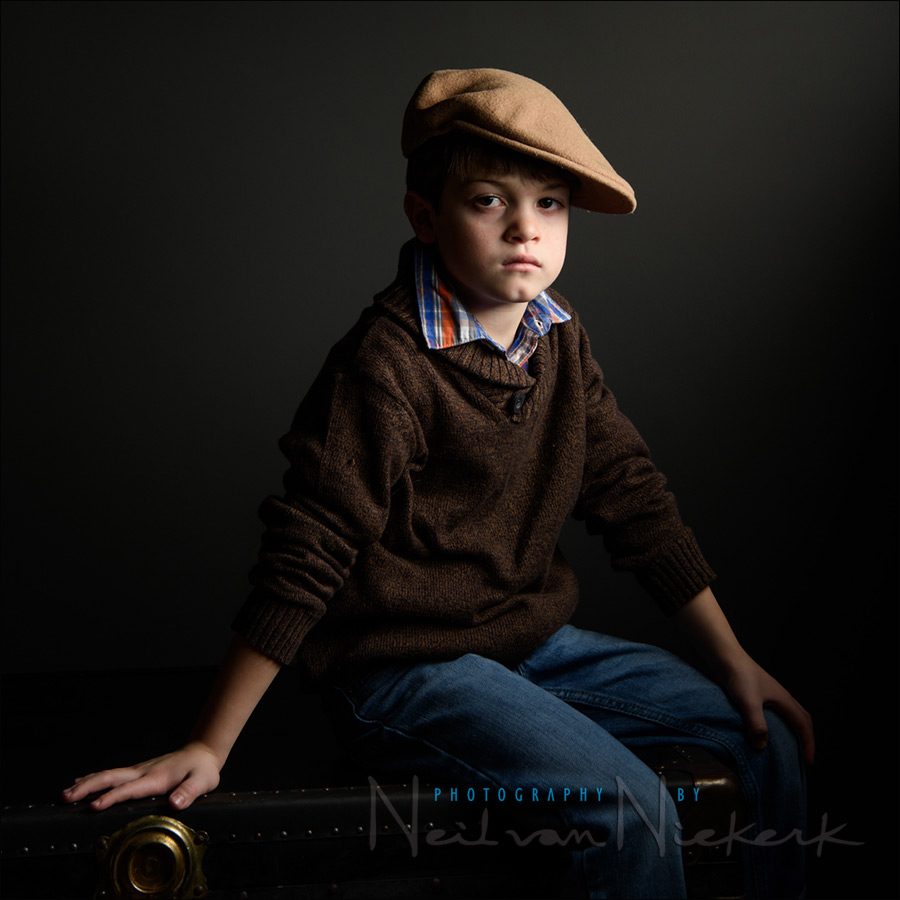
Since the lighting would be dramatic, I wanted the kids to have their normal expressions. Not all smiley. Just neutral, and perhaps slightly serious.
I definitely did not want the cheeeeese. Besides, us stylish people say Lamborghiniiiiii. The words, “come honey, smile for the camera”, grates on my every last nerve. It is always disappointing when I am trying to sneak a candid, unguarded moment of a kid at a wedding, only to have the mom disrupt the moment with a “look at the camera!”
I do feel that in allowing the child to relax into a normal expression, we can divine more of their true personality than a continually forced smile would. So yes, I wanted that more serious expressions here. Serious, but relaxed.
Gracie, Anthony and Olivia certainly brought their A-game for the camera.
Camera gear (or equivalents), and lighting gear used
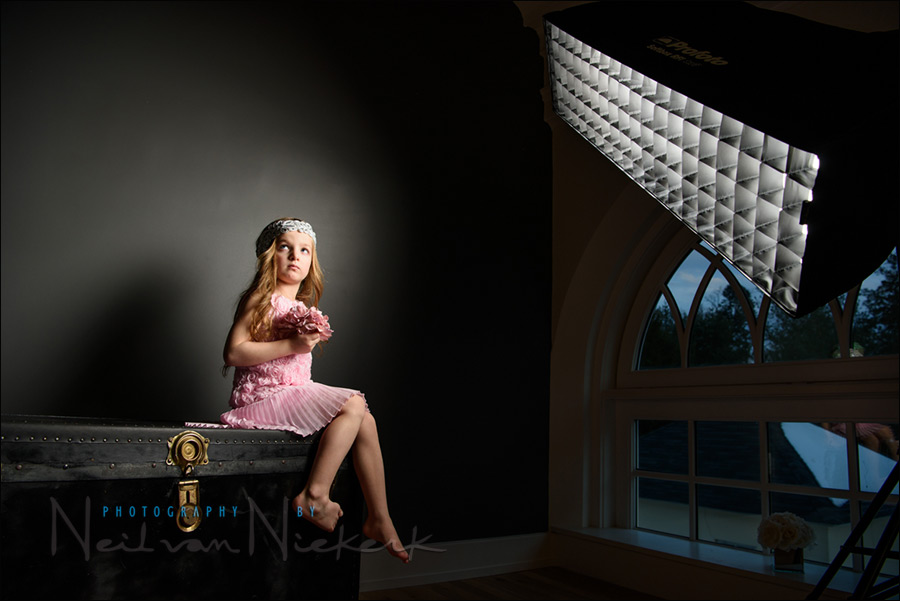
The light was from a single Profoto B1 TTL flash (B&H / Amazon), with a Profoto 1’x4’ gridded strip-box (B&H / Amazon). As shown in previous articles (listed in the Related Articles link below), I’ve shown how it is possible to swing and rotate a gridded stripbox for fine control over how the light falls on your subject and background. With these little kids, I didn’t need the size of the 1×6 stripbox. It might’ve been too intimidating any way. So I used the smaller 1×4 stripbox with the same effect. The long shape of the softbox, as well as the grid on the softbox, create a unique light fall-off – giving soft, but dramatic light.
- 1/125 @ f/8 @ 100 ISO
- Nikon D810
- Nikon 24-70mm f/2.8E VR /equivalent Canon 24-70mm f/2.8L II
- Profoto B1 TTL flash (B&H / Amazon)
- Profoto 1’x4’ gridded strip-box (B&H / Amazon) with a Profoto 50 degree soft-grid
Control your light
Let’s look at a sequence here, where we move from the soft available light in the studio coming in from the windows – to where we have control over the light. While the available light is nice here, we can only control how it appears, by how we position and pose our subject.
To bring control of the light into play, we have to use additional light, whether off-camera flash or studio lighting. This is explained with examples here as well – Off-camera flash vs. available light.
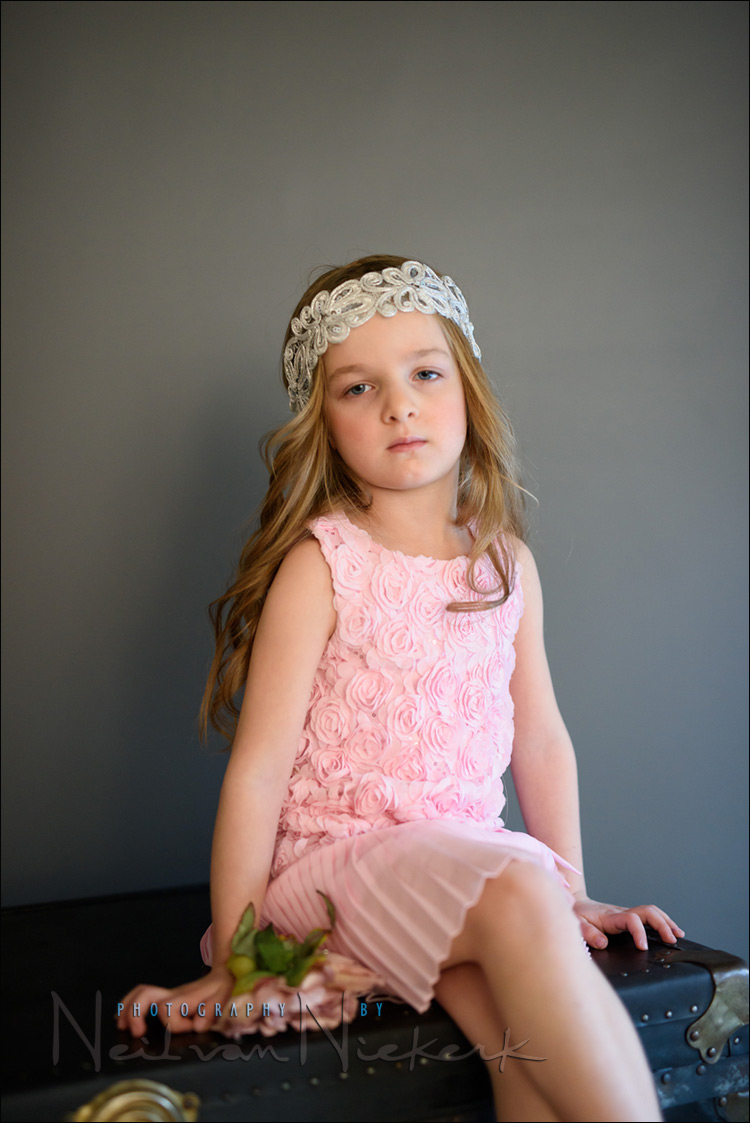
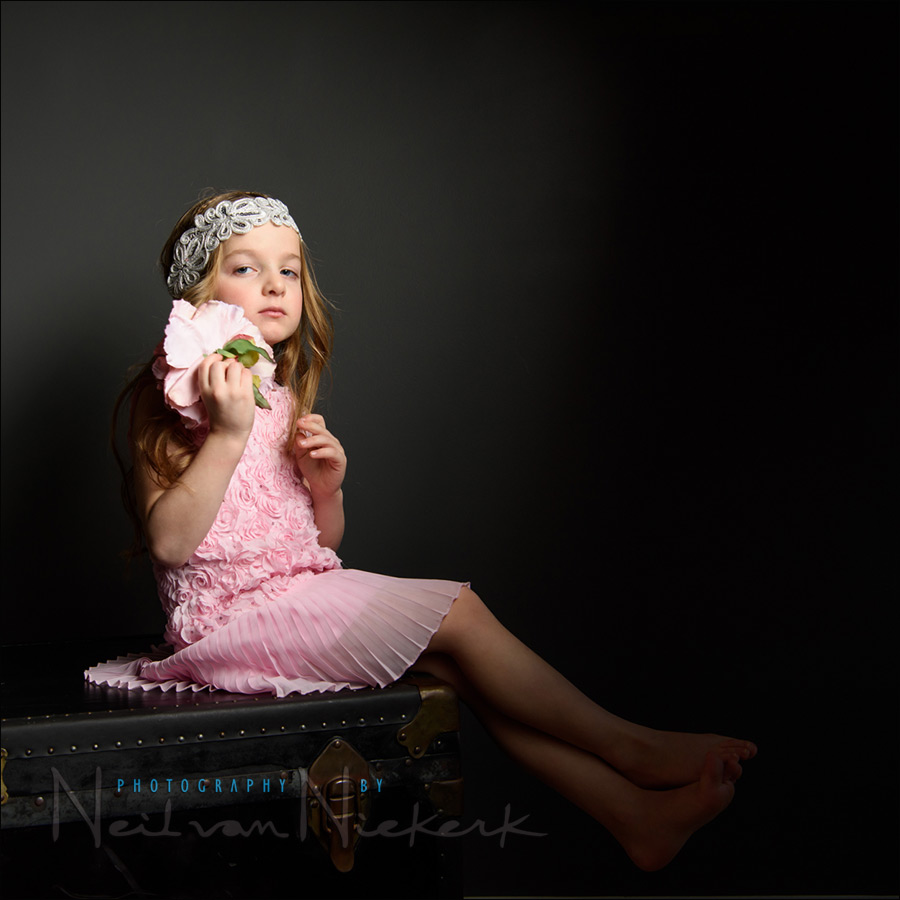
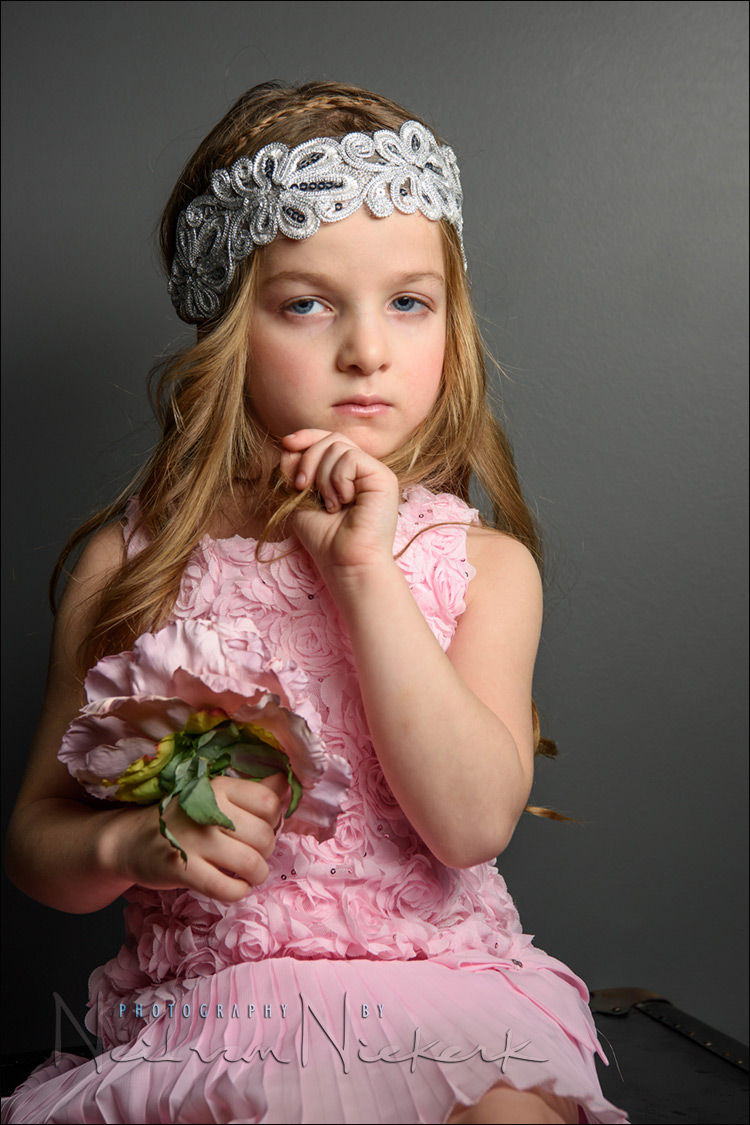
The available light photo (above) … and then, the moodier, dramatic light from the gridded strip-box. (The two images below.)
This little cutie, Gracie, is used to the camera, and did these poses herself with her hand, and how she held the flowers. It only needed minimal guiding from me how she should sit and place her legs. I did position her towards the light then, but the elegant way she holds her hands – that’s all her.
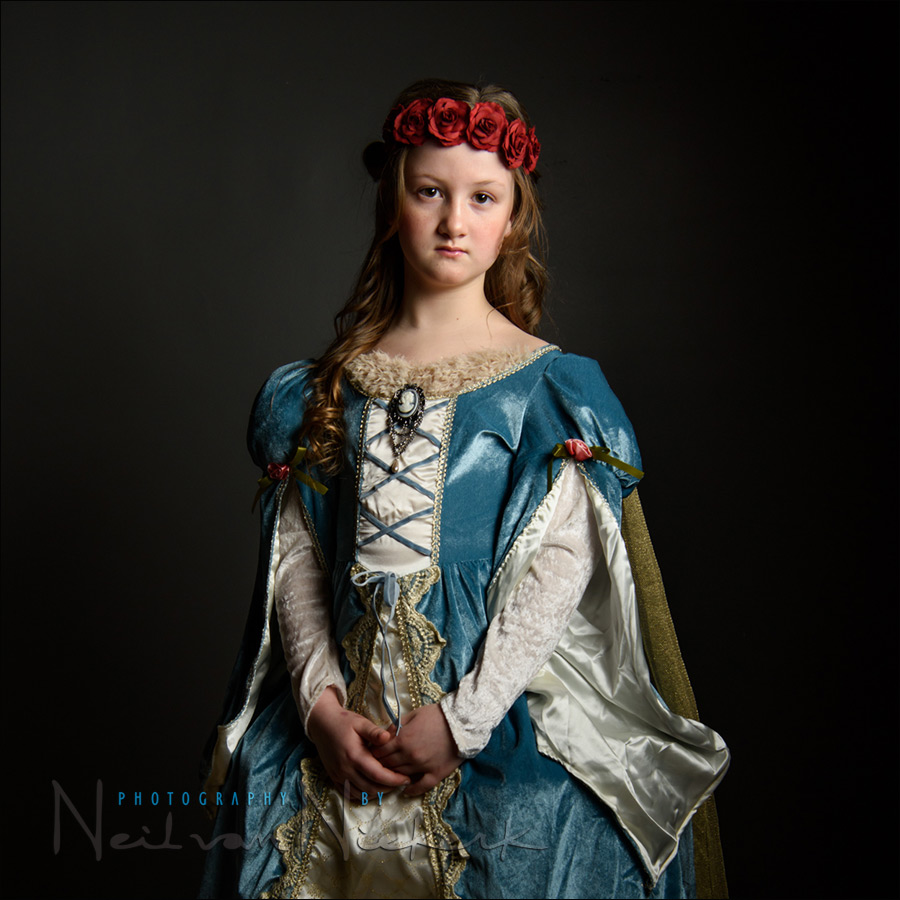
Cate’s oldest daughter, Olivia, has this Victorian style dress that she wanted to be photographed in. The serious mood also fitted the dress in this case.
In this first example, I used a big softbox – the Profoto RFi 3’x4’ softbox – a large light-source. Using it to the side, we get directional soft light.
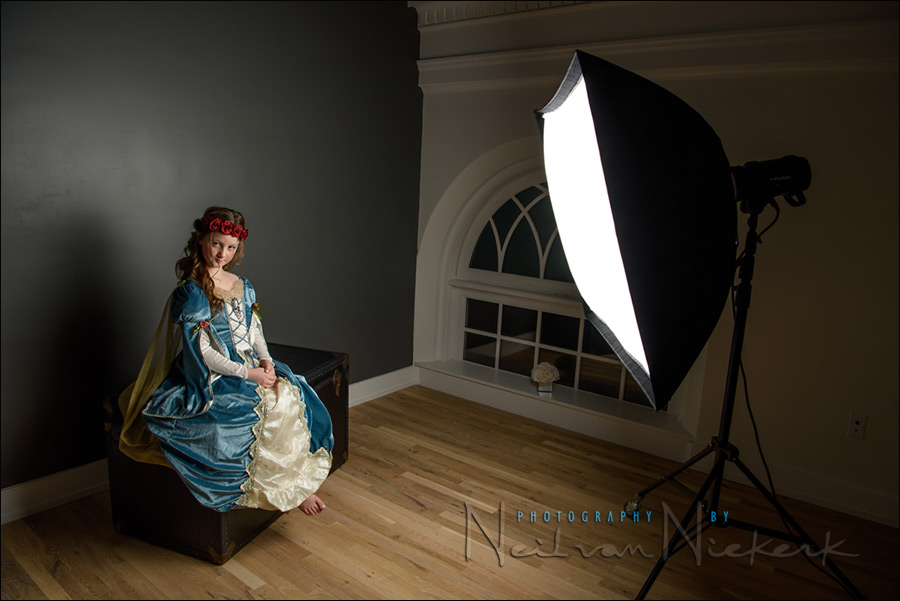
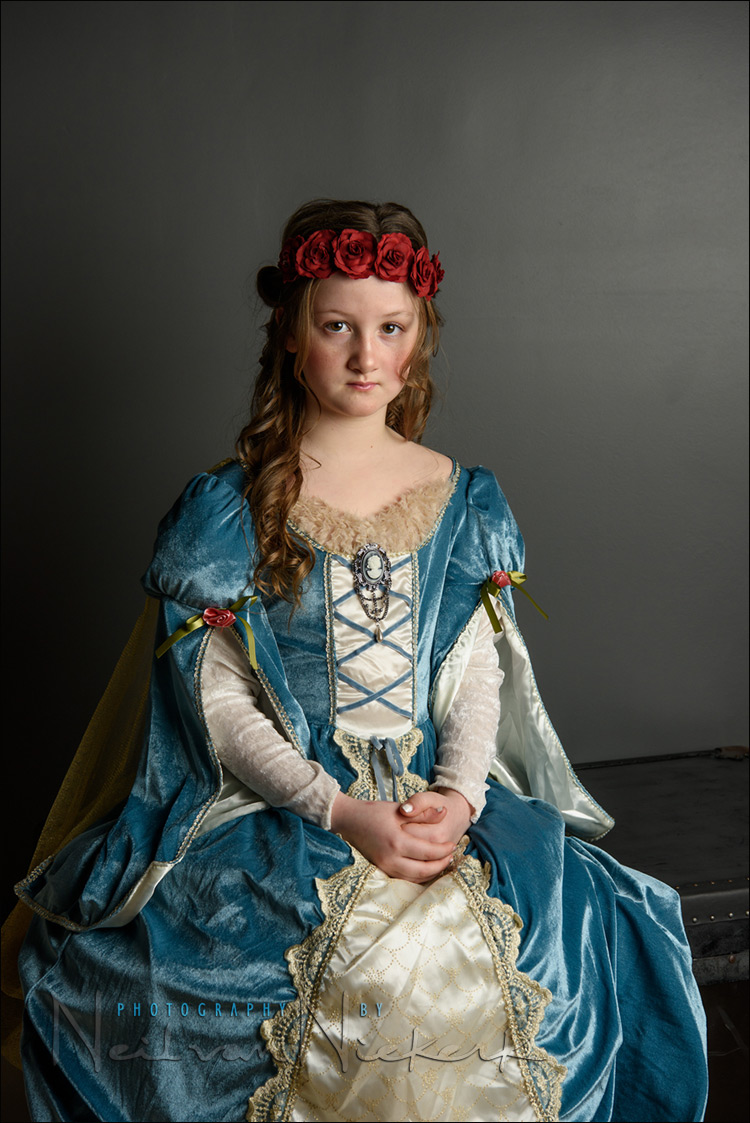
With the gridded strip box though, I have even finer control over how the light falls on the background, and on Olivia’s dress. It’s a more dramatic light-falloff.

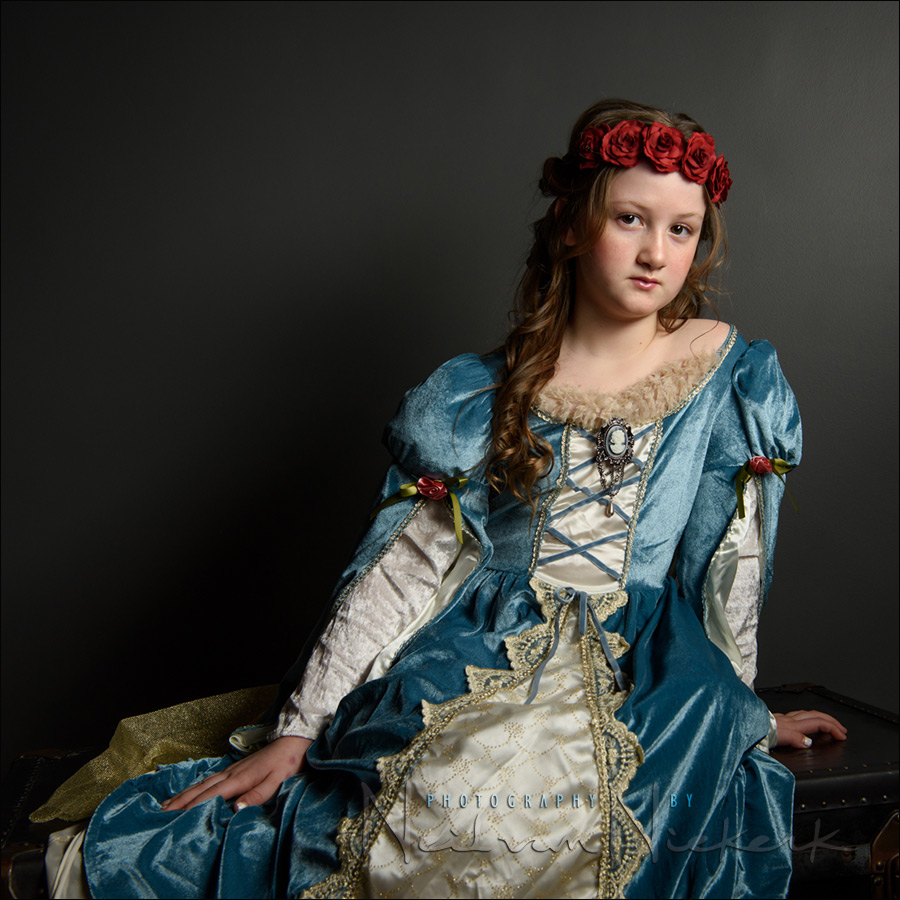
If we needed more flat light, without changing light modifiers, we could just use the strip box straight-on. The light fall-off to the sides are still quite pronounced.
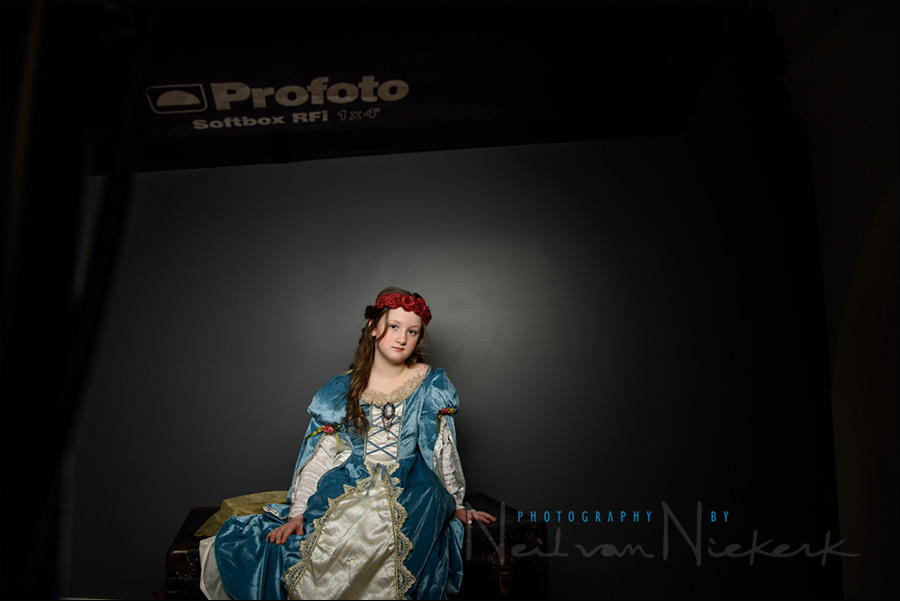
Summary
In controlling our light in how it spreads, and how our light falls on our subject, we can intentionally enhance the mood we want to create. As simple as that, and as dramatic as that.
Studio lighting workshops
If you are interested in learning more about studio lighting, including lighting for headshots, I offer workshops on studio lighting. The workshops will be held at my studio space in NJ, and it has a wide range of studio lighting gear to play with!
Related articles
- Changing the background color with gels (model: Olive)
- Portrait lighting setup – Chiaroscuro (model: Frankie)
- Using a gridded stripbox as the main light (model: Claudia)
- Using a big gridded strip-box / soft-box (model: Anita DeBauch)
- Studio Photography Workshops
- More articles on Studio lighting and Photography
Stunning. You’re kicking 2016 off in style Neil. I can see that the gridded softbox is going to be my next purchase. Are they able to be linked to the 600EX-RT though – I don’t use any of the Profoto gear?
Neil,
All truly great shots, but that young lady in the period costume, well just Google Mona Lisa to see what I mean.
Gorgeous kids, love the expressions and of course obviously the lighting for that dramatic feel.
I’ve also been enjoying the strip box in this set and for my own pictures this year.
I picked up a Lastolite hotrod strip box and use it with a single Canon Speedlite 600EX-RT flash. If you get the strip box really close to the subject the light is incredible, and 1/8 power on the 600EX is enough for f/5.6 – f/8 at ISO 100! I tend to use mine without the inner diffuser with a Speedlite as you lose a chunk more light with it.
In a studio I have a 6-foot x 15-inch strip on my Elinchrom lights and it’s also stunning.
I’ve really been having fun and good results turning the box horizontal and putting it to one side of the subject so that it wraps all the way round them from back to the front, but falls off rapidly as it goes down the body below the subjects chin.
Cheers Brian… You’ve answered my question!
While I was still trawling Google to come up with an answer, Brian replied. Thanks!
I’d be interested to know as I’m after a larger modifier (currently have a 27″). If gridded, would your Profoto RFi 3’x4’ softbox be much different to the strip?
I was thinking a large octo with a grid, to give me both large wrap when I need and also some direction control.
Vincent, I think you’d be hard-pressed to figure out from a photograph whether a large octabox or a 3×4 softbox was used. The catch-light in the eyes would be different, but any other differences would be subtle.
Neil you have a very practical and useful forum/website here – it is not surprising that you have been around so long. I have a little bit of studio gear (not much) but it is all packed away. I think your photos and instructions are just what I need to get it all out again. Of all the websites I have visited I think I really enjoy yours the most. Thanks and keep doing what you do.
Excellent article as always….I wouldn’t have thought of using a gridded stripbox for this kind of effect!
Time to go shopping :)