
Wedding portraits in less than perfect locations

Wedding portraits in less than perfect locations
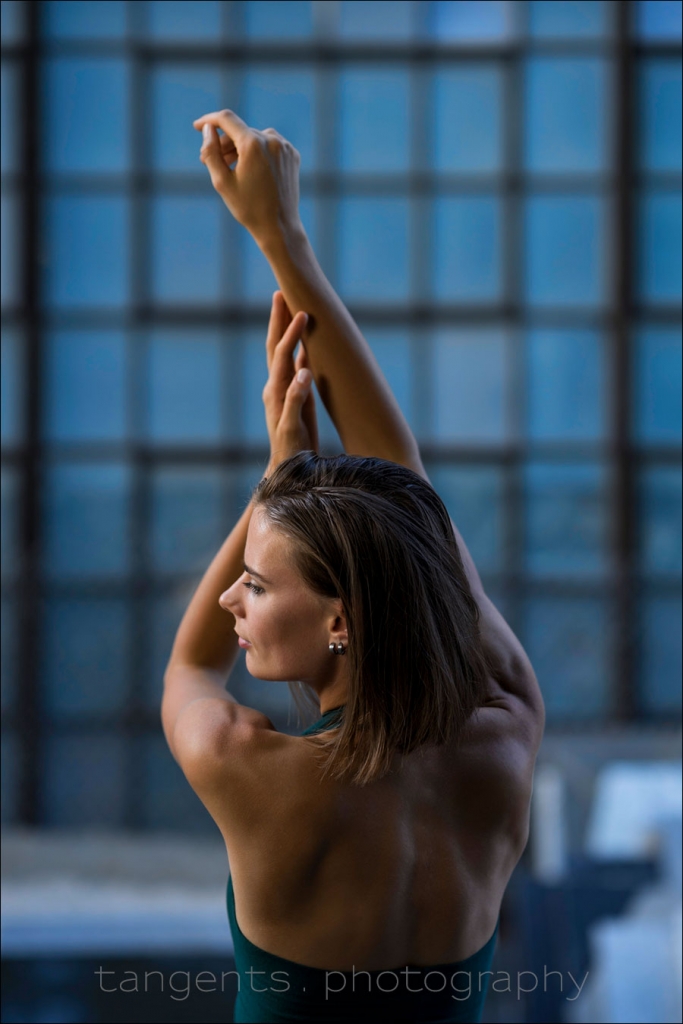
With wedding photography you so often have to work with a time crunch. The timeline doesn't go strictly according to the original plans for the day -- and you as the photographer still have to make sure you get a variety of photos for your clients. You still have to deliver. With this in mind, you use interstitial fragments of opportunity to get photos. You try to use that "dead time" where you can. This portrait of the lovely bride is from an Indian wedding I helped photograph. At some point before the ceremony started, the bride Read more inside...Tips for posing your subject during a photo session
Tips for posing your subject during a photo session
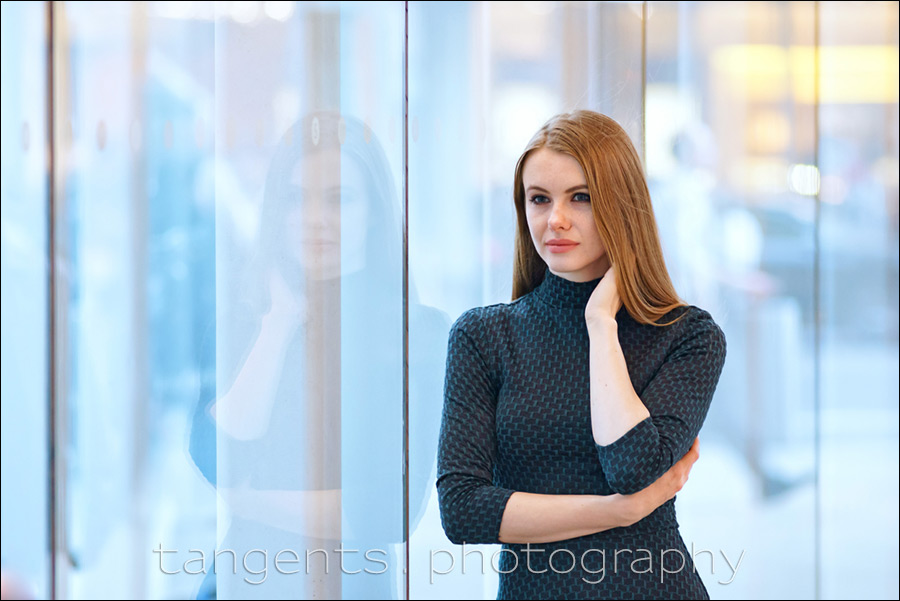
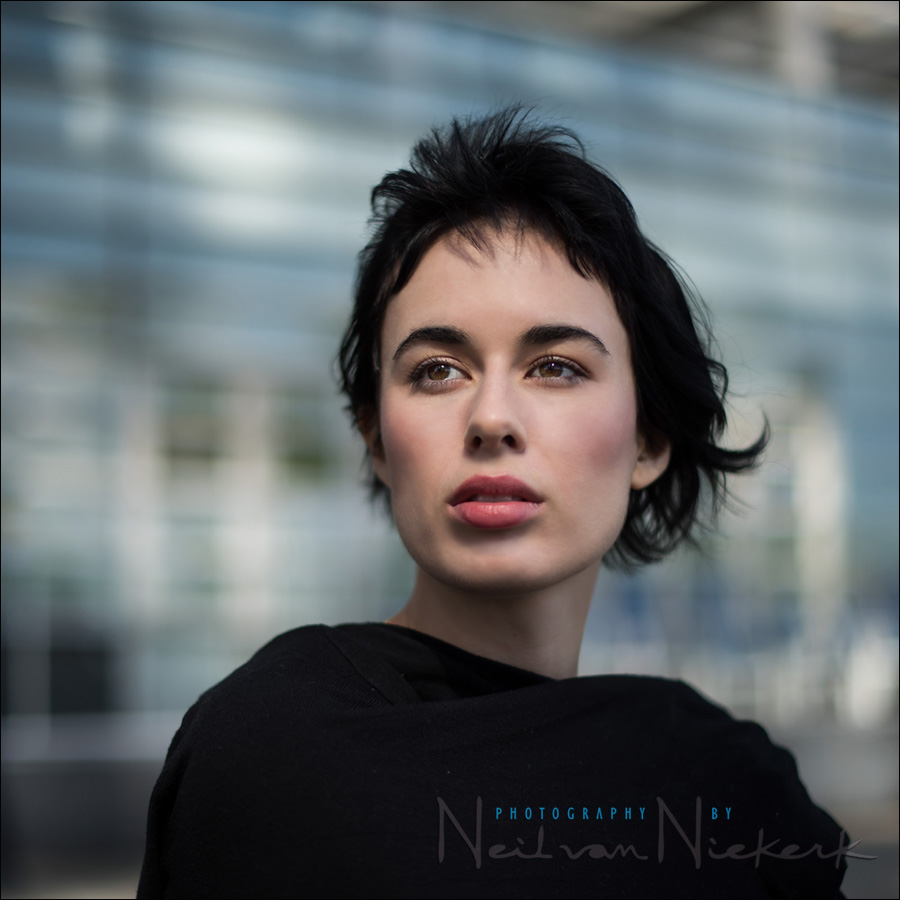
Too often, when I am being photographed, I notice one major flaw in how the other photographer interacts with me during the photo session -- they lose connection. They will take a shot, and then spend too long checking the image. Then after that, every other shot is interrupted by looking at the playback screen. Not only is it annoying to the person being photographed - the continuity is lost. Using this photo of Rozalinda as an example - while she looks magnificent, and is supremely easy to pose and interact with, it depends on Read more inside...Focal length comparison: 645 format vs 35mm format
Focal length comparison: 645 format vs 35mm format
We all know know that when you use a full-frame lens on a crop-sensor camera, that we can consider there to be a new “effective focal length” of the lens on the crop sensor because the field of view changes. When we now change our composition with the crop-sensor camera to match that of the 35mm camera, we change our own position, we then effectively get thane 1.5x or 1.6x focal length increase. This has been explored in the article: Full-frame vs Crop-sensor comparison : Depth-of-field & perspective. But now what happens when Read more inside...Solar Eclipse 2017 – New York
Solar Eclipse 2017 - New York
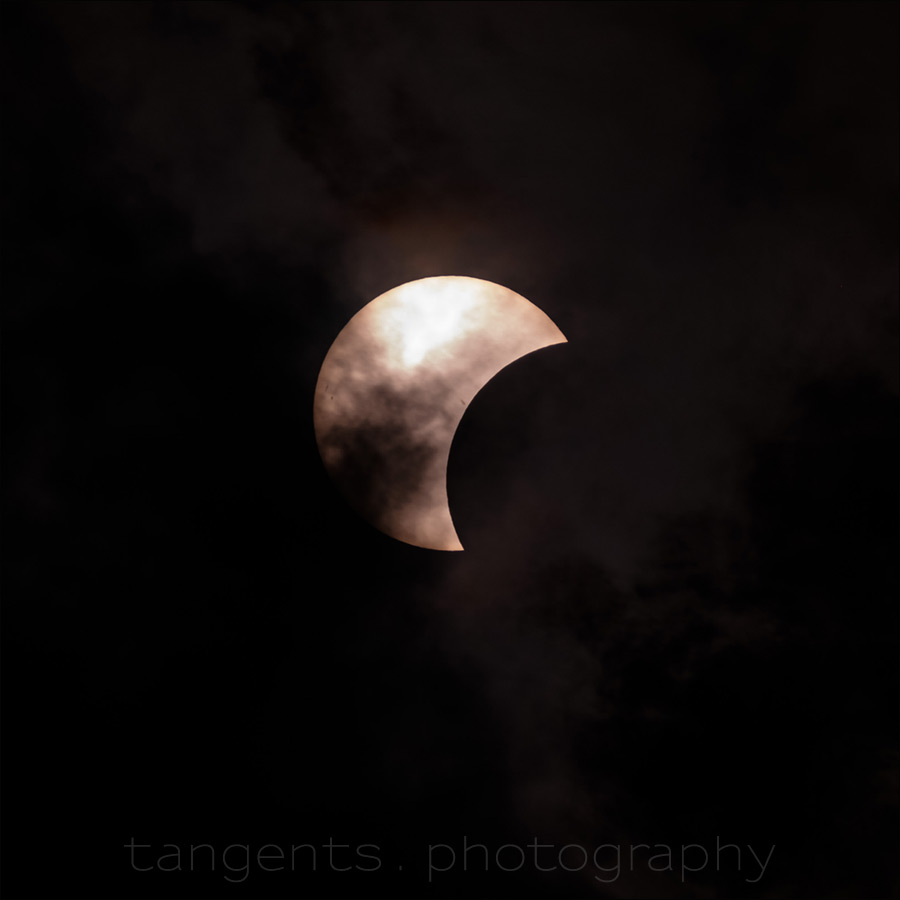
A time-lapse clip of ... well, the clouds on the day of the 2017 solar eclipse, where we had 71% partial eclipse viewable from New York City. My initial intention with this time-lapse clip was to show how the environment became darker, but the continuous cloud cover made it something different. I did have another camera for close-up photos of the solar eclipse. (The photos are shown lower down here.) There were short moments when the sun did peek out, so that we could see the progression of the eclipse. Even then, it was magical to see. Here is my Read more inside...What should I meter off with the in-camera light meter?
What should I meter off with the in-camera light meter?
What (or where) should I meter when using my camera's built-in meter? It's a question that mystifies many photographers when they start out, and first realize you can't just point your camera at the scene and hope for correct exposure. The incredible metering systems in modern cameras notwithstanding, it is essential to our growth as photographers to have a working grasp on metering techniques. Of course, an incident light-meter is always a great idea, but has become less necessary with digital photography when shooting Read more inside...Camera Settings for Concert Photography

If you love music, then live concerts are particularly exhilirating. If ever you are fortunate enough to get to photograph a concert, you'd have to have your own act together. You get a limited time-frame to nail the shots - and the lighting and stage setup can be a challenge to get great photos. Mark Tepsic is a concert photographer based in Denver, CO. He has advice on the camera settings that make most sense when shooting a live concert. You follow him on Instagram for a gallery of images and contact information.
Camera Settings for Concert Read more inside...
How to get a blurred background in photos
How to get a blurred background in photos
Somewhere at the start of the adventure that is photography, a newer photographer will soon realize that having your subject stand out from the background, really gives the photo a near-3-dimensional effect. Your subject just pops out with the background blurred. The question of how to get blurred backgrounds in photos, is easily answered. There are two ways to blur the background in a photography - In-camera (i.e., optical) vs Photoshop. Doing it in Photoshop is in my opinion, a boring way to spend an afternoon when you could be out Read more inside...How to photograph fireworks
How to photograph fireworks
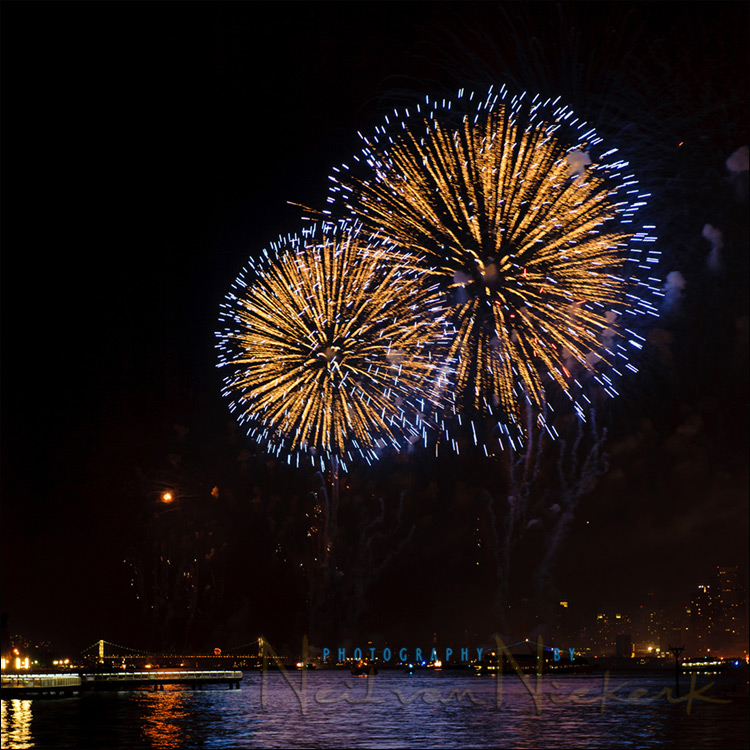
Braving the crowds (and insane traffic) in Hoboken, I had a good view of magnificent 4th of July fireworks display on the Hudson River, overlooking New York. From this viewpoint, Manhattan is to my right, and barely visible on the edge of the frame. I wanted to include the reflections in the water as well, since the surreal blend of colors helped anchor the intricate fireworks. The photography technique is simplicity itself - a slow shutter speed, a low ISO and a medium aperture. In terms of photo gear - a tripod and remote release for the camera. Your Read more inside...Photography: Using light fall-off to illuminate your subject

Photography: Using light fall-off to illuminate your subject
John collects vintage … oh, everything. His entire house filled with collectibles – it is like stepping out of a time-machine into a different era. I joked with him that the only two things in his house from the 21st century is his fridge and his dog! Most impressive in a way, is John’s workshop where he maintains his two vintage era motorbikes and a Model A Ford. The tools in his workshop are all authentic to the era and are hand tools - no electric tools - and they work. The way John describes it, it actually makes sense Read more inside...- 1
- 2
- 3
- …
- 16
- Next Page »