
Flash photography: Recreating Hollywood Glamor style portraits
With this portrait of my friends Natalie and Chris, I wanted to portray something dramatic, reminiscent of the old Hollywood Style Glamor portraits. While the classic Hollywood portraits, as done by the masters were lit with Fresnel spotlights (which are continuous lights), I wanted to create some of that mood with a few speedlights …
I photographed Natalie and Chris as part of the video clip for PocketWizards … of which I’ve already shown the photo-session with a model, Shawna. By the way, Natalie is a photographer in Staten Island, NY.
Fresnel lights have a distinct look – it’s a spotlight that gives a hard shadow, but with the focus-able Fresnel lens, there is a softness to it. Different than a hard speedlight, and different than a flash with a softbox.
For this portrait, I didn’t want the even lighting that a medium sized softbox would give. I wanted a hot-spot towards the top part of their bodies, with distinct light fall-off to the bottom. I wanted the light to have the dramatic quality that we see when using a video light for photography.
Feathering the light
To approximate this, I used the small Lastolite 8.6″ Ezybox (B&H). I had it on a lightstand, and placed it fairly close to Natalie and Chris. Most importantly though, I feathered the softbox upwards, and away from Natalie so that only the edge of the light from the softbox caught her face.
Quality of the light
I do have a distinct preference for soft lighting. However, if you look at the way the old Hollywood masters such as George Hurrell, CS Bull and Laszlo Willinger lit the classic portraits of the movie stars, there are distinct shadows. They had a dramatic way of lighting their portraits, with specific use of light and shade.
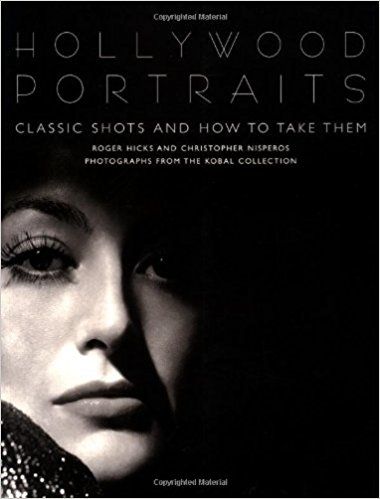
I strongly recommend this book where the authors analyze and break down some of the best known portraits and describe how the images where lit – Hollywood Portraits, by Roger Hicks and Christopher Nisperos
It is available on Amazon, along with other titles on the topic. If you delve in that way of lighting, you’ll see that the the style is intentionally dramatic and glamorous. This is what I had in mind with this photograph.
Lighting setup
The lighting setup is similar-ish to the setup I used with the photo session with Shawna and the photo session with Josh Adams.
In this case, I had the small softbox to my left as well, but feathered upwards and more to the left, away from Natalie and Chris. It was set to manual, and triggered with a PocketWizard FlexTT5.
The rim-light on Chris is via a direct speedlight. From the direction of light you would accurately assume it wasn’t behind Chris, but off to the side. This gives the highlights in his hair and the rim light on his clothes, separating him from the darker background. This speedlight was also controlled with a FlexTT5, and was set to manual output. This speedlight was on a lightstand.
To keep the background – the dark wooden panelling – from falling completely into blackness, I lifted it with a speedlight shining directly on it. This speedlight, also controlled with a FlexTT5 unit, was also set to Manual output. I had it zoomed to 28mm, and turned away from Chris’ back, towards the wooden panelling. This speedlight lay on a chair that I had pulled closer, since I had only brought 2 light-stands with me.
Because it was so dark in this lounge area, I used a Nikon SB-900 as a Master on top of the FlexTT5 mounted on the camera. This gave me the AF-assist from the SB-900, which is lacking on the AC3 ZoneController.
That’s it in a nutshell.
Summary
The key here for me in the success of the image, is feathering the small softbox. This gave me the light fall-off I wanted to accentuate Natalie’s features.
Related articles:
- photo session – Shawna – with the PocketWizard AC3 ZoneController
- Keegan – a photo session – using PocketWizard MiniTT1 & FlexTT5 & AC3 ZoneController
- using the PocketWizard AC3 ZoneController
Photo gear (or equivalents) used in this photo session
- PocketWizard AC3 Zone Controller
- PocketWizard FlexTT5 transceiver
- Nikon D3; Nikon 70-200mm f2.8 AF-S II
- Nikon SB-900; Nikon SD-9 battery pack
- Manfrotto 1051BAC; Lastolite 8.6″ Ezybox
- camera settings for all images: 1/160 @ f4 @ 400 ISO
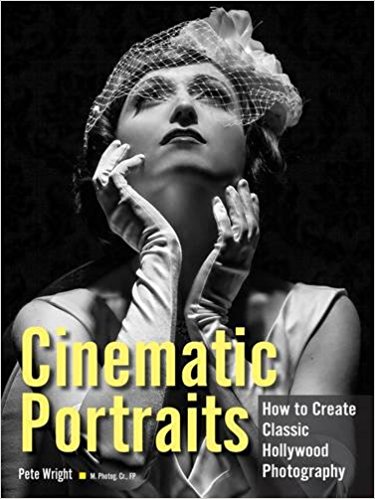
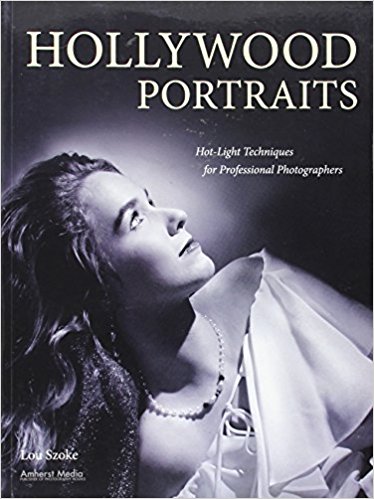
Books on Hollywood portrait lighting
Hi Neil,
I curious, would a grid on the softbox emphasize the effect further?
Hi Neil,
Really nice image, the highlights you picked up in the background panel really make it pop IMO. Also your use of a light to lift the background has allowed us to see that element repeated, nice touch.
So you were using a total of 4 speedlights including the one on camera for focus assist? Nice work.
Just wonderful.
This site is just great for advancing my knowledge of lighting and techniques. I really appreciate all your hard work and generosity in sharing your knowledge and skills. Its on my favourites list:-)
To help feather the light did you remove the larger diffusion screen from the front of the EZ box and only use the smaller internal one ?
Could you have accomplished the main lighting on the couple by use a grid on the flash rather than the use of the EZ box.
Beautiful shot.
Where can one get these elusive 8.6″ softboxes? I want it as a companion to my 24×24″ Ezybox, but it’s out of stock everywhere, always, not sure why.
Does anyone have experience with the traveller8 by Honl or one of the Lumiquest softboxes? They seem comparable.
In trying to approximate the original type of lighting used in these classic shots, what are your thoughts about using a beauty dish or a LED panel? My thinking is based on the more dramatic light fall-off from these making it look more like a spot light.
Parabens cara foto lindíssima,gostei muito,voce é um artista
Excellent shot, as always! Huge thanks for the book recommendation, that’s exactly the kind of book I’ve been looking for a while. But the best thing is that I learn something new and get encouraged to try new things every time I come here!
I enjoy your work very much. This photo caught my eye this morning. It’s very dramatic.
I love the black and white conversion. Is that Nik software at work?
Hi Neil
I was really inteested to read your most recent blog article on the Hollywood glamour style portraits. I have just recently started shooting tthese types of portraits myself and you can view my first efforts on my blog at http://urbanportraitguy.blogspot.com
I used both a single studio light with barn doors and set at about 1/4 power to try to “replicate” the look of a fresnel spot and also used a single SB600 Speedlight as a hair/rim light on some of the portraits.
I will be shooting my next session in 9 days time and if you are interested to see the results, I will forward some more images in due course.
Keep up the good work on PlanetNeil – I follow you almost daily.
Regards
Darren Miles, Hertfordshire UK
Hi Neil –
Beautiful portrait. Just for the sake of curiosity, if you would have added a 5th light, where would you have put it? Would you have used it to open up the shadow over Chris’s eyes, or do you think that the shadow is an essential component of the style?
Dave
Hello Neil,
You’ve done a darned good job of obtaining this look by the use of speedlights, rather than fresnels. Congratulations!
Christopher Nisperos