Flash Photography: The difference between a grid and a snoot
We use grids and snoots to control the light from our flashes. We want to control how the light spreads, and we want to light only a part of our scene or subject. However, strongly favoring softer light when using flash, I don’t regularly use grids on my flashes.
The article on using grids with flash for a spot of light, had someone ask when I would use a snoot and when I would use a grid with flash. When in the studio, I would use the Profoto 10° Honeycomb Grid (B&H / Amazon) – it is made of metal and can withstand the heat from the modeling lights of the Profoto D series flashes. On location with the Profoto B1 though, I use Profoto OCF Grid Kit (B&H / Amazon). With the OCF grid kit, I used the wider 30 degree grid as my default. My loose reasoning (not based on actual comparative testing until now) was based on the idea that in the studio I have more time, and can accurately place the spot of light. On location, time is usually a constraint, and then I am happy with the leeway that a wider beam gives me.
When the question came up about what the difference was in the results that a snoot gives compared to a grid, I had to do a more formal test. For my own curiosity too. (If you’re not sure what a snoot or a grid might look like, there are examples further down in this article.)
Before we start – I used the Profoto series here. Even though other brands of flash modifiers might give slightly different results, I think the results will be similar enough that the results will follow the pattern we see here. So even though you might not use Profoto, read through this. I am sure it will be of value to anyone who uses flash photography.
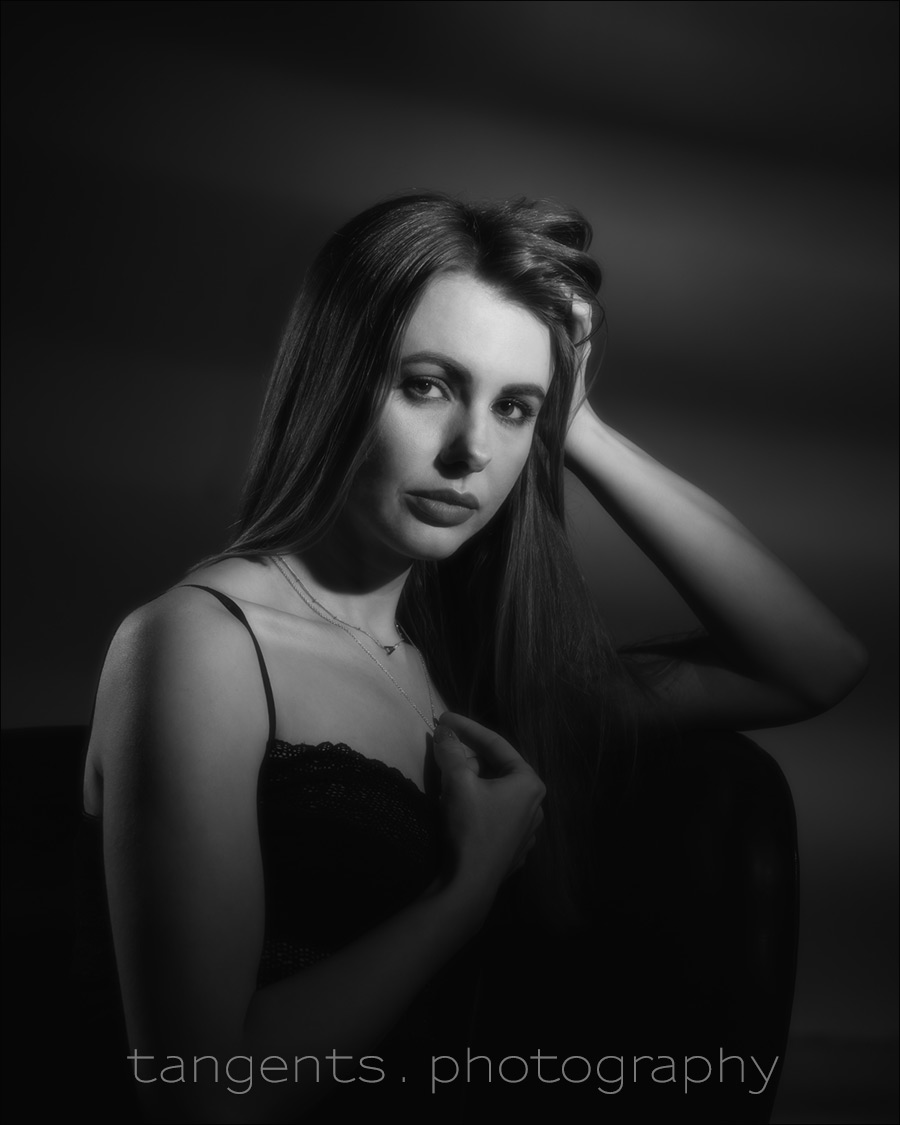
For this discussion of grids and snoots, photographing Anastasiya in the studio, I wanted to illustrate how the narrower beams of light might be used. In this case, a look reminiscent of the Hollywood Glamor style of lighting, where they used Fresnel lights / hot lights. These lights (and style of lighting) generally gave a harder light.
If you’re interested in studying the Hollywood Glamor style of lighting, I strongly recommend this book where the authors analyze and break down some of the best known portraits and describe how the images where lit – Hollywood Portraits, by Roger Hicks and Christopher Nisperos (Amazon).
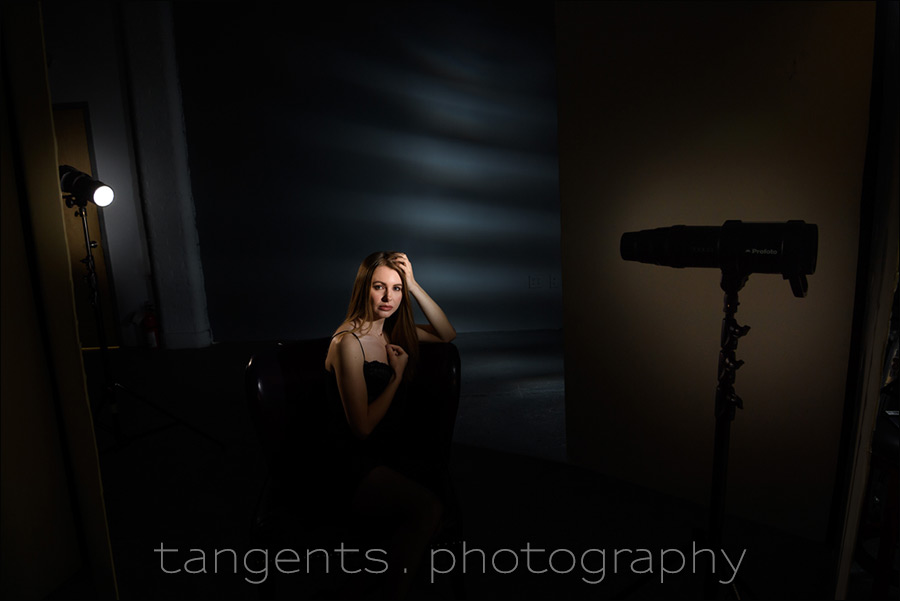
The pull-back shot to show the lighting setup used here:
Camera settings & photo gear used during this part of the photo session
- 1/60 @ f/5.6 @ 400 ISO
- Nikon D5
- Nikon 24-70mm f/2.8E VR /equivalent Canon 24-70mm f/2.8L II
- (2x) Profoto B1 flash (B&H / Amazon)
- main light: Profoto OCF Snoot (B&H / Amazon)
- rim-light behind: Profoto 10° Honeycomb Grid (B&H / Amazon)
- background: speedlight with the MagMod MagBeam Kit (B&H / Amazon)
With this pull-back shot, I brightened the Profoto B1 flashes in Photoshop so that it’d be more apparent where they were placed.
I used the Snoot to limit how wide the light fell on Anastasiya, forcing light fall off away from her face.
The background effect is via a speedlight with the MagMod MagBeam Kit (affiliate), as described in this article: Using the MagMod MagBeam kit for projection effects.
Photo gear (or equivalents) used for this photo session
- Nikon D4
- Nikon 70-200mm f2.8 AF-S VR II /equivalent Canon EF 70-200mm f/2.8L IS II
- Litepanels Sola 4 LED Fresnel Lights (B&H / Amazon)
Profoto grids and snoots


Here we come to the actual comparison of the snoot and the grids. Again, it needs to be mentioned that even though other brands of flash modifiers might give slightly different results, I think the results will be similar enough. There should be a similar pattern to the results you see with other brands. So even though you might not use Profoto, read through this. I am sure it will be of value to anyone who uses flash photography.
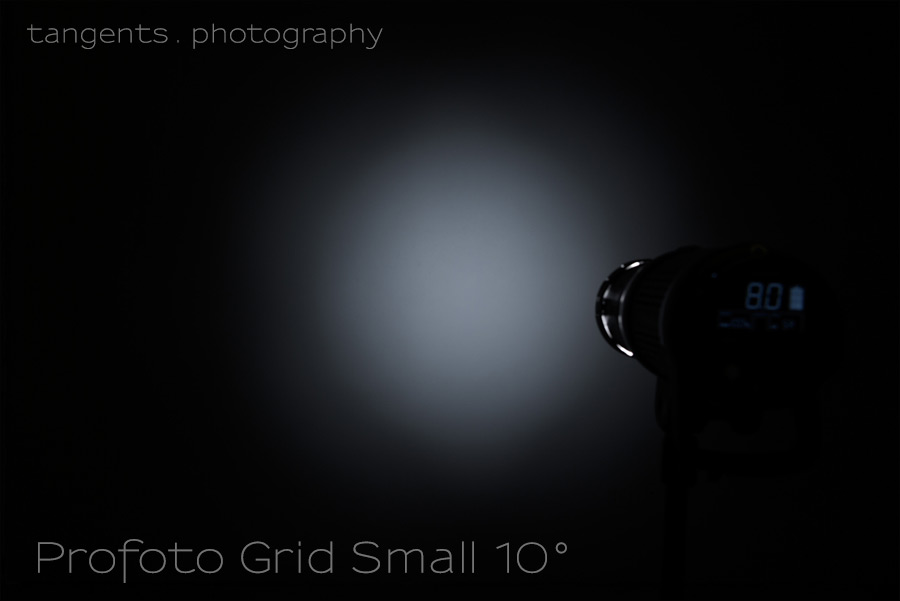
The setup: a Profoto B1 flash pointed at a grey wall, 10 feet away. Then I add the various modifiers so we can see how the spread of light (and perhaps the exposure) is affected. I had the camera on a tripod so that it was a static viewpoint. I tried to minimally move the Profoto B1 when I changed the modifiers. The camera was set to f/8 @ 100 ISO. The power level on the Profoto B1 was kept consistent.
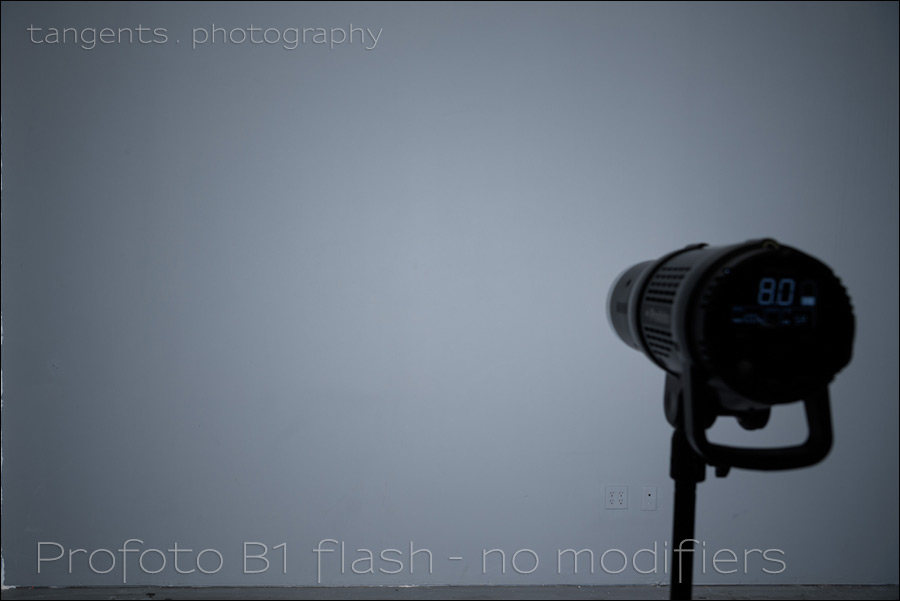
Without any grids or a snoot, the spread of light is fairly even, as one would expect.
More here: Comparing output: Studio lights vs. speedlites / speedlights.

The exposure with the snoot is noticeably less than with any of the grids. There is an unexpected dark spot in the center when I used the Profoto OCF Snoot (B&H / Amazon). I don’t think that darker central spot would matter greatly in general photography, but it isn’t ideal. You would most likely notice this if you do product photography, which is more exacting. As a further test (not shown here), I repeated this at various distances to see if distance had an effect on that central spot, but it didn’t.

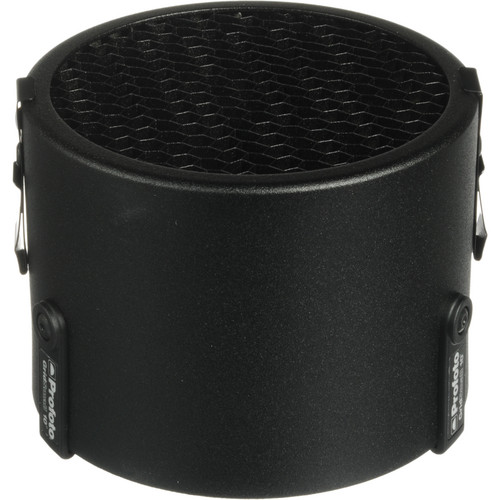
With the metallic Profoto 10° Honeycomb Grid (B&H / Amazon), the beam is tight, and with a nicely controlled fall-off to the edges. The metal grid is important in the studio when using the Profoto D1 flashes, since the modeling lights of the D1 run hot enough to damage the plastic OCF series modifiers.
The Profoto OCF 10° Grid comes as part of the Profoto OCF Grid Kit (B&H / Amazon). Not surprisingly, the beam from this is quite similar to the metal Profoto 10° Grid.

The Profoto OCF 20° Grid is also part of the OCF kit (B&H / Amazon), and throws a wider beam, as expected.

And an even wider beam with the Profoto OCF 30° Grid (B&H / Amazon).
Summary
Related articles
- Using grids with flash for a spot of light
- Flash photography with a grid
- Profoto: How to use gridded strip boxes
- Flash Photography Tutorials
One more thing on this topic is that a grid adds contrast to the picture which is not visible when shooting on a wall. The snoot does not add contrast but only limits the light spread. The grid also has an impact on the color temperature of the light which does not happen with the snoot.
Anders, Are you saying the grid contrast is because the falloff from the center to the edge of the projection?
Thank you for the added info! Much appreciated.
Anders got there before me ?.
Yes, the snoot provides a controlled but soft ‘spot’ of light with no increase in contrast.
Like he says, the grids not only add contrast but (subtely) change the colour temperature of the light too.
This is simply due to physics. Longer red wavelengths of light pass through the grid more easily than the shorter blue wavelengths, so the light becomes a little warmer. A tighter grid (narrower beam angle) warms the light more a more open grid warms it less. The effect is subtle, but it’s there. All grids do this regardless of who makes them or what size or shape they are. Like I say, it’s physics.
Andy, thank you as well for adding more valuable info.
That’s awesome, thanks Neil! Nice to see my questions have inspired you to write a post about it – appreciated :)
Thanks, Neil! Your article and the comments answered a question I’ve been pondering.