Flash photography tip – Start with the ambient exposure
Continuing on from the article – best camera settings for off-camera flash – I wanted to show an example of just one set of choices we had in how we balance flash with the ambient light. And again, to reiterate that there aren’t necessarily wrong choices, but that we get to decide on the final look. In that linked article we worked through several algorithms to what would help guide our choice of camera and flash settings.
In that article I accentuated the idea that our starting point is invariably with the ambient light. What is our base exposure? Do we need a touch of fill light, or can we make the scene look more dramatic with off-camera flash? Do we need to fix a lighting problem with flash, or do we only need to enhance our photo with flash? Our starting point then is with the flash turned off, so that we can make a decision where we are headed.
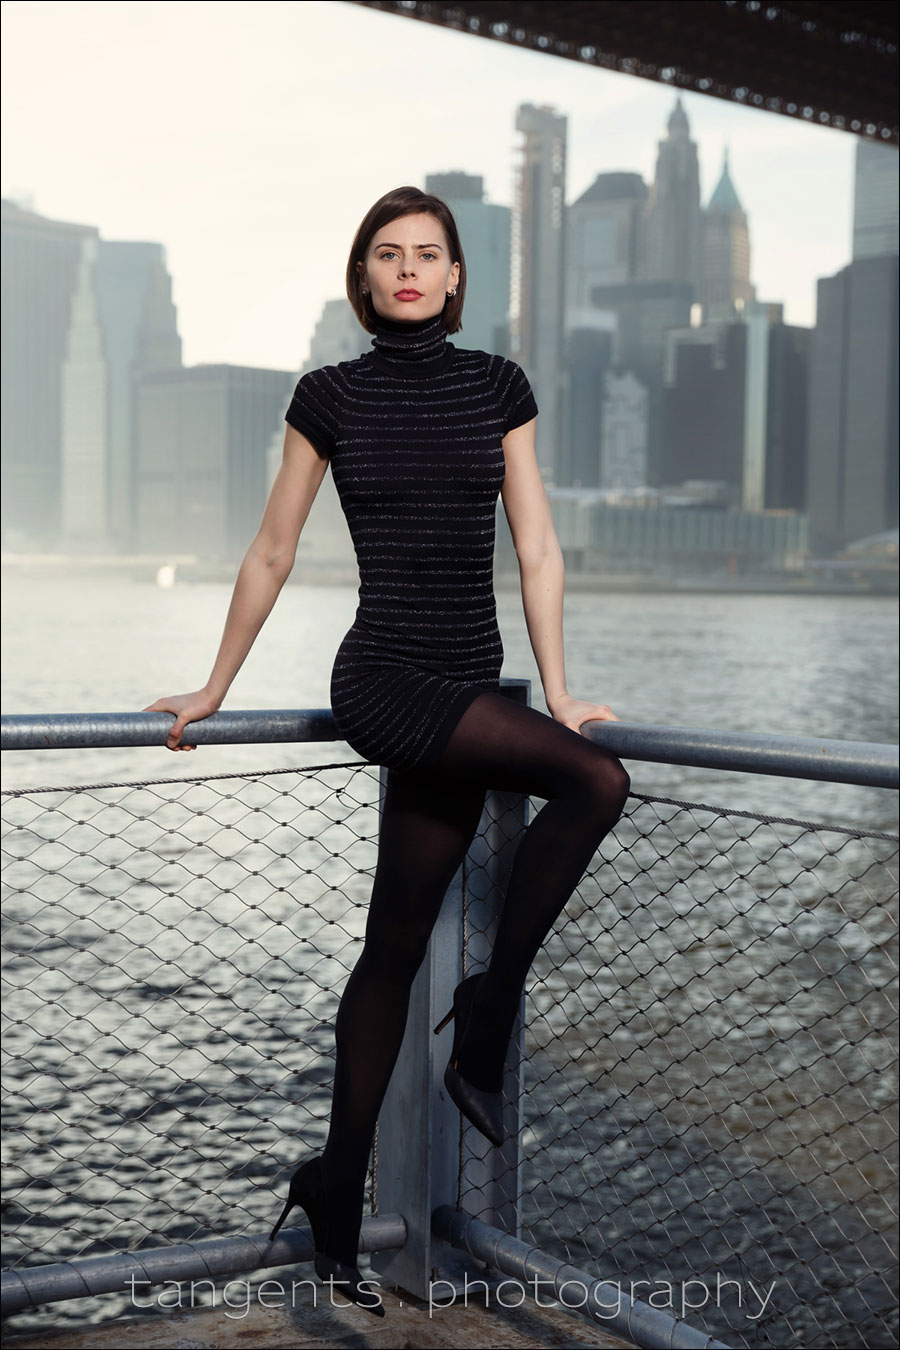
The sequence of photographs here are of Rozalinda, our model during a personal photography workshop in New York.
The article – adding flash to ambient light – shows a series of photographs where the ambient light was reduced by a stop between each image, creating a more dramatic look as the flash, a smaller light source, started to become more predominant.
Similarly here, we under-exposed the ambient exposure for our model, by a stop. Then added flash to make up the difference to give us correct exposure.
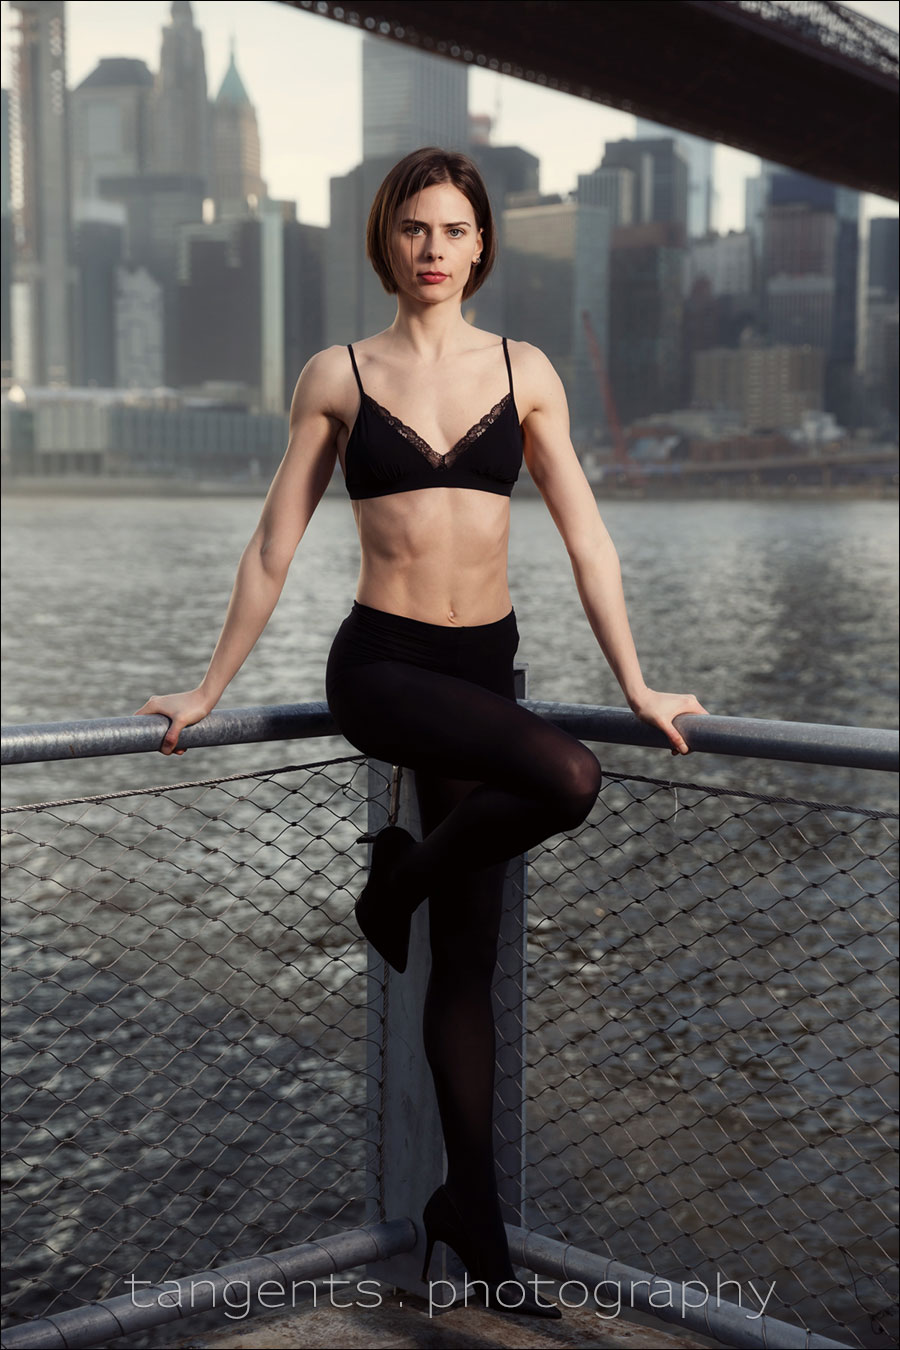
Here is an image at the “under-exposed” levels before adding flash. Bumping up the exposure of the RAW file in post by 1.3 stops we get to where the correct exposure would have been when shooting.
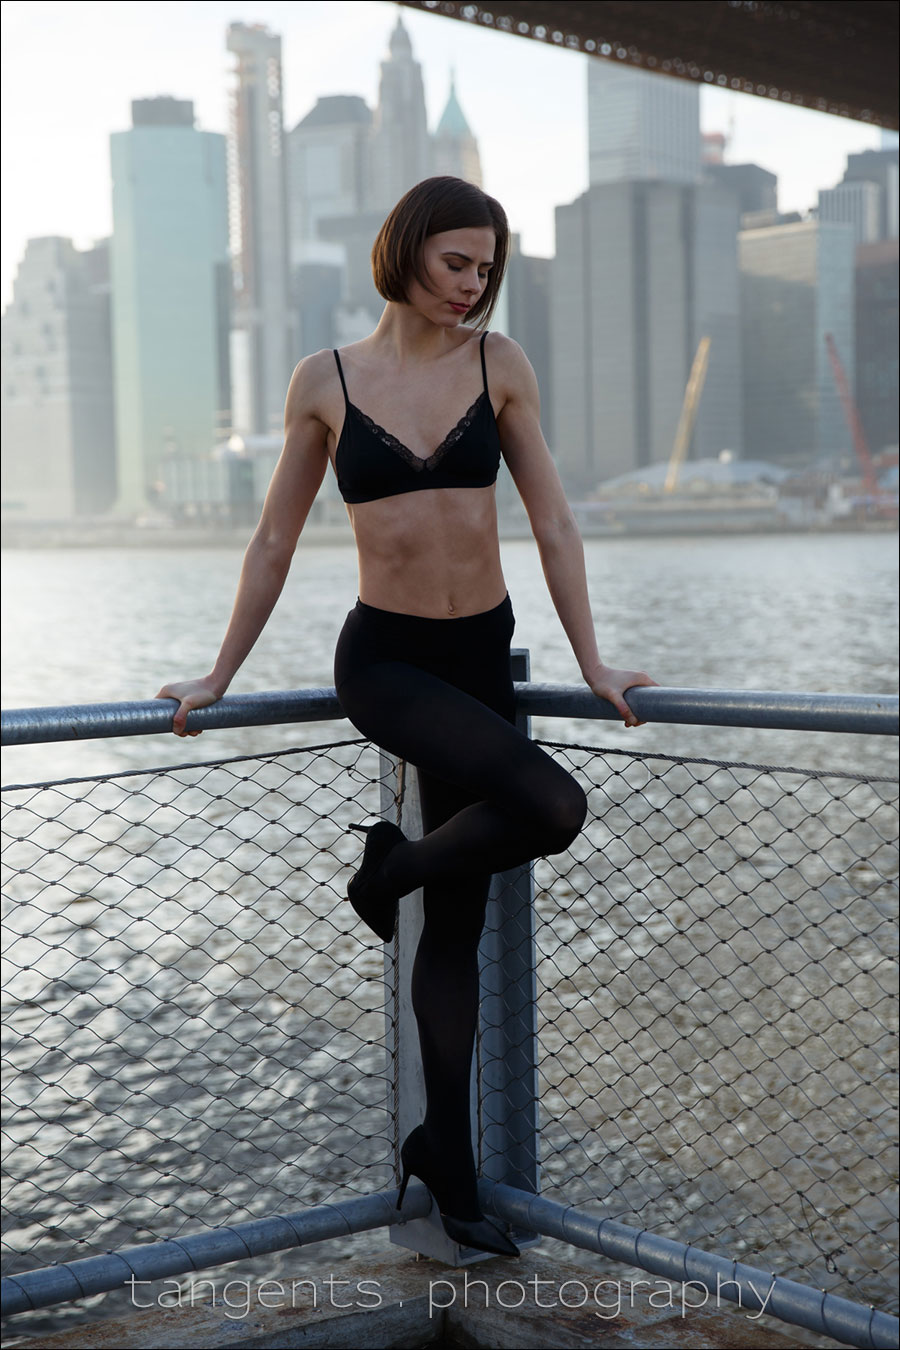
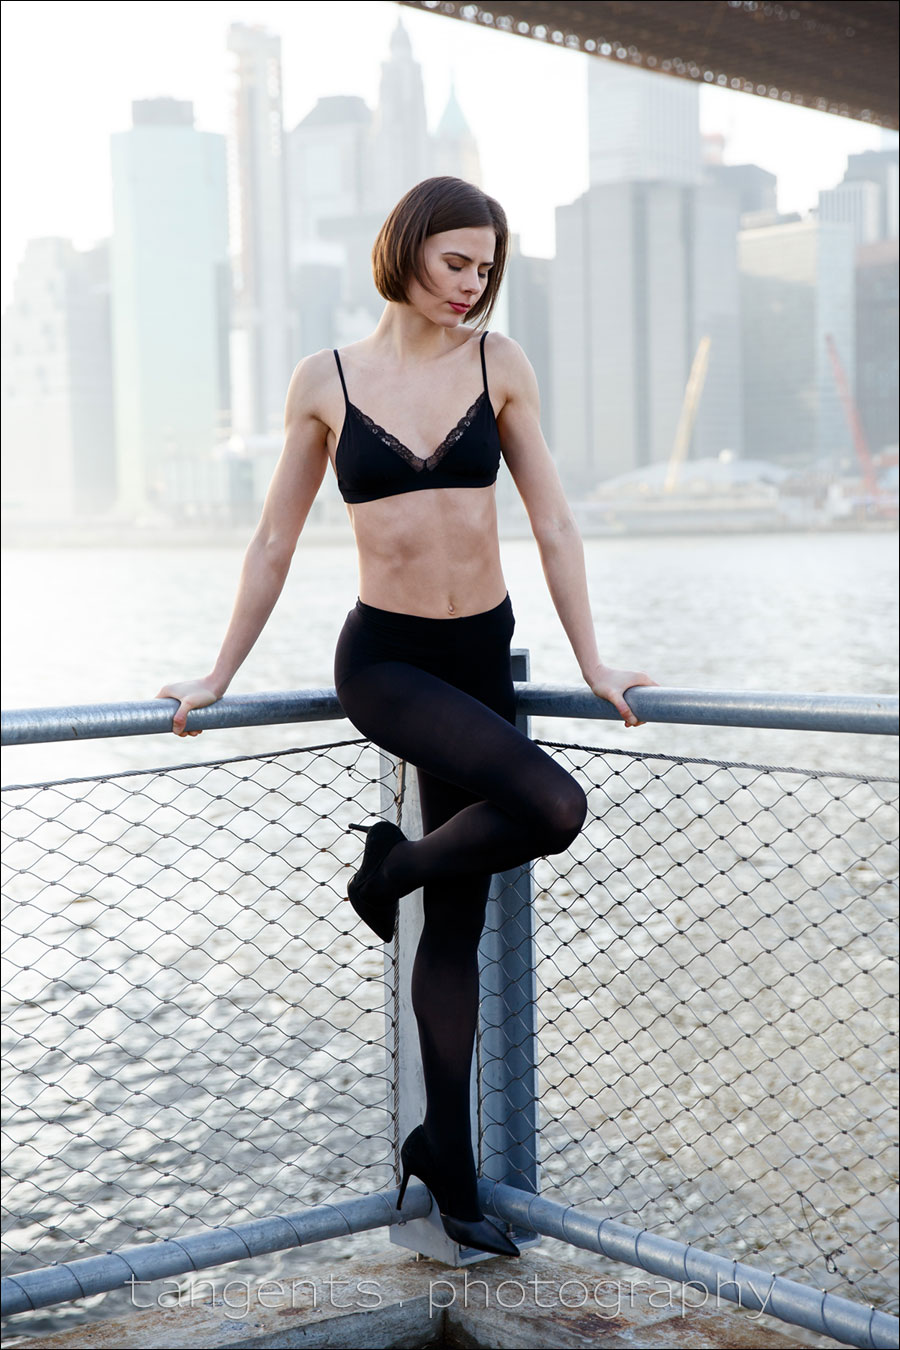
In this case, the ambient-only exposure has a softer look because the light is soft and diffused since we were working in the shade. This shows we could equally validly have worked with just the available light here.
Under-exposing the ambient light, and kicking it to correct exposure with the flash, gives us a much punchier image. Again, no right or wrong, just preference.
How then do you get to correct flash exposure?
That depends on whether we decide on Manual flash or TTL flash. TTL flash will get us to correct exposure (or close to) very easily since it is an automatic metering mode. Manual flash will give us more consistency.
We get to correct manual flash exposure either via:
- a light meter, (for our chosen camera settings), or
- by looking at the camera’s LCD display, or
- or experience working with our flash and light modifier. Remember, the same distance and the same camera settings will give us the same manual flash exposure every time!
Simple as that!
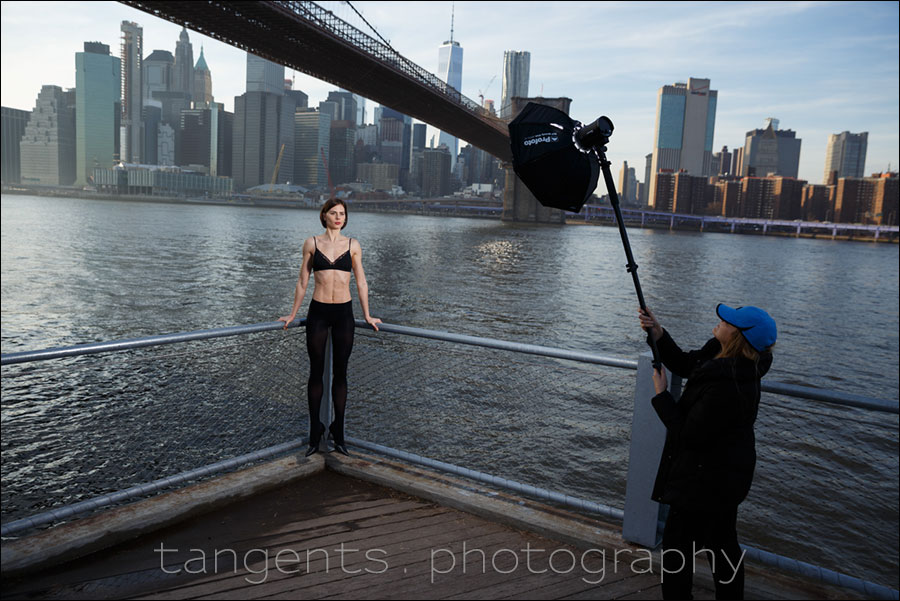
Photo gear used for these images
- 1/800 @ f/4 @ 250 ISO
- Canon EOS 6D camera (B&H / Amazon)
- Canon 24-70mm f/2.8L II (B&H / Amazon)
- Profoto B10 flash (B&H / Amazon)
- Profoto transmitters for Nikon & Canon (& Sony)
- Profoto OCF Beauty Dish (24″) (B&H / Amazon)
- 75″ tall Gitzo monopod to hold up the light
Related links
- Best camera settings for off-camera flash (model: Rozalinda)
- Flash photography tip – Adding flash to ambient light (model: Elizabeth)
- Various scenarios: Balancing flash with ambient light (model: Catherine)
- Rozalinda Uhl (Instagram)

I can remember it must be close to 10 years ago when I first looked at these tutorials on flash. It’s been such a long time and now we hardly touch ttl anymore.