
Lighting a boudoir photo session
“We want it to look Fashion-y and Retro. And a little glamorous.” “But I don’t want it to be like a bridal hairdo!” No wonder the hair-dresser was confused by these vague instructions from myself and the model, Carla. The hair-dresser really looked like she was under pressure, wondering if she’d be able to come up with something fabulous enough to be all of that. Fashion-y and Retro and Glamorous.
Carla is a friend (and previous bride), and we’ve been trying to get it together for a photo session for a few years now. But life, work and conflicting schedules kept interfering. But this weekend it all came together – even down to the hair styling which looks fabulous.
The look we wanted with this boudoir photo session, was that the images should have a retro feel to then. With that in mind, we had her hair styled in a complementary way, even if we didn’t have a clear description of that. The post-processing of the photos were also done with that in mind, consistent with the theme.
I’d like to show two of the final images from this photo session, along with the lighting setup.
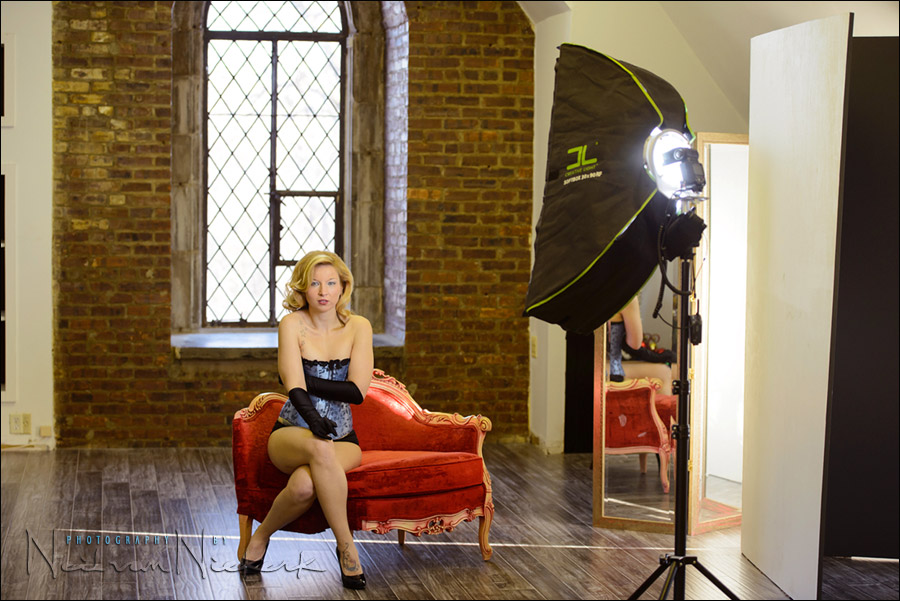
The lighting setup for the image at the top, was simplicity itself – a gridded soft box to the side. For the other photos inside this studio, I didn’t want the light to spill around the place like it would with an umbrella. A gridded softbox makes it easier to control how the light is spread. For this particular image though, the gridded softbox didn’t do much more than a regular softbox would’ve.
The speedlight was on manual, and turned down to around 1/16th of full power.
- The camera settings for the image at the top:
- 1/200 @ f/1.4 @ 100 ISO
- Nikon D4; Nikon AF-S 85mm f/1.4G
I wanted that super-shallow depth of field of the f/1.4 aperture, and hence turned the flash’s power down until I had the correct exposure.
Something I only noticed when I got home and downloaded the images, is that the cycling of the fluorescent lights interfered with the white balance. Because of my choice of wide aperture, the ambient light influenced the way each image looked. Every shot, even though I used flash, had a slightly different color balance due to the fluorescent lights. I had neglected to turn the lights off in the studio! Lesson learnt.
For the final image, a Photoshop filter was used to give a warm vintage tone – it reminded me of the type of images I would see in photography magazines from the 70s. Or perhaps my memory is skewed. It was a long time ago.

It was super-cold outside, but the way the door opened onto the balcony was too good an opportunity to pass by. The icy water on the ground meant that Carla had to wear some kind of footwear. Somehow the boots made more sense than high heeled shoes. And with that, the it seemed that the choice of outfit should be something more glitzy and glamorous.
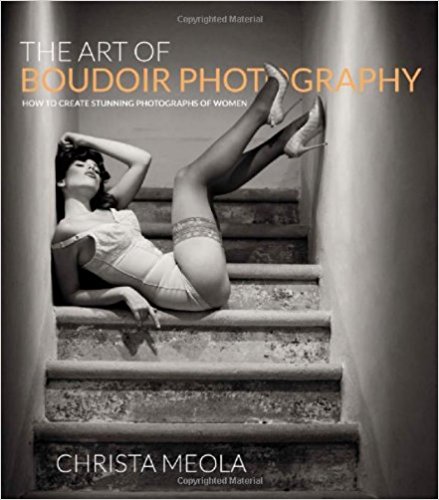
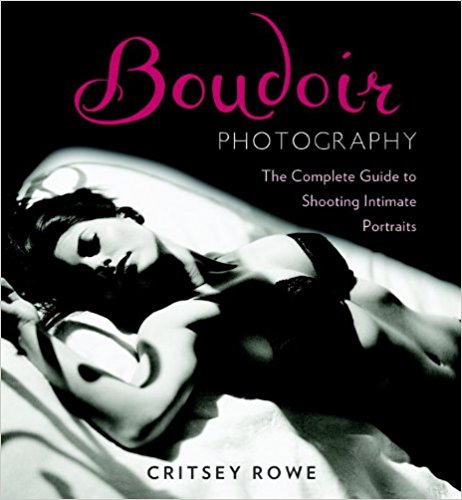
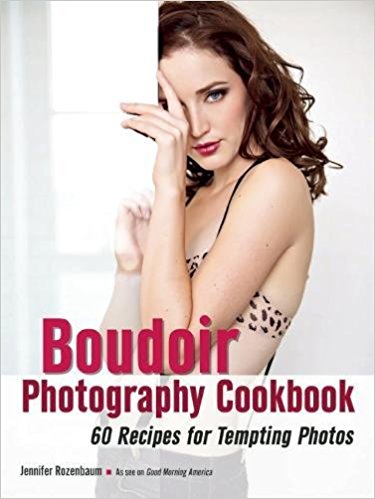
Books on Boudoir Photography

The lighting was straight-forward again – just the single Strip Bank with a speedlight.
In trying to get my composition correct where I didn’t cut Carla’s fingertips off behind the door frames, I had to move forward and back (and zoom), until I had it … and then the stripbank was slightly in view in the final image. It was so cold, that I didn’t bother finessing the composition any further.
The pull-back shows how the light was set up. The narrow profile of the stripbank was an asset here – it didn’t intrude too much in the final image and I didn’t even feel it was necessary to edit it out. Since the softbox / stripbank is so narrow, I was able to squeeze it as close as possible without intruding (too much) in my field of view. (I didn’t have the grid on the softbox for this set of images.)

We had done test shots before-hand (with Carla in a thick coat), to make sure of the camera settings. With various test shots, I preferred the way the background when it blew out a bit – as opposed to exposing for the sky, and setting my flash accordingly. Through a few iterations, I ended up with these settings:
- 1/500 @ f/3.2 @ 125 ISO
- Nikon D4; Nikon 24-70mm f2.8G AF-S
- The speedlight was set to full power in the strip bank.
I don’t think there’s that much importance in over-analyzing the settings, but here it is – I was at f/2.8 @ 100 ISO but wanted the slight more “bite” to the lens’ sharpness. Even though the change is incremental, lenses do show an increase in sharpness as you stop down. Even a third of a stop makes that little bit of difference. But I still wanted that shallow depth of field / wide-aperture look. As I bumped the aperture down a notch, I bumped the ISO up a touch.
I didn’t want to change the shutter speed because in high-sync speed territory, a change in shutter speed changes the flash exposure. So the relationship between ISO and aperture is easier to work with right then and nudge in either direction.
Photo gear (or equivalents) used during this photo session
- Nikon D4
- Nikon 24-70mm f2.8G AF-S / Canon 24-70mm f/2.8L II
- Nikon AF-S 85mm f/1.4G / Canon EF 85mm f/1.2L II USM
- Profoto D1 Air 500 Ws studio light
- Profoto 7″ Grid Reflector with a 10-degree Honeycomb Grid
- Profoto RFi 1’×3′ softbox with the Profoto 50 degree 1×3 grid
- (2x) Nikon SB-910 Speedlights in the gridded softbox
The moment I saw the top shot, it reminded me of a younger mother from that TV series ‘That 70s Show’, Carla’s looks and hairdo.
In other words, you nailed it.
Hi Neil,
I’m a fan of yours and been following your blogs since I saw your website. Just one question, though on your second shot above where the lady is outside the room on a chilly day. You have this settings:
1/500 @ f/3.2 @ 125 ISO
Nikon D4 (B&H); Nikon 24-70mm f2.8G (B&H)
The speedlight was set to full power in the strip bank.
Did you not use Pocket Wizards to get a shutter speed of 1/500 for HSS? Or is the max flash sync speed of D4 is at 1/500?
Please advise.
Thanks!
Butch … I had both the older Plus II units there (which you see in the second pull-back shot); as well as the PocketWizard TT5 units which allowed high-speed sync. They just don’t fit properly on the Creative Light speeding, so it was awkward … which is why, for the interior images, I kept to the older units. I still need to find a proper work-around for this that doesn’t involved gaffer tape.
Beautiful images! The pullbacks are very helpful, thanks.
Great post! alternatively you could have shot at ISO 50, with a shutterspeed of 1/250 or 1/200 of a second, this way your flash doesnt have to work so hard.
I could’ve done that too!
Excellent and timely post for me Neil as i am studying hard for a boudior shoot next month i have ebooks on the subject and was wondering if you are going to do anymore of the same anytime soon
best wishes
Jamie, I’ll keep adding to the topic … but there is no specific schedule.
Hello Neil,
I love the look that you, the model and hairdresser have created. Thank you for sharing – I love the pull-back shots.
cheers
Dan