Dramatic and dynamic lighting for group photos

Dramatic and dynamic lighting for group photos
This group photo appeared as part of a sequence of images, for a story on the CEO for a financial magazine. The group photo was a composite of a number of photos of the individuals. For a first attempt though, I took a safe shot first of the group with two Profoto B1 flashes bounced into the hallways behind me (photo shown below) … but it kinda looked dull in comparison to the final collage image which the client much more preferred. For this collage / composite photo, I had my assistant light each person individually with a Profoto Read more inside...studio lighting : gridded stripboxes and gels
Studio lighting : gridded stripboxes and gels
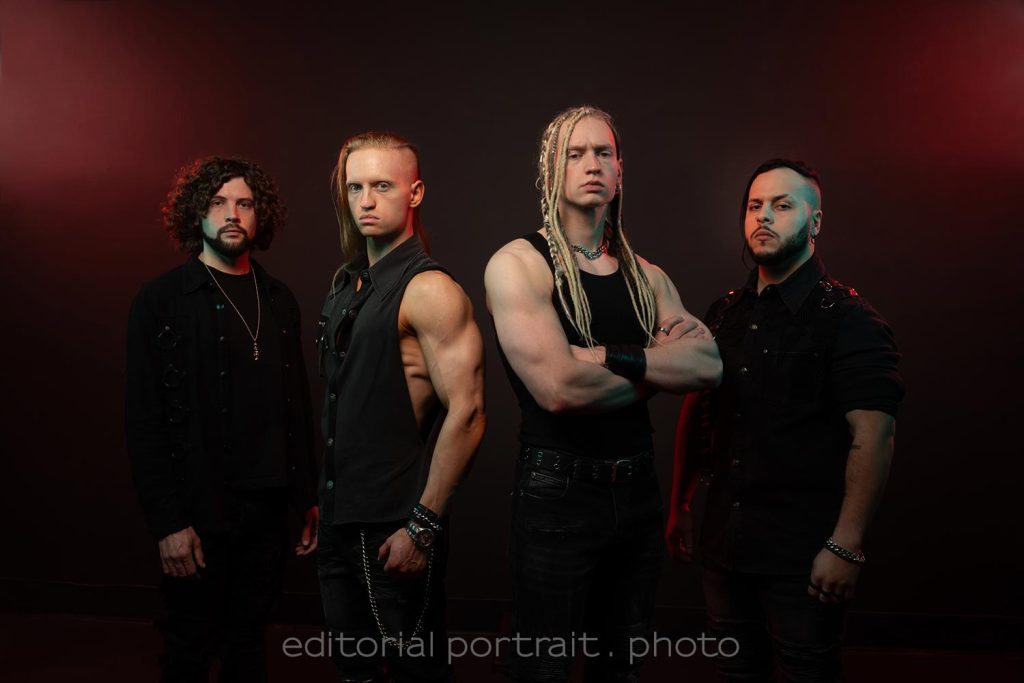
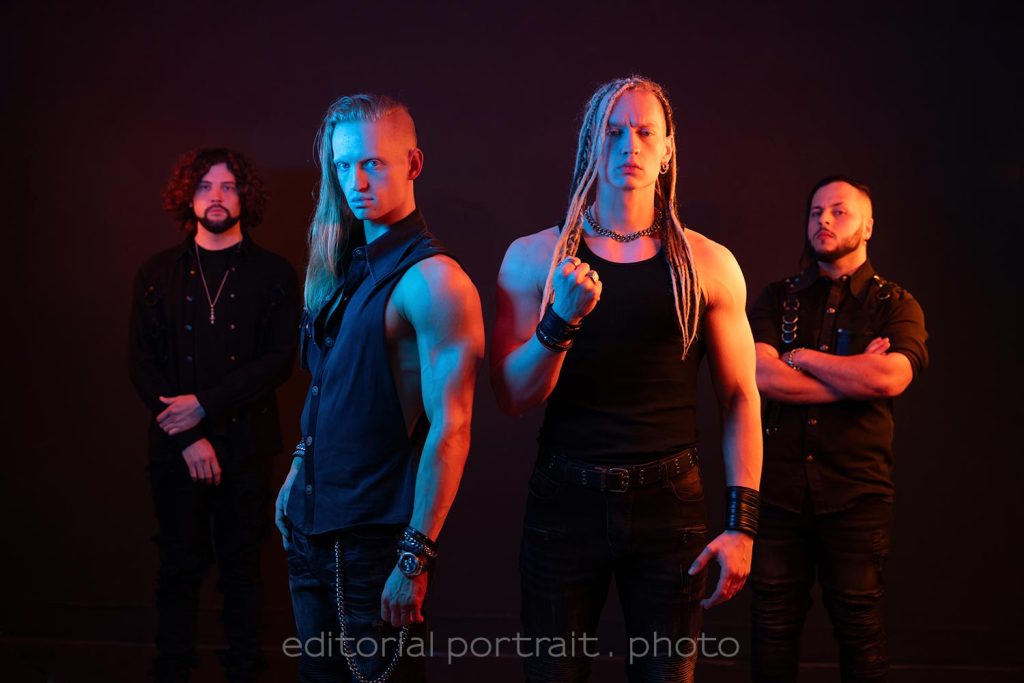
Working with Uncured, doing promotional photos of the band members. They wanted a variety of photos in the studio, but with a dramatic look and with splashes of color. With that in mind, we kept the lighting consistent ... but changed out the gels for the various sequences. The idea was to get a variety of looks in terms of the colors and how the light fell ... and be able to make the changes quickly, without requiring long setup times. The pullback shot will show the lighting setup: -- Two lights high up against the background to Read more inside...Colorful, dramatic portraits in the studio with continuous / LED lights
Colorful, dramatic portraits in the studio with continuous / LED lights
It was a thrill to work with the band Uncured on their promotional photos. They are focused! I expect them to break out and be huge. During this photo session we mostly worked with the usual Profoto flashes I have in the studio. The brief was to create dramatic photos of the band. I used gridded stripboxes which were gelled. This gave the desired effect. (I will post some of the images in a follow-up post here.) But for one sequence of photos (of which three images are shown here), I changed it up with some Read more inside...Headshot Photography : adapting the lighting setup

Headshot Photography : adapting the lighting setup
With headshot photography in the studio, there are several setups such that consistently give great, repeatable results. One such lighting setup is Clamshell Lighting, for example. The results are always solid. Just looks great. In this link with articles on headshot photography, you can read up about some of these lighting setups. While I alway enjoy working with clients to give them outstanding headshots and business portraits, it is an extra bit of fun when I meet a client who wants something extra. Something a little different Read more inside...Studio lighting ideas : learning from other photographers
Studio lighting ideas : learning from other photographers
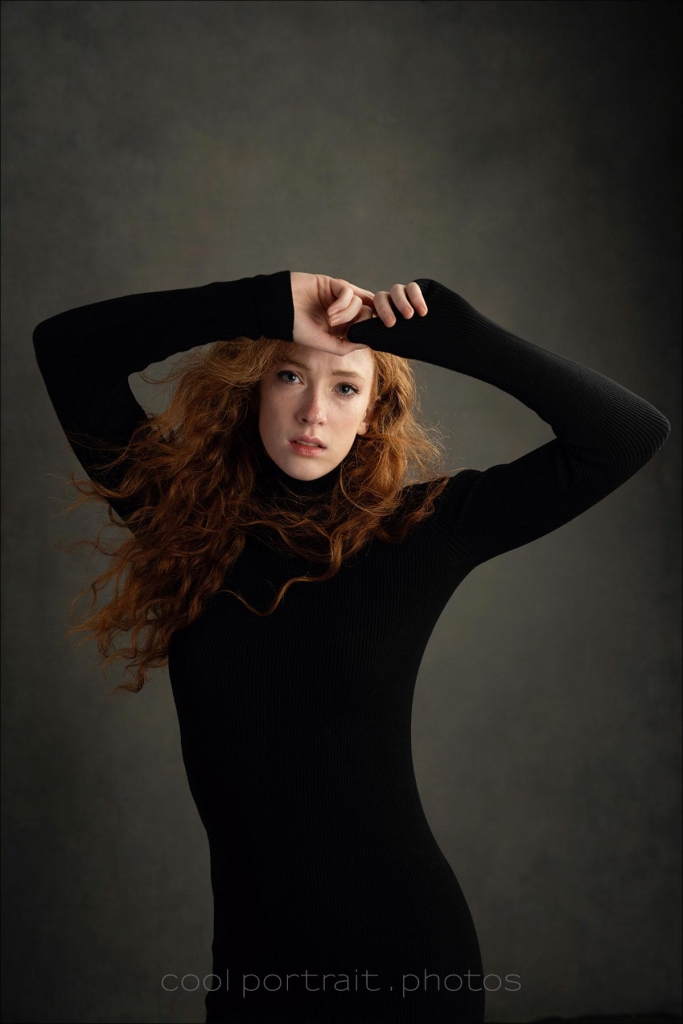
One of the cool things about renting out my studio to other photographers, is that I get to see how they work, and what they do differently in terms of their lighting, and how they work with their subjects. During the past 2 days, I had Jason Buff in my studio where he presented his masterclass workshop on his style of portraits. Jason specializes in studio portraits with a painterly quality. He was kind enough to invite me to take a few photos as well. I didn't take the photograph much further in terms of his style of Read more inside...Clam-shell lighting for headshots and portraits

Clam-shell lighting for headshots and portraits
Clamshell lighting is one of the simplest lighting setups for headshots and portraits. Two lights are set up to light your subject from above and from below. Both are at approximately a 45 degree angle. This gives an even light on your subject, that somehow has a glowing effect. Easy to set up, and gives consistently good results. Here I used studio lighting, but obviously it is just as easy with speedlights. You must have seen similar clamshell style lighting setups, but with a reflector below instead. This 2nd light source from Read more inside...Using Profoto gear on photo shoots and events
Using Profoto gear on photo shoots and events
When I first started moving beyond just using a speedlight, towards off-camera flash and studio level lighting gear, I had a few detours via other brands like Quantum flashes and Lumadyne, but decided at some point to buy into the renowned Profoto brand. My first serious flash unit was the Profoto AcuteB 600R which I eventually upgraded to the Profoto B1 when that was released. From there on I stayed with Profoto via the Profoto B10 and Profoto A1 flash. If I had to make the decision all over again, having the money to spend again, I Read more inside...Feminine portraits with dramatic flair
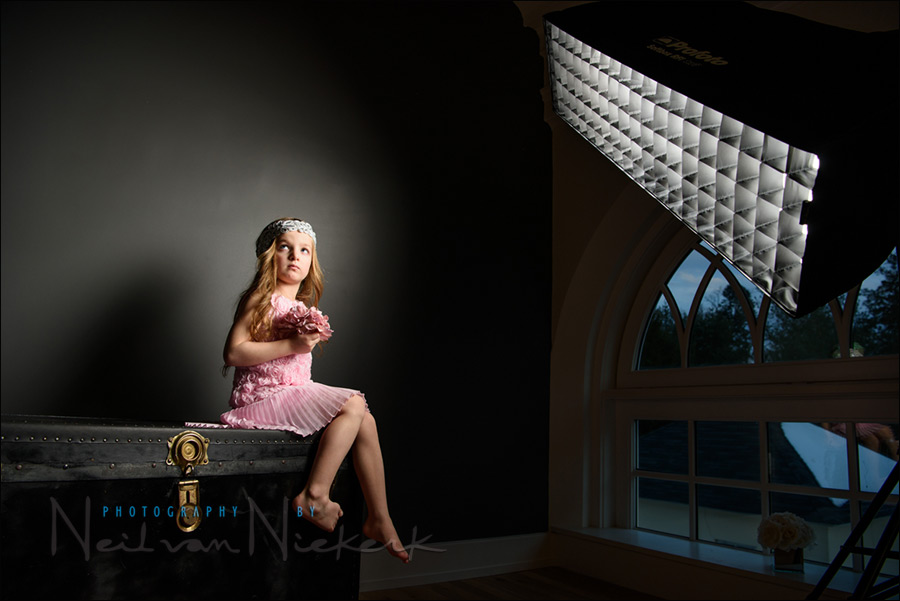
Feminine portraits with dramatic flair
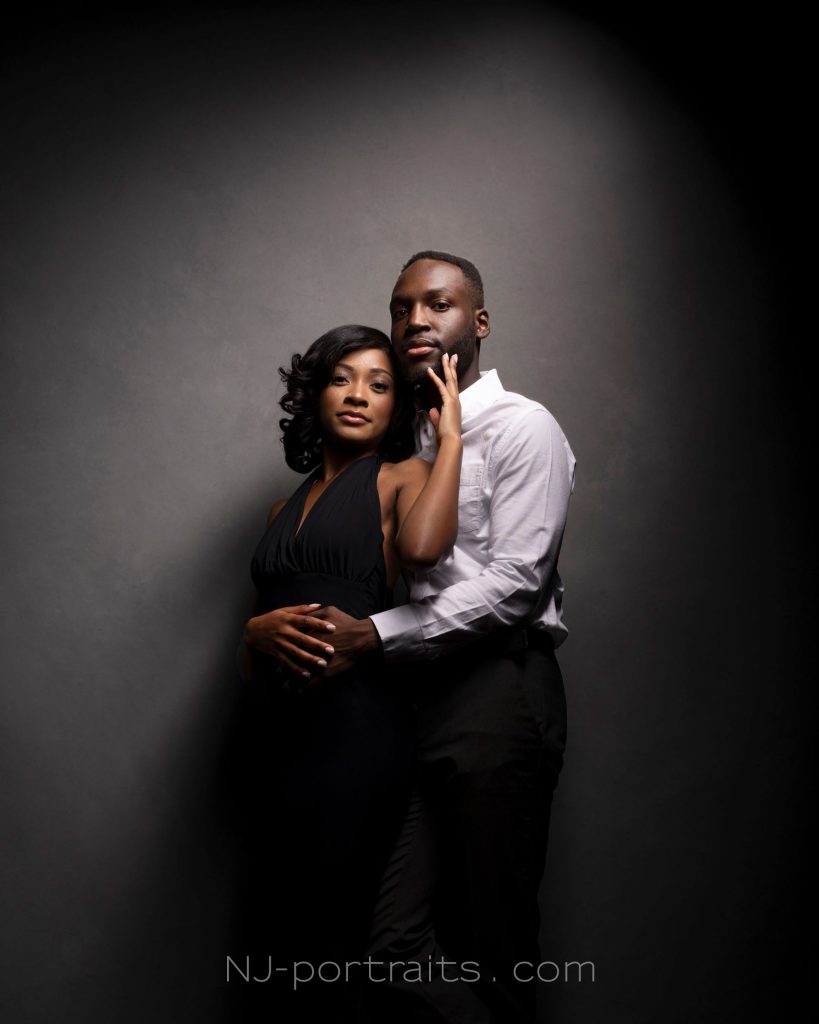
Still exploring what the Profoto Spot Small light modifier can do in creating dramatic studio portraits, I had Lauren sit in for some test shots. I was curious to see if I could use this hard light source in a way that still work for a feminine portrait and be flattering. The best option so far for me is to add supplemental light that softens the overall harder lighting or the spot light. By adjusting the power on the big octabox behind me - see the pull-back shot below - I was able to control the contrast. This way I could still retain the Read more inside...Dramatic portrait & headshot lighting in the studio
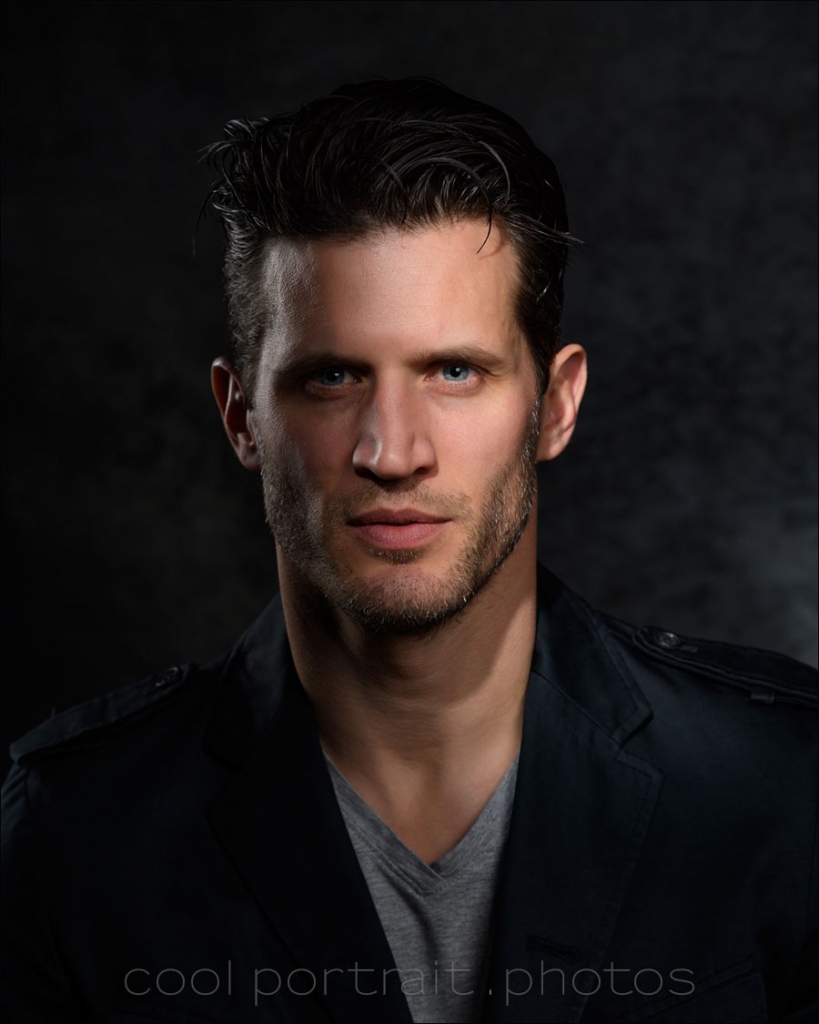
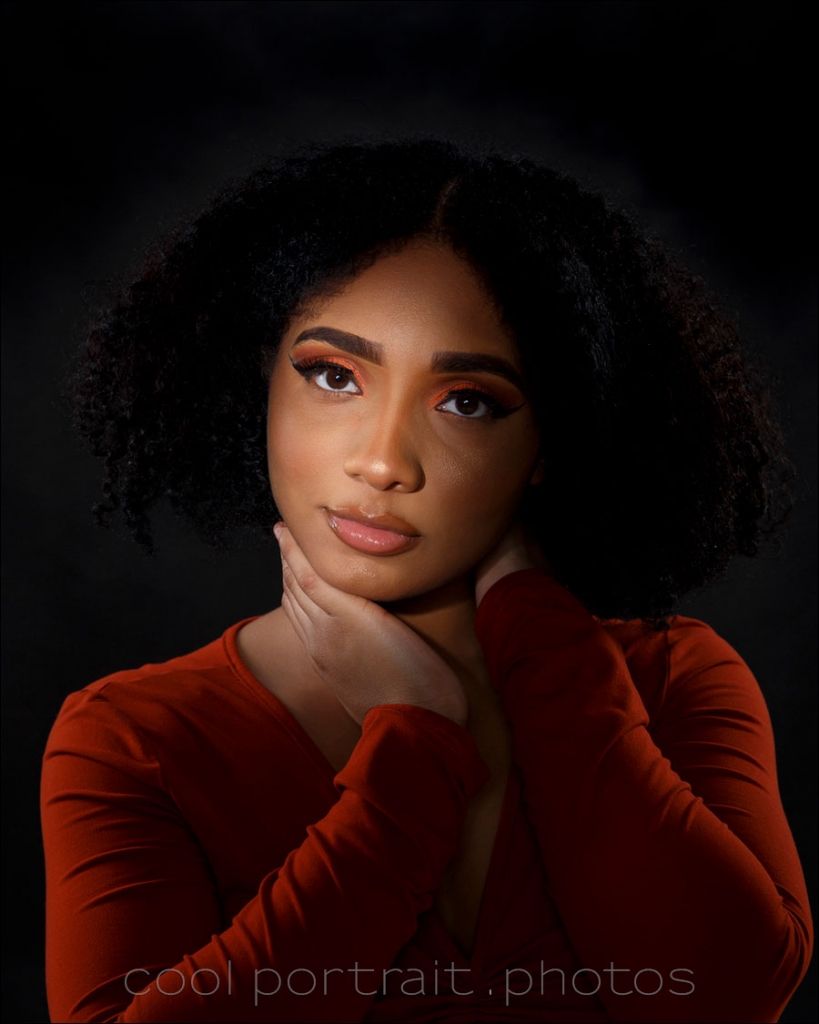
Dramatic portrait & headshot lighting in the studio
Working with the Profoto Spot Small (affiliate), I wanted to create portraits for my portfolio that showed a more dramatic light for portraits. I think these could even be used as secondary headshots in a portfolio. For this photo session, I had actor / model Andy Peeke (Instagram) in the studio. He has the cheekbones for this! For other results from the Profoto Spot Small light modifier, also check out this article: Dramatic studio lighting with the Profoto Spot Small In adapting the lighting setup Read more inside...- 1
- 2
- 3
- …
- 22
- Next Page »