Studio photography: Low-key lighting variations
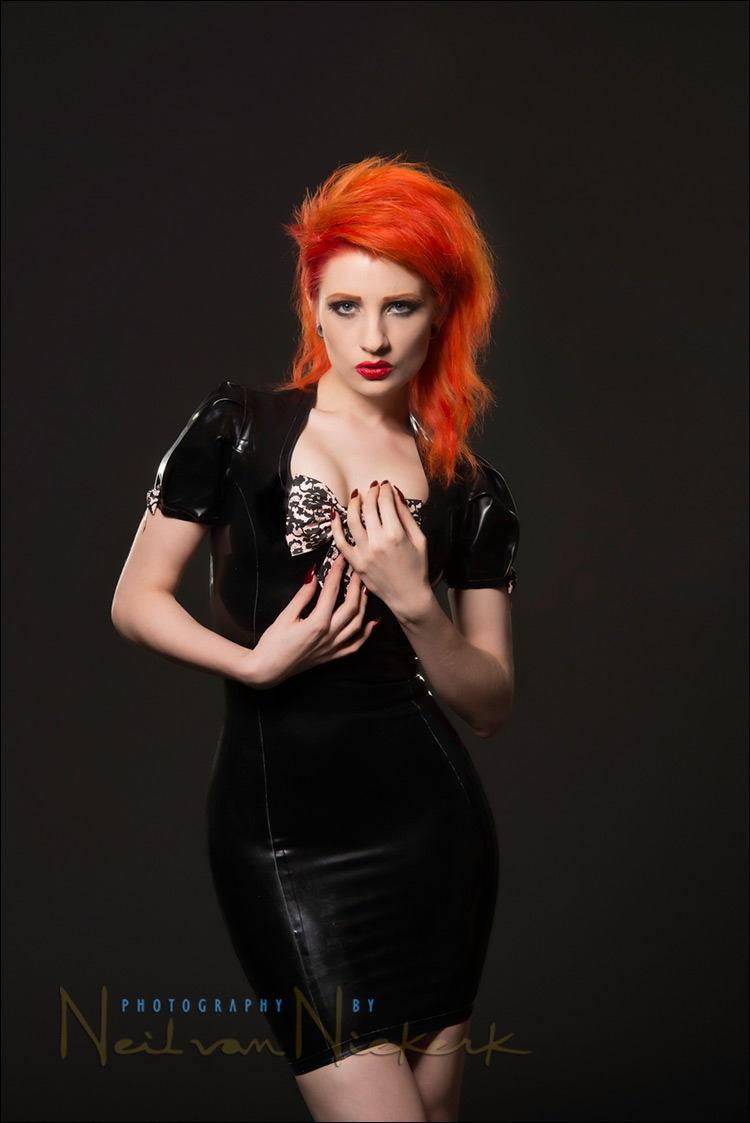
The mood and simplicity of low-key lighting make it especially effective. So when Ulorin Vex appeared out of the dressing room with this black dress, I knew it would work very well with a low-key set-up in the studio.
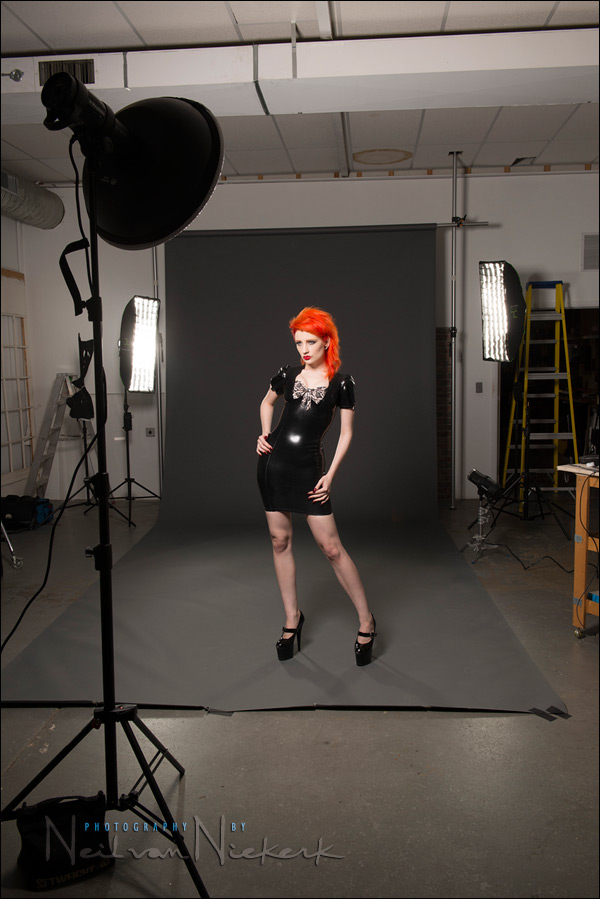
We had set up the darker background for previous outfits, but for this black dress, the simplified lighting – just a Profoto beauty dish (affiliate) – worked especially well. There were two lights behind her to show off the curves against the dark background. The gridded softboxes are exactly the same as shown in a previous article: high-key studio lighting.
Here is the pull-back shot to show how the lights were positioned:
The main light was the Profoto beauty dish (affiliate) powered by a Profoto D1 studio light (500 Ws) (affiliate). I had a sock over the beauty dish to soften the light a bit more.
- camera settings: 1/125 @ f/14 @ 100 ISO
Photo gear (or equivalents) used during this photo session
- Nikon D800
- Nikon 70-200mm f2.8 AF-S VR II / Canon EF 70-200mm f/2.8L IS II
- Profoto D1 studio light (500 Ws)
- Profoto beauty dish with a 22″ sock for a beauty dish
- (2x) Profoto RFi 1’×3′ softbox with the Profoto 50 degree 1×3 soft-grid
- (2x) Nikon SB-910 Speedlight / Canon 600EX-RT Speedlite
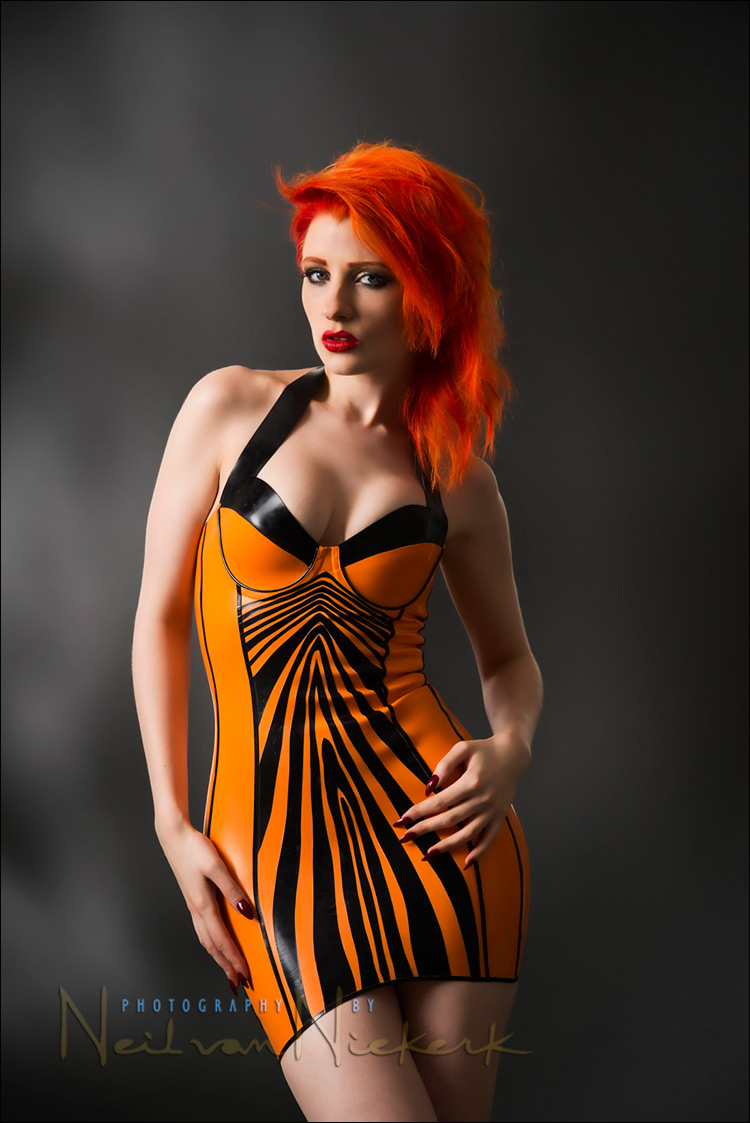
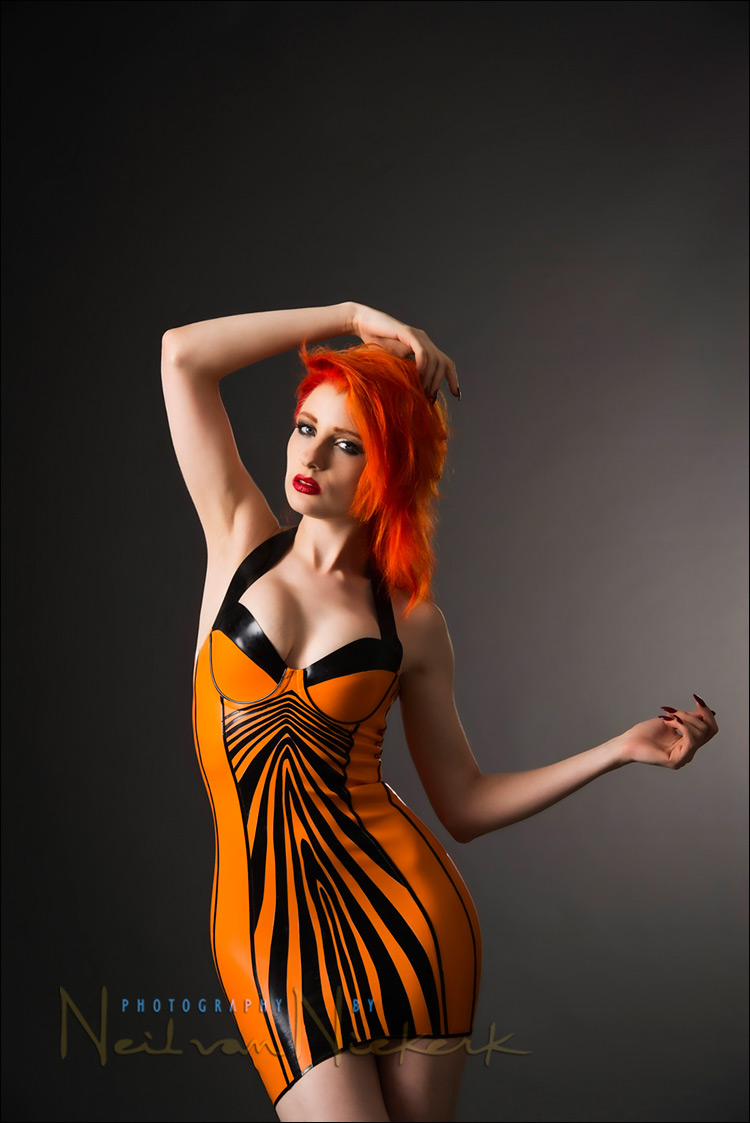
With this orange dress, I wanted some soft pattern in the background which in a way would complement the tiger-ish stripes of the dress.
To accomplish this, I set up the one Profoto head with a sheet of Rosco Matte Black CineFoil (affiliate) in front of it. The CineFoil had some tears ripped into it to let random streaks of light through. It took some practice to get a pattern that worked. The CineFoil is sturdy enough to not flop around, and can easily be shaped. Being foil, it is also heat-resistant. The matte black color helps contain the light, and not scatter it.
- camera settings: 1/125 @ f/11 @ 100 ISO
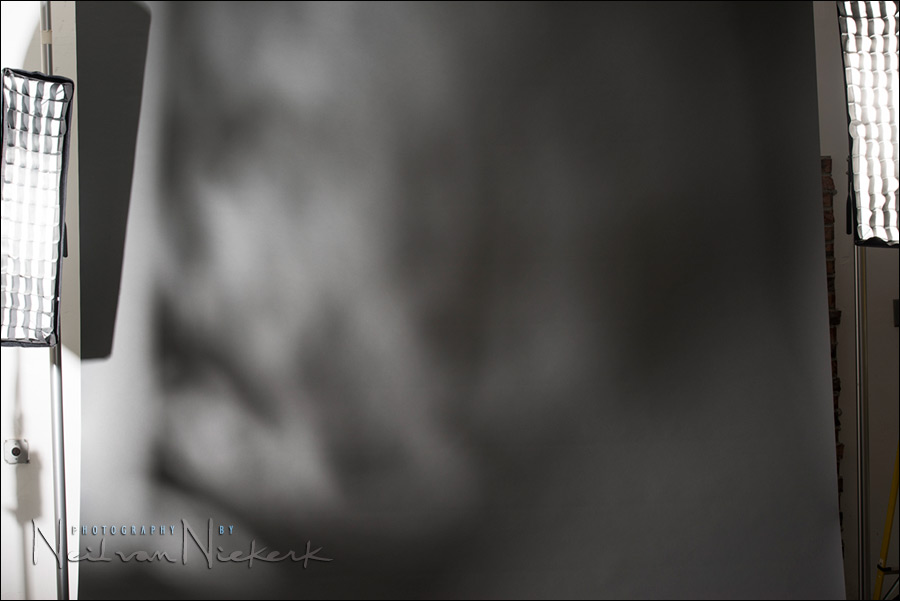
Some of the final test shots, which show a wider view of the pattern:
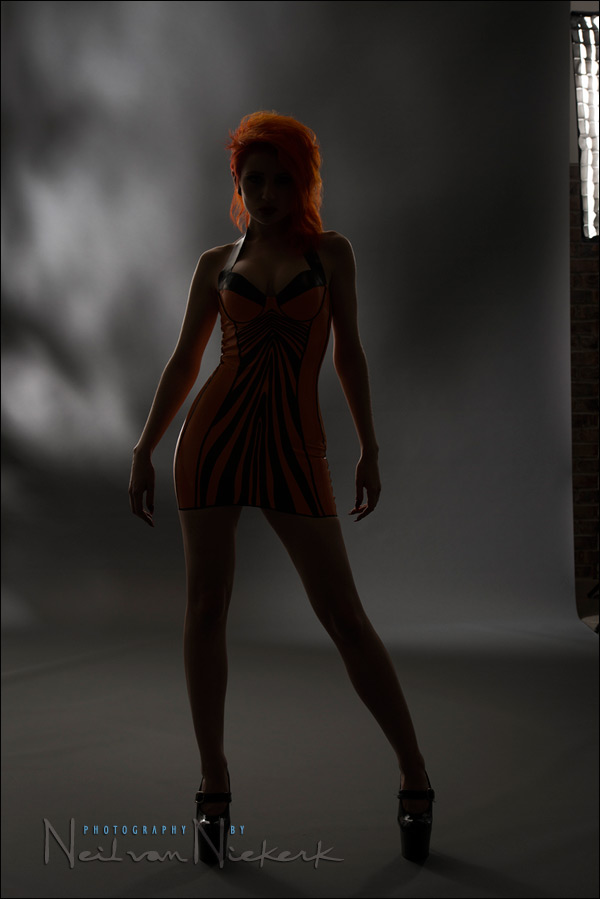
Finally, I aimed for a mild Chiaroscuro effect. The main light was still the beauty dish, with the other (bare) head set up to give a soft spread of light on the background. With Chiaroscuro lighting, the direction of the light on your subject is in the opposite direction compared to the light falling on the background. This gives two gradients to the final lighting, with the shadowed areas of your subject against the brighter areas of the background.
While this photo of Ulorin Vex doesn’t fall along the lines of the classic way of lighting a portrait with Chiaroscuro lighting, it was the approach to setting up my lights here to have that gradient in the background help define her shape.
- camera settings: 1/125 @ f/11 @ 100 ISO
Photo gear (or equivalents) used during this photo session
- Nikon D800
- Nikon 70-200mm f2.8 AF-S VR II / Canon EF 70-200mm f/2.8L IS II
- Profoto beauty dish with a 22″ sock for a beauty dish
- Profoto D1 studio light (500 Ws)
- (2x) Profoto RFi 1’×3′ softbox with the Profoto 50 degree 1×3 soft-grid
- (2x) Nikon SB-910 Speedlight / Canon 600EX-RT Speedlite
Related articles
- High-key studio lighting for portraits (model: Ulorin Vex)
- High-key studio lighting (part 2) (model: Ulorin Vex)
- review: Westcott 7′ Parabolic Umbrella (model: Ulorin Vex)
- Behind-the-scenes video clip of the photo session (model: Ulorin Vex)
- Portrait lighting setup – Chiaroscuro (model: Frankie)
Would you be able to do a quick review on those Creative Lights 1×3 strip boxes and grids? I hear various things about how they work, hold up and go together. Some real world info would be helpful as I move to make a choice.
Thanks.
Wally, they work well, but I am sure there are many other options out there. No complaints about these though.
Hi Neil
Thanks for the article. Question for you…did you keep the shutter speed at 1/125th to stay well within the boundaries of the flash heads?
One final question…where’s your assistant with an attitude these days (Jessica?)? She was a fabulous model too.
With studio photography where we are using flash or strobes, the shutter speed is usually of no consequence, since we’re not dealing with continuous lighting. We don’t want to be over maximum flash sync speed, so any speed around 1/125th or similar, would be safe. No need to change it.
Hey Neil,
How are you triggering the Nikon speedlights in the creative light softboxes? From my understanding, the creative light speedring won’t fit a pocketwizard.
Thanks in advance!
The TT5 / TT1 units would be a problem since there is no way to raise the mouth of the speedring. But here I used the older Plus II models, and just dangled the PocketWizard by the strap.
Interesting – thank you for this. Very educational.
Crap i do need to study up on my light skillset. I don’t want to say it, but.. I kind of suck.