With the tutorials here on how to bounce flash, the questions inevitably come up - what if there is nothing to bounce your flash off? What if there are dark ceilings? Well, these limitations do affect how I use flash at events - but I still work according to a few set guidelines that give me the best results with bounce flash.
I bounce my flash into the direction that I want to come from, regardless of whether there is a white wall or ceiling. It really is all about the Direction of Light.
I also shy away from using any of the Read more inside...
A comment posted to the article, directional light from your on-camera flash, asked a lot of questions about bounce flash photography. While most of these have been answered over time in various articles, it might be a good thing to pull it all together in directly answering those questions here.
This uncomplicated portrait of Anelisa that shows specific elements in how I bounce flash:
catchlights in the eyes
directional light which can be observed here as that gradient of light across her cheek
no hard shadows from direct Read more inside...
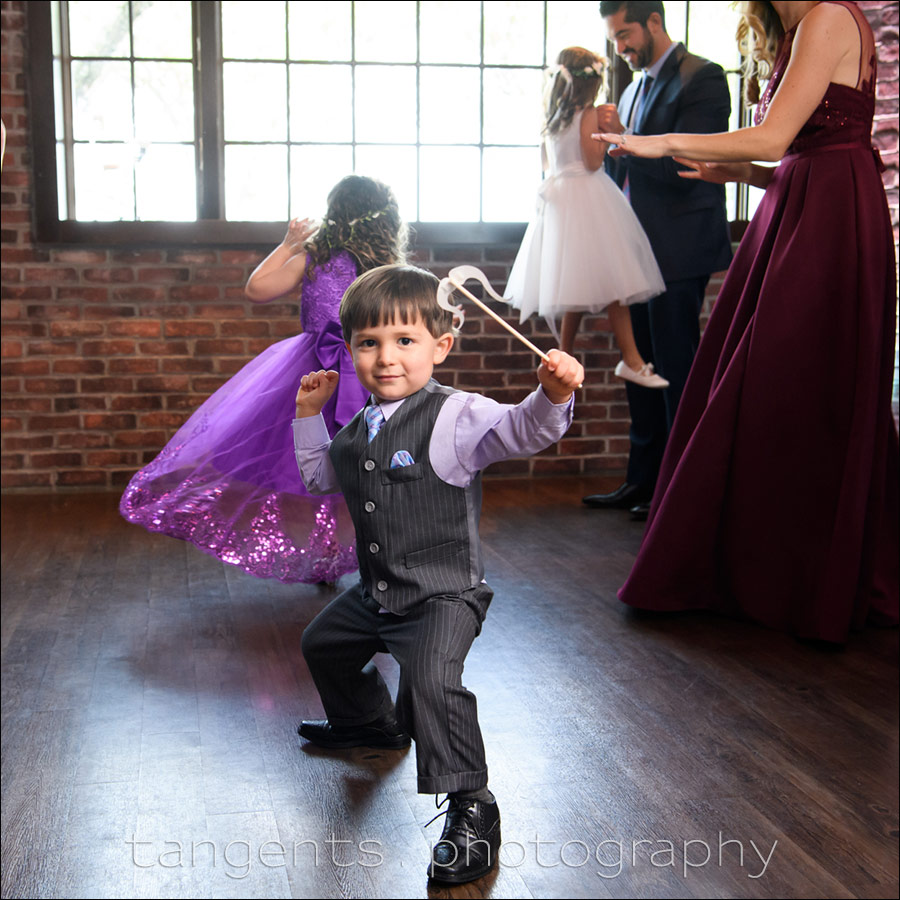
This photograph from a recent wedding got a few comments and questions in the album on Facebook. The questions really hinged around "where did all that light come from?" or whether I had used off-camera flash.
The purple and blue light in the back-ground is from the up-lighting from the entertainment / DJ company. The light on the couple entering the reception room ... is all one on-camera bounce flash. Read more inside...
Bouncing flash forward without getting that direct flash look
When bouncing my on-camera flash, I rarely point the flash straight-up. Most often the flash is pointed behind me or to the side to a certain extent. This way I get directional light. I want that off-camera soft-box effect. However there are those times when it just isn't that practical.
With this recent wedding, the indoor ceremony was held in this large room. As you can see here in this test shot, the ceiling isn't white, but is a light brown, with wooden beams. The thick cross-beams have the effect of blocking flash Read more inside...
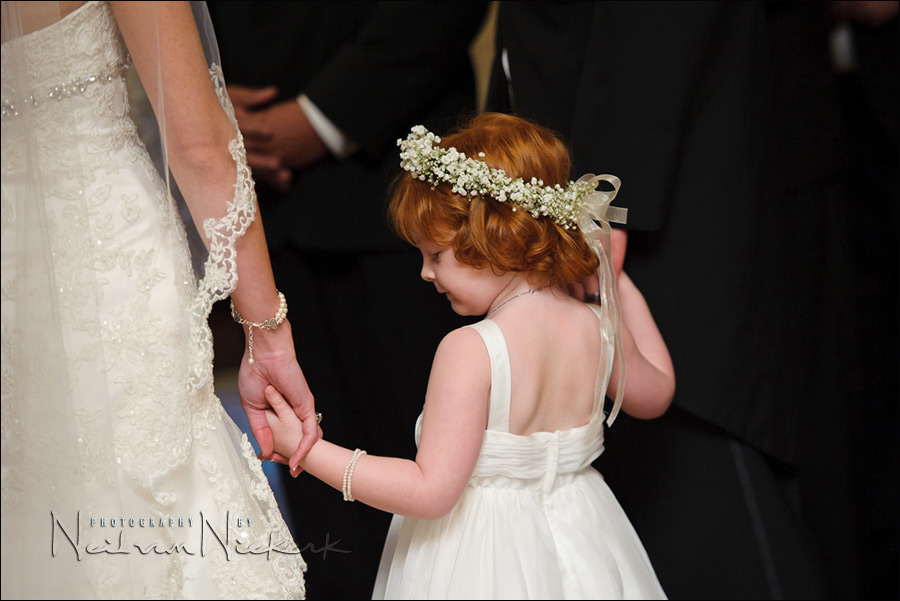
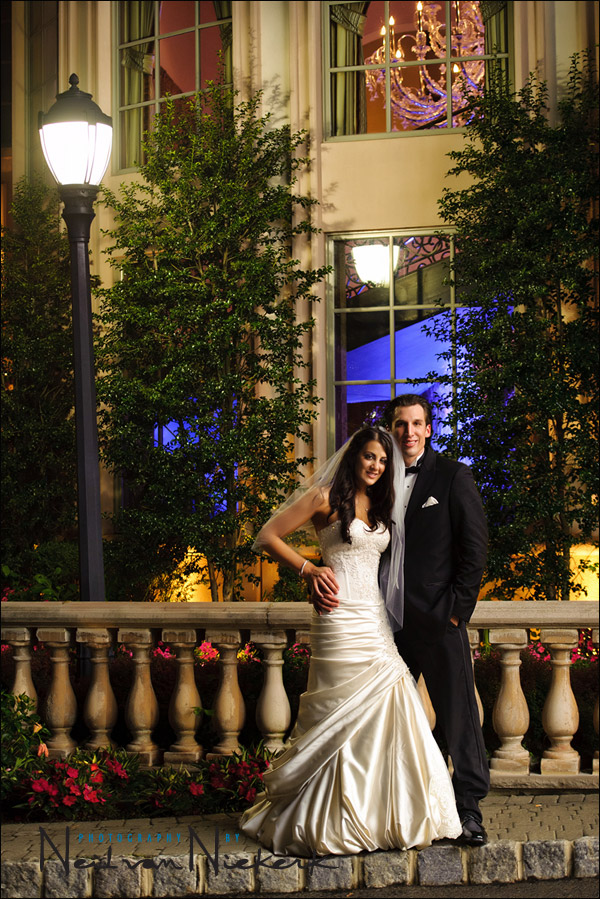
With wedding photography, when doing the night-time romantic portraits of the couple, the pressure is usually on. The only opportunity to whisk the couple away for a few minutes, is during dinner time, when the party is at a lull. The pressure is on because you have even less time than you had during the earlier part of the day, and you also don't want to lose the attention of your couple who wants to get back to their guests at the reception.
I usually scout a few places before-hand, getting a clear idea of what I want. When setting out with Read more inside...
In teaching workshops on flash photography, I frequently encounter newer photographers who are overwhelmed by flash photography. Overwhelmed to the extent that they fear their flash, and would rather not deal with flash photography at all. Instead, they adopt the idea that they will only specialize in available light photography. Now, that kind of thinking is an artistic dead-end. As a photographer that aspires to truly being creative, you need to understand light, regardless of how it is supplied to us.
I do feel that flash photography is one of those Read more inside...
Using images from a past workshop, I want to explain a simple concept with flash photography on location. In workshops and seminars I quite often describe the flash as 'riding on top of' the available light exposure. It's just another way of describing the usual technique of under-exposing the ambient light somewhat, and then using flash to give correct exposure. We can thereby control the final look of the image by controlling the direction of light from our flash.
By using flash like this, we can use the flash to 'clean up' the light in the Read more inside...
Going by the emails that I receive, one of the areas that many photographers struggle with is that of combining ambient exposure and flash exposure. This question is also expressed in other ways. It can be a frustrated, "where do we even start?" I also often see it expressed as an involved step-by-step deconstruction of technique, making the entire process more complex than it is.
In reply to that, and many other emails I've received in the past few months, I'd like to offer an analysis of a few images from a recent shoot.
One of my Read more inside...
Why use an on-camera flash modifier that is black, instead of white?
This question repeatedly comes up as response to the various articles here on my favorite light modifier - the black foamie thing. For anyone new to this, here are the two main articles on how I use a piece of black foam to flag my on-camera speedlight.
The question invariably comes up:
why a piece of black foam and not a white card or a piece of white foam?
The short answer: The idea behind the BFT is that it acts as a flag, not a bounce card. Read more inside...
While the bounce flash techniques described on these pages are heavily dependent on shooting indoors which provide those places to bounce flash off ... it wouldn't seem possible to use these techniques outdoors. After all, you can't bounce flash off the clouds. (Although we've all seen photographers attempt this outside.)
So while there are obvious limitations in applying these bounce flash techniques outdoors, there are times when these techniques can still be quite effective.
This example, also shown in the tutorial pages is of this image taken Read more inside...