New Jersey wedding photographer
New Jersey wedding photographer - photojournalistic style
Drawing from a story-telling photojournalistic sensibility; and also from the classic style of wedding photography; with a dash of Fashion flair; and Romance ... the intention is to give you images that will forever recall this fantastic day. The images on the New Jersey wedding photographer blog will show you the style and consistency of work that you can expect for your own wedding. As an author of several books on photography, I’m definitely serious about this stuff! The domain name I chose for me wedding & Read more inside...Exposure metering for the bride’s dress
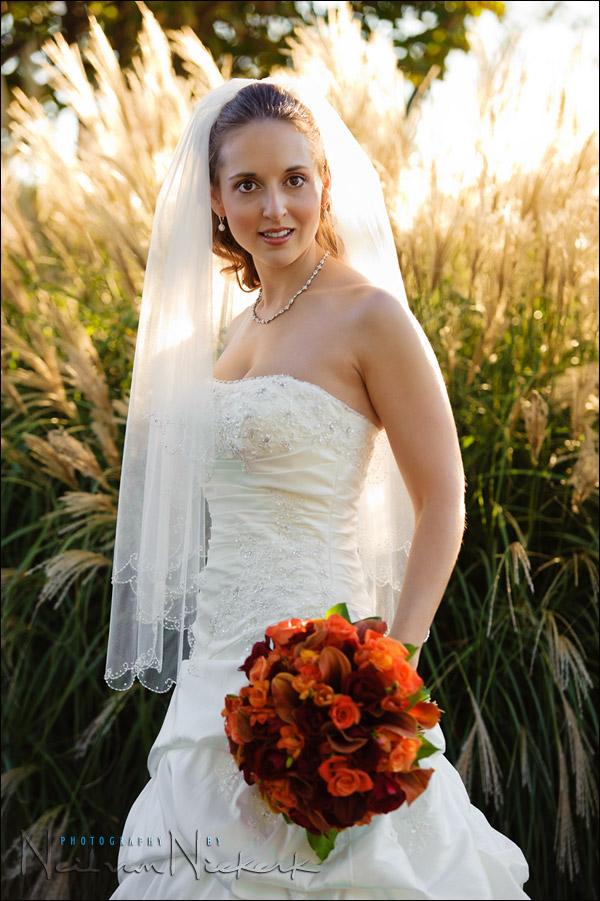
Exposure metering - bride & the bride's dress
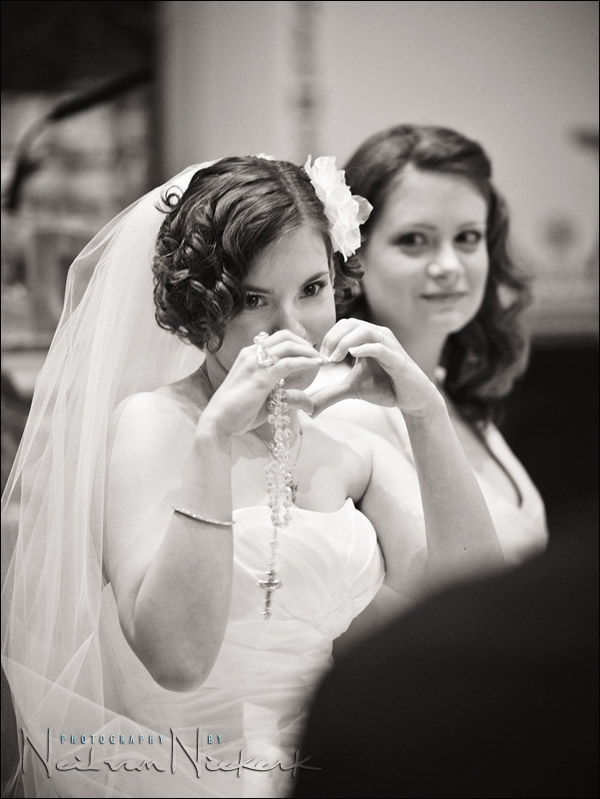
From a technical point of view, photographing a bride in her dress can be a challenge ... depending on the lighting. If everything is under your control as the photographer, and you're lighting the formal portraits with off-camera manual flash, then it is essentially a study of the zone system. The simplest way for me then to get accurate exposure, is to use the histogram. I place my brightest relevant tone at the edge of the histogram. All the other tones will fall into place. (It is clearly explained in that linked article, Read more inside...the moment after ‘the kiss’
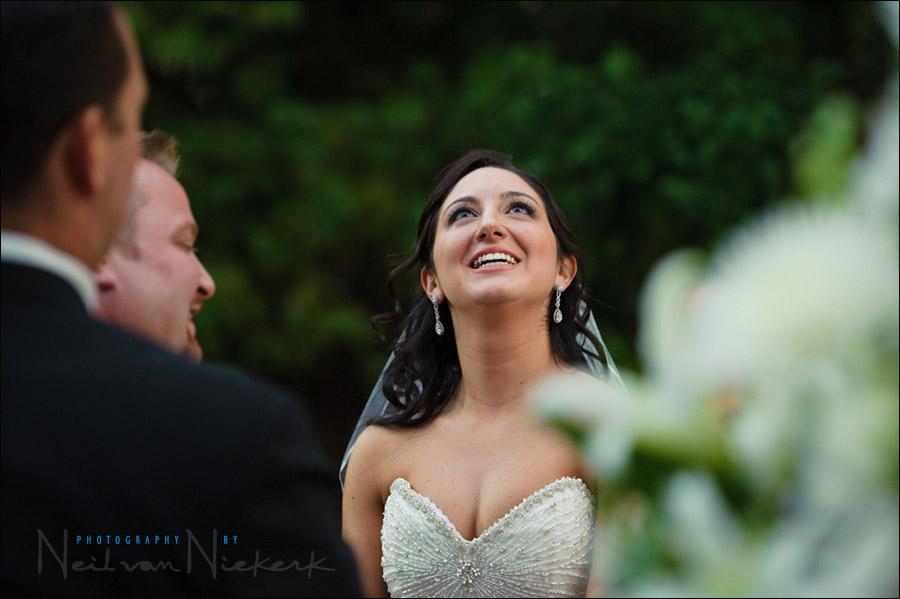
favorite image from the weekend – the moment after the kiss
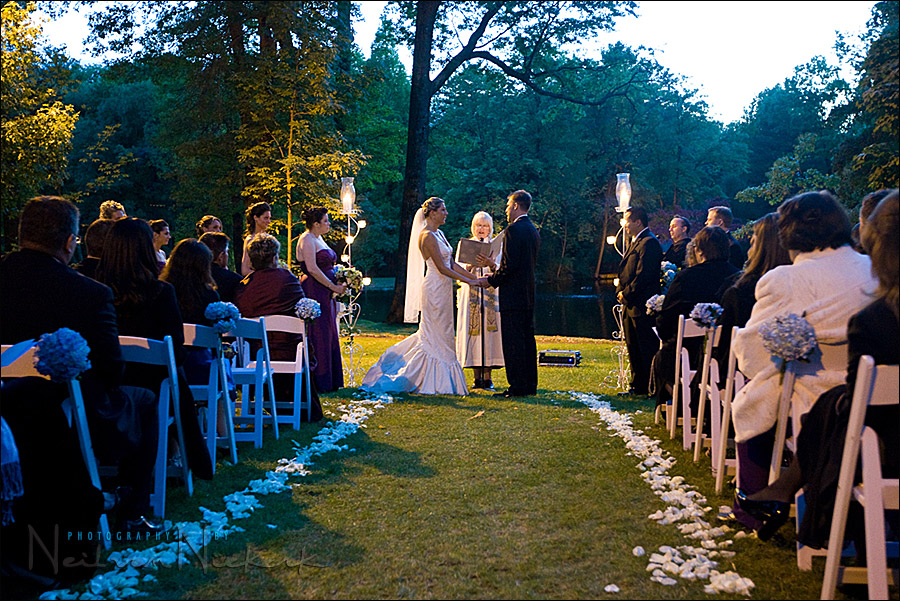
I'm normally in the center aisle when I work as a solo photographer at a wedding. But with the wedding on Saturday, I knew I could trust my 2nd shooter to nail the photographs I needed. This allowed me the opportunity to move around, looking for other angles. I was hoping that Lori-Ann would hug her husband, George, in the first seconds after The First Kiss. I was hoping to get her expression in that hug. She did hug him, but with her face over his other shoulder. I had a 50% chance of guessing that right! So I didn't Read more inside...fire performers … at a wedding
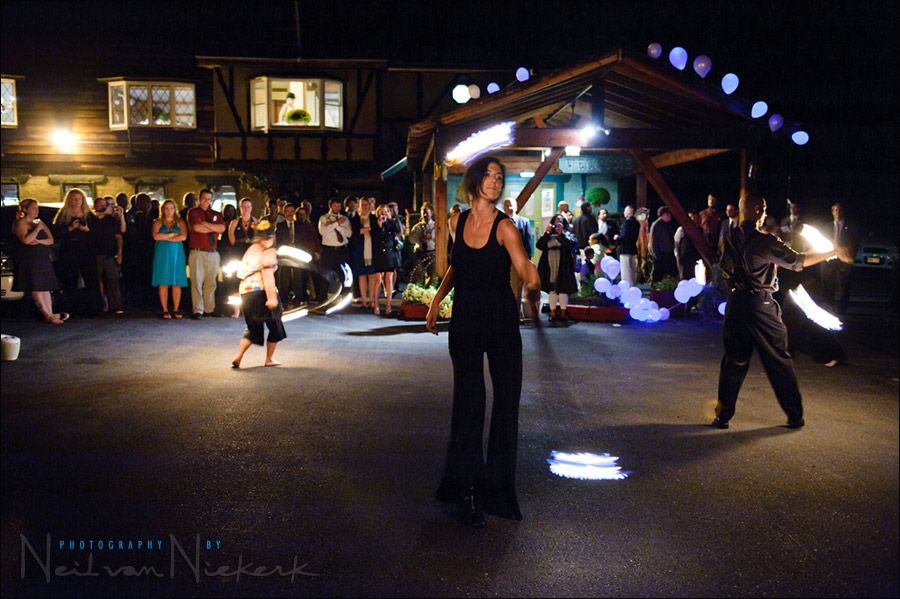
The bride and groom at last night's wedding are veteran burners - people who attend Burning Man - and several of their guests are fire performers. Later the evening during the reception, four of the guests showed their skill in juggling and dancing with fire.