Basic photo retouching
I do like the concept of ‘getting it right in camera’, but I am nowhere near being a purist about it. Before posting images online and in my wedding and portrait blog, I do some skin retouching and basic cleaning up. Before posting images for clients in a Facebook album, I also do some basic retouching. Mild skin retouching, and then cleaning up extraneous things that distract. Just a general sweetening of the photo. Nothing too labor intensive. Most photographs can benefit from some thought about how to clean it up a bit to give it even more impact by removing things that detract.
When retouching for portraits, I go through a slightly more rigorous routine to make sure that skin tones and texture look good. I don’t over-smooth skin – that just isn’t flattering in most cases. I want people to still look natural.
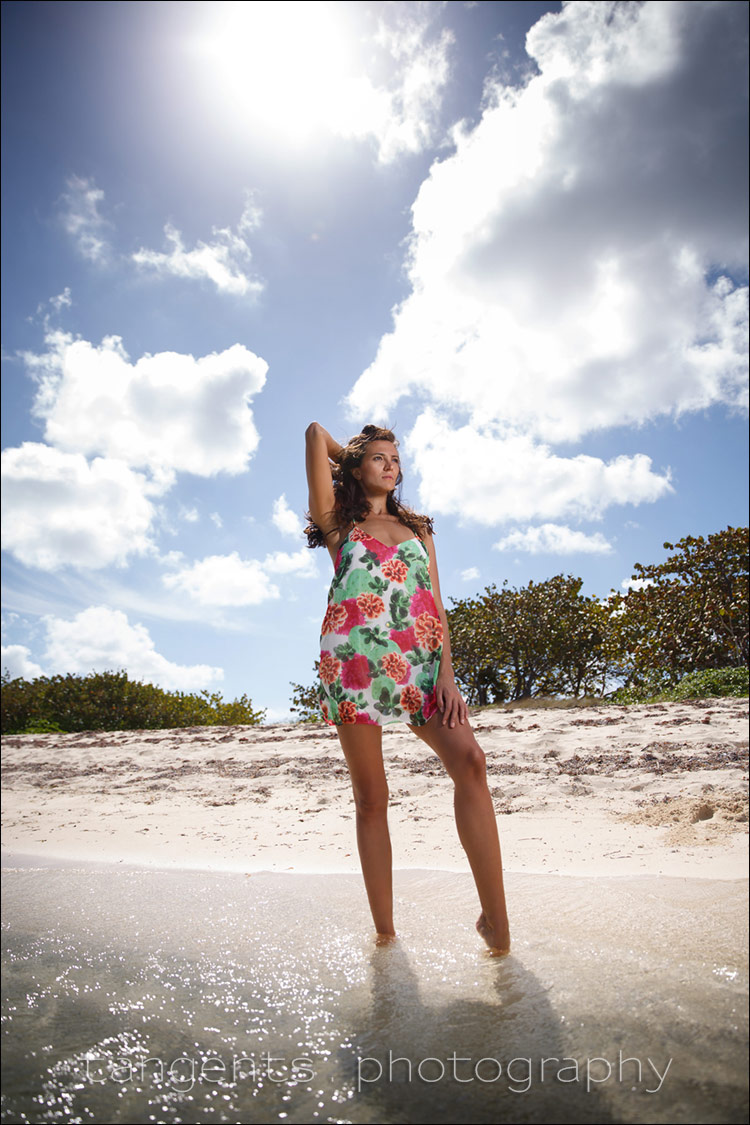
Here we have Livia, who I photographed with two friends while visiting the Cayman Islands. Yup, that’s mid-winter in the Caymans!
Livia needed minimal retouching, but the overall photo had a few problems that I too care of, as part of sweetening an image. I want to use this as just one example of the kind of basic retouching I might do to photos before posting them. What I retouch and how much retouching, will obviously depend on the context of the photo, and the final use. (With the Tangents blog, I do want transparency when explaining something in an article, so where relevant, I would mention it.)
The reason why I mention this type of retouching, is that I often see images which could be improved with a “nudge”. Just a few tweaks to simplify the photo, or clean a few things up. This is something I believe should be part of our general digital workflow when we output images to be shown.
I would like to hear from you about the kind of image retouching you do as a matter of course. Let us know.

First of all, I wanted to get rid of the unfortunate shadow on Livia’s leg. Ideally, this is something I should’ve caught while shooting. But it gets tough in the bright sunlight to distinguish details on the camera’s screen. I used a combination of the Healing brush and Clone tool to build up the missing information.
Next step, mild skin retouching … and most importantly, clean up some hair from Livia’s face. It was windy! At some point you try to embrace the windy conditions and accept you will have to do some retouching. Again, I used the Healing brush and Clone tool to clean up stray hair and any elements that I don’t want to appear in the final image.
The final step – as much as I wanted to under-expose the brightly lit environment we were shooting in, we were limited by the speedlite’s capabilities. Of course, working in HSS mode did cut about 2 stops of light.
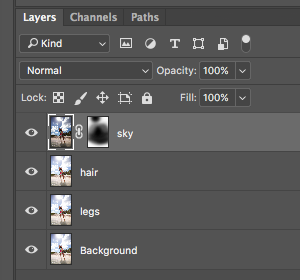
I wanted a darker, more dramatic sky. So I took a 2nd JPG from the RAW file, with the image under-exposed by a full stop. I blended this exposure with the main photo, using the layer mask to avoid halos and a too-obvious vignette.

Photo gear used during this photo session
- 1/1,600 @ f/2.8 @ 100 ISO
HSS flash mode; full manual power
- Canon 6D
- Canon 600EX-RT Speedlites
- Canon ST-E3 Speedlite Transmitter
- 75″ tall Gitzo monopod to hold up the speedlights
- Triple Flash/Umbrella Mount
Since I knew there would be three of us photographing Livia, I brought along the Triple Flash/Umbrella Mount (affiliate), so that all three of us could shoot at the same time. Since all three of us used different speedlites and triggering systems, we could shoot independently from one another … but still had to have our flashes pointed at our model. There are other options to mount multiple speedlites.
Since we would be shooting in bright sunlight, we were all three working with full manual output on our flashes. By this point of the photo shoot we had moved up from working at maximum flash sync speed, and were shooting in high-speed flash sync area. This was to get shallower depth of field … although you won’t notice it on a wide-angle shot. At web-size resolution for a 24mm focal length, any advantage to shallow depth-of-field will be obscured.
Related articles
- Photoshop tips – retouching for portraits (model: Oktavia)
- More articles about digital imaging
- Wedding photography – Retouching & style
- review: Canon ST-E3-RT and Canon 600EX-RT Speedlite
- Overpowering the sun with Off-Camera Flash – What are my settings?
Hi Neil and friends. Recently I incorporeted some Nik Collection’s tricks to my portrait workflow. From Color Efex: Dynamic Skin Soft and Darken/Lighten center are amazing and quick and clean to aplly.
My workflow:
– Check global WB, Exposure and Contrast in Camera Raw. My usual WB when shot people is 6.000 K.
– Improve background exposure with Adjustment Brush, if necessary
– Open in PS where I took care with eyes bright and contrast, hair and lip color in women, eventual pimples and blemishes in face. Very seldom I use Liquify on nose, ears or to put shoulders more symmetrical.
– I have several ways (actions) to softening skin but actually as said I use Dynamic Skin Soft from Nik
et voilá.
This is my basic workflow wich could vary a little according subject and location.
Cheers
I like to soften the skin using frequency separation. I feel that way I have better control over the different skin tones and textures.
I work through the RAW files in Lightroom adjusting white balance, contrast and clarity before exporting the Jpeg into PS. I use very suitable approaches to skin softening and my main tools would be the healing brush and clone tool. Liquify can occasionally be useful especially with wedding dresses.