behind the scenes: Fashion catalog photo shoot in the studio
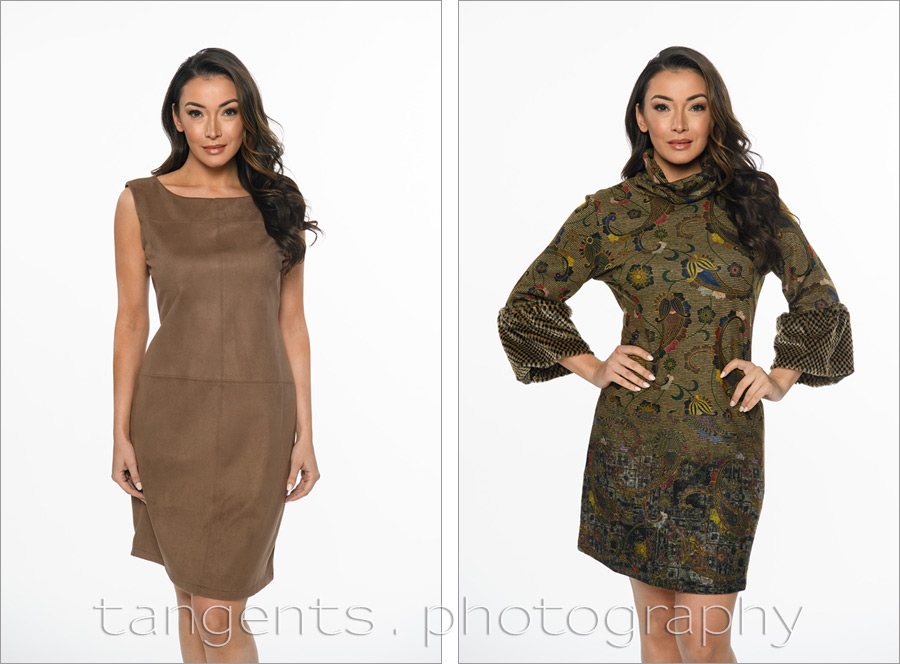
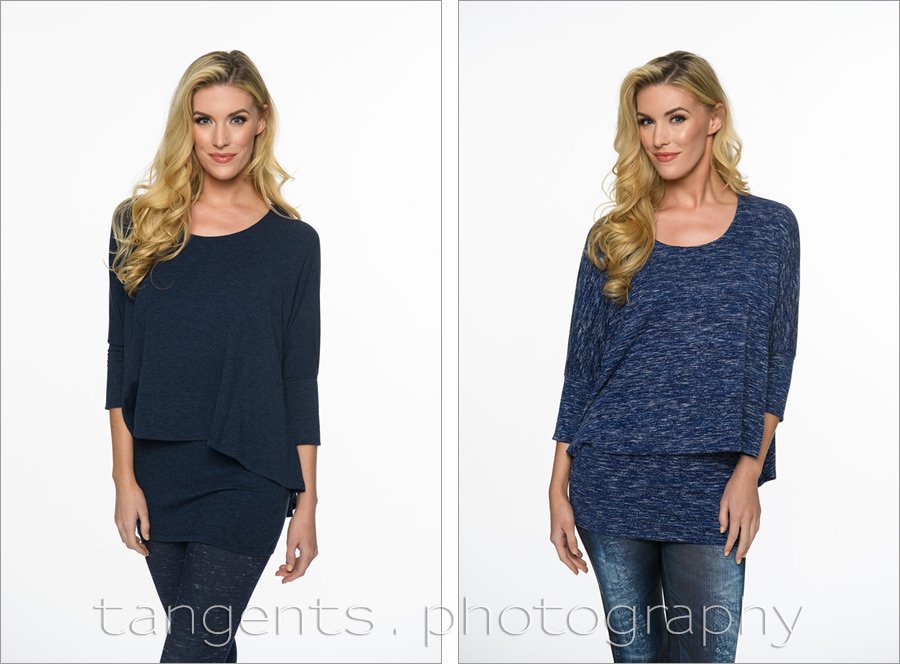
From a recent photoshoot in the studio for a fashion designer, Isle By Melis Kozan, I want to give a bit of a glimpse behind the scenes. Further below there is a short video clip that shows what went down in the studio. Nothing frenetic – the pace is calm and steady. As it should be when you need to get through a large number of items. Fashion catalog photo shoots are fairly straight-forward – the key is consistency is lighting and positioning. You also need consistency in the camera’s viewpoint.
There is no Art Direction per se, other than me following the instructions from the husband & wife fashion designing team, and making sure that what we capture on this day, is consistent with what they show on their website, and consistent with what they need. There’s that word again – consistency.
I shoot tethered – this way the team can see the images immediately as I shoot them, and then change things on the go, if needed. It also gives them the confidence that everything is running smoothly. With that, shooting tethered in the studio is essential. I used the Nikon D5 for this session, and I use Nikon Camera Control as the tethering software.
I shoot from a fixed position, seated on a step-ladder – this gives a consistent perspective and a lower angle than standing would have. More flattering, and less chance of perspective distortion – you know, the big head / little feet syndrome. This article will illustrate that kind of perspective distortion: Composition for full-length portraits – step back! We want to avoid that!
BTS video clip: Photo shoot in the studio
One thing that will hopefully stand out in this view clip – the timing of the photos. I was working with two experienced models, so they needed very little directing. But I have to wait for them to get into the next position / pose before I fire the shutter. As a photographer you have to wait for the model to give you the cue that she’s ready for the next shot. If you shoot wildly, you will end up with very little useful photos. You absolutely need to time your shots.
And of course, here are the pull-back photos, and the techie details with the listing of photo gear used. I marked them with a red semi-circle so that the lighting that were actually used, stand out from the rest of the lighting gear that clutters the studio.

All the lights in the studio are the Profoto D1 Air 500Ws studio lights (affiliate). I used 4 of them for this set up.
I had two lights pointed to the white paper backdrop to blow it out to pure white. (More about that further down.) These two lights were each diffused by a Profoto 2×3 RFi softbox (affiliate).
The main light on our models was the monster Profoto 5-ft RFi Octa Softbox (B&H / Amazon) overhead of me. The pull-back shot was done at 16mm, so you just see the bottom edge of the octabox. That’s what this black shape is at the top of the frame – the bottom edge of the octabox. To see it in proper perspective, watch the BTS video clip. This oct-box is kept in place by the huge studio boom arm by Redwing (affiliate).
Then in the photo below, you can see the 4th light that I used to clean up the white paper in front of our models. I just used a Profoto beauty dish (affiliate) for this, for no other reason than the light was already on a boom.

Photo gear and lighting used during this photo session
- 1/200 @ f/8 @ 100 ISO
- (3x) Profoto D1 Air 500Ws studio lights
- Profoto 5-ft RFi Octa Softbox (B&H / Amazon)
- Profoto beauty dish (B&H / Amazon)
- Profoto 2×3 RFi softbox (B&H / Amazon)

Exposure metering for the white background
I want as pure a white as possible so that it would need no work in post-production. What did help here is that this client wanted only half-length shots. That’s easy enough.
I use the histogram of my camera to determine that the white background is blowing out ever so little, and this is confirmed by the blinking high-lights display. I don’t want the background to be too bright, because then it gives a halo around the subjects, which isn’t easy to fix. Therefore we want that optimal point where everything is just right. We’ve discussed this way of metering before in a previous article: Lighting a white seamless studio backdrop. And for those who have smaller spaces to work in and use speedlights, it is the exact same thought-process: A home-studio setup with speedlites
Here are the RGB values as shown in Photoshop – it’s about there for a wide area all around our models.


The white here is a touch under what is ideal, because we don’t have that extra little bit of light from the main flash (in the 5′ octabox), to push it to the values we see above.
Summary
The lighting is simplicity itself. The key here is consistency. Everything has to be very consistent in terms of lighting and positioning.
Related articles
- Lighting a white seamless studio backdrop
- A home-studio setup with speedlites – video tutorial
- Headshot photography – Clam-shell lighting setup
- Simple lighting setup with speedlights & white seamless backdrop (model: Anastasia)
- Studio photo session: Yoga
- Studio Photography Workshops
- More articles on Studio lighting and Photography
thank you for the BTS now it all makes sense. Working with pro models must be a pleasure they seemed to move quite naturally and fluidly. Like you said consistency is one of the keys and you nailed it. Its a rather simple setup but the results are dead on. thank you for sharing
Great tutorial and work. Love the BTS video and how you throughly explained everything.
Nice work, Neil. Enjoyed the BTS – very helpful.
In the 4 samples at the top, it looks like you haven’t pushed the bg to pure white. Is that the case?
Valent … there are levels of white. If you look at this screen capture, the area around her head is at 252,252,252 … not a absolute digital white … but certainly white enough to appear as white when we view a print. It only looks slightly-less-than-white here because the border of the blog design is 255,255,255 white.
Of course the white background behind her while taper off to the edges a little bit. But I am happy that what I have there is white.