Kate – a photo shoot in New York
Kate is from Ukraine and has a deep fascination for New York. As a present, Kate’s sister flew both of them out for a vacation here … and had me photograph Kate around New York yesterday. The idea was to get a mixture of portraits of Kate and some photos of Kate in obvious New York locales.
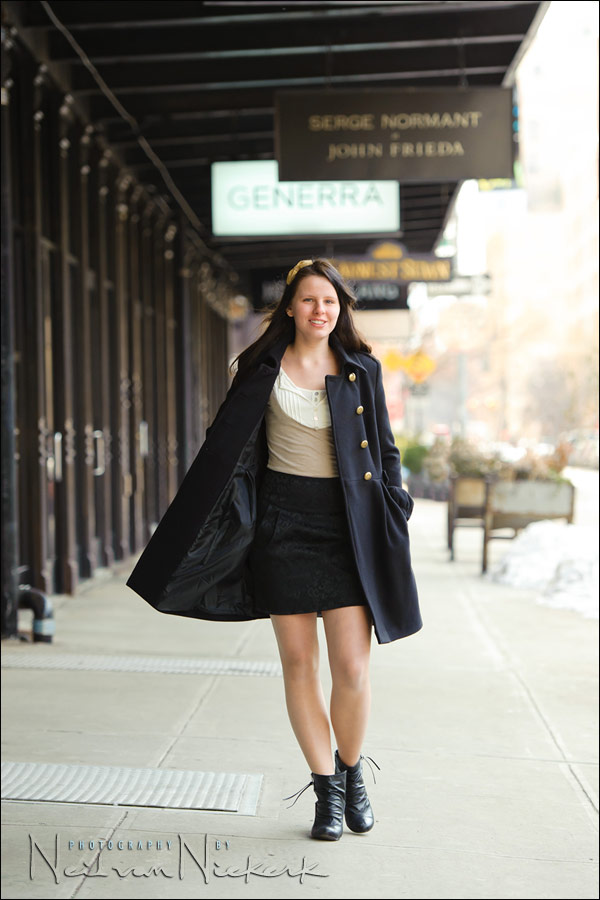
We started off in the Meat-Packing district because I wanted a photogenic spot that wasn’t too crowded during a weekday (in winter), so we could have an easy start to the photo session. Since Kate might not have been experienced with photo shoots, I thought this would be the gentlest start. From there we wandered around a few other chosen spots.
Shooting on my own, I brought along a 70-200mm f2.8 and a 24-70mm f2.8 and two speedlights. Even though this winter’s day was slightly overcast, giving us soft light, I still didn’t want to rely entirely on just the available light …
I brought along my latest purchase: the Lastolite Ezybox speed-lite 8.6″ (B&H) which is a compact softbox. Just 8.6″ square, it folds up small enough to fit inside my Crumpler shoulder bag, along with the 2nd lens and speedlight. At times I held this aloft in my left-hand, and sometimes I had Kate’s sister hold the softbox up high. Having the off-camera flash helped immensely a few times. And having it diffused, even in such a small softbox, created a more pleasing light than hard direct flash. So with this softbox in my bag, I felt ready for the shoot.
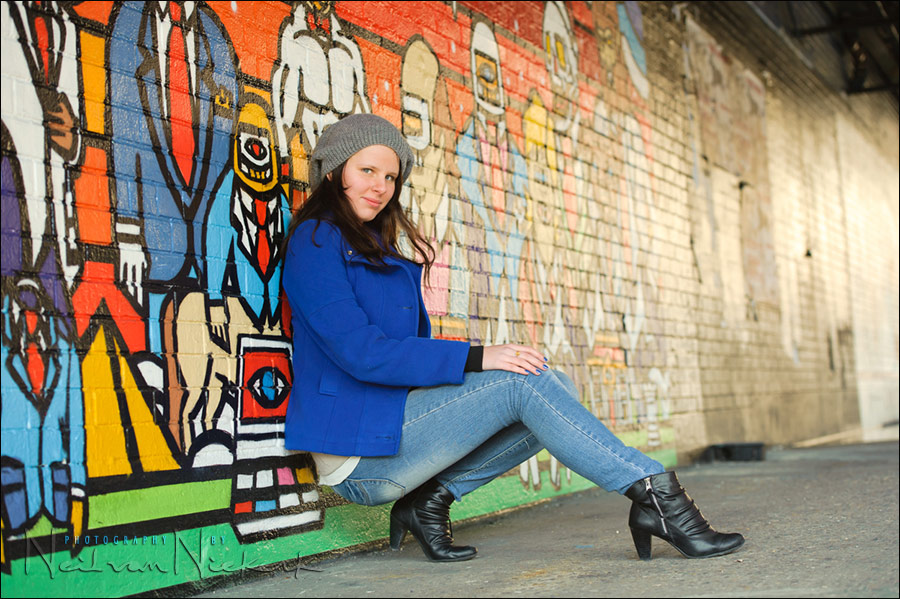
Here is one of the photographs where Kate’s sister held the speedlight and small softbox up for me.
It looks pretty good I think for such a small softbox. The starting image here was this one, where I forgot to set my on-camera flash to Master (to control the Slaved speedlite), and it gave direct flash. Since I had the flash pointed forward and towards the Slave speedlite, the spread of light is uneven.
You can see the area to the left is overlit by direct flash. There is also the very noticable side-ways shadow behind Kate. A slight oversight giving amateurish results. A quick check of my preview and I realized my mistake, and switched my on-camera flash to Master. (I have its output disabled, so only the Slave flash adds light to the scene.)
With these shoots, I obviously want to get new images and not just re-tread the same shots. I need to balance this though with the desire for a consistent style, which is why clients hire me – they like what they see on my websites and galleries and blogs. But it still needs to be fresh and original images .. within that style.
There will be those photographs which appear familiar, but then I am also constantly on the look-out for new spots and interesting ways the light may have changed in familiar places. Having shot in the Meat-Packing District often, I know where to start off to kick-start a photo session. Instead of scrabbling around looking for something entirely new, we start in a familiar place to get the rhythm of the shoot going.
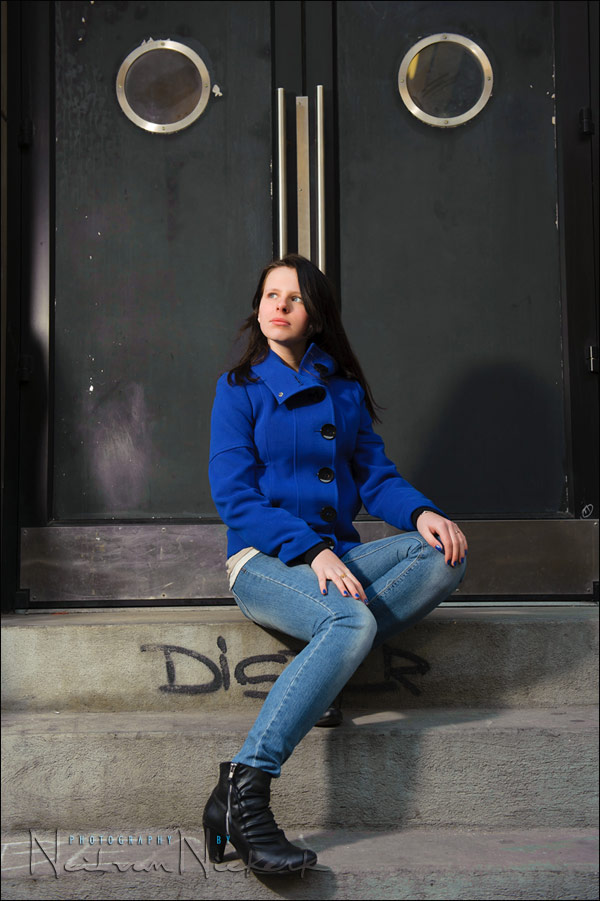
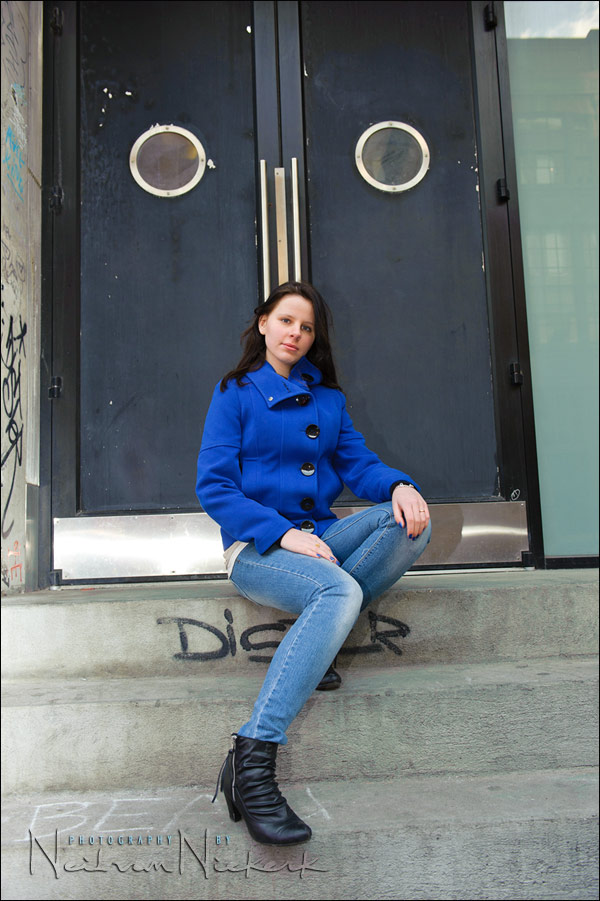
This image was in the same place where I photographed Catherine, a workshop model, before. I knew the light would work there. So this was a ‘safe’ shot for me at the start of the photo session. Similarly with the next photo of Kate, we were close to a spot where I have photographed another workshop model, Anelisa, before. I knew the direction of light would work in my favor.
These two images, as well as the image right at the top, was shot with available light only. Not even on-camera fill-flash. But the choice isn’t random … as described in that first linked article, direction and quality of light is an important consideration.
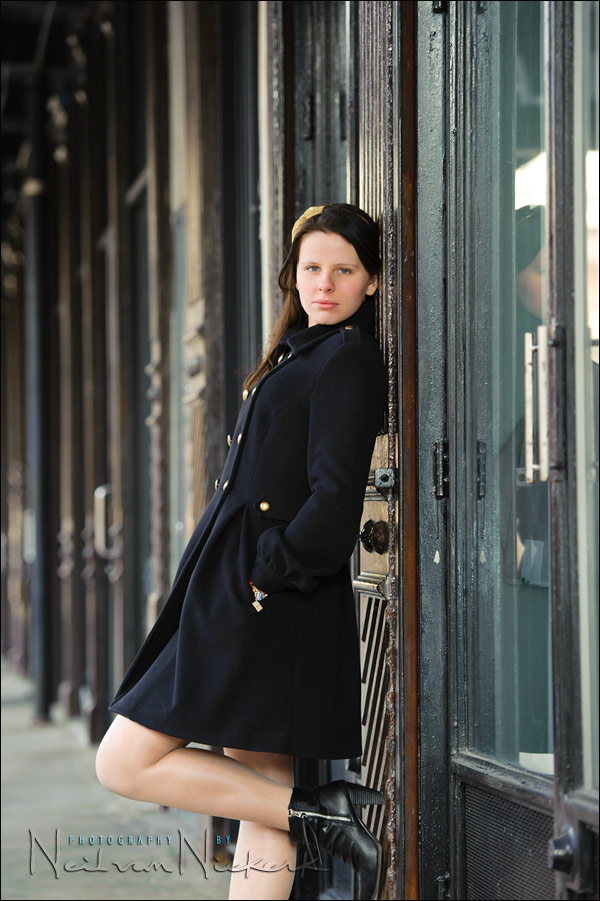
Another few image with only available light being used.
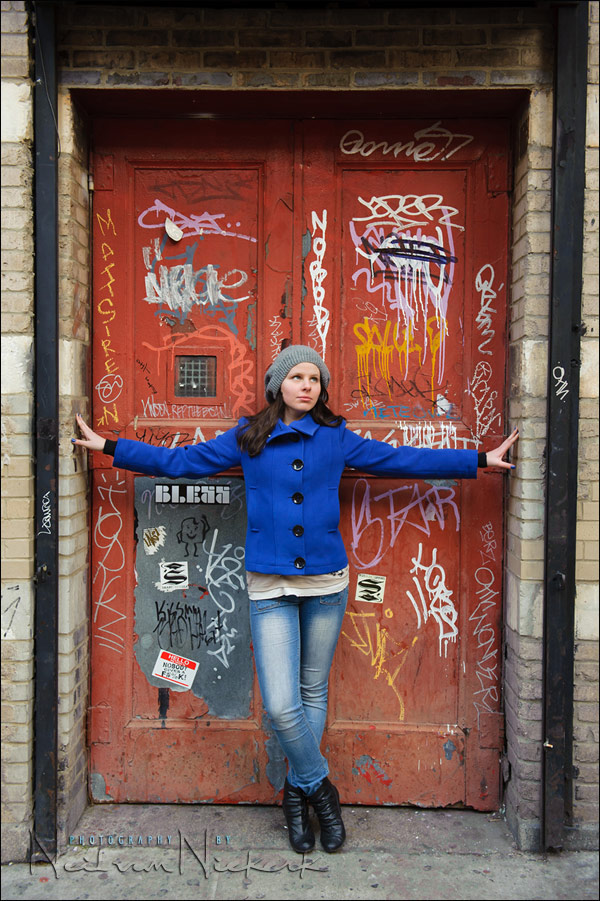
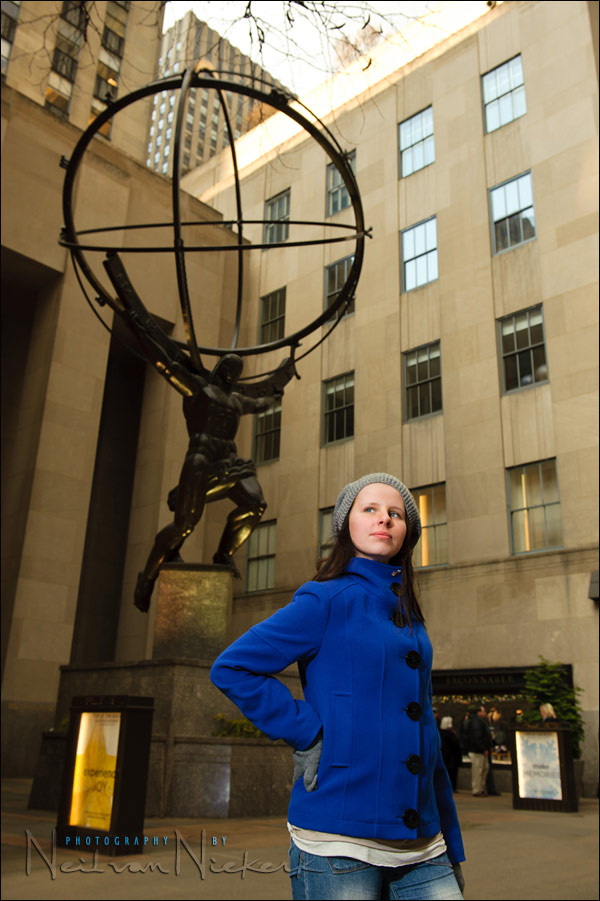
A few photos around well-known New York City landmarks:

Here I handheld the Lastolite 8.6″ Ezybox (B&H) in my left hand.
Slightly clumsy, especially if you’re used to the zoom, but the light looks good.
For the next two images, Kate’s sister held the softbox up for me. But instead of wirelessly triggering the speedlight, I used the a TTL cord. (In this case the Nikon SC-29 TTL off-camera shoe cord.)
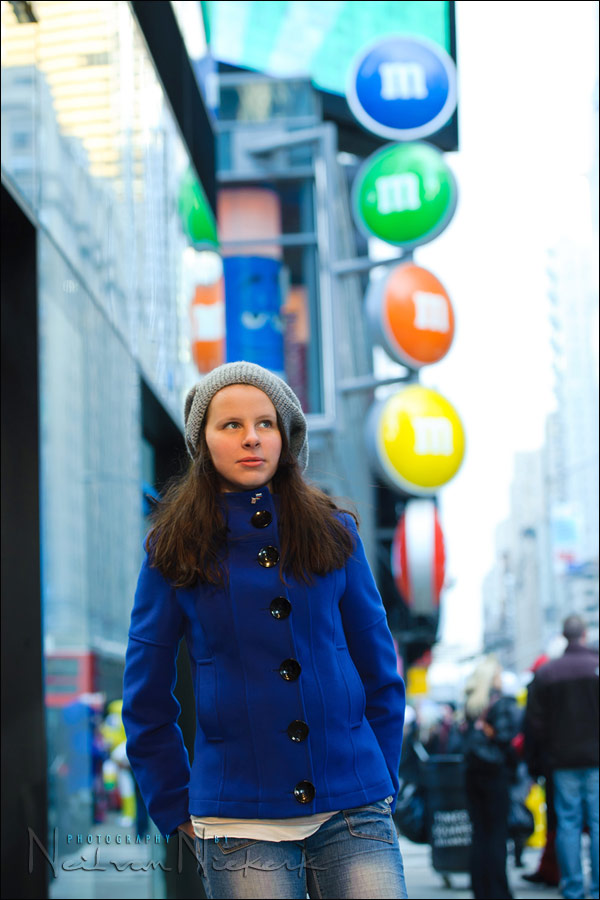
Here I noticed a patch of light, as sunlight reflected off a building. It gave a warm-colored hot spot … perfect to highlight Kate against the out-of-focus background.
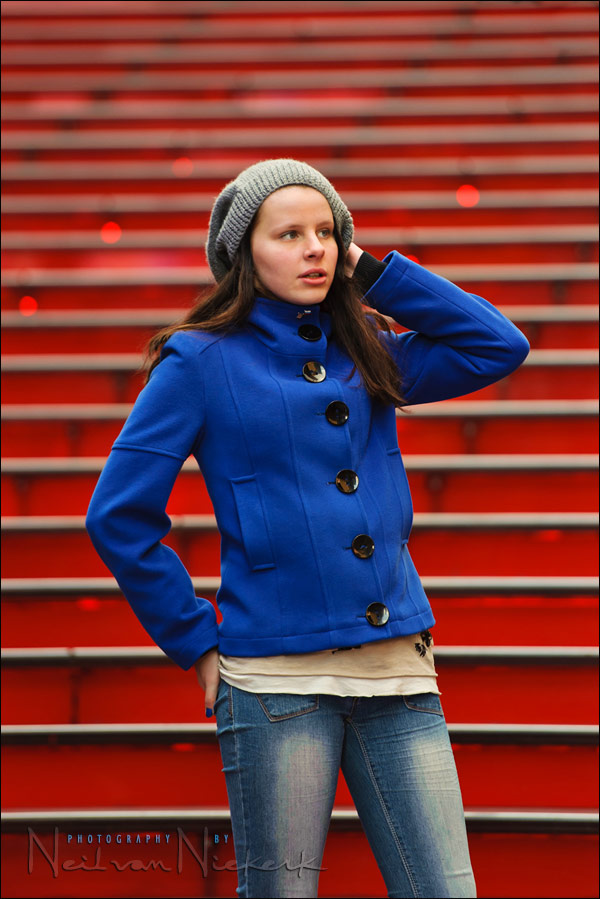
And finally, the distinctive stairway in Times Square. (Available light only.)
Two days later I met up with Kate and her sister again. We had run out of time on the Thursday shoot, and I felt we had missed out on giving Kate a photo of herself against the Manhattan skyline – a quintessential photo. So we went to Brooklyn for a quick follow-up session. I used an off-camera speedlight in the Lastolite 24×24 Ezybox softbox to get great lighting on Kate and have her pop in the image. With the grey weather and stark skyline, she stood out anyway. But the lighting helped.

That beaming smile says everything.

With this overview of this photo session, I wanted to show that even though there is a distinctive style, it helps to mix things up a bit in terms of the lighting. And then look for new and interesting places and light. Different techniques and ideas to all help a photo session flow.
Related links:
– tips on posing people
– direction of light and choice of background
– effective on-location portraits
Equipment used during this photo session:
Nikon D3; Nikon 24-70mm f2.8 AF-S (B&H);
Nikon 70-200mm f2.8 AF-S II (B&H);
Nikon SB-900 (B&H); Nikon SD-9 battery pack (B&H)
Lastolite Ezybox speed-lite 8.6 x 8.6″ softbox (B&H)
Hi Neil
I’m glad to see you field tested that small softbox. How far was this softbox from the subject. Since the softbox is much smaller than the 24″x24″ you couldn’t have positioned it too far away or it would become a point source.
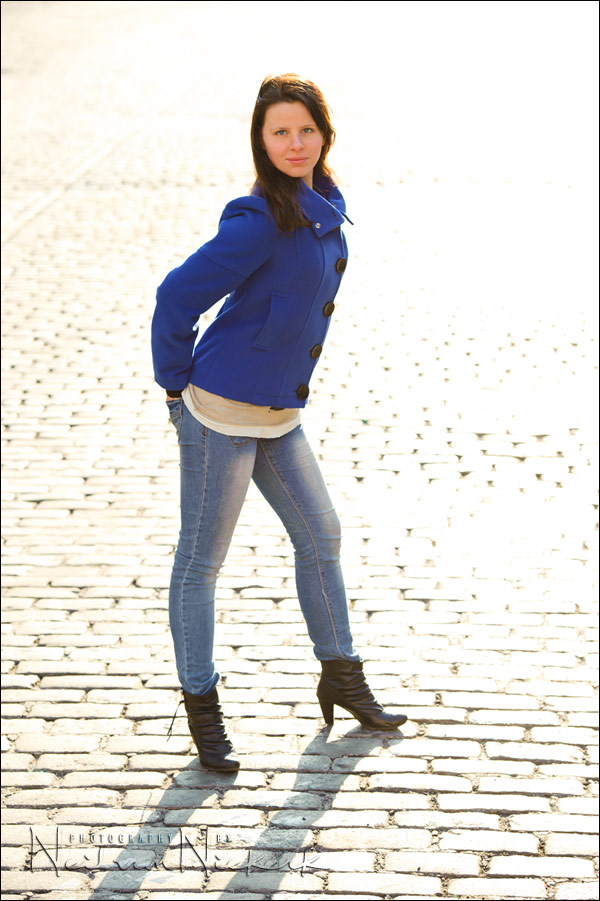
The picture of Kate on the cobblestone road is nice. The entire street is “blown out” but you preserved the exposure on Kate.
Great photos, but ouch, $76 for that tiny softbox?! The Lumiquest Softbox III works very well for me (in close, of course), is the same size, and costs half as much.
I’m particularly fond of the brick street shot. I love how you let the reflected and polarized sunlight just blow out to give her a great exposure. It doesn’t hurt her pose appeals to me as well.
But now, as I type this, I wonder what would have occurred to said image if you had been carrying and used a polarizer.
Regardless, a lovely series and a free assistant for you for the day!
Hi Neil,
I have been a regular reader of your blog for around a year and find your work and advice inspirational. I have also bought your terrific book and can’t wait for my first wedding of the season to put the lessons (hopefully) into practice.
This article has promted a question from me because I shoot weddings alone and am always evaluating new light modifiers that can be easily utilised without needing an assistent. I am definitely going to try a “foamie-thing” for indoor use, but my main interest at the moment is finding a really good modifier that I can use for outdoor use. The Lastolite 8.6″ ezybox featured in this article looks interesting, but I have also been thinking about getting one of the Rogue Flashbenders from ExpoImaging. These seem to have the great advantage of being multi-use, in that their flexible design means that they can be used as flags as well as softening the light. Have you had a chance to try one of these out yet, or do you intend to evaluate one?. I for one would be very interested to hear your opinion about how they compare to the ezybox, and I bet a lot of other readers would also like to know what you think.
many thanks for a fantastic, priceless resource.
Neil Marks
Many thanks Neil.
If you do get a chance to try a Flashbender I would be very interested to hear your opinion.
Neil
Nice shoot, i have been looking at these recently, but i have not got my own softbox at all, so i was not too sure, if i would be better to buy the larger one, but on looking at your shoot it certainly looks good for travelling light, and a starter for me. I am suprised how much light is controlled with such a small box. Excellent work Neil. I cannot believe i think about something and a few days later you seem to cover it. Looking forward to your new book. Thanks again for such good info.
Hello, great photos as always!!!
I was wondering why you pick the soft box against the umbrella?
You did the comparison of both lately and there is little difference between both.
Is it because the soft box is smaller and easier to carry and setup?
Hi Neil,
How far away from Kate was the small softbox and what FEC were you running on the remote flash?
Thanks for your awesome blog (I feel like I’m on a treasure hunt every time I’m here — always something new and cool to discover).
HI Neil
what settings did you use (i.e flash strength, aperture, shutter speed, etc) in picture 7 and 11 (from above)? I’d like to recreate those effects, especially in 7 with the bright light and the blurred background.
Chiara