Lighting for a small commercial video shoot
Those of you who have followed the Tangents blog for a while, will have noticed that over time I’ve expanded the range of photography that I do – in addition to weddings and portraits, I have taken on commercial photography and corporate photography as well. This has included small commercial video shoots as well. One of these was a promotional video clip for a company – Buddy Bagz – to introduce their innovative variation on sleeping bags for kids.
The photo and video shoot was produced by Cheryl Galante, and the video edited by Wendy Letven. I shot the video sequences, and supplied the raw video footage to the agency. My friend, Yasmeen Anderson, shot the stills that were needed to advertise this product. The art director was Wendy Letven, and I shot the video sequences according to the story-board. But o f course, we did improvise during the day.
A little bit about the camera and lighting gear I used:
The tripod / monopod bounce video clips were shot on the Nikon D810 (and Nikon 24-70mm f/2.8E VR), but the sequences shot with the gimbal where I moved with the kids, was done with the a Nikon D750 and Nikon 20mm f/1.8G combination (affiliate links). I used a small Rode shotgun mic on the D810 where needed. The D750 was mounted on a gimbal, the Defy G2x, as described in this previous article: shooting video with a stabilized gimbal. There is a specific reason for that camera and lens combination.
I specifically wanted the mention the lighting that I used here: 12″ x 12″ LED panels that have adjustable color balance- the Litepanels Astra EP 1×1 Bi-Color LED Panel (B&H / Amazon).
![]()
The output of these LED light panels is quite powerful. The maximum output is: 291 fc / 3132 lux @ 5′ / 1.5 m
I didn’t want to directly light the kids if I could avoid doing that. For most of the sequences, I used these lights by bouncing them off walls and doors and the ceilings of the various rooms we shot this in.

The specifications of the Litepanels Astra EP 1×1 Bi-Color LED Panel, will explain why they are versatile:
The Astra 1×1 LED panels run silently, and are flicker-free at any frame rate or shutter angle. They offer variable Tungsten to Daylight color temperature with negligible color shift. They also have a high CRI, which makes the editing and color grading of the video clips much easier. The feedback I received from the person who compiled the final video clip, was that this was the best footage she has ever worked with. This is in part how I use light, and try to get clean lighting on my subjects.
The specs listed mention: “The technological advancement and enhancement is evident in the high CRI and significantly increased brightness due to the use of tightly-binned LEDs and fine-tuned TIR (Total Internal Reflection) optics, resulting in a longer throw over a wider field.”
That sounds good, but I have no idea what it really means except that the light from these two bad boys look really good. I’ve shot video interviews with them, and recently also used them during a photo session of a newborn baby. (More about this further down).
Photo gear (or equivalents) used during this part of the video shoot
- Nikon D810
- Nikon 24-70mm f/2.8E VR /equivalent Canon 24-70mm f/2.8L II
- (2x) Litepanels Astra EP 1×1 Bi-Color LED Panel (B&H / Amazon)
Related articles
- First steps in shooting video with a stabilized gimbal
- Using the Canon EOS 6D in movie mode
- Photo shoot: On-location lighting problem solving
- Lighting an on-location Fashion shoot
- For more videos, follow me on Vimeo / YouTube
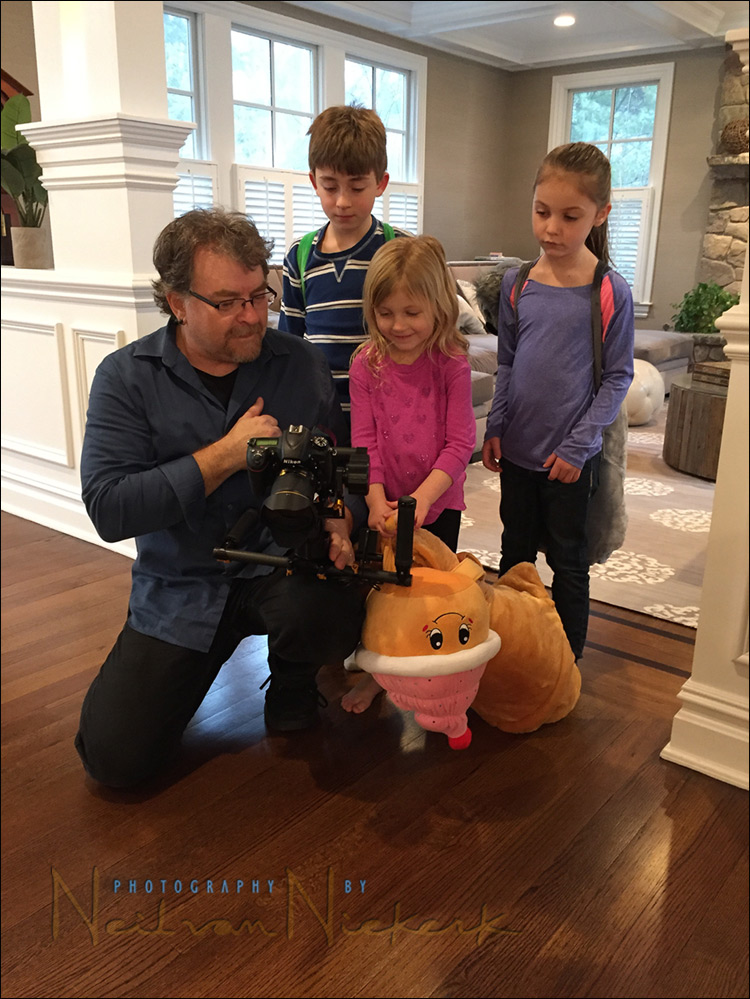
It always works best when you involve the talent in the creative process!

Continuous lighting for newborn photo sessions
This is a completely unrelated photo shoot, but I wanted to show it here because I used the Litepanels Astra LED Panels (affiliate), in a very similar way during a photo session with a newborn baby. With this type of photo session, I don’t really want to use flash, although I have used on-camera bounce flash in a pinch. Normally I would use the Westcott Spiderlites, but they can prove to be bulky when navigating through different rooms in the house. This boudoir photo session in my studio, will give you an idea of how large the big softbox is with the Spiderlite.
With the success of using the Litepanel 1×1 Astra lights during the video shoot, I decided to give them a go during this recent newborn photo session. Since they are continuous lights, they run quietly.
Bouncing the light against the ceiling, a soft light was created, and at 1600 ISO, gave me usable apertures and shutter speeds for details photos, and portraits of the kiddo and her parents.
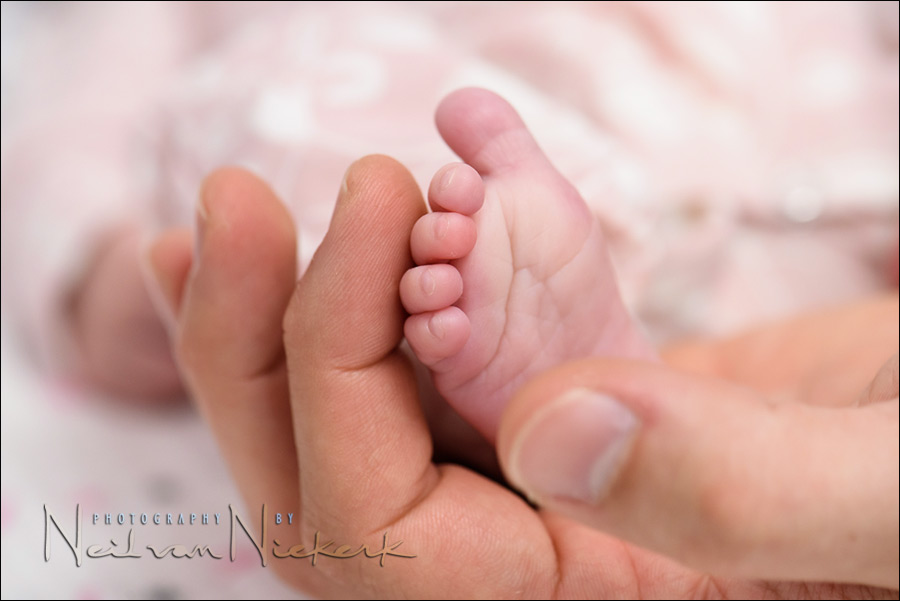
Photo gear (or equivalents) used during this photo session
- 1/100 @ f/5.6 @ 1600 ISO
- Nikon D810
- Nikon 105mm f/2.8 VR macro / Canon 100mm f/2.8 IS macro
- (2x) Litepanels Astra EP 1×1 Bi-Color LED Panel (B&H / Amazon)
Great work, Neil – nice to see you expanding your horizons!
Takes a lot of behind the scenes work to make it all look ‘natural’ – nice work
Hi neil,
Indeed the light looks great, but what about the innocuity of these LEDs more especially newborns and kids, because as you may know they can be harmful up to 4-6 years old till the retina development is over ?
Did they get rid of the “blue light” which is responsible for what is called the “toxic stress” (I mean for eyes) ?
I understand that the light is bounced off the ceiling and the walls, but some of it is obviously bounced on the subjects, what is being said about that by the manufacturer ?
Kind regards,
Philippe.
Philippe … I had to look up “toxic stress”.
It’s still being debated whether it is actually a thing – but even that is besides the point because “toxic stress” as far as I can make out, has to do with pin-point LED lights, which are then used as household lights.
These video lights are not used as household lights – in other words, they aren’t kept on for extended periods over days and weeks. They are also 12″ by 12″ panels. And they have a high CRI. In other words, “toxic stress” is completely irrelevant here. And as you noticed, I bounced the lights.