
Headshot photography: Studio lighting – Westcott Eyelighter
With portrait lighting for head shots, there are so many configurations – all the way from dramatic lighting, to very even light – but always keeping in mind that the lighting needs to look flattering. It is all in how we balance the various lights, and how we add fill-light.
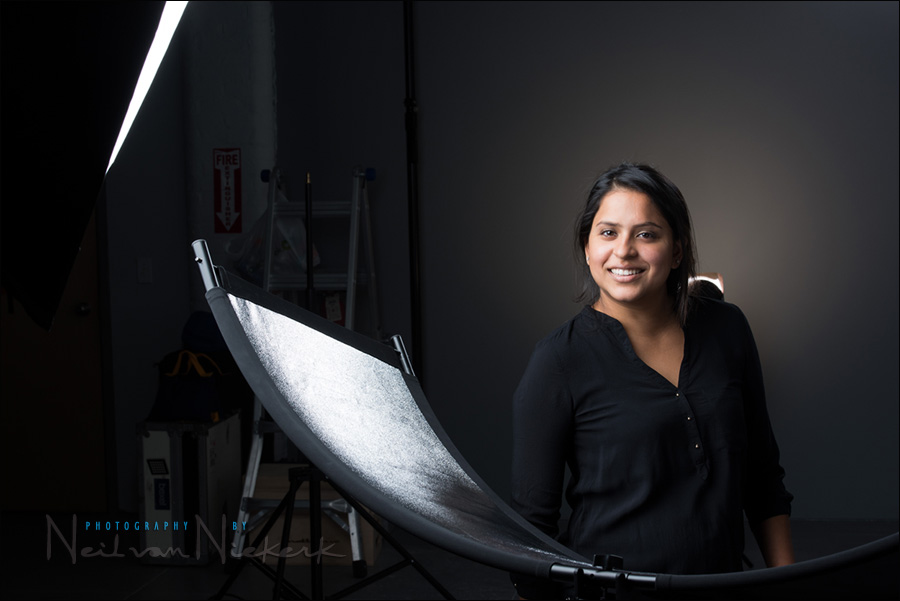
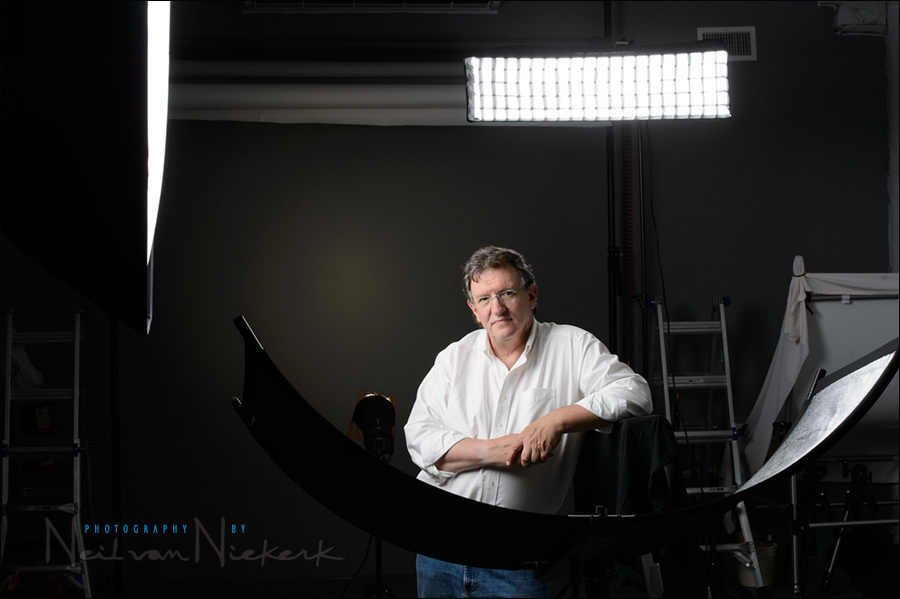
Westcott has released a curved reflector, the Eyelighter (B&H / Amazon), and it is quite versatile:
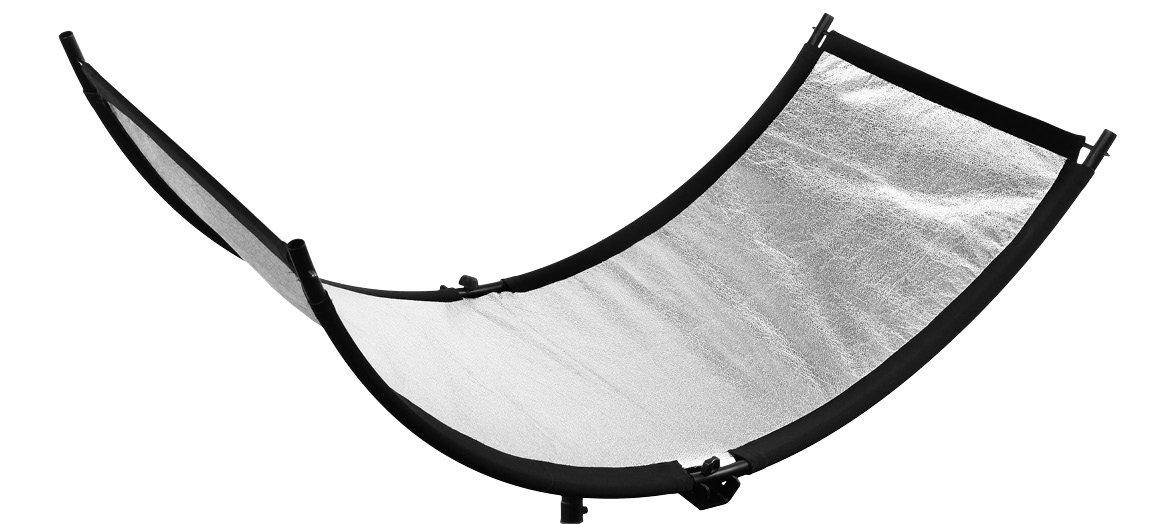
The first time I encountered the Westcott Eyelighter (B&H / Amazon), was at the After Dark Edu photography conventions, and I was fascinated by this lighting device and the results it gave. There is a distinctive curved high-light that it gives to the bottom part of your subject’s eyes. How much of a reflection, will depend on how you position the Eyelighter.
The lighting setup used for these photos
For the photos here, I used a fairly consistent lighting setup. It is similar to other examples shown on Tangents, but with the Eye-lighter added.
- I used three Profoto D1 Air 500 Ws studio lights (affiliate) for my lights.
- The main light on her was diffused with the huge Profoto RFi 5.0′ Octa Softbox
- Fill-light was via a Eye-lighter reflector below the subject.
- The hair light was via the second Profoto D1 Air 500 Ws studio light;
diffused with a Profoto RFi 1’×4′ softbox and the Profoto 50 degree 1×4 soft-grid - The background was a grey paper backdrop, which was spot-lit for most photos by a Profoto 7″ Grid Reflector with a Profoto 10-degree Honeycomb Grid that had a Rosco Cinegel 1/2 CTS #3442 over it to add some warmth.
Using the eye lighter in the studio
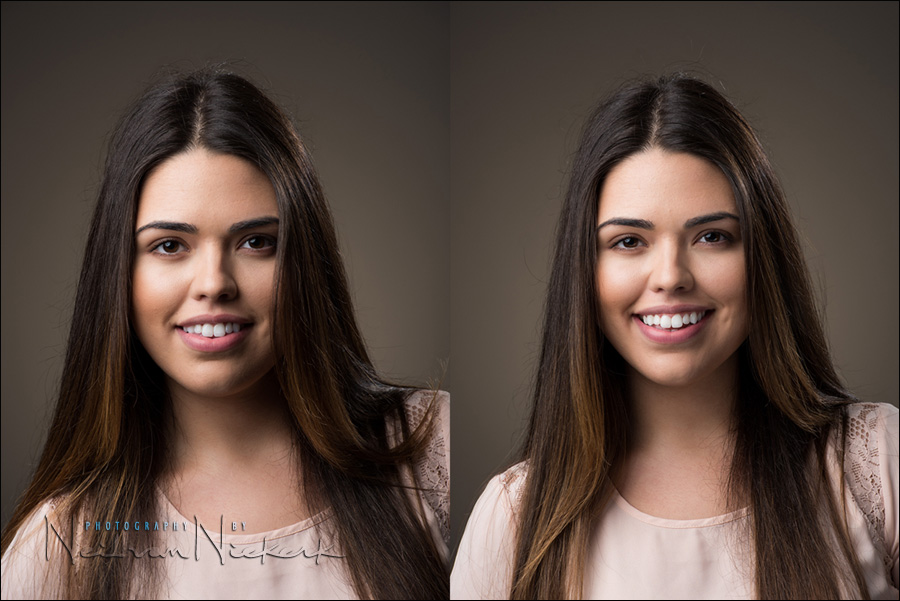
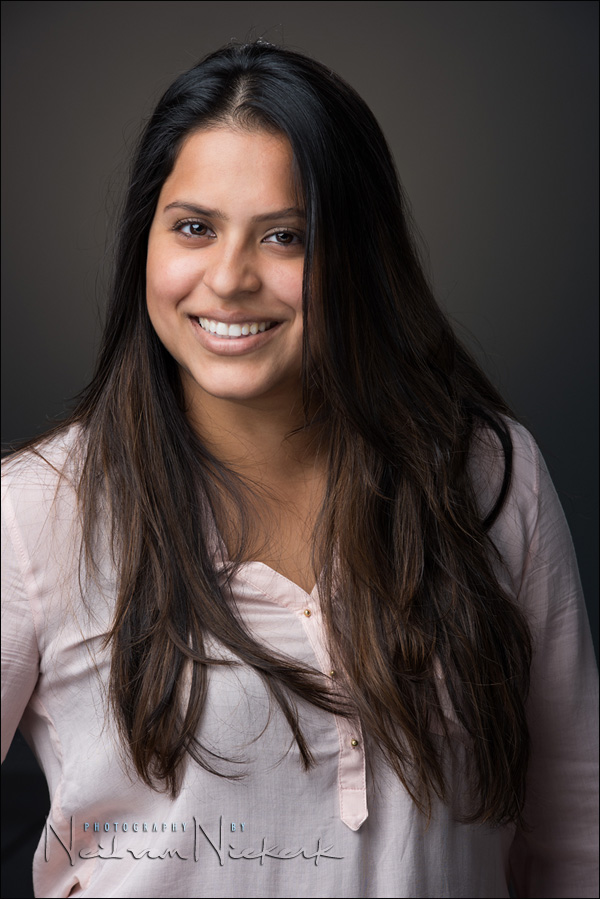
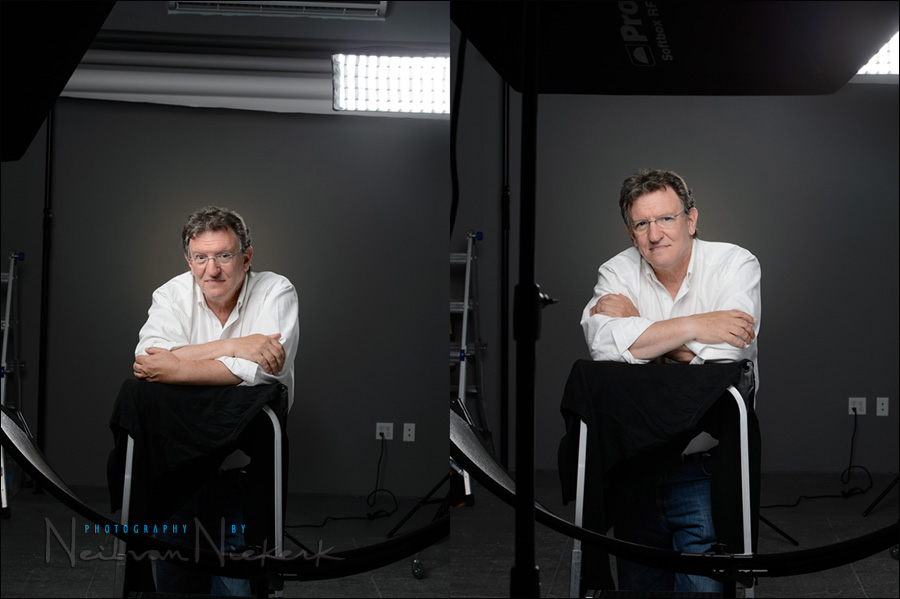
Here is a comparison without, and with the Westcott Eyelighter (B&H / Amazon), using the lighting setup described. The fill-light can be seen in how the shadows under her brows are lifted.
The amount of fill can be dictated by how hight the Eyelighter is on the light-stand, and how much forward or back the Eyelighter is moved in relation to your subject.

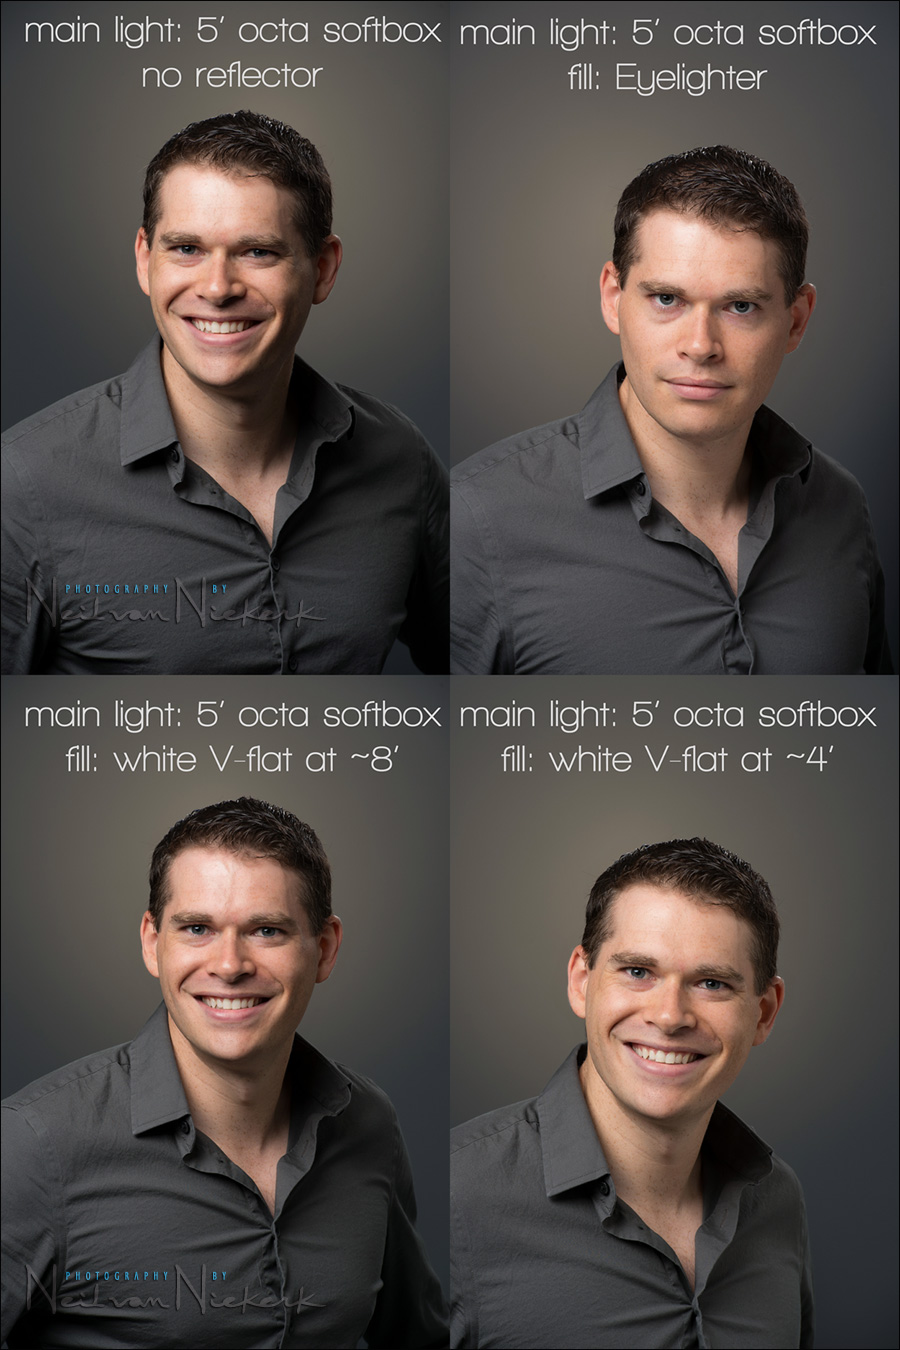
A further comparison with and without the Eyelighter, but also adding a V-flat to camera-right, to add fill-light.
Of course, how you position your subject has a huge influence as well in how the light pattern appears. So as with any studio lighting setup, you can move the lights, and you can move your subject’s position. It all affects the final image. Both these next images were with the same lighting setup.
The Westcott Eyelighter (B&H / Amazon) can also be rotated slightly from left to right. This has a dramatic influence on how the fill-light appears.

The best starting point is with the Eyelighter “straight”, in other words, not rotated. From there you can play and see how the light affects your subject for the best fill-light. By standing in front of the Eyelighter where your subject would stand, you can see how much of the main light is reflected, by watching the reflected light in the Eyelighter.
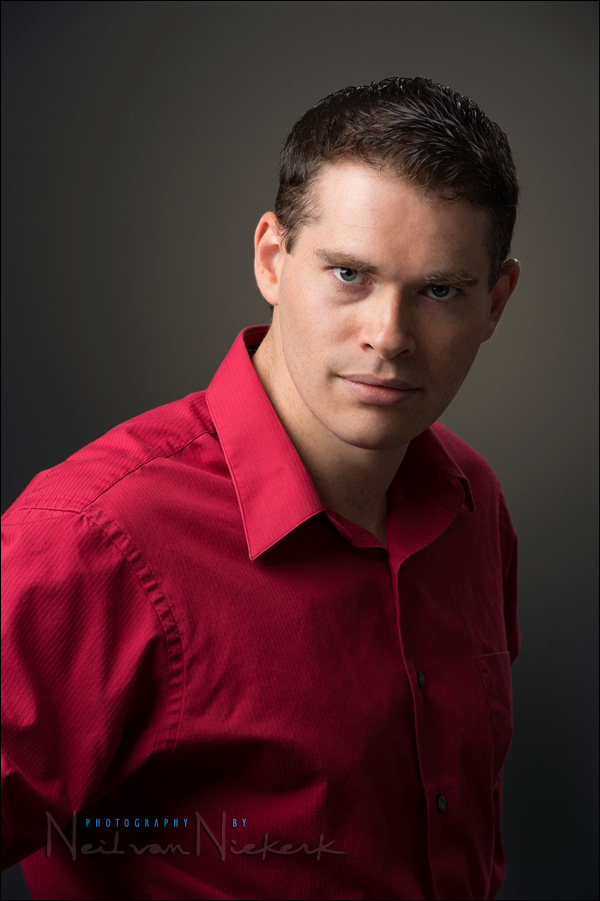
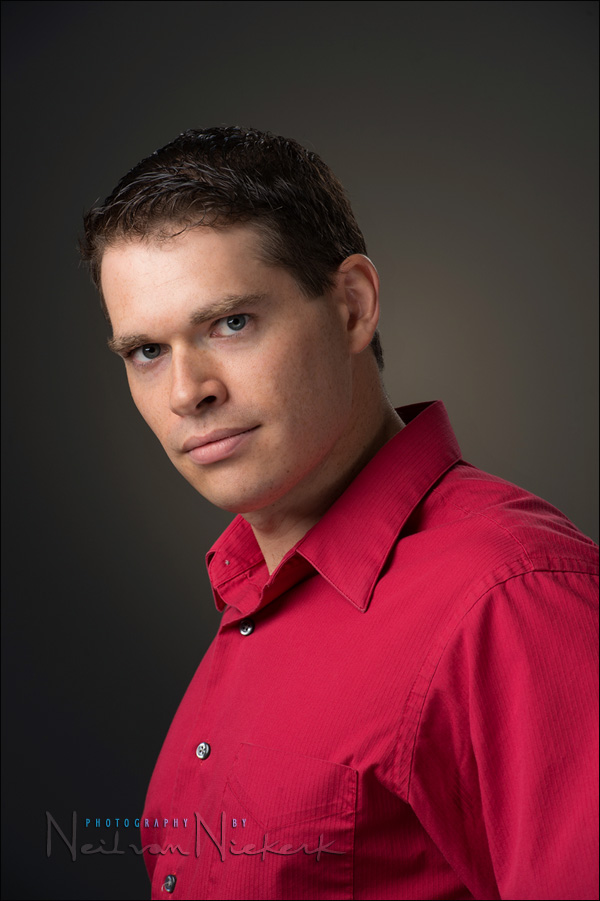
Of course, how the main light is positioned, has a dramatic effect on the light as well. Here are three images, first showing the main light to camera right; and then moved to a lesser angle. Finally, with the Eyelighter below (and the Octa softbox above) the subject in a clam-shell configuration which gives very even light.
Summary
As you can see from the examples here, it is quite versatile in how much fill light is added. Moving it forward or back, or raising it up or down, or swiveling it from left to right – all these things influence the light on our subjects. We have options!
What surprised me with the Westcott Eyelighter (B&H / Amazon), is just how small a package it disassembles into. Compact, and easy to shelf if need be. So don’t let the large size fool you in thinking you need a lot of storage space for it when not in use.
Related articles
- Reflector for portrait & headshot photography: Eyelighter
- Headshot photography – Clam-shell lighting setup
- Photo gear & logistics: Corporate headshots
- more articles about headshot photography
- NJ headshot photographer
Studio lighting workshops
If you are interested in learning more about studio lighting, including lighting for headshots, I offer workshops on studio lighting. The workshops will be held at my studio space in NJ, and it has a wide range of studio lighting gear to play with!
Nice & versatile piece of gear! For the budget impaired… I’ve been using a ‘Windshield Sun Blocker’ with good results.
Hi Niel
Quick question for you , what is the difference between using a refector like this one or a light coming from the bottom in a clam shell configuration
Lou Recine
Lou, essentially none. You’d be using this as clamshell lighting. However, where the Eyelighter is much more flexible than a simple reflector, is that it is curved AND you can rotate it slightly (on the horizontal level.) Look at the two comparison images with the Eyelighter swiveled more to the one side, and then to the other. So you can have more nuanced changes to the fill-light from underneath, in my opinion.
Wondering if the Westcott EyeLighter comes with a mounting clamp or not. Looking to get one and not sure if anything is needed in addition to what comes in the box as far as setting it up. Any info you could give would be great and thank you for the great review.
Nope, nothing else needed aside from a small light-stand. The Eye-lighter comes with the socket and screw to clamp it to the light-stand.
Neil, what are you using for a light stand to support the Eye-lighter with the subject sitting?
The compact: Manfrotto 1051BAC
review: Manfrotto light-stands
Interesting piece of kit. It doesn’t seem to show up as a catch light.
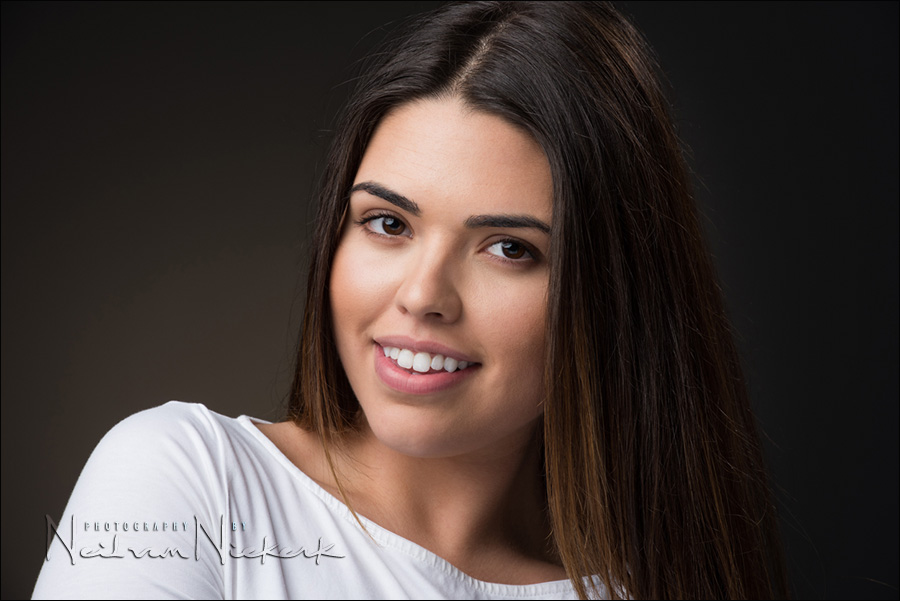
The catchlight is the moon-shaped highlight at the bottom of the eye. Look again at this photo as an example:
$300 for a reflector with a curve. Please.
Ok so then don’t buy it?
Others see the value in it thanks for this informative review.
I wonder if that Omega Reflector (folding reflector with a rectangular hole) that Kevin Kubota blogged about and seems to like… might give a similar effect for way less than $300. I mean for those who are concerned about the expense of that very nice Eye-lighter.
I bought the Omega Reflector and it looks like a good product.
For this setup though, as a reflector for throwing some fill-light on your subject, the Omega will work exactly the same as any other kind of reflector.
Thank you for the before and after shots as well as the different positioning of the Eyelighter.
Finally, someone who moves the light around… I really like the more dramatic headshot w the red shirt. Thanks