Progression of an idea in a photo session – cosplayer, Ger Tysk
For me, there’s always some anxiety before a photo session – especially when you have the opportunity to photograph someone quite unusual and photogenic like Ger Tysk, a cosplayer. (She also creates cosplay outfits for others, and has published a book on Cosplay.) Her latest outfit is Black Widow (from Marvel.) Now, the stressful part before a photo session like this, is that there is the pressure of having a great opportunity, and then having to create a photo series that is worthy of the moment. Even if you don’t quite reach the peak of the Epic scale, you still want to have photos that look inspired and interesting. You know, something worthy of the effort and time and opportunity.
I can pretty much guarantee you now that when you see an interesting or striking photograph that someone created (as opposed to a pure photojournalistic moment), it’s usually not success on a first try. Very often there is a series of images and attempts before an idea comes together.
I was armed with some serious gear – Nikon D810 (affiliate) and Profoto B1 TTL flash (B&H / Amazon) . So really, if there is any limitation here, it would be myself. Everything was in place – a supremely photogenic subject, an interesting location a friend showed me, as well as some serious gear. Now it is up to me, as the photographer to pull something out of this mix that looks stunning. And that is where the pressure comes in. Time to look around, explore ideas and figure something out.
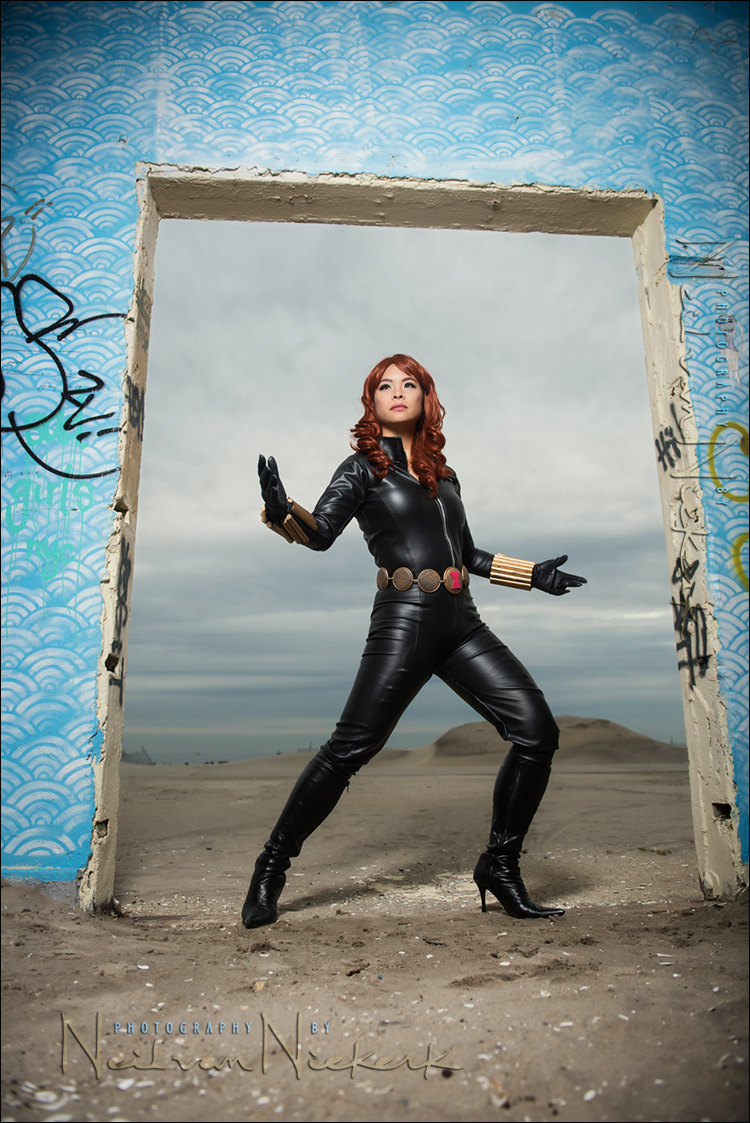
I’m quite proud of the final photograph from this part of the location, but it didn’t just immediately come together. There was a thought-process and various attempts and dead-ends before it looked like yes! this is it!
So I want to step you through parts of this photo session to show how fell into place.

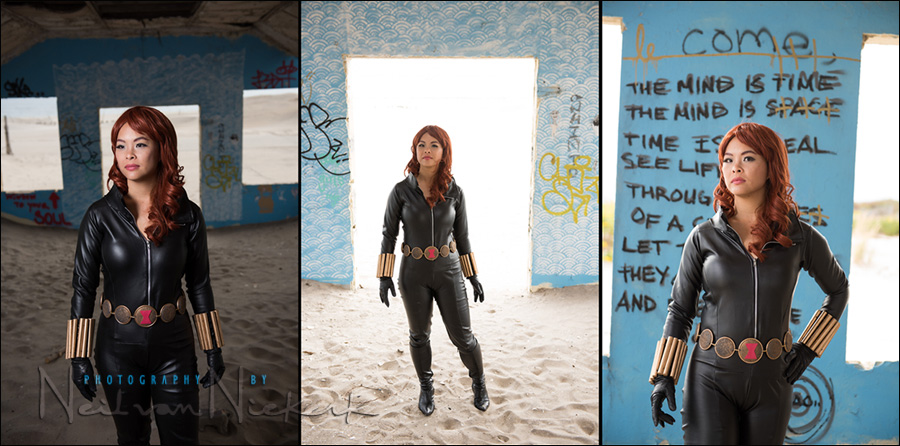
Three of the various test shots:
– The first was shot deeper inside this vacant place. Exposing for the outside left the interior too dark.
– Moving closer to the doorway and using the available light, looked too bland. Not that exceptional. I still didn’t *use* the location.
– In using some of the (cosmic) graffiti, it still was about the graffiti. Nothing really happening there.
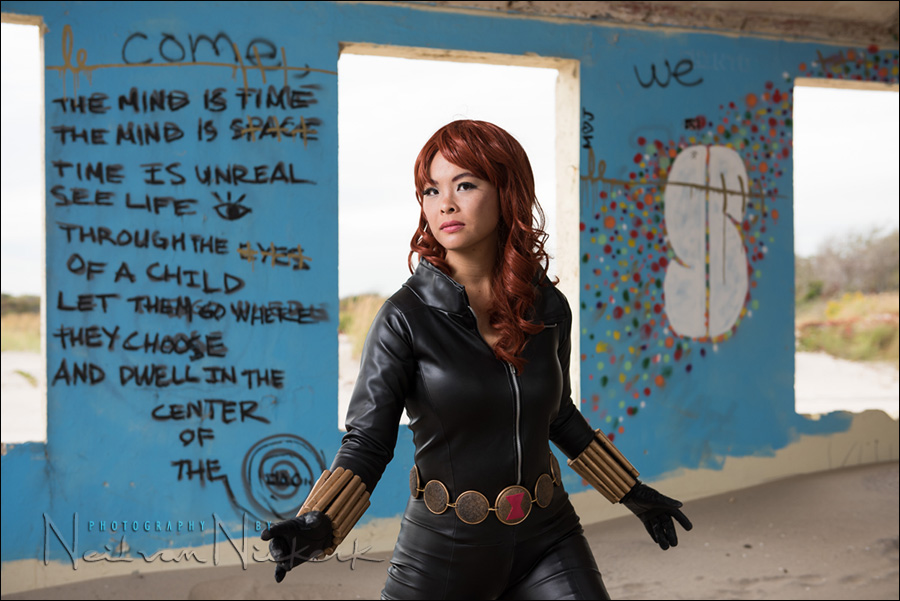
In the photo below, adding off-camera flash to add more dynamic light, didn’t improve things either.
So I went back to the doorway.
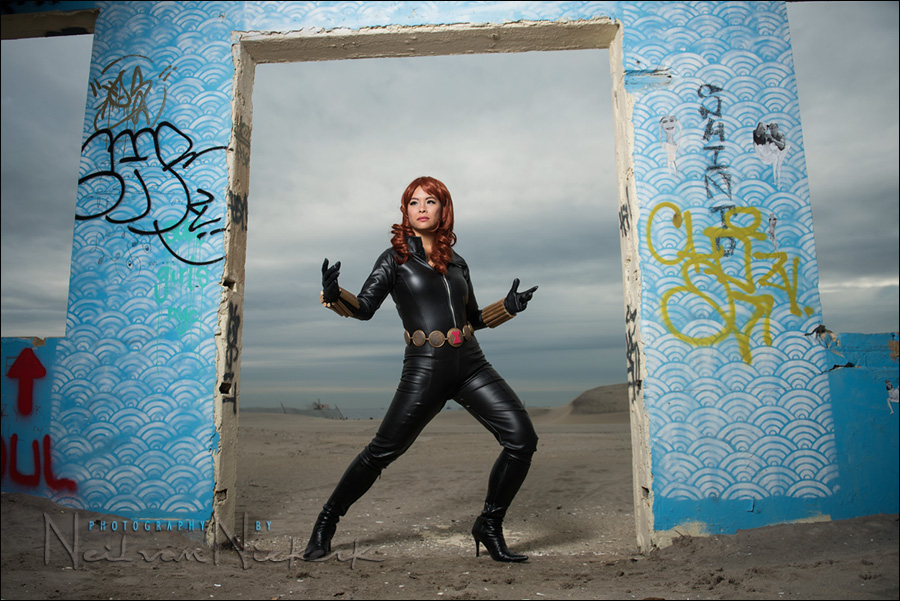
Now it started to look more interesting, but the graffiti was still too distracting.
Going for a lower viewpoint with the zoom set to 24mm, made the composition more simple and more dynamic. And there we have one of the images I was happy with, as shown at the top. Eye-catching!

Camera settings
1/250 @ f/3.5 @ 100 ISO … manual off-camera flash.
One thing that should immediately jump out is that the aperture was quite wide. Unusual for a bright day outside, especially when it is obvious that I exposed for the sky, and used flash to expose correctly for Ger Tysk.
The obvious way of doing this is to use a neutral density (ND) filter. In this case, I used the B+W 3-stop ND Filter (affiliate). This dropped the ambient light and flash by 3 stops, and gave me much more shallow depth-of-field. It defocused the background just enough to help pull attention to our subject.
I used the Profoto B1 flash (affiliate) in a Profoto RFi 1’×3′ softbox (affiliate). I find this narrow stripbox invaluable on location when shooting single subjects or couples. It is easy to carry around, but slender enough to put in a car’s trunk or carry through doorways and windows.
I set the Profoto B1 to maximum output for this series, to work with the flash at this distance.
I had to change the monopod I use because of the Profoto being heavier than a speedlight. I wanted my assistant to be able to just hold the monopod upright, without having to continually hoist it up high. Less fatiguing for them, and it also gives me more consistent light from shot to shot without the light wavering around a bit. The tallest monopod I could find, was the 75″ tall Gitzo GM3551 monopod (affiliate). Tall enough to have the light at a proper height, and being a monopod, simple enough to carry around.
And that, kids, is how I met your … how it all came together for this part of the photo session.
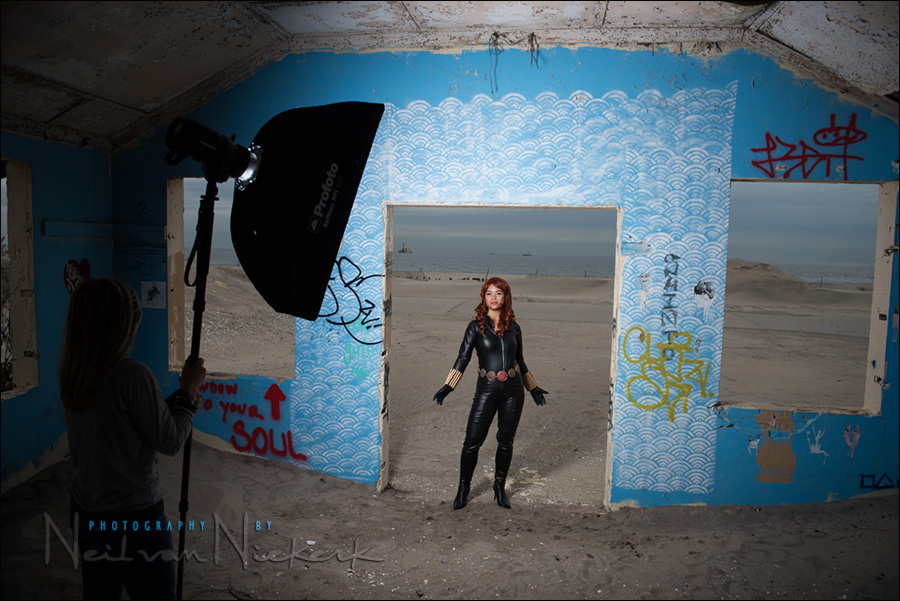
Photo gear (or equivalents) used during this photo session
- Nikon D810
- Nikon 24-70mm f2.8G AF-S / Canon 24-70mm f/2.8L II
- Profoto B1 battery powered flash (B&H / Amazon)
- Profoto RFi 1’×3′ softbox
- 75″ tall Gitzo monopod
Related articles
- review: Profoto B1 flash
- Using a neutral density (ND) filter to control DoF with flash (model: Ulorin Vex)
- Off-camera flash for that extra bit of drama (model: Olena)
- On-location headshots and promotional portraits (headshots: Jonathan)
- High-speed flash sync (HSS) with the Profoto B1 portable flash (model: Melanie)
- review: Profoto B2 Off-Camera Flash – photo shoot
Great image Neil. Always so useful and encouraging to also see the stepping stone shots taken along the way. I also like seeing the unprocessed raw images in your books rather than just the final polished result. Brave of you to do that and really adds a lot to the educational value.
Hi Neil, another great post, thanks for all of the info and advice you put out; I just read the reviews of the Profoto B1 and they are very mixed, with some reviewers pointing out the same issues, have you heard any bad reviews? It looks an awesome piece of kit, but at the price I need to be sure.
Thanks again,
Ian.
The only issue that I’ve had is that the TTL doesn’t always nail it, and will somehow remain under-exposed. Not an issue. I flip to manual and bump up the output. And then I go on with the shoot.
Thanks Neil, that makes sense as usual.
Ian.
Neil, this is my favorite of all your pictures i’ve seen so far. Usually I want to know the details of the “what, where and how” the shot was made, but in this case I connected so much with the photo that I couldn’t care less about the technical details. I don’t see it as a great photograph, but rather a work of art. Well done.
Neil — Thank you for showing the progression of first tries to final outcome. I need to remind myself that the first few images are not going to be the best ones (usually), and to just keep working through all the options. Your change to a lower camera angle, different graffiti background, and ND filter are great ways to see how to get an amazing photo. Terrific post!
A great image!
I also noticed an awsome watermark you’re using! Could you, please, tell us how you did it so undistracting and still very hard to be erased?
https://neilvn.com/tangents/adding-my-logo-to-images/
Thank you very much!
A very interesting location, with those patterns on the wall. The sand made me think you were out somewhere in the middle of nowhere.
Somehow Neil,
I doubt you’d have trouble shooting in any environment..
Neil,
It’s great to see you working with Ger again. Your mastery of portrait photography applies well in this creative endeavor.
In the past, I have encountered neophyte cosplay photographers trying to learn how to take pictures of cosplayers, and when I am asked about the subject, I tell them that cosplay photography is not really that different than portrait photography. When you learn how to shoot portraits, you can transfer the skills over to shooting cosplayers.
Stephen, we actually talked about you on the way to the shoot location! We miss you!
Hi Ger!
I’m glad that I am still remembered! :)
Hopefully, my wife and I will be able to take our son to conventions in 2015, so I will have a little amount of time to do cosplay photography again.
Fantastic picture Neil and explanation. Its also comforting to know that even a vastly experienced photographer as yourself can experience some anxiety before a shoot, i thought it was just me!!
I’m wondering how you mount the B1 onto the monopod some sort of adapter?
I use a stud to attach the Profoto B1 to the monopod.