Bounce Flash Photography – directional bounce flash
Bounce Flash Photography - directional bounce flash
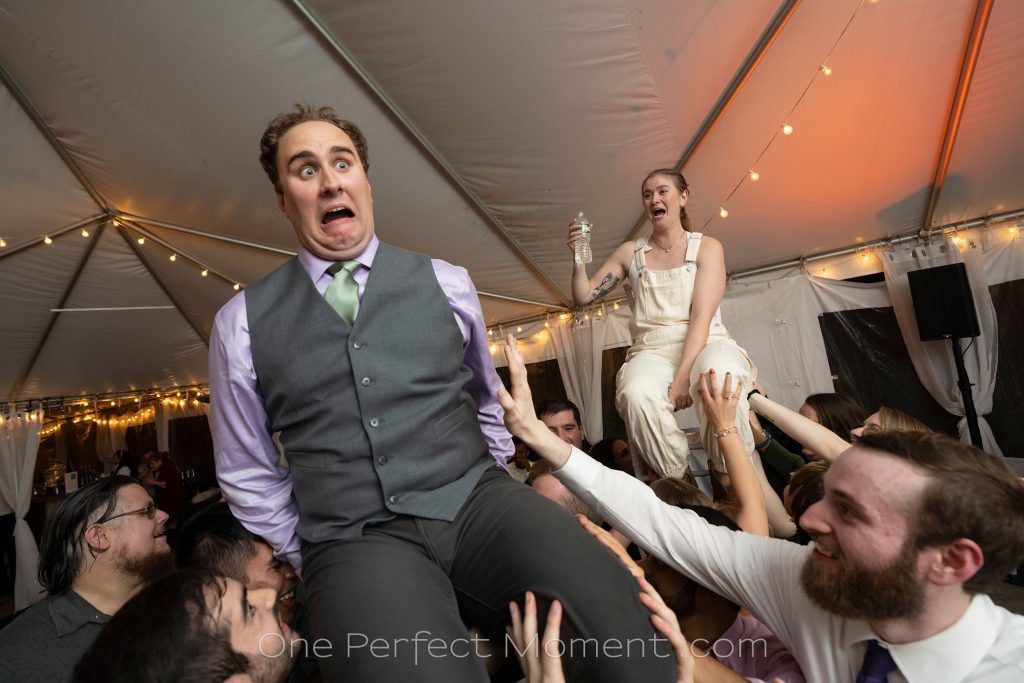
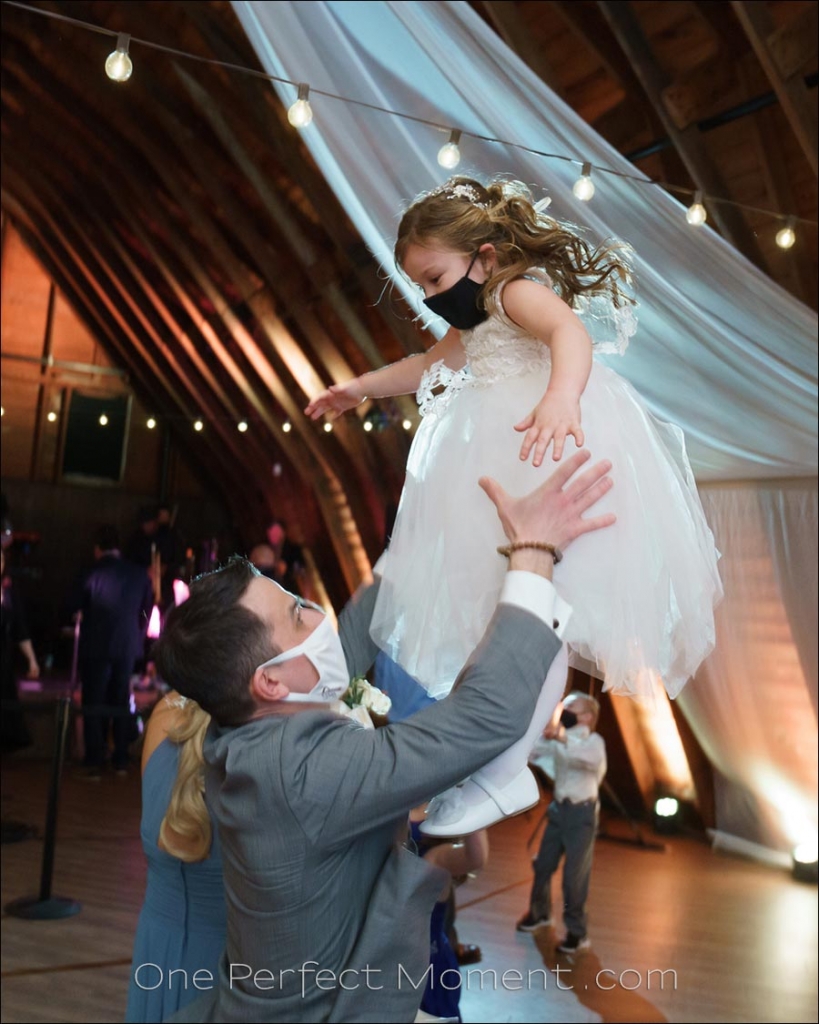
One of my favorite photos from a recent wedding, is this one of the groom and bride being hoisted aloft, with his priceless expression of surprise. Timing and framing is everything, of course. And the lighting. This is pretty much the way it came out of camera, with only minor adjustments to the RAW file. Note that the light on the groom is about the same as the amount of light on the bride in the background. (Yes, she changed into white overalls after jumping into the pool with her dress.) But back to the lighting -- an equal Read more inside...A lighting solution for photographing a wedding ceremony in a barn
A lighting solution for photographing a wedding ceremony in a barn
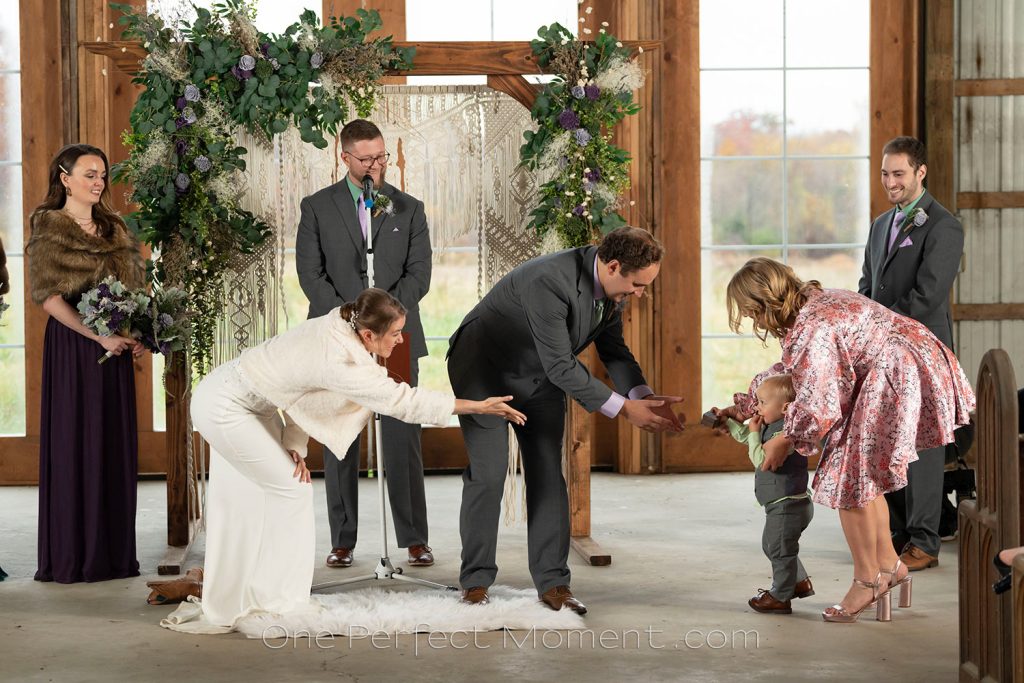
An endearing image : the somewhat shy ring-bearer had to be coaxed by the bride and groom to bring the wedding rings to them. Most often, the lighting that I use isn't for dramatic, artistic purposes ... but instead for problem solving. Since it was raining on the day, the outdoor wedding ceremony was moved inside to this large barn. There was very little light inside, and there was strong backlighting. I needed even light, and I also needed to use a telephoto zoom to take photos from further up the aisle. Read more inside...The simplicity of on-camera bounce flash

The simplicity of on-camera bounce flash
This is a fairly straight-forward portrait of the bride just as she was done with her prep. But this simplicity might belie the deliberateness in how I shot this. Because the rest of the bridal area was mostly bland walls, I purposely used the busy room in the background to give that indistinct out-of-focus background which is still complimentary. There were spotlights in the ceiling just outside the door, so I asked her to step forward of those lights. They would have been too hard to fight against. My exposure settings were set for Read more inside...Bounce flash photography & The Inverse Square Law

Bounce flash photography & The Inverse Square Law
If you find the title of this article a touch intimidating, please stick around and watch the video. It is important to understand how The Inverse Square Law affects bounce flash photography, and creates a specific result where the background appears brighter when the flash is bounced properly without on-camera flash modifiers. I know that is counter-intuitive, but that is what happens when you bounce your bare flash behind you instead of using a light modifier on your flash. The accompanying video, linked to below, explains this Read more inside...Wedding photography: Video light vs (gelled) flash
Wedding photography: Video light vs (gelled) flash
Over time, I've posted several articles explaining how I use gels to bring the color of my flash closer to that of the ambient light. In summary, we gel our flash, to improve the color balance in the photo, and avoid an overly saturated murky orange background, when our subject is lit by flash, and the background is lit by incandescent lighting or warm lighting of some kind. We can reduce this difference in color temperature / white balance, by adding a gel to our flash. The gel can be CTO or CTS. I prefer CTS, and usually as a 1/2 Read more inside...Bounce flash photography with wooden ceilings
Bounce flash photography with wooden ceilings
When photographing wedding receptions, I would ideally like to get away with just one on-camera flash that I bounce off surfaces behind me. A venue with (close to) white ceilings and walls are just perfect. Super easy. Even with really high ceilings, I try to make it work. Here for example, I used a single bare on-camera flash to light up the entire place -- Wedding reception lighting with one flash. No diffuser cup or white bounce card. Bare flash with the Black Foamie Thing. But occasionally I reach the dead-end of a venue with black Read more inside...More intuitive composition with eye-focus of mirrorless cameras
More intuitive composition with eye-focus of mirrorless cameras
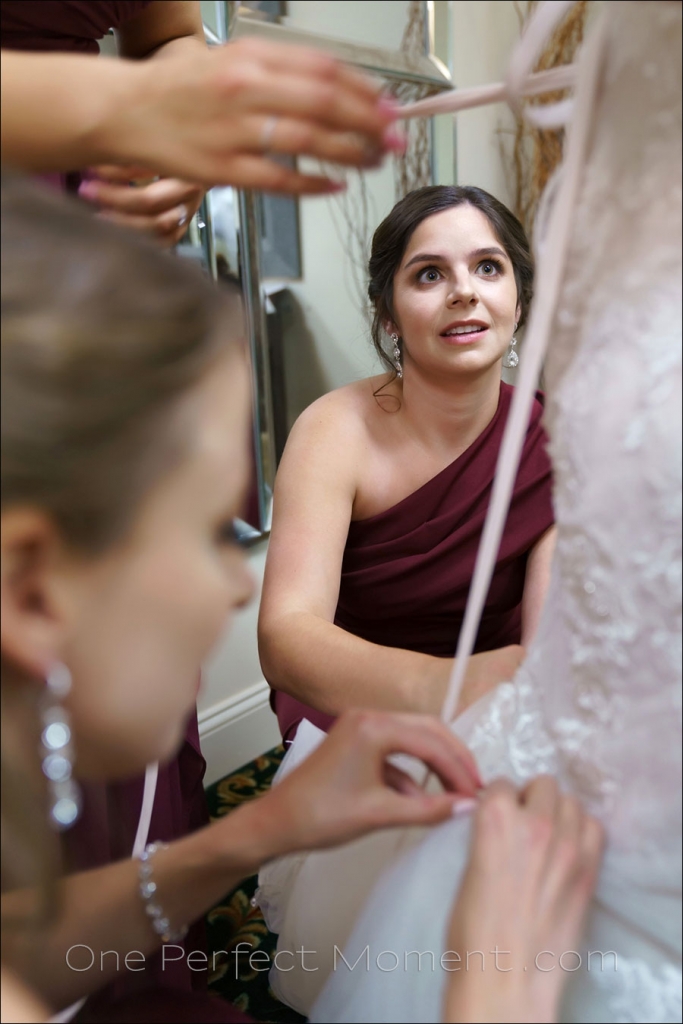
Continuing on a topic we have discussed here before: a strong advantage that mirrorless cameras have over DSLRs – how Eye-focus makes Composition more intuitive. When I reviewed the sequence of images while photographing a wedding recently, where the bridesmaids were helping to lace up the bride's corset, the composition immediately stood out for me -- all the elements just came together. A bit of luck ... and being ready. The composition really hangs together, because the bridesmaid in the center is framed by all the Read more inside...Wedding portraits in less than perfect locations

Wedding portraits in less than perfect locations
With wedding photography you so often have to work with a time crunch. The timeline doesn't go strictly according to the original plans for the day -- and you as the photographer still have to make sure you get a variety of photos for your clients. You still have to deliver. With this in mind, you use interstitial fragments of opportunity to get photos. You try to use that "dead time" where you can. This portrait of the lovely bride is from an Indian wedding I helped photograph. At some point before the ceremony started, the bride Read more inside...Posing into the light for better portraits
Posing into the light for better portraits
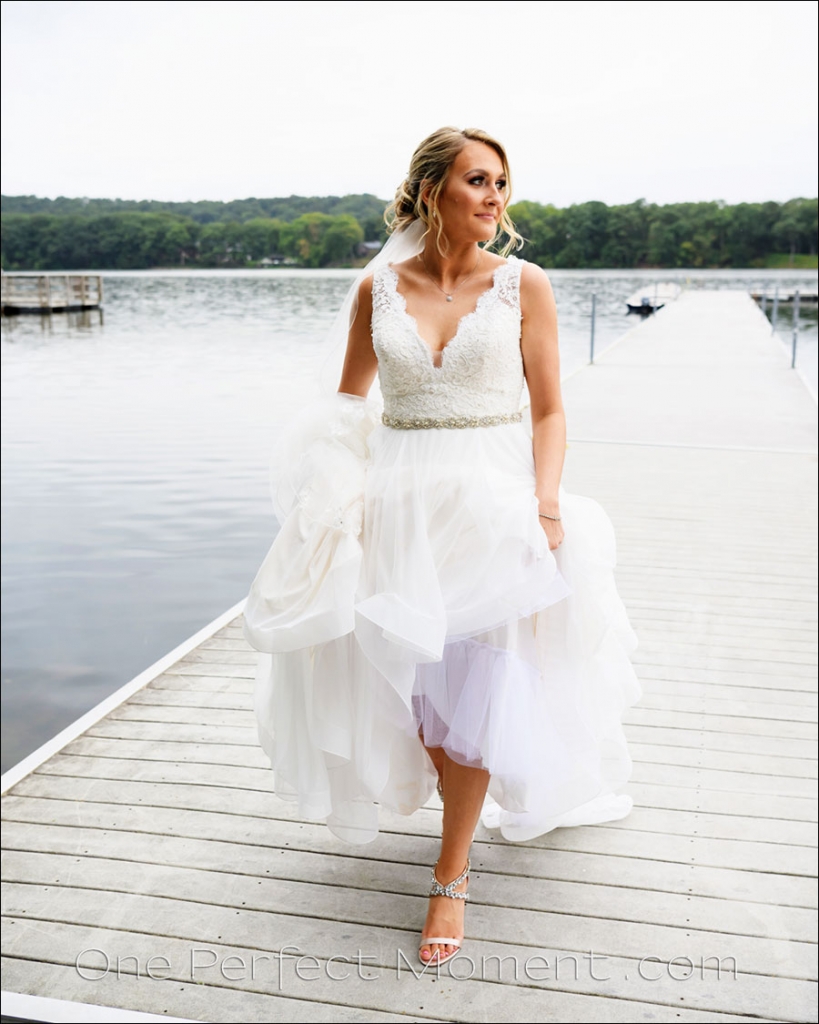
This is a simple illustration again of the idea that posing and light(ing) go hand-in-hand. You can't really separate these two aspects when photographing people. When there is a video team at a wedding, I have to accommodate them in not using flash when they are shooting their sequences during the romantic portrait session with the bride and groom. Then I have to rely entirely on just the available light. In this example, they had the bride, Amanda, walk down the jetty twice - a good opportunity for me to shoot some extra images to pad Read more inside...- 1
- 2
- 3
- …
- 16
- Next Page »