Off-camera flash with a small softbox

Off-camera flash with a small softbox
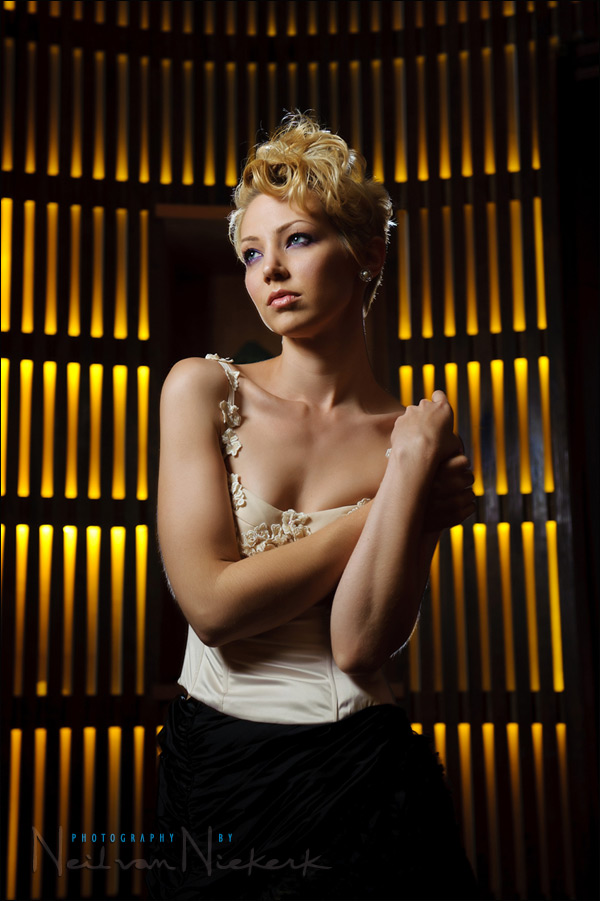
Most of the images shot as part of the Sigma 35mm f/1.4 DG lens review, were with available light only. But for one sequence, I used off-camera flash. I didn't intend carrying a lot of equipment, so I stripped it down to the minimum. That meant forgoing my usual softbox, the Lastolite EZYBOX 24×24" softbox (affiliate). Instead, I opted for the much smaller Lastolite 8.75" speedlight softbox (affiliate). And instead of a light-stand, Nicole's friend, Andrew helped out on the day by holding the softbox and slave speedlight. In Read more inside...Multiple speedlite portrait setup using Rogue Flashbenders

Multiple speedlite portrait setup using Rogue Flashbenders
The PDN Photo Plus Expo in New York took place last week. As always, it's it's always a bit of a head-rush walking around, overwhelmed by all the photography goodies and people. Of course, you'll inevitably bump into old friends and catch up a bit. One of them, is Michael Corsentino who I met during the After Dark photo conventions. Not only is Michael Corsentino a pre-eminent wedding photographer in San Francisco, but has also written a book - the Canon Speedlite System Digital Field Guide (Amazon). If you like Read more inside...Photo-shoot with a model: the progression of an idea

Photographing a model on-location: the progression of an idea
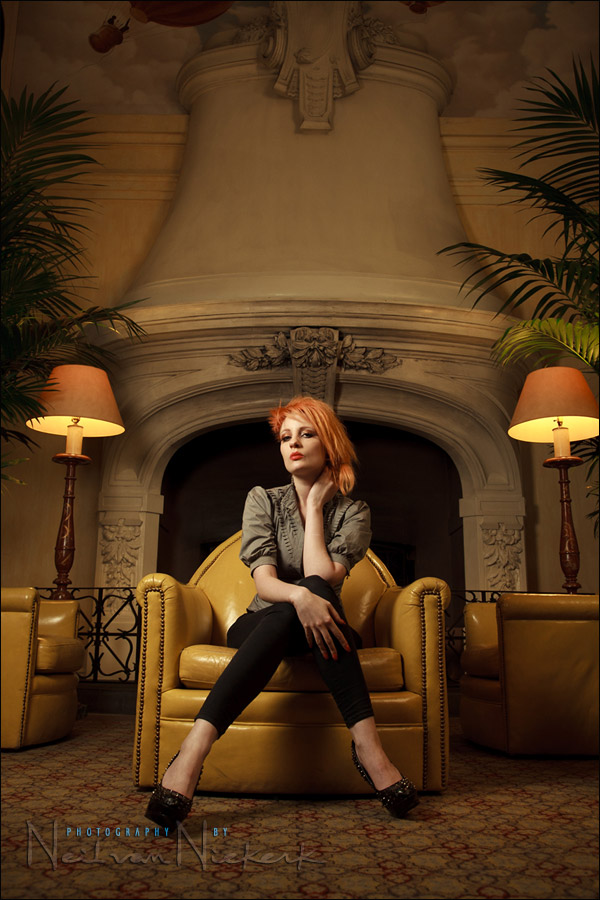
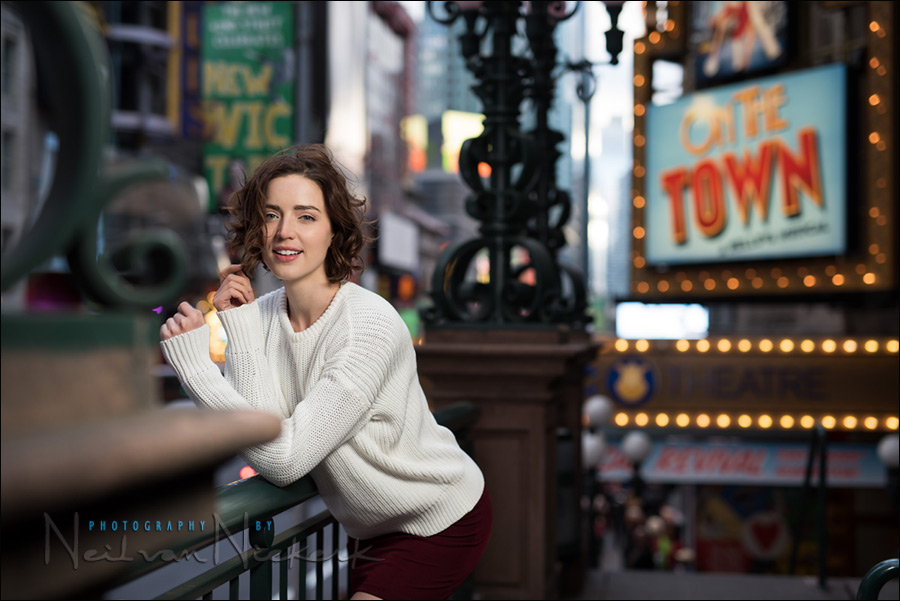
As often happens for me when working a model on location, the final photographs are the result of a progression of an idea, rather than a fully-formed idea from the start. That colorful background came to be because of how I gelled for the flash. It's a technique I've shown a few times, and here it helped me in bringing a blah scenario up to something more eye-catching. The idea is to create an interesting shift in the color balance between your subject and background. It works especially well if the background is not Read more inside...A wedding in Central Park, New York

A wedding in Central Park, New York
A groom holding up the softbox for me ... as you may well guess, there's a story here. Alvin and Lucia are from the UK, but decided to get married in Central Park. Of course, there's a story here too. Read more inside...Lighting for on-location photo sessions – pick your battles

Lighting for on-location photo sessions - pick your battles
When doing a photo session with a couple on location, I mix up the lighting as needed. Some sequences are shot with shoot available light only; for other sequences I may use off-camera flash with a softbox. Sometimes I use on-camera TTL fill-flash if that helps working faster. Even in varying the way I may use the available light and flash, I still aim to have a consistent look to it all. My specific style has to be apparent. Or perhaps, in the way that I work, my style becomes apparent. The one way that I help make Read more inside...Photographing in bright sunlight – find the shade!
Photographing in bright sunlight - find the shade!
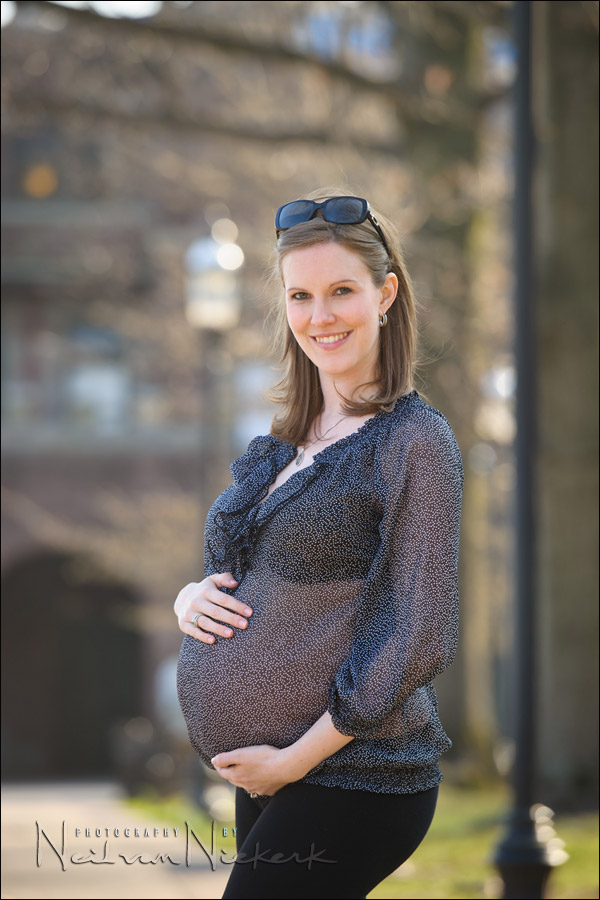
Hard sunlight must be one of the most difficult lighting scenarios to work under. But with a bit of thought, we can work around it and still easily get photos that look great. It's a topic that we've touched on a number of times on the Tangents blog, (see related articles at the end here). Where I can though, the simplest approach for me though, is where I can, is to just not deal with the hard sunlight. I find shade. This maternity portrait session of Amy was taken on a bright day, and I wanted to avoid her squinting in Read more inside...shooting promotional photos for a band
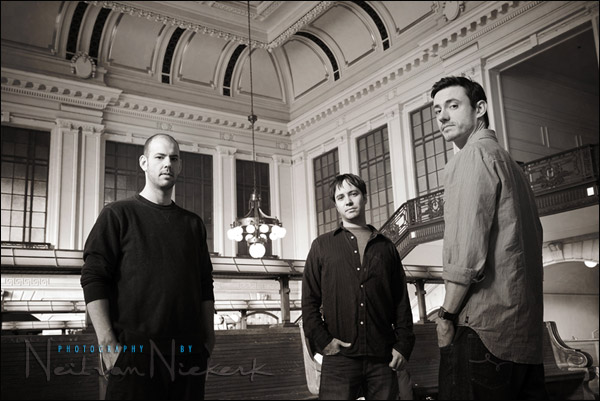
camera settings: 1/50 @ f8 @ 800 ISO ... lens zoomed to 35mm; available light