Gesture and posing – building up a photograph
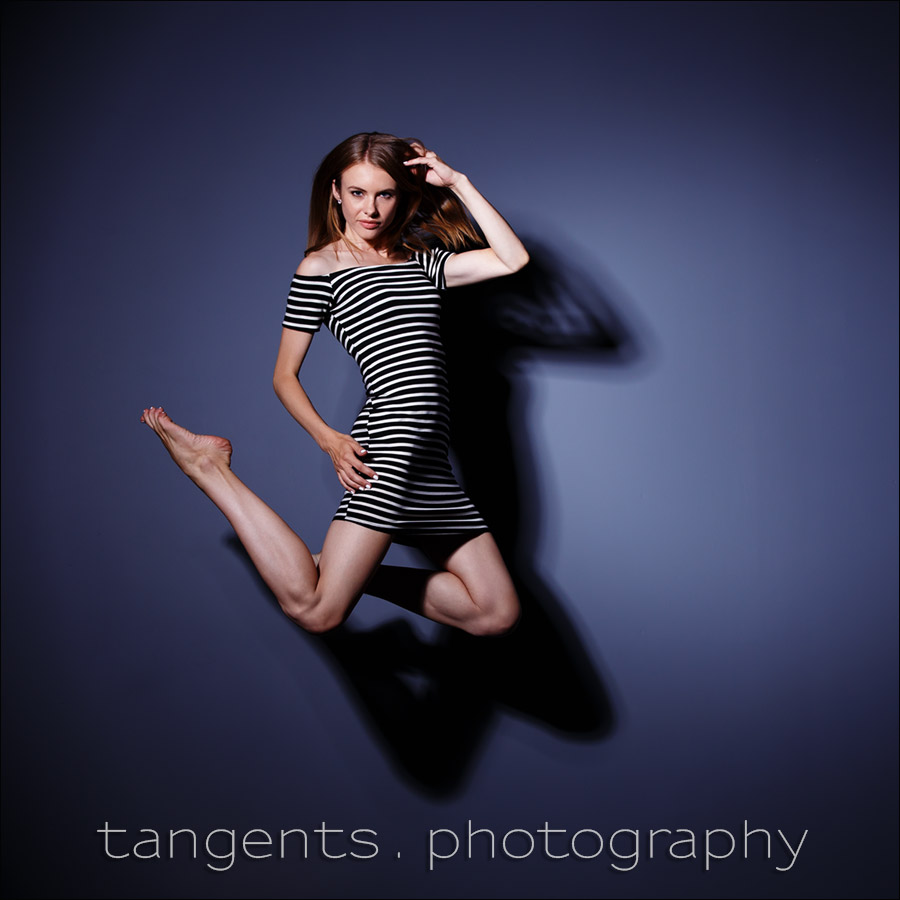
This striking photograph of Anastasiya, like some flying super-hero, didn’t just happen on a first take in the studio. It started with an idea, and then through several iterations, finally took shape.
I wanted to test the Profoto B1 flash’s Freeze mode, where the duration of the flash is much shorter – perfect for freezing fast motion. However, with a jumping shot like this, the photo is timed pretty much at peak movement – and there isn’t really as much blur as we’d need to show that the Freeze mode is effective. We’re going to need skate-boarders or other athletes or some wild movement for that. Still, we ended up with cool photos of Anastasiya flying about.
The final images looked really good to my eye, but it took us several steps getting there. I’d like to walk you through the thought-process how we improved on the first tentative test image, to the final sequence of photos.
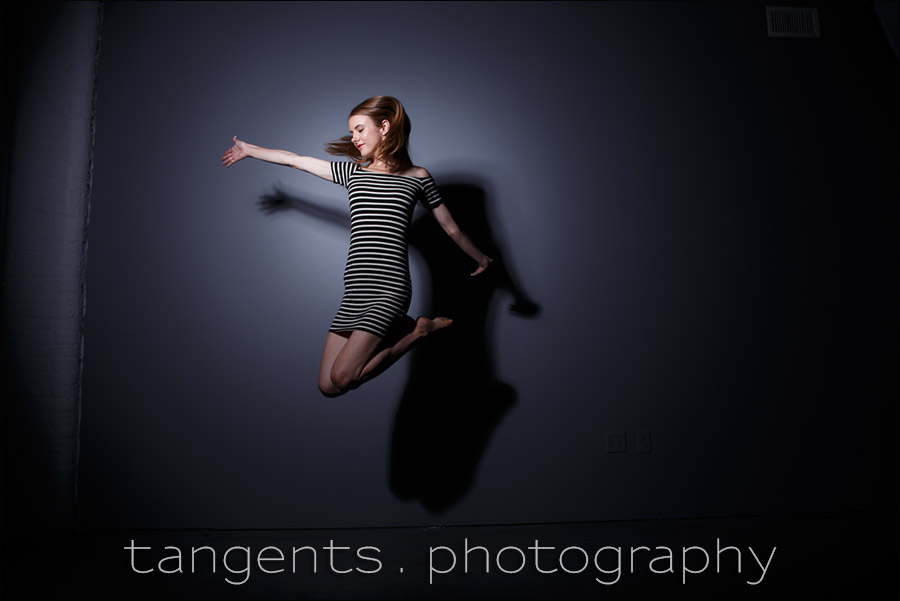
With the first image, I realized that we need to have Anastasiya turn her body away from the light. I didn’t want to broad light her body, but rather have the light come in from a direction which shapes her body better.
With the next hump it was clear it looked a lot better with Anastasiya looking over her shoulder towards the light. But with her arm extended like that, her arm was over-lit be being relatively closer to the light source. We had to control her movement and her gestures. She needed to look relaxed, floating in mid-air.
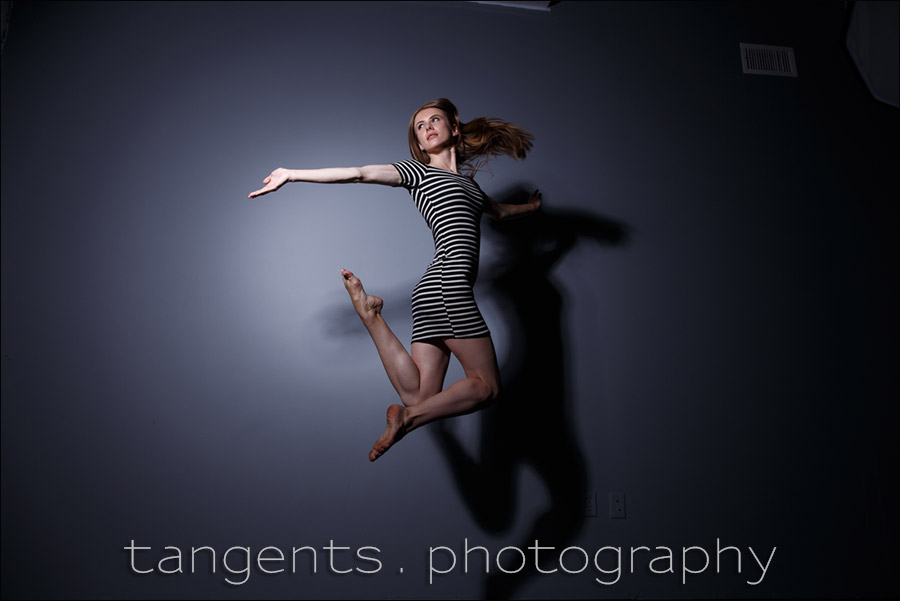
Her body and limbs better positioned towards the light, there was a big improvement. But my own placement in relation to her wasn’t ideal yet. She needed to be spot-lit, and not the wall behind her. Here she is on the edge of the curved shadow area. Also, Anastasiya wasn’t getting the height off the floor that was necessary. Here the shadow of her foot touches the floor. To give that idea that she is soaring, we need to be disconnected from the floor.
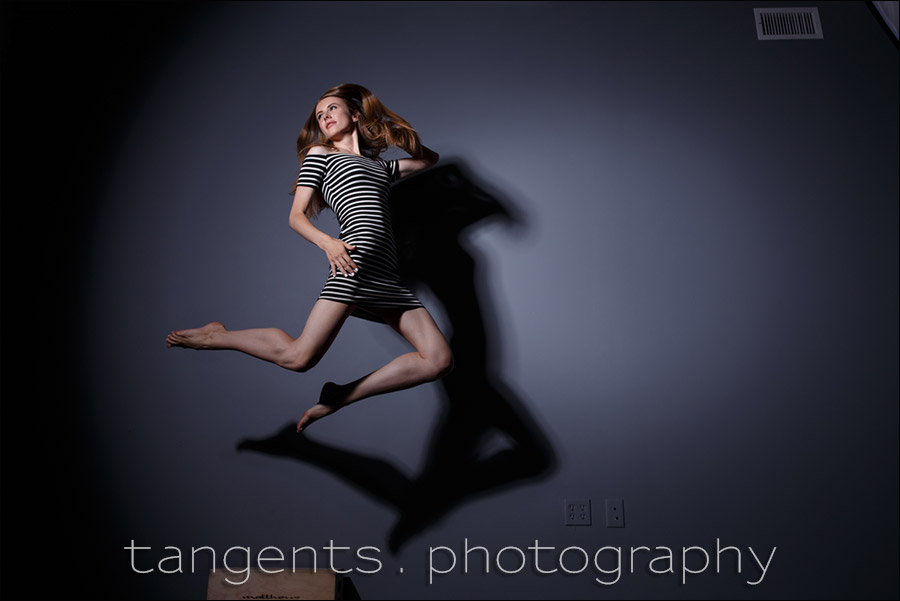
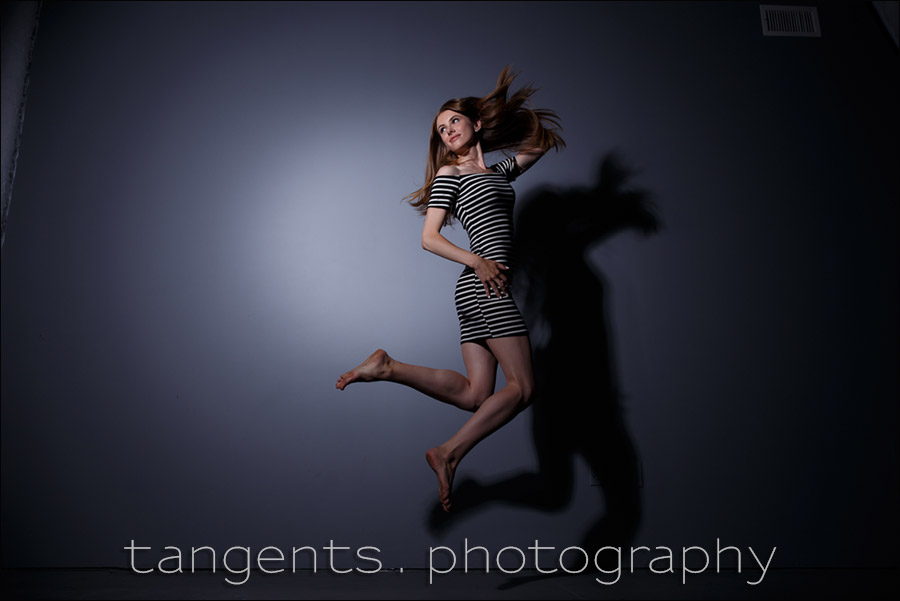
The solution – to have Anastasiya jump off an apple-box. That gave us the necessary elevation to have her shadow disconnect from the floor. Everything is starting to hang together now, except that shooting from below like this, her face is lifted too high. I asked her to look at the camera for the next sequence of photos.

And there we have it – a relatively static pose, mid-air. It is starting to look a little surreal, with Anastasiya effortlessly gliding by in the air. From here on we had the recipe and took several successful photos.
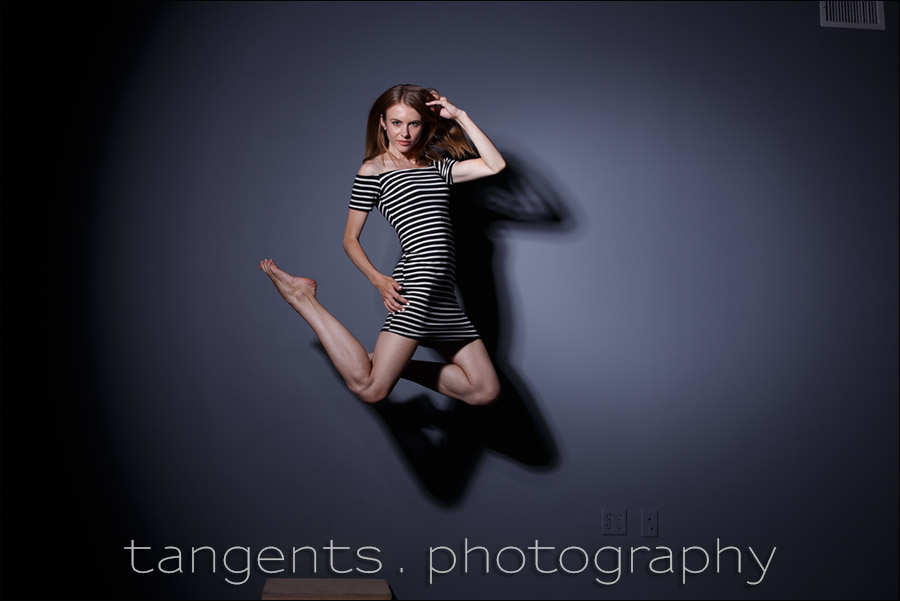
Here is the final image, but with the apple box and electrical outlets still visible. I removed all that in the final retouching of the photo (shown at the top), losing all non-relevant items in the frame.
This was a simple progression to get to the final selected image – but without the slight tweaks along the way, we wouldn’t have had a successful shoot. It usually needs this kind of consideration – “what can we do to improve this photo?” – and build up from there with small adjustments to technique, shooting angle, lighting, gesture and pose.
Related articles
- Dramatic portraits of kids – Lighting and intent
- Using a gridded stripbox as the main light (model: Claudia)
- Using a big gridded strip-box / soft-box (model: Anita DeBauch)
- Anastasiya on Instagram
- Anastasiya on Model Mayhem
Lighting setup & gear used
- 1/160 @ f/8 @ 200 ISO
- Canon 6D
- Canon 24-70mm f/2.8L II (B&H / Amazon)
- Profoto B1 TTL flash (B&H / Amazon)
- Profoto Magnum reflector (B&H / Amazon)

That particular shadow is a side effect of using the Profoto Magnum reflector (B&H / Amazon). It’s a huge silver reflector that fits on the B1 / D1 heads that I use, and somehow the reflective surface creates that multiple shadow lines. Kinda cool.
Wow – very athletic model to do a ‘calm pose’ like that while jumping! Neil, I see you’ve changed your watermark on your images from the previous logo you had – what was the thinking around that?
I like my previous logo, which I still use on my wedding blog – but I found the signature often blended into detail. So I changed it over to this simpler logo for the Tangents blog. I want people to know where to look for the source material.
Thanks Neil, I was only thinking at a wedding last week how images develop during the session. Your post demonstrates this perfectly, how a tentative start progresses into a final image.
Noticed you used the Magnum reflector, I have been thinking of this for my B2 to give a more focused pool of light when out on location. What do you think?
I’m still trying to find uses for the Magnum Reflector. I know some photographers love it and it gives them a look they want. I am still figuring out a consistent use for it. So I wouldn’t necessarily strongly recommend it yet to other photographers. It is an expensive bit of gear, but I got it for half-price when a local camera store cleared their shelves of Profoto gear. Bonus for me! But I still have to make it earn its keep.