What’s in my bag – lighting gear for headshots on location
In one of the previous articles dealing with lighting gear for headshots on location – headshot photography lighting on location – I showed the need to be flexible. There I showed a number of the setups I have used, depending on the client’s needs, and also dependent on where we are shooting. With this article now, I want to more specifically show the lighting gear I have in my lighting roller case – my usual minimum setup. As you might expect by now, my lighting choice is based on the Profoto B1 and A1 flashes. It is a reliable, and easy to use ecosystem of lights.
Most often I don’t have the luxury of a lot of time to set up – so the gear should not be fussy to use. Even then, it should be flexible enough for me to change things up a little bit.
Oh, this isn’t just my setup for headshots – this is my general setup for any kind of shoot where I need my lighting gear. For example: Fitness photography – photo session in the gym.
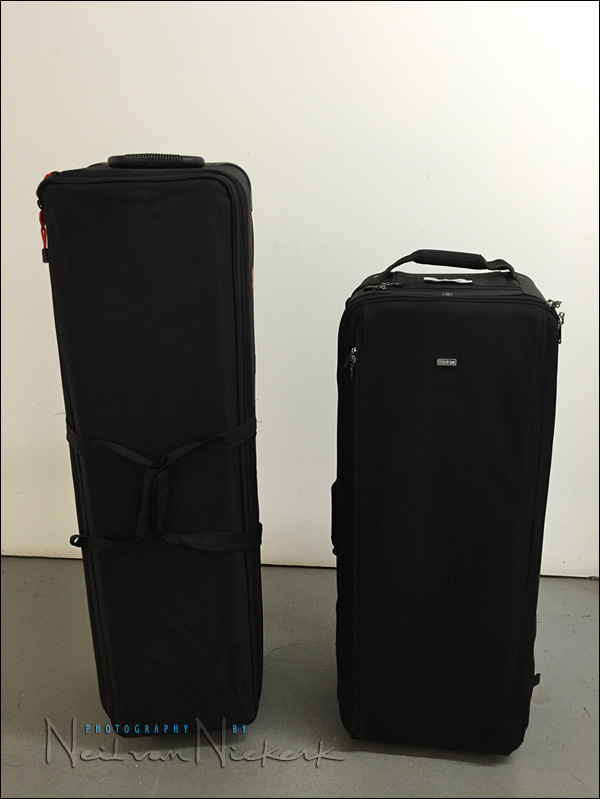
Here’s what I roll in with when I do headshots or similar type of studio-on-location shoot. Two large roller cases (and a shoulder bag) that contain everything I need. It looks neat and uncluttered. I need to look slick and efficient in front of a client.
The taller bag is the Photoflex Transpac roller case (B&H) / Amazon) from which I stripped out all the dividers so I can more easily fill it up with light-stands and umbrellas. The interior of this roller case is 46″ / 116 cm tall, so anything that is tall goes in this bag.
The shorter bag there is the Think Tank Production Manager 40 (affiliate), which is a high-capacity rolling gear case specifically designed for lighting gear … and the contents of this bag is what I want to show here since it contains the flashes and other accessories that I would use.
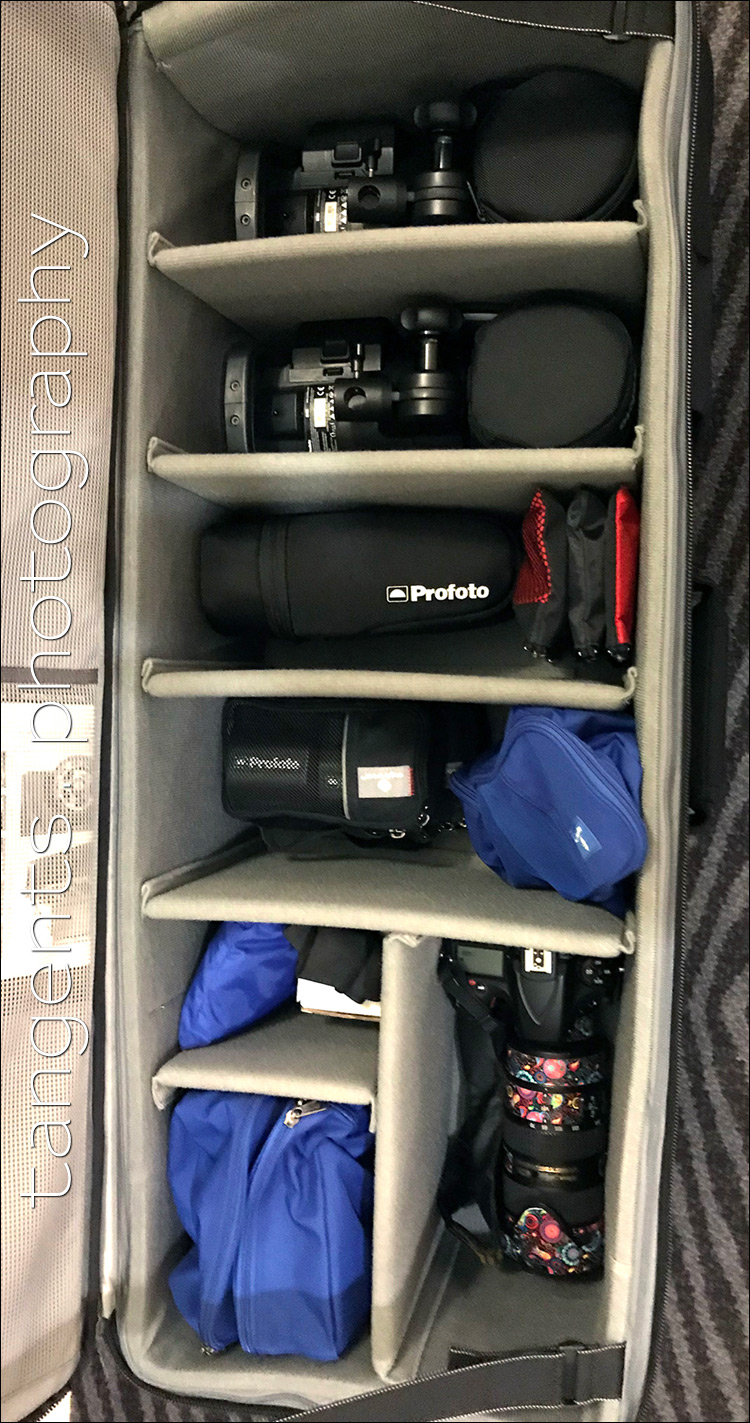
The third compartment has two Profoto A1 flashes for Nikon (B&H / Amazon). (They are also available for Canon). I use the A1 flashes for rim lighting, or to light up the backgrounds, or I use them as fill-flash. They are also super-handy should I ever need backup flashes to the B1 units.
That red & black zip pouch has the Profoto A1 gels, as well as spare A1 batteries. I also keep two Manfrotto Snap Tiltheads (B&H / Amazon), in that pouch. They are needed to mount the A1 flash to a light-stand and to attach an umbrella. So everything in that compartment has to do with the A1 flashes.
The 4th compartment has 4 spare B1 batteries, and the Profoto Air controllers for Nikon, Canon and Sony. I primarily shoot with Nikon, but keep all the controllers together. I have the variety because I use the Profoto B1 flashes for some of my photography workshops, and need to be able to use the flashes across platforms.
Then there is the D810 with the 70-200mm f/2.8 VR II which is my main camera & lens for headshots. Of course, I bring backup in a shoulder bag – in which I carry my laptop as well.
The two blue zip-up bags in that one compartment – the one contains the tethering cables and connectors. The other bag has hair spray and cheap $1 combs. There is a handheld mirror that I keep in the outermost pocket of this roller case.
Then you can see the corner of a white box peek out in the smaller compartment – in there I keep a spare bulb for the B1 flashes. I’ve had one flash die on me when it took a knock and the flash tube cracked. So now I keep a spare. With the two Profoto A1 flashes, and a spare bulb for the B1 units, I should we well covered for an emergency. The small blue bag with the white box is the rain cover that comes with this Think Tank roller case.
Oh, that black thing on top of that white box is …. you guessed it, the Black Foamie Thing. Have BFT, will travel.
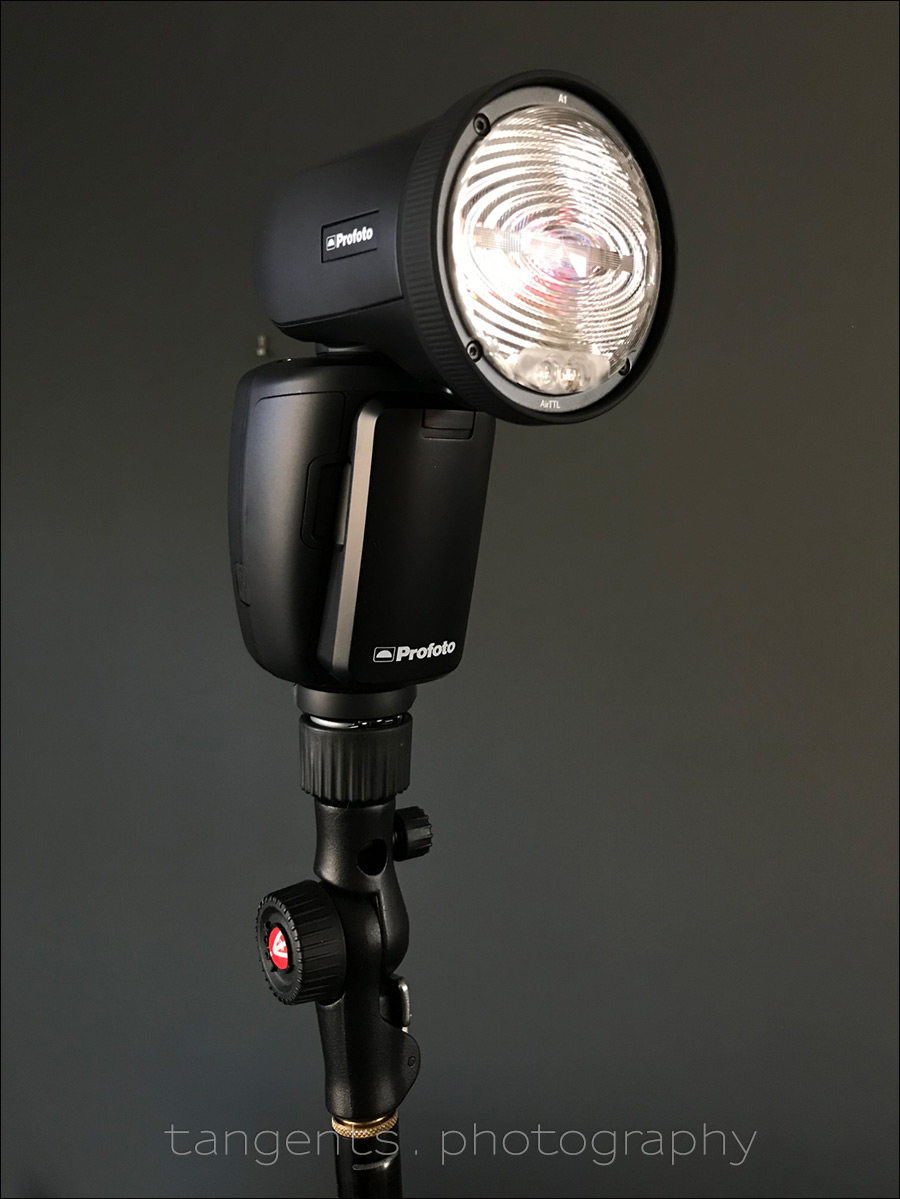
What also needs to be mentioned – the way the tilt-head locks the flash into position, is really good. That black textured knob right below the flash, screws up, and locks the flash into position. The flash can not fall off, even if you don’t use the flash’s locking mechanism itself.
They are well thought out to ensure your flash doesn’t get damaged.
There is the slot then for you to slip an umbrella shaft through.
As I mentioned, I keep two of these in a small zip-up bag in the camera case. They are compact enough for that.
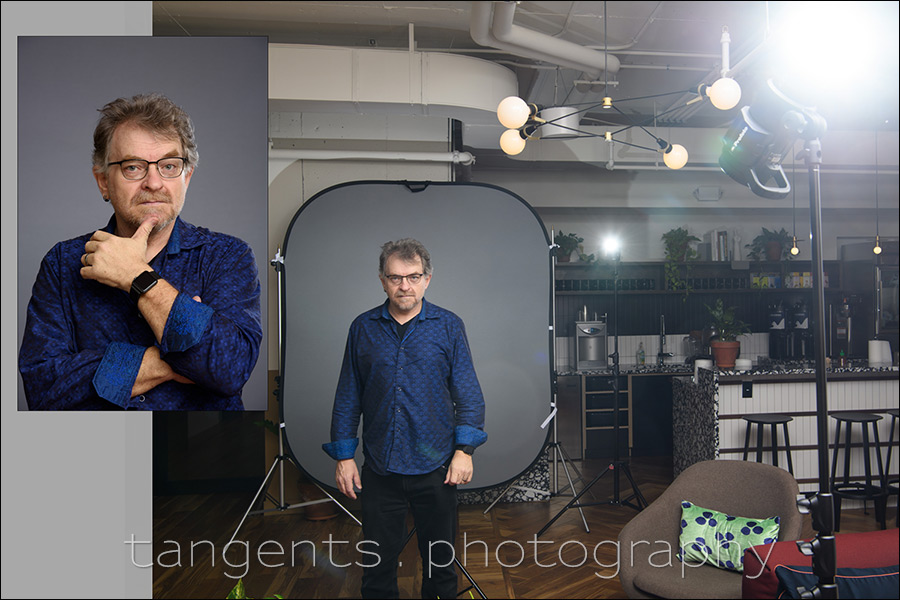
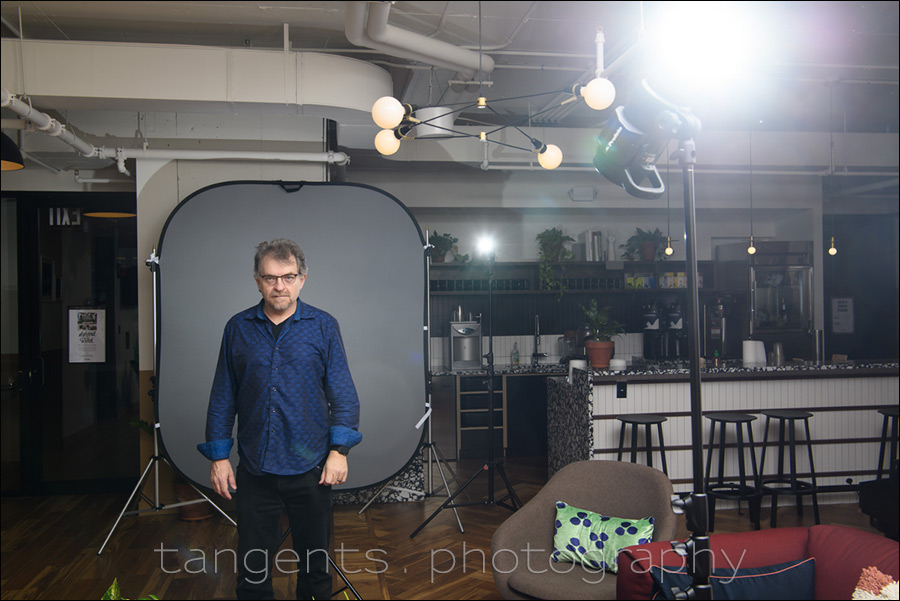
In the aforementioned article on headshot photography lighting on location, I showed several setups. Here again I want to show three recent setups I had for headshots. Of course, it is imperative that I shoot tethered – the client wants to, and needs to see the images right then. Shooting tethered helps involving your subject in the process, and allows them to adjust clothing or hair, and suggest a few changes perhaps.
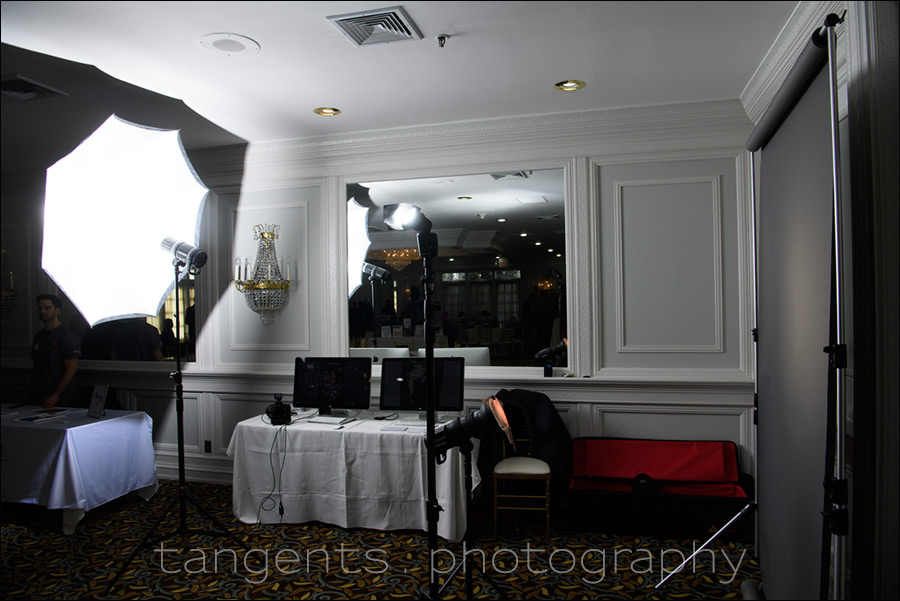
Here I used a Profoto B1 and a large reflecting umbrella as the main light. I didn’t want to bounce my flash into the area behind me, because there were other vendors right behind me. So I wanted to contain the light. But it turned out that this was just a touch too contrasty as the single light source – therefore I added fill-flash – a Profoto A1 with a handy black foamie thing to flag my flash. This extra light was just enough to give a nice lighting ratio, and lifted the shadows a bit.
For the background, I had a gridded Profoto B1 with a gel to give a warmer glow to the background. The background here is a roll of Fashion Grey made by Savage backdrops (Amazon). I am now using a Lastolite collapsible White / Grey (6×7) background (B&H) which is easier to set up.
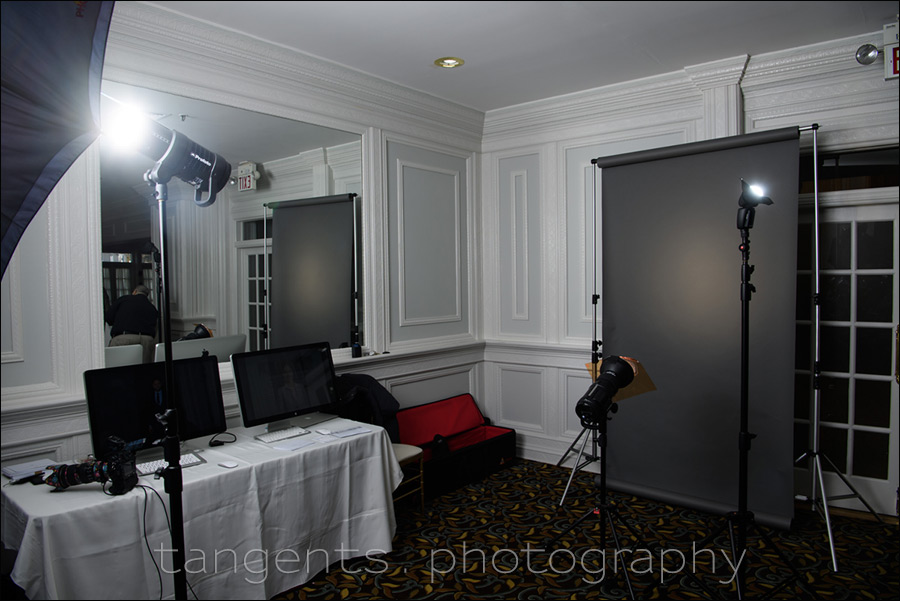
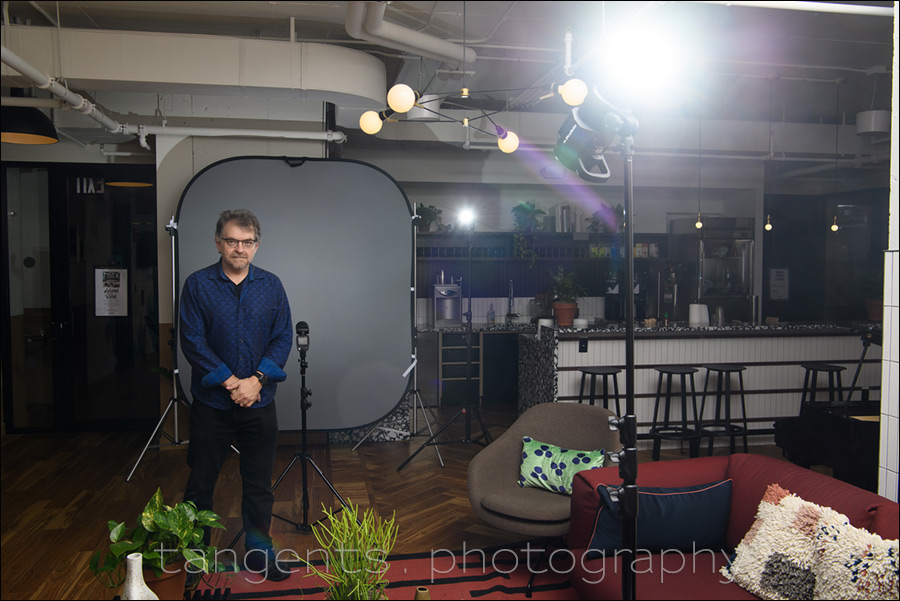
Here I had the ceiling height to use the massive he Westcott 7′ Parabolic Umbrella (B&H / Amazon). This is my favorite large light modifier – it is light and it isn’t expensive.
Here you can see the Lastolite collapsible White / Grey (6×7) background (B&H) which I like for the ease with which it sets up. You can see the two Profoto A1 flashes there – one to light the background, and one as a hair / rim light.
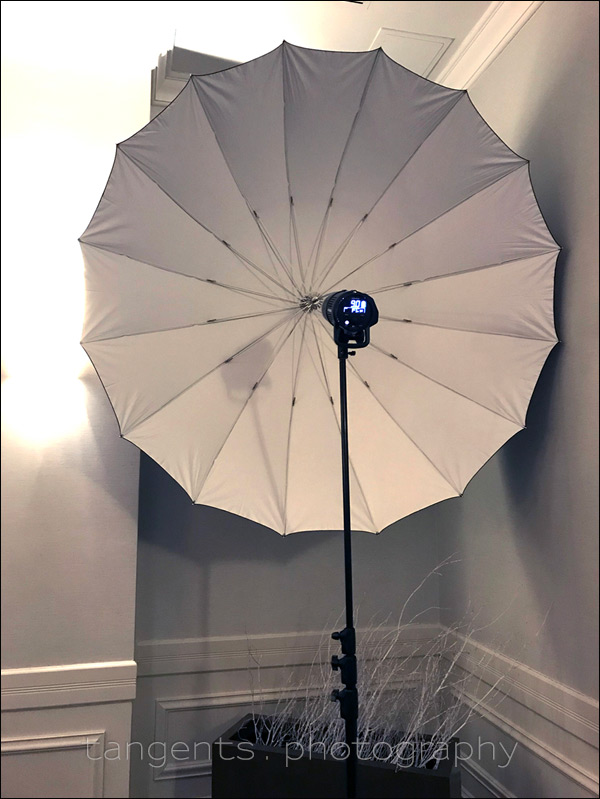
Again, a very similar setup. but to avoid the umbrella reflecting in my eye-glasses, I chose to bounce the main light into the ceiling. This gives a nice soft light that I can still make directional by bouncing it slightly to the side. There is so much spill light, that you don’t really need a fill light to the one side – you just rotate the main light slightly.
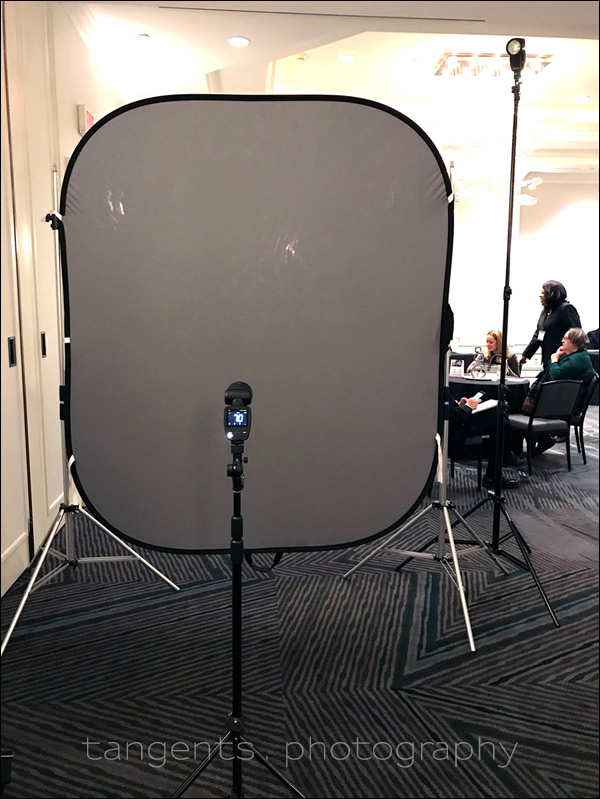
With these pull-back shots there is flare because I had my assistant step further back for these photos. For the actual head-shots, I am next to the light, and there is no risk of flare from the main flash.
In the second photo, I stood a little to the side to show the flash lighting up the background. Of course, you can dial the power up to give a brighter background.
The rim-light here is lower than I would usually set it up, but I had to reverse-engineer a previous headshot for the client.
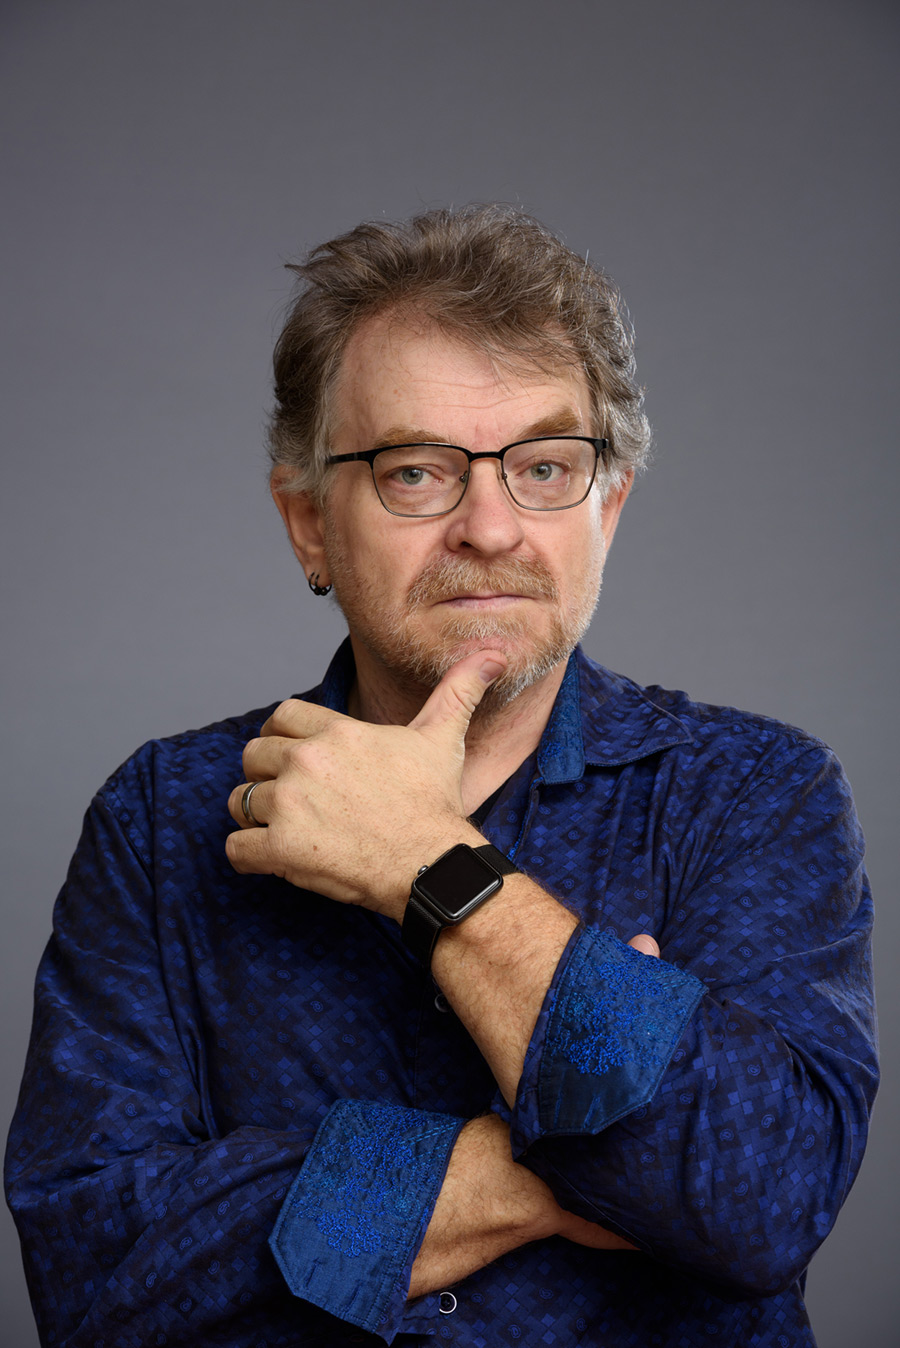
And here is the result – a test shot of me that my assistant took. It is also imperative that you don’t keep your clients waiting – you have to be completely ready when they arrive.
Related articles
- review: Profoto A1 flash
- Headshot photography lighting on location
- Photo gear & logistics: Corporate headshots
- Fitness photography – photo session in the gym
- Lighting an on-location Fashion shoot
- Headshot photography lighting setup
- Lighting an on-location photo session (Home Free)
- Photo shoot: On-location lighting problem solving (Home Free)
- More articles on Headshot Photography
- NJ headshots
I’m always fascinated (and envious) of people’s kit, particularly for location/ambient portrait work. Here’s a hypothetical: you’ve not automobile, using transit only, so, like me you can wear a backpack and maybe slog along with something smallish on wheels. Two bags total. I’ll let you go micro-4/3rds if you like. But how would that kit look?
Great article Neil, Thank you!
Smile, my friend! You are a great photographer!
Hi Neil,
Correct me if I’m wrong, but that Manfrotto snap tilthead would sit on top of the Manfrotto light stand, like the one you reviewed and used 3 years ago (see link to your old review): https://neilvn.com/tangents/review-manfrotto-1004bac-lightstands/. I vaguely recall that back then, you had used an Impact brand tilthead but that required turning a lot of screws to lock in the angle. I have those Manfrotto stands, so I wanted to make sure this snap tilthead was compatible, because I hate the way the Impact tilthead works.
And you look like Mythbuster in the first photo (right photo). :)
Keep in mind the Manfrotto Snap will fit on any light-stand, not just Manfrotto.
Thanks for that information. I will have to add that to my list of equipment upgrades later. At least I can afford this without breaking the bank.
Good tip on the Snap Tilthead. Those are often the weakest link in gear. I’ve got a good sturdy solution now, but before I’ve had flashes fall off. This seems more all in one, I wonder if I can find one in real life.
Great post Neil & highlights perfectly how the A1 fits in to the Profoto ecosystem. Like you, I use mine as a background light in conjunction with the B1. If you haven’t seen the Manfrotto/Lastolite Magnetic Mount for the pop-up backgrounds it’s also a fabulous bit of kit allowing a quick attachment to just one light stand.
Adrian helped me by showing me a link to this item.
Here are the affiliate links for the Lastolite Magnetic Background Support – (B&H / Amazon)
Great post! I really need to bite the bullet and upgrade my lighting kit and go all Profoto! Can you tell I’m just a little bit envious? Lol Ohhh yeah…that blue button up shirt is PIMP!
The BFT should be in every photographers bag, haha!
Oh man those Snap Tiltheads are sweet! Is it hotshoe only or can you access a spigot?
It is a hotshoe only. But I would guess there are hotshoe-mount spigots available somewhere.
Looking cool and a great value article, thanks!
For the record, I keep three BFT´s cut to different sizes in my bag ;) !
This helpful post inspired me to consolidate my multiple gear bags into a more professional looking roller. I opted for the Think Tank Photo Logistics Manager 30. It’s big enough for compact light stands on one side, along with my camera, lenses, flashes, a continuous light and some modifiers. Think Tank’s bags are expensive, but the quality stands out.
I’m curious what bag you use for shooting events with? I’m struggling to find a small bag that holds enough lenses for weddings.
I have an old Tarmac roller case as my main camera bag. For traveling I put gear in a Think Tank Airport International. But these are not small.
For smaller events where I take just two cameras, I use the Think Tank Airport Navigator with all the inserts removed.