
Studio photography – Posing & Lighting

Studio photography - Posing & Lighting
A series of photos from the archives - a studio photo session with one of my favorite models, Claudia. I reposted these photos on my Instagram account, as a quiet celebration because Claudia has decided to re-enter as a model after a hiatus of a few years. When I use models during workshops, it is with the intent of teaching lighting techniques. There is also the strong underlying message that posing and lighting are interconnected. With that, there is a to-and-fro interaction between the model and myself (and the people attending a Read more inside...Tips for posing your subject during a photo session
Tips for posing your subject during a photo session
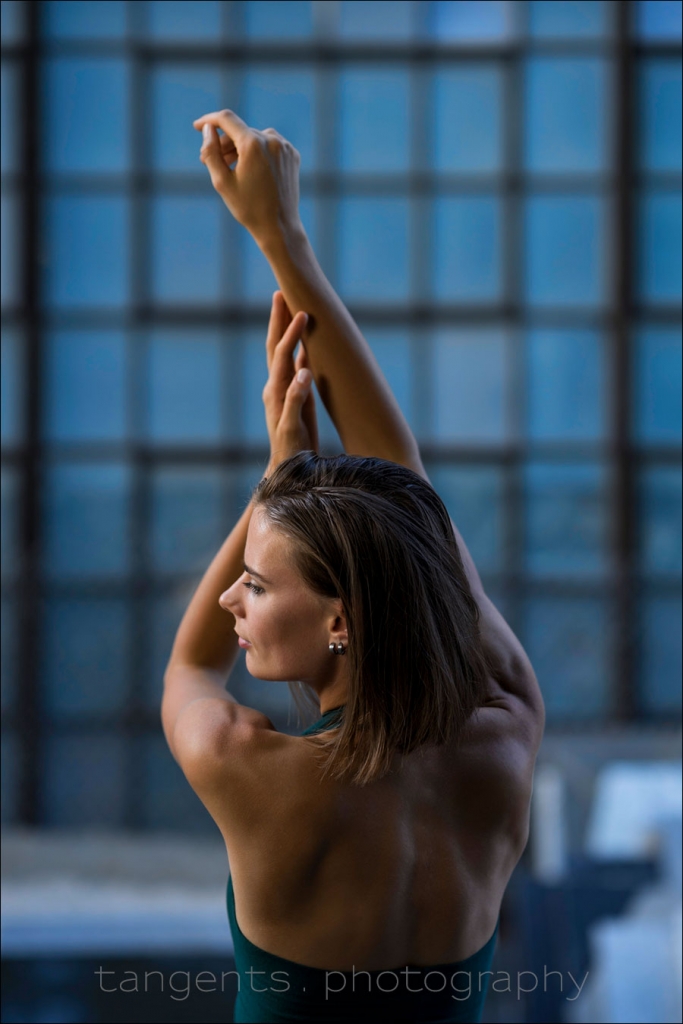
Too often, when I am being photographed, I notice one major flaw in how the other photographer interacts with me during the photo session -- they lose connection. They will take a shot, and then spend too long checking the image. Then after that, every other shot is interrupted by looking at the playback screen. Not only is it annoying to the person being photographed - the continuity is lost. Using this photo of Rozalinda as an example - while she looks magnificent, and is supremely easy to pose and interact with, it depends on Read more inside...Creative studio portraits with continuous lighting – two perspectives

Creative studio portraits with continuous lighting - two perspectives
When my friend, Marco Leibetseder, a commercial photographer in Germany, came to visit, it was time to play in the studio again. Continuing within the theme of 'Two Perspectives' we decided on using only continuous lighting in the studio, and see how we could create portraits that had a bit of depth to them, rather than just being straight-forward renditions of the person in front of the camera. We decided the theme should be: Creative studio portraits with Continuous Lighting. The concept behind the Two Read more inside...Direction of light – Using available light in the studio

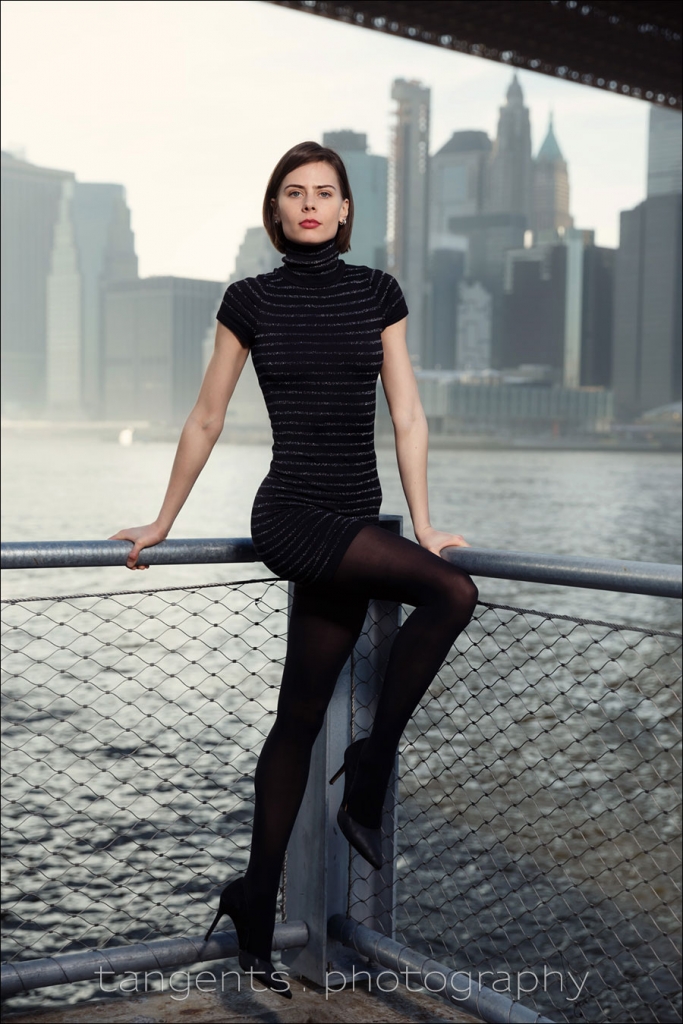
Direction of light - Using available light in the studio
This striking portrait of Rozalinda was lit by big window light in the studio. In using light - whether studio lighting or available light - you need to consider the direction of the light. You need to figure out how you want to place yourself and your subject in relation to where the light is coming from. Your own position in relation to the light and your subject, will significantly change the way the light appears on your subject. Check this article for an example: Change your position, change the direction of light. With Read more inside...Flash photography tip – Start with the ambient exposure
Flash photography tip - Start with the ambient exposure
Continuing on from the article - best camera settings for off-camera flash - I wanted to show an example of just one set of choices we had in how we balance flash with the ambient light. And again, to reiterate that there aren't necessarily wrong choices, but that we get to decide on the final look. In that linked article we worked through several algorithms to what would help guide our choice of camera and flash settings. In that article I accentuated the idea that our starting point is invariably with the ambient light. Read more inside...Best camera settings for off-camera flash
Best camera settings for off-camera flash
With many of the tutorial articles on this website that deal with off-camera flash photography, I have attempted to make the explanation not only as straight-forward as possible, but also repeatable. When it comes to camera and flash settings, there is often a specific science at work here - a specific method , which should deliver similar results time and again. The artistic side to photography is open to interpretation, and that is what makes photography continually fascinating - there are always further things to explore. However, when it Read more inside...recap: NYC photo walk – photography workshop, Brooklyn Waterfront
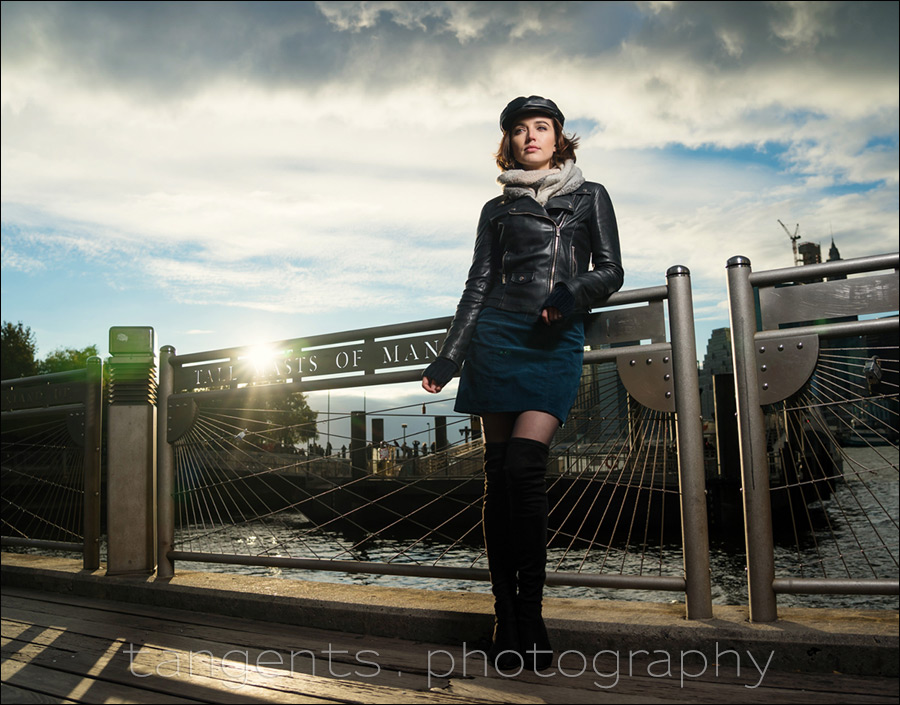
recap: NYC photo walk – photography workshop, Brooklyn Waterfront
Teaching a flash photography workshop on a grey day, I was disappointed that it was so overcast and miserable - and that I wouldn’t be able to properly explain how to balance flash with strong sunlight with an actual example - but then the sun popped out! This is part of the adventure of an on-location workshop such as the NYC Photo Walks - you just don't quite know what you'll get on any given day since the environment can change. Techie stuff: Lighting is with the Profoto B1 on a monopod, and the Profoto OCF 24” Read more inside...Photographing with available light only
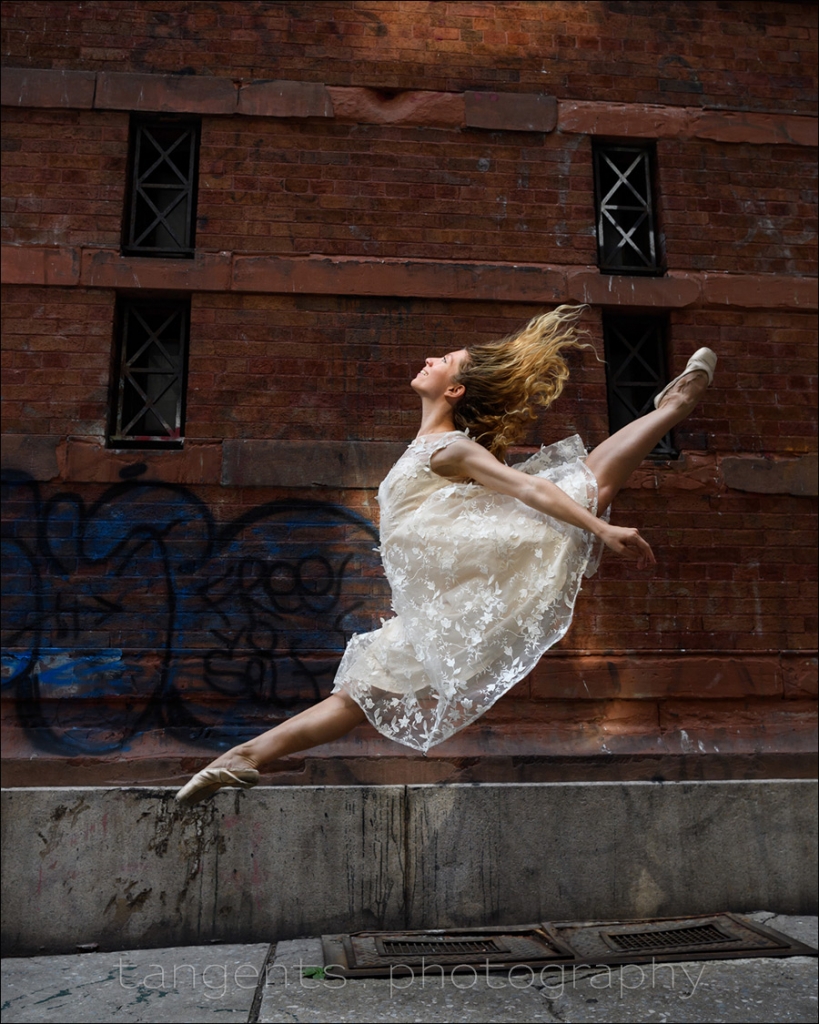
Photographing with available light only
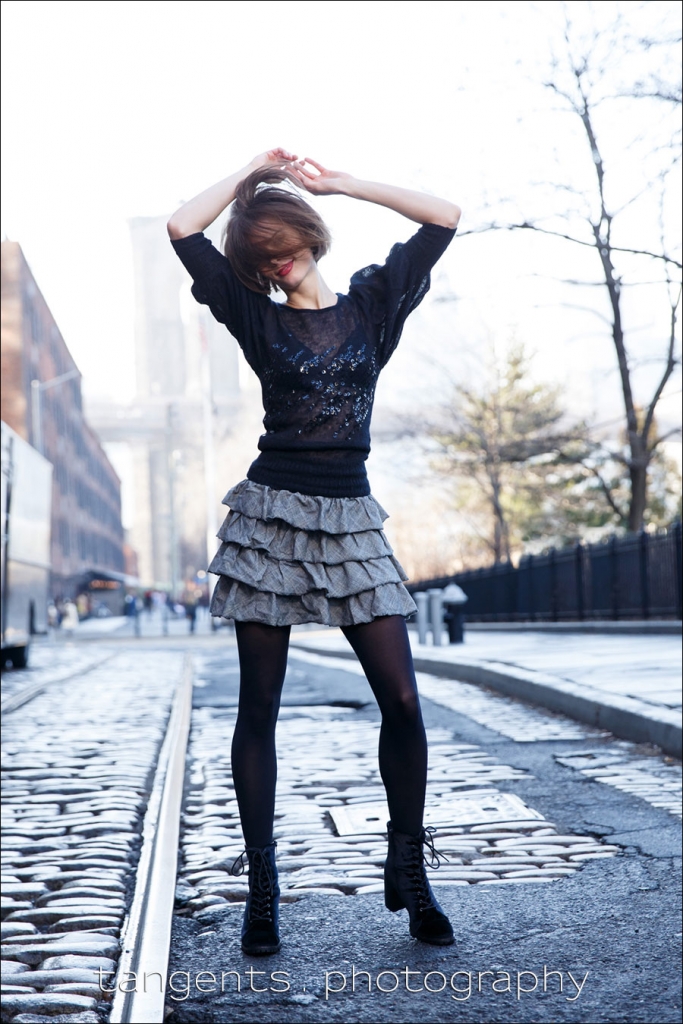
While photographing dancer, Anna Russell, in this side-street in New York, I noticed those splashes of light against the wall. These little pools of light were from sunlight reflecting off nearby windows. I wanted to see if we could have Anna hit one of those in mid-air. What also helped was the general direction of light in this area - it mostly came from the main road to the left of the frame, since we were shooting in a narrow street with tall buildings. The main splash of light on her was sunlight reflecting off this window of a building Read more inside...review: Profoto B10 flash
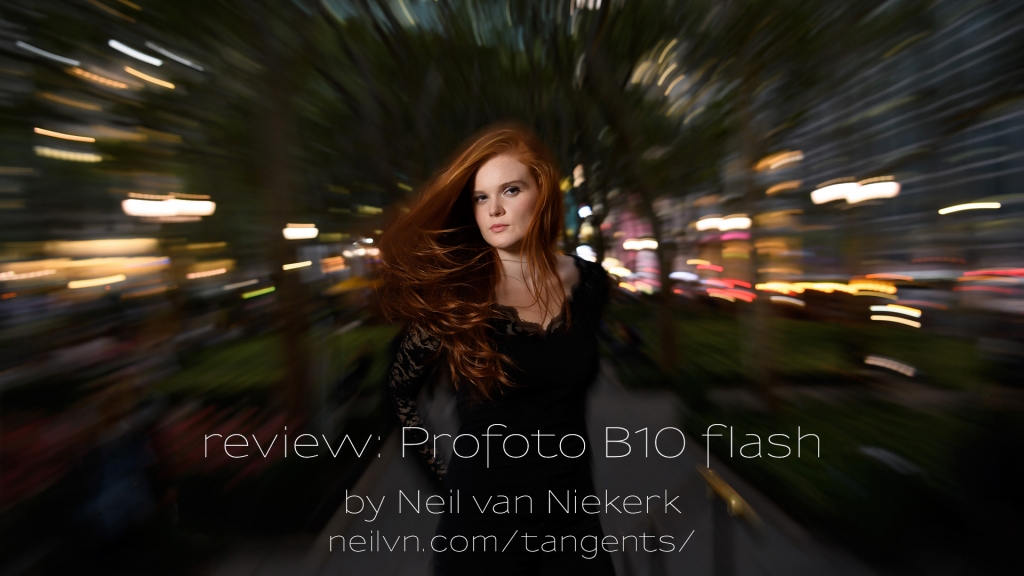
review: Profoto B10 flash
As promised in the First Look review, here is the proper video review of the Profoto B10 flash (B&H / Amazon) - putting this versatile flash through its paces during a photo shoot with a model in New York. Hopefully the video shows just how elegantly versatile the Profoto B10 is - it's a powerful little flash, and is also a powerful video light. The video light capability should excite any wedding photographer. During this photo shoot, we tried the flash as well as the video light aspect of it. I didn't run through the dry Read more inside...- « Previous Page
- 1
- 2
- 3
- 4
- …
- 28
- Next Page »