High-key studio lighting for portraits
One of the models that replied to my casting call for a model at my workshops in San Francisco in 2011, happened to be Ulorin Vex. I immediately recognized her, since I’ve seen photos of her in various portfolios. I was both surprised and very happy, since I regarded her as a bit of a superstar. I scheduled a photo session with her for the day after the two workshops in SF, and the images from those sessions appeared a few times on Tangents, and I’d consider them among the best work I had ever done. It helps to have an inspiring model!
Ulorin Vex was such a pleasure to photograph, and so professional, that when she let know me she was briefly visiting the New York area, I jumped at the chance of photographing her again. As I mentioned in my first impressions of the Nikon D800, I now have ready access to a large studio. I have acquired various lighting gear over time, but recently purchased the Profoto D1 studio light (500 Ws) (affiliate).
So I was all set for the photo session – a wonderful model; superb gear; and a large studio where we could shoot. I shot about 8 different setups, which I intend posting here over the next few days. (So be prepared for a few more blog posts from this session.)
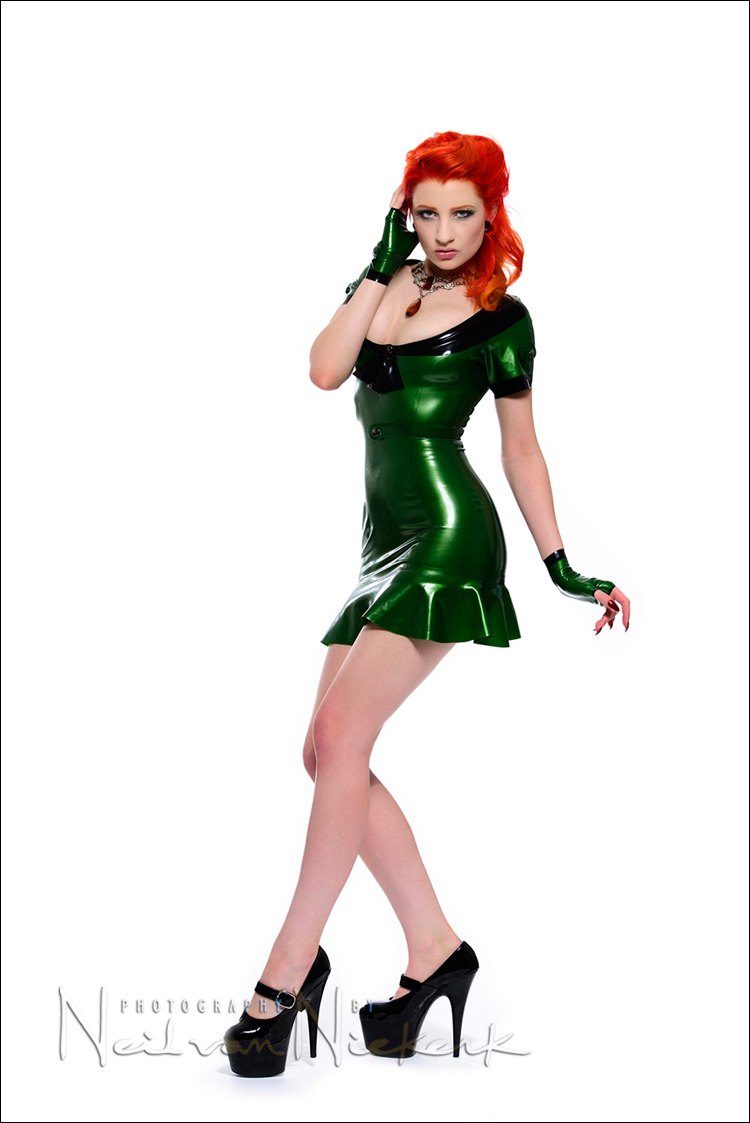
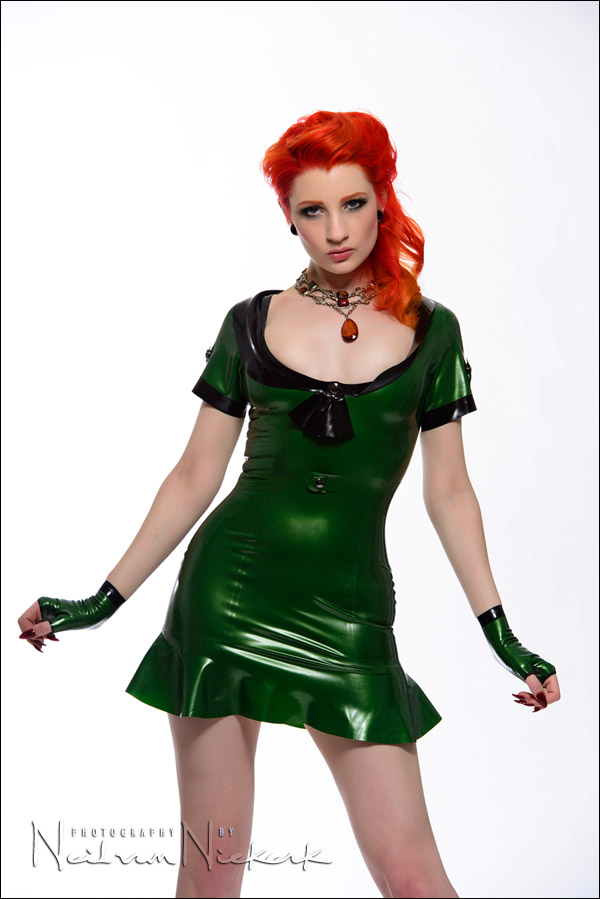
For the first set-up, I decided to keep it very simple with a white backdrop, and high-key lighting …
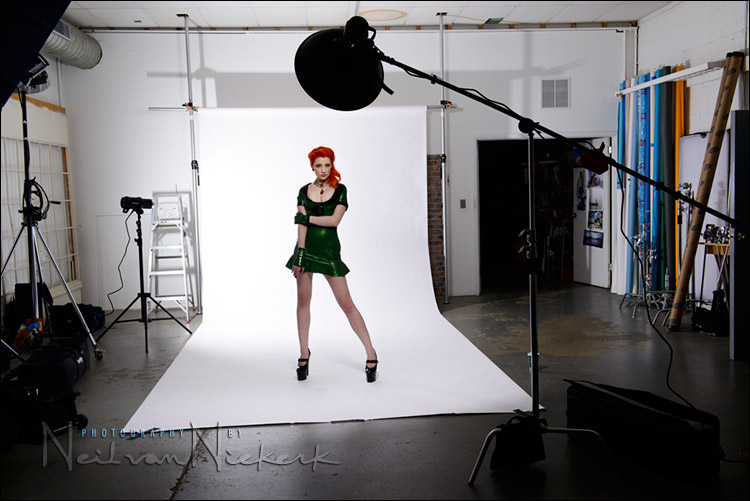
This pull-back shot shows the simplicity with which I approached it. (There are other ways to light high-key portraits, but this is the way I decided on this time.)
1.) An unmodified light directly on the backdrop. I set it to give me a histogram which is on the very edge of the right-hand side of the histogram. This way I knew the background would blow out a bit, but not be so bright that it would give lens flare or interfere with the lighting of my model.
I wanted to use f8 for my main light on my model, so I adjusted the power of the light on the background, until my histogram for the backdrop showed what I wanted.
2.) Then I used a lightmeter to give me f8 for where I would position my model. My main light is a Profoto D1 head in a Profoto beauty dish (affiliate).
For processing of these images, I started with the RAW file, and the profile set to Camera Vivid in ACR / Bridge. You could set the same Camera Vivid profile in Lightroom via the Develop / Camera Calibration tab.
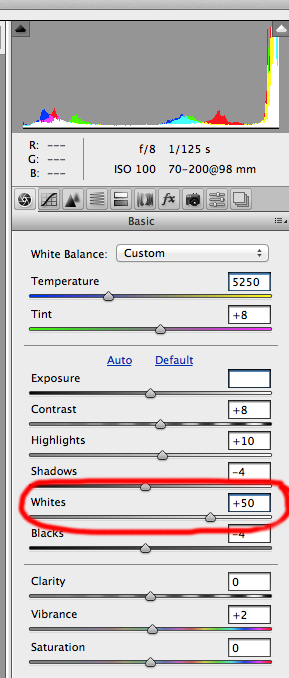
To make the backdrop appear white, I did two things:
1. I cranked the Whites in ACR / Bridge. (Again, you could do exactly the same in Lightroom.) This over-exposes the whites considerably, without really affecting the rest of the photo. If you wanted, you could use local adjustments in Lightroom or ACR / Bridge to brush back the normal tones to where they were before.
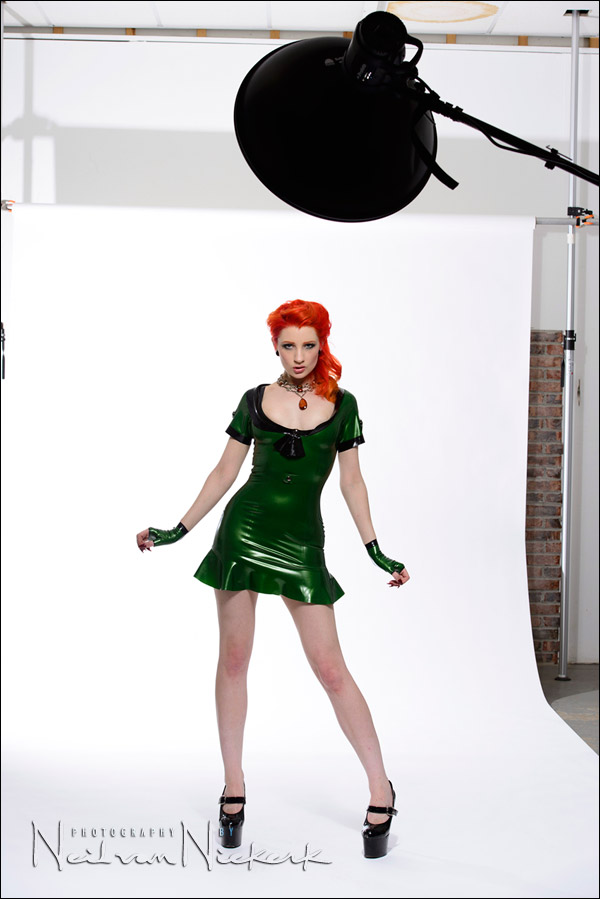
This image posted in the article on the D800, shows what the backdrop looks like in the photo at this point, without any further editing in Photoshop.
It’s not entirely white, but the next step easily turns it into a sheer white background.
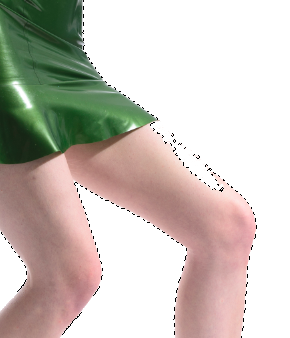
2.) I use the Magic Wand Tool in Photoshop, and just click on the white background. Photoshop will automatically select all the white-ish tones.
Now you can just use the Erase Tool and completely erase all the white and white-ish areas which is the background.
Sometimes Photoshop will select areas it won’t … and also to avoid getting a jagged pixelated edge, you can now use the History Brush all along the edges in quick sweeps, to brush back any detail that may have been erased.
I don’t spend much time on this … it really is a quick edit especially with the background so close to being white anyway.
The Erase Tool is set to a large size, and you can quickly sweep over the entire image. Then after you’ve Deselected the selection made by the Magic Wand Tool, a quick brush stroke over the entire edge areas, will pull back any detail that might’ve been lost in the previous step.
And with that, you can easily get images that look like the next sequence.
Camera settings & gear (or equivalents) used in this photo session
- camera settings: 1/125 @ f/8 @ 100 ISO
- Nikon D800
- Nikon 70-200mm f2.8 AF-S VR II
- Profoto D1 studio light (500 Ws)
- Profoto beauty dish with a 22″ sock for a beauty dish
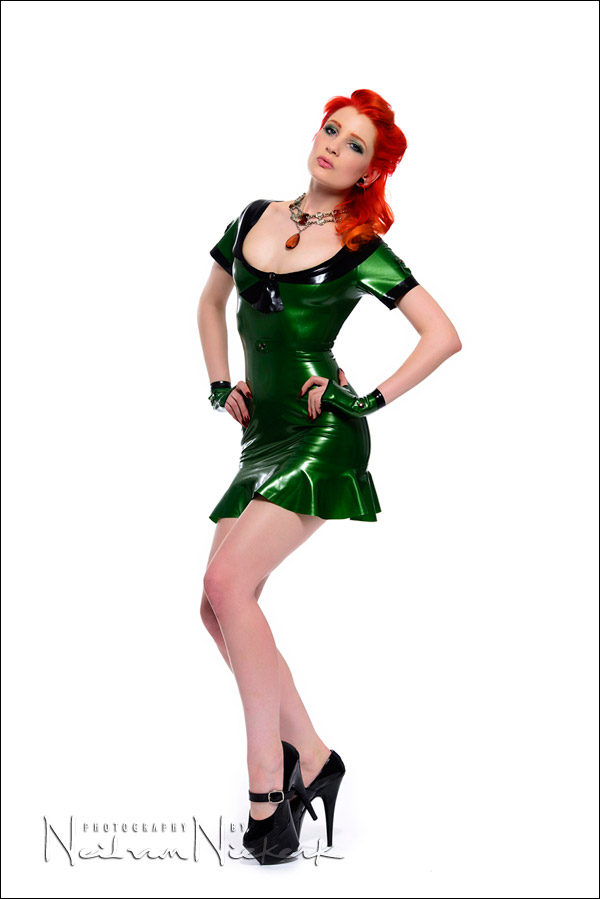
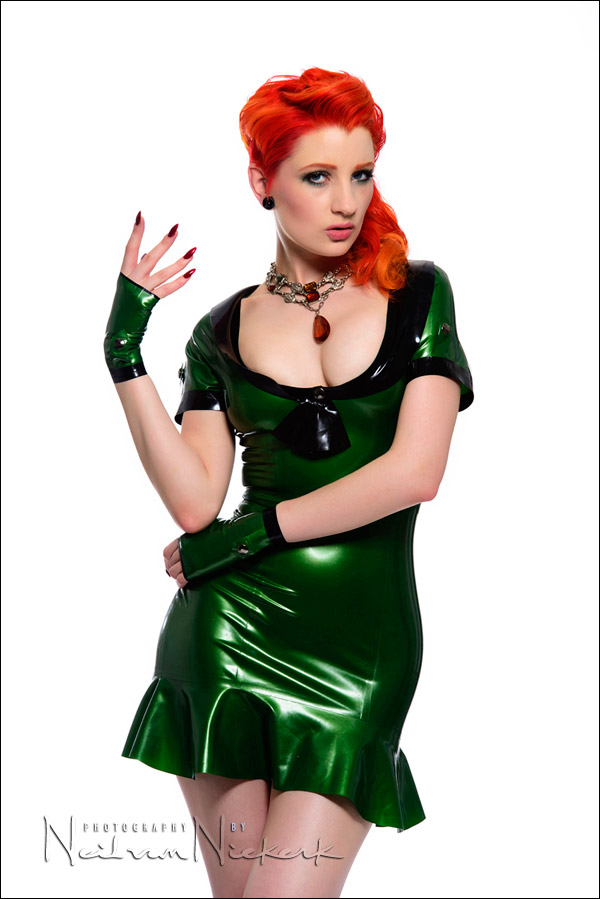
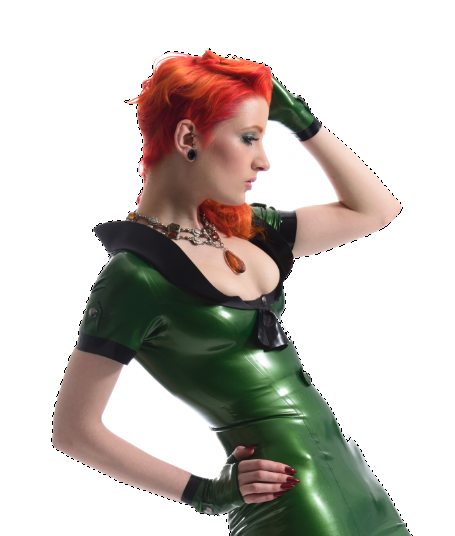
For the next four images, I had placed the beauty dish nearly 90 degrees from me, and asked Ulorin Vex to adjust her poses towards the light.
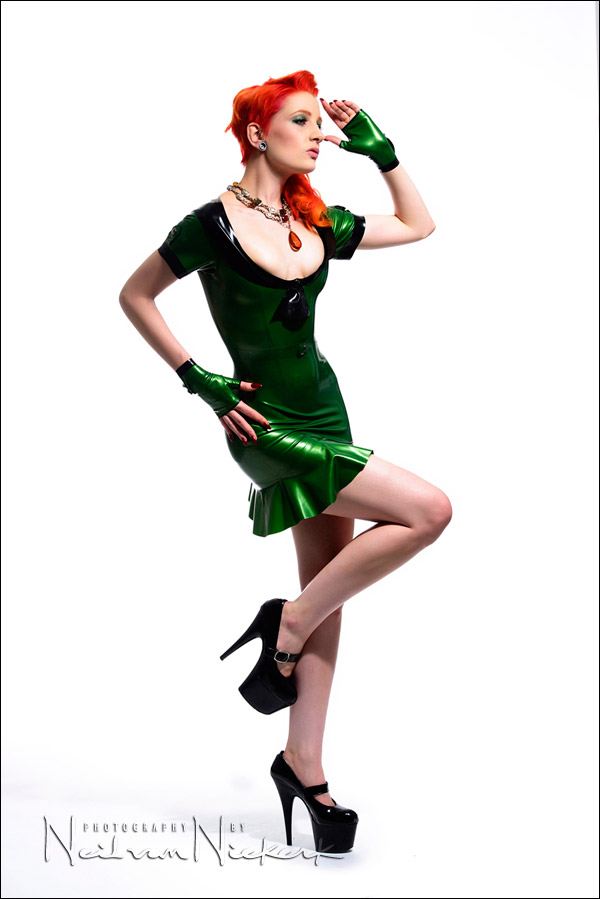
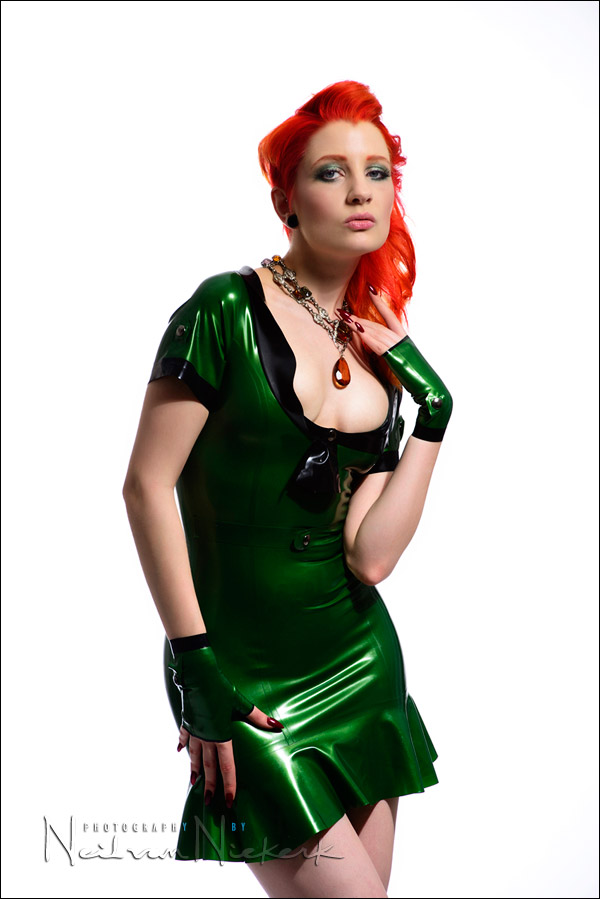
I have to give Ulorin Vex credit here. *Every* shot worked. Any shots that didn’t work, were because of my lighting that needed to be adjusted. With every shutter click, she’d lock into another pose. Perfectly so.
Other articles about this photo session
- high-key studio lighting / portraits (part 2)
- review: Westcott 7′ Parabolic Umbrella
- studio photography: low key lighting variations
- behind-the-scenes video clip of the photo session
Camera settings & gear (or equivalents) used in this photo session
- camera settings: 1/125 @ f/8 @ 100 ISO
- Nikon D800
- Nikon 70-200mm f2.8 AF-S VR II
- Profoto D1 Air 500 Ws studio light
- Profoto beauty dish with a 22″ sock for a beauty dish
Great setup! Loving the poses. I can’t wait to see more.
Really nice.
Most of your stuff is very good. So, there were no reflectors or secondary lights here? Just the one beauty dish?
I think I will try to emulate this simple setup the next time :)
Just the two lights. But there was a lot of light bouncing around, with the white walls. So that will create fill light of some kind, to some extent.
Congrats with the Profoto D1 Air!
This strobes are having a superb light quality and are fast recycling. Unfortunately the flash duration really sucks.
Photographing mainly animals (very fast moving heads etc…) I have the Profoto’s replaced by Elinchrom RX600 strobes. Less fast recycling, but freezing flash durations.
Hi Neil, what do you mean when you say “a quick brush stroke over the entire edge areas, will pull back any detail that might’ve been lost in the previous step”..?
I mean, what kind of brush..? History brush or…?
Thanks,
Carlo … it’s the History Brush (as mentioned in the text).
Neil, fabulous shots! Her hair is awesome, and with that dress the images provide so much pop off that seamless. I love my D1 Airs, no regrets with that purchase.
BTW, I’ve never altered the seamless in PS in that way. I’ll have to give it a try and see if it’s better than how I’m currently doing it. Normally I use the magic wand to make the same selection as you. I make a levels adjustment with a mask so it only affects the selection. Moving the whites slider to the left until any hint of grey has vanished and I’m done.
Thanks for the post, I always look forward to reading your blog.
Curt
Neil, how do you manage to keep the legs’ shadows when you delete the white/white-esh selection..?
Neil……… just wondering why you used such a big lens?
I would of used the Nikon 24-70 2.8.
Great work.
John
Thanks Neil..! Hip-Hip Hurrah for the History brush…!!!
Hi Neil
I have used this setup several times myself, with good results.
However, If you were to photograph a body builder, do you believe that this setup would achieve the desired result in obtaining muscle definition etc.
Regards
Angelo
The model is great, lighting is great, where do the outfits come from? Did she bring them, do you have them, or what?
Ulorin Vex has her own outfits, which she sources from various people. The best place to ask would be on her Facebook page, or her website.
Niel interesting use of the white slider in acr I would have thought it would affect the skin tone but history brush would sort that out I guess.
over all very stunning high key shoot, pragtige
Alistair
I use high ket all the time and was wondering which version of Bridge are you using? Your screen shot shows adjustment slider for Shadows, Black AND whites…. mine only has blacks.
I edit thousands of shots like this every week and this “Whites” slider will cut my editing time in half!
Cant wait to know! XXXX
Belinda,
You must have a version of Photoshop below CS6, as CS6 is the version which has the Camera Process “2012 (Current)” whereby you have the Whites Slider.
Anything below CS6, like CS5, even though you may have the Camera RAW plug-in updated and can see the 2012 version, if you do change to that, you do not have the ability to do full edits in the ‘Basic’ Tab where you see the sliders as in Neil’s screenshot above. A lot will be greyed out and it will ask you to switch to 2010 Process.
If you have Lightroom V4, it will also have the 2012 (Current) Camera Process in that and you can use that instead of through Adobe Camera RAW like the sample above.
Hi Neil
I am planning to do a Asian Dress and Jewellery photoshoot can i use the same setup ? Also I wanted to know was the beauty Dish covered with Honeycomb or Diffuser or juts left bare ?
Regards
Rahul
In this case, the beauty dish was bare … but as described in these articles, a grid with the beauty dish would’ve been the better choice:
– thoughts on using a beauty dish (light modifier)
– studio photography: low-key lighting for a dramatic portrait (model: Randy)