On-camera bounce flash for beautiful portrait light
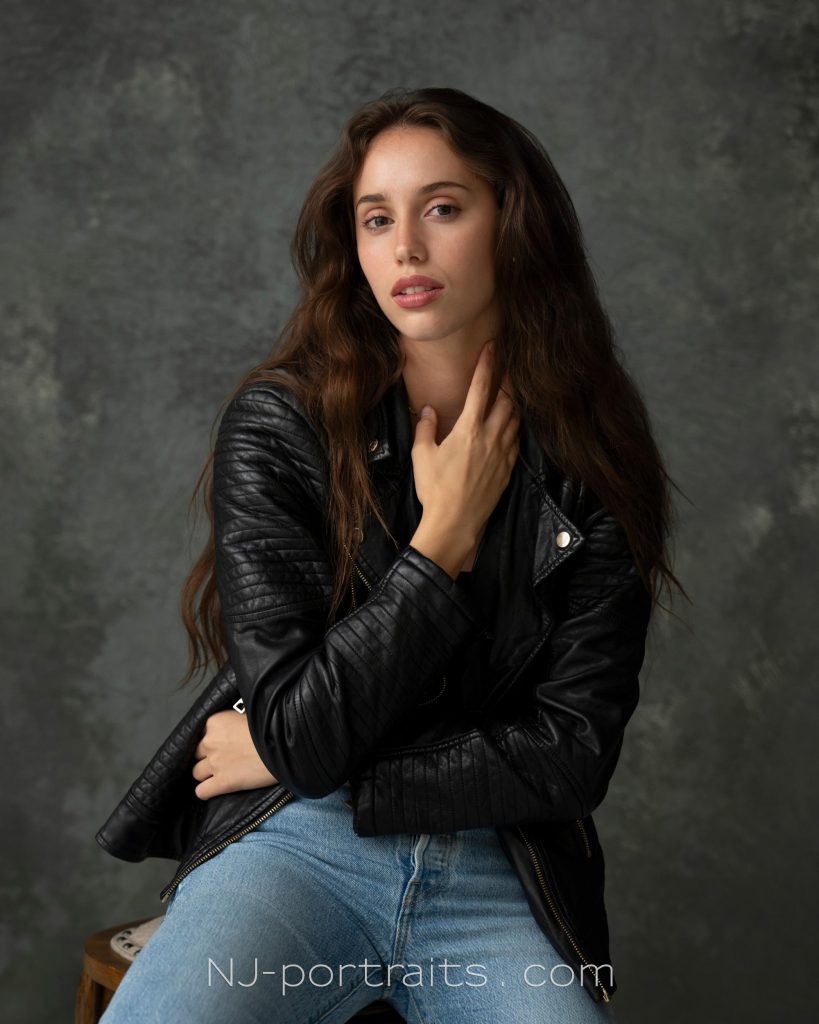
Here are several portraits of a model, Koko, taken during a workshop in my studio last week. She was phenomenal with her posing. Just on all the time. I will post her IG account lower down. The lighting -- notice how soft and even it is, but with a gradual contrast to the one side of her face. No hard flash shadow. Just big, soft, directional light in the studio.
All achieved with on-camera bounce flash. Just the one light. No Fong Dong! No MagMod boob! No Rogue Flash bender! Seriously calm down with that unnecessary stuff. You Read more inside...
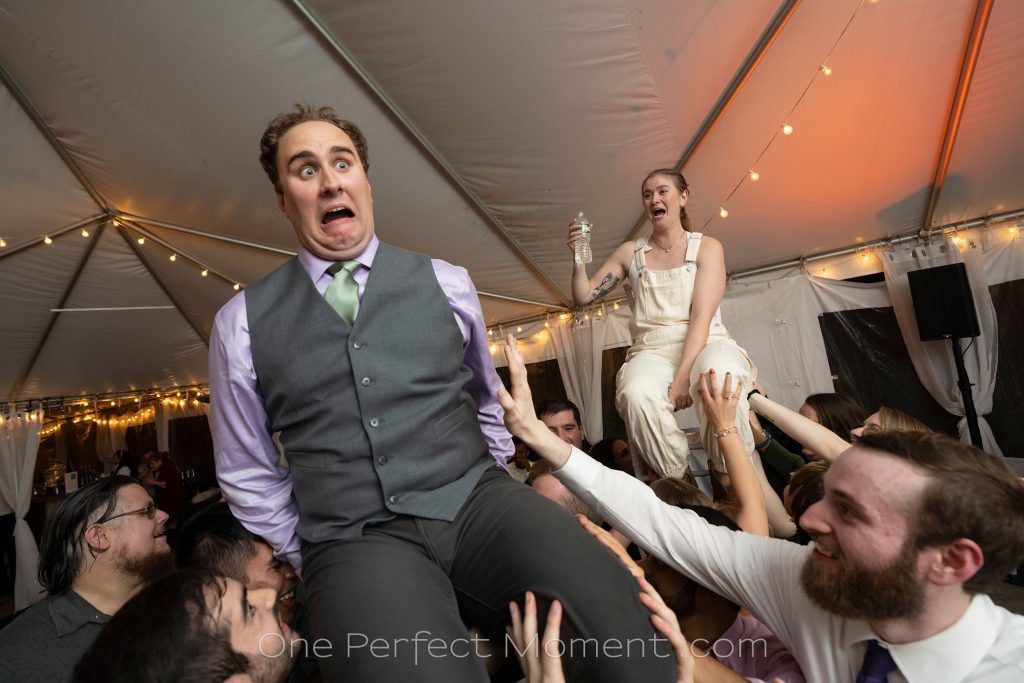
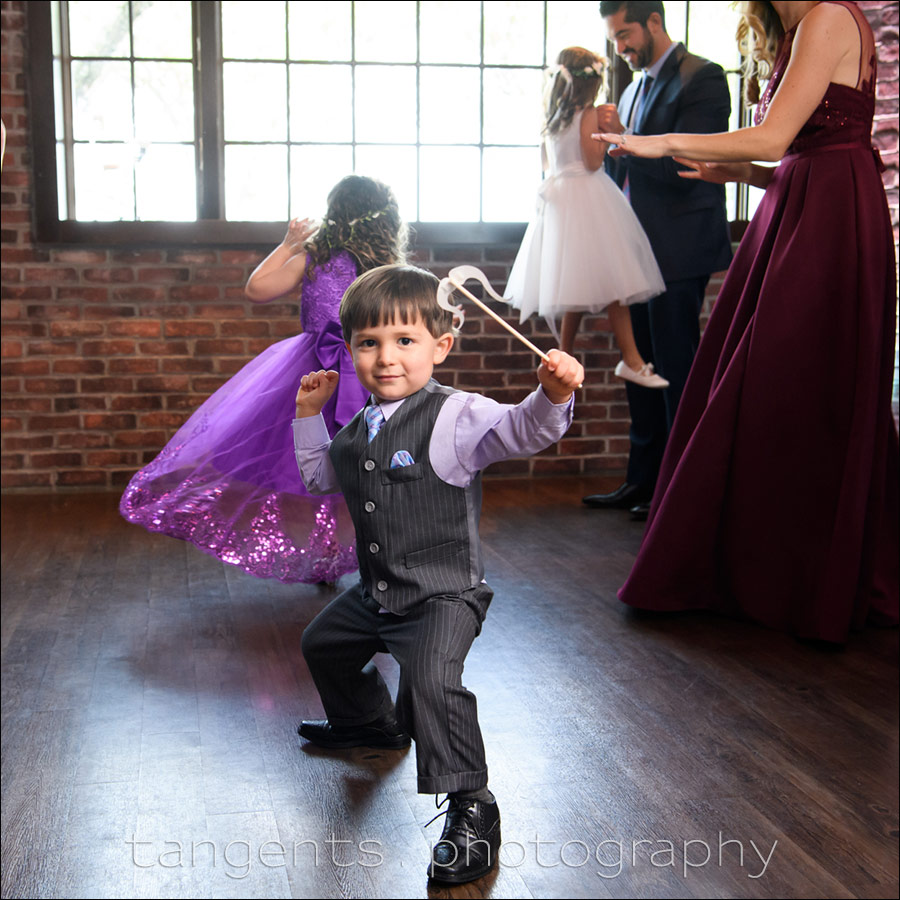
One of my favorite photos from a recent wedding, is this one of the groom and bride being hoisted aloft, with his priceless expression of surprise. Timing and framing is everything, of course. And the lighting. This is pretty much the way it came out of camera, with only minor adjustments to the RAW file. Note that the light on the groom is about the same as the amount of light on the bride in the background. (Yes, she changed into white overalls after jumping into the pool with her dress.)
But back to the lighting -- an equal Read more inside...
This is a fairly straight-forward portrait of the bride just as she was done with her prep. But this simplicity might belie the deliberateness in how I shot this. Because the rest of the bridal area was mostly bland walls, I purposely used the busy room in the background to give that indistinct out-of-focus background which is still complimentary. There were spotlights in the ceiling just outside the door, so I asked her to step forward of those lights. They would have been too hard to fight against.
My exposure settings were set for Read more inside...
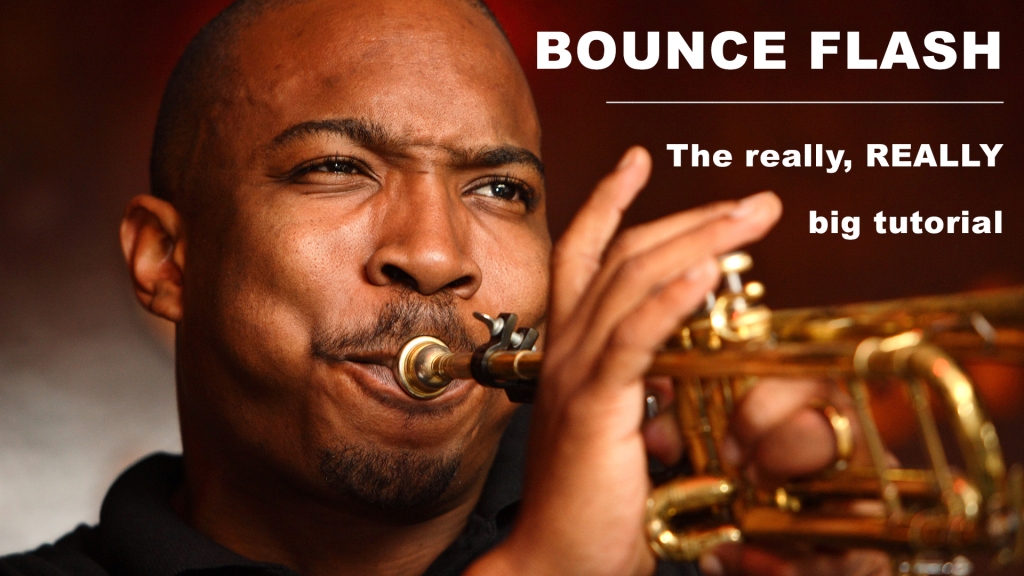
Video tutorial: On-camera bounce flash photography
I finally put together the really, REALLY big tutorial about on-camera bounce flash photography. It's an entire workshop. This is a long one. An hour's worth of material. It's going to require a bit of stamina.
If you prefer Youtube : Bounce Flash - That one thing you need to know.
Related to this video, is this video where we discuss how Bounce flash photography & The Inverse Square Law interrelate. There's something interesting and unexpected happening there.
And if you are new to the "Black Foamie Read more inside...
If you find the title of this article a touch intimidating, please stick around and watch the video. It is important to understand how The Inverse Square Law affects bounce flash photography, and creates a specific result where the background appears brighter when the flash is bounced properly without on-camera flash modifiers. I know that is counter-intuitive, but that is what happens when you bounce your bare flash behind you instead of using a light modifier on your flash. The accompanying video, linked to below, explains this Read more inside...
When photographing wedding receptions, I would ideally like to get away with just one on-camera flash that I bounce off surfaces behind me. A venue with (close to) white ceilings and walls are just perfect. Super easy. Even with really high ceilings, I try to make it work. Here for example, I used a single bare on-camera flash to light up the entire place -- Wedding reception lighting with one flash. No diffuser cup or white bounce card. Bare flash with the Black Foamie Thing. But occasionally I reach the dead-end of a venue with black Read more inside...
Bounce flash photography - when to use maximum flash power
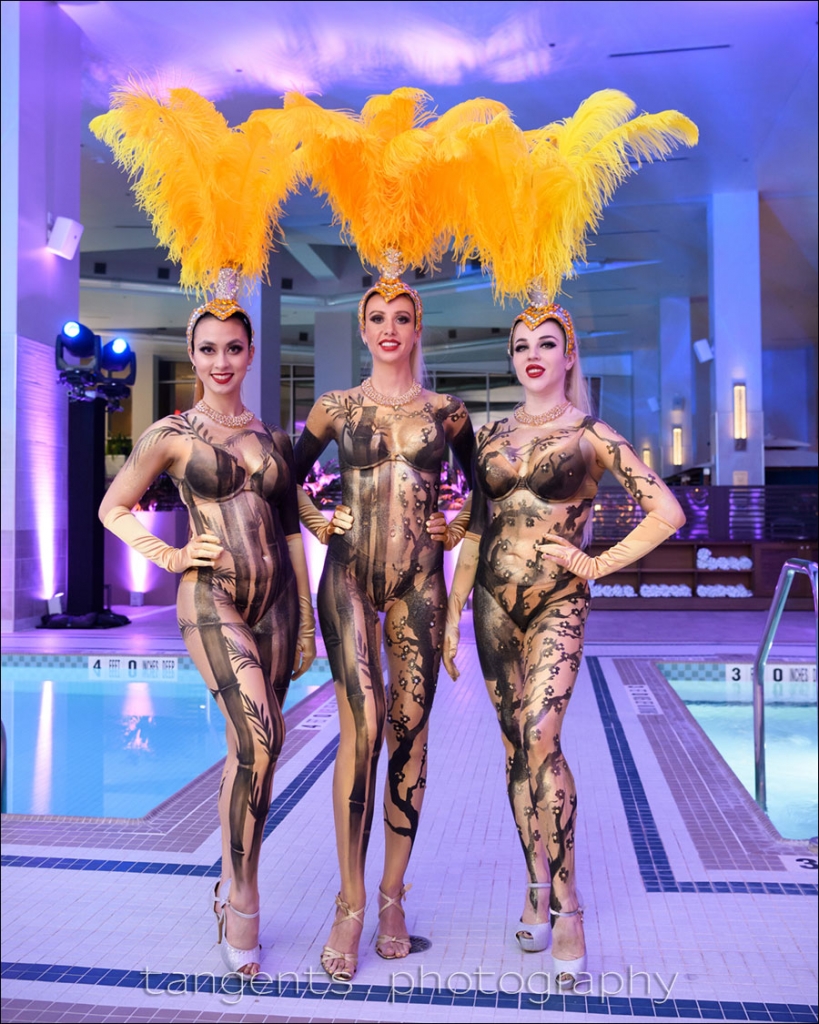
This photo is straightforward enough - the event coordinator here asked that I take a few photos of the models in body paint. No time to fumble or look unsure. Again, there are simple recipes to get us to ideal settings.
The reception area around the indoor pool is really large with a super-high ceiling at this casino. There's enough light to see, but it is all tainted with this strong purple and blue uplighting. Therefore flash becomes a necessity.
I need cleaner light - more neutral light - on my subjects. Skin tones Read more inside...
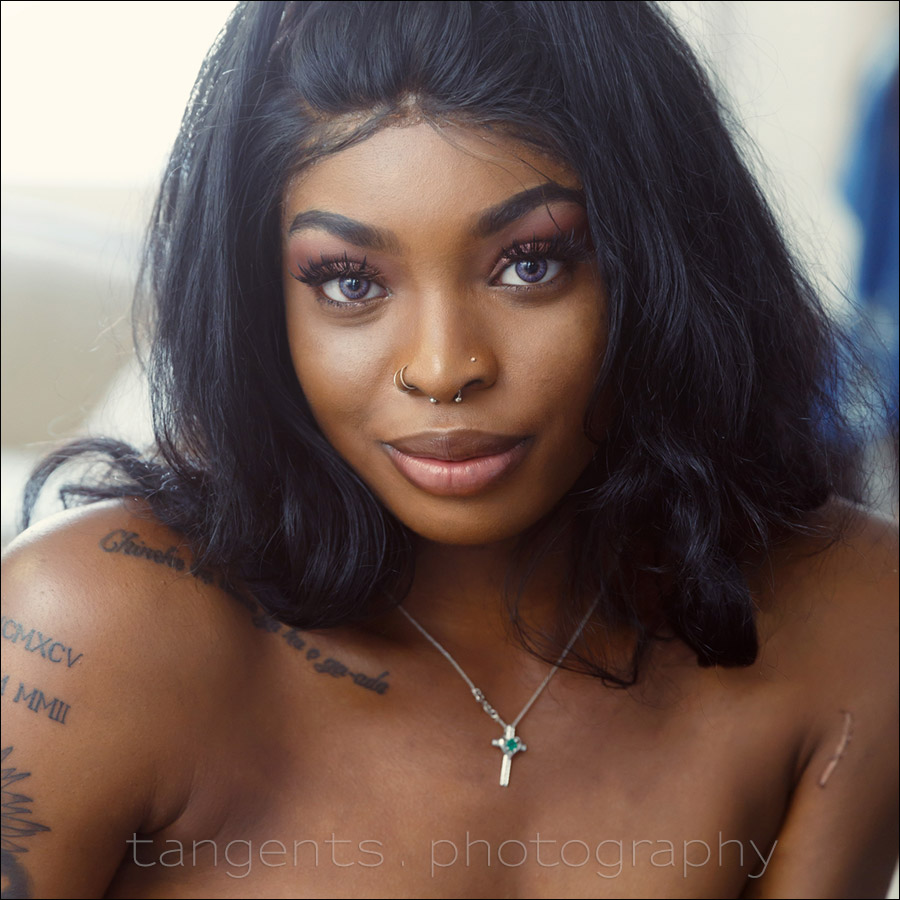
Faustina, a model, arrived early for the video shoot in the studio today. We chatted while she waited for her team to arrive. She had questions about photography ... so she earned herself a lecture about photography. That's what you get for hanging out with me. Careful what you ask for!
On-camera bounce flash, the usual, proper way for awesome light. This really is an impromptu photo - not overly posed, to show her how I use flash. And I think that is the point of this - flash photography can look *this* good with minimal effort. Minimal Read more inside...
With the tutorials here on how to bounce flash, the questions inevitably come up - what if there is nothing to bounce your flash off? What if there are dark ceilings? Well, these limitations do affect how I use flash at events - but I still work according to a few set guidelines that give me the best results with bounce flash.
I bounce my flash into the direction that I want to come from, regardless of whether there is a white wall or ceiling. It really is all about the Direction of Light.
I also shy away from using any of the Read more inside...
Going by the emails that I receive, one of the areas that many photographers struggle with is that of combining ambient exposure and flash exposure. This question is also expressed in other ways. It can be a frustrated, "where do we even start?" I also often see it expressed as an involved step-by-step deconstruction of technique, making the entire process more complex than it is.
In reply to that, and many other emails I've received in the past few months, I'd like to offer an analysis of a few images from a recent shoot.
One of my Read more inside...