Video tutorial: On-camera bounce flash photography
I finally put together the really, REALLY big tutorial about on-camera bounce flash photography. It’s an entire workshop. This is a long one. An hour’s worth of material. It’s going to require a bit of stamina.
If you prefer Youtube : Bounce Flash – That one thing you need to know.
Related to this video, is this video where we discuss how Bounce flash photography & The Inverse Square Law interrelate. There’s something interesting and unexpected happening there.
And if you are new to the “Black Foamie Thing”, and you’re curious how it is implemented with bounce flash, and how it is used to control the spread of the light, check these links: BFT ; black foamie thing. It’s a simple inexpensive device that might very well radically affect the look of your bounce flash photography,
As always, I am happy to answer questions here on the blog, or on the Youtube video itself. And of course, please subscribe to the Youtube channel.


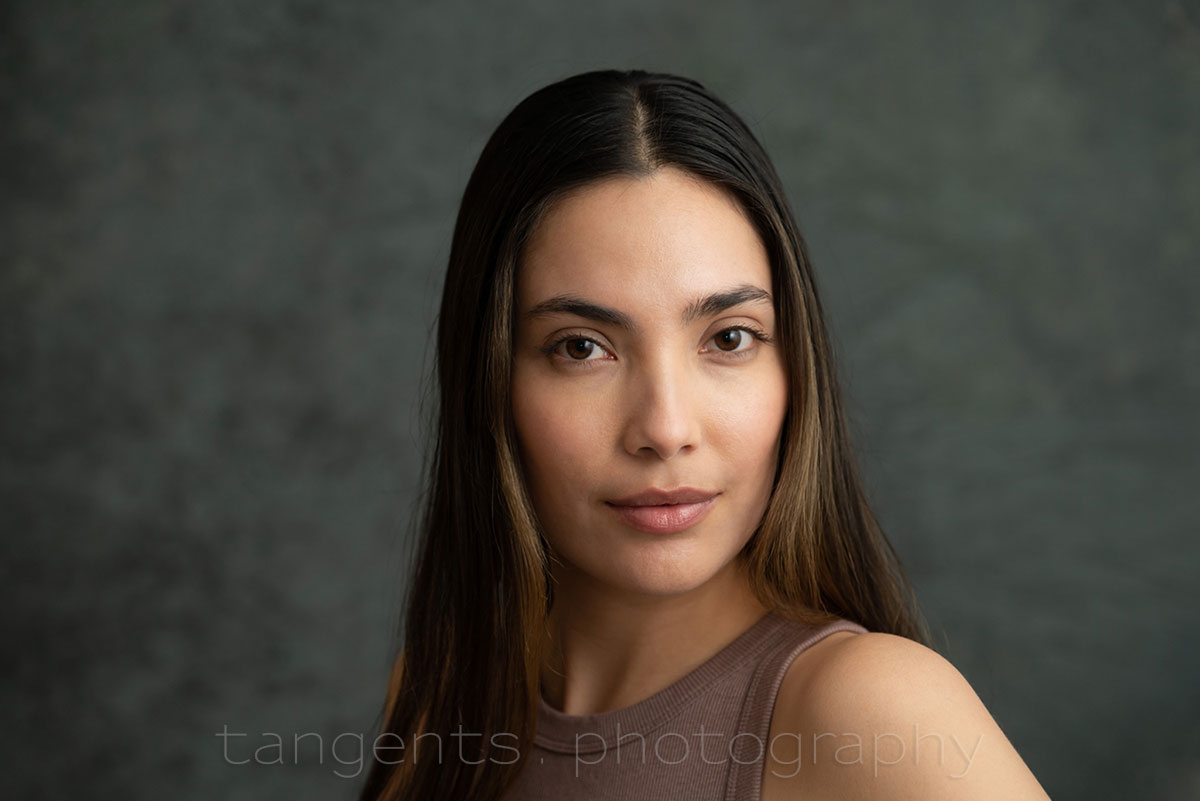
On-Camera Flash Photography – revised edition
This book is explains a cohesive and thorough approach to getting the best from your on-camera speedlight.
Particular care was taken to present it all with a logical flow that will help any photographer attain a better understanding of flash photography.
You can either purchase a copy via Amazon USA and Amazon UK, or can be ordered through Barnes & Nobles and other bookstores. The book is also available on the Apple iBook Store, as well as Amazon Kindle. Also check out the Amazon Kindle store.
Learn more about how the cover image was shot.
Related articles
- Flash photography series: Bouncing your flash
- Tutorial: Bounce flash photography
- The list of articles on bounce flash photography
- Black foamie thing : modifier for on-camera bounce flash
- Bounce flash photography & The Inverse Square Law
Great presentation!
How would you utilize bounce flash outdoors, where no walls are close? Carry a large bounce card, or foam core?
You have several options:
1. You could get lucky and have bounce-able surfaces outside:
— https://neilvn.com/tangents/flash-photography-how-far-can-you-bounce-flash/
— https://neilvn.com/tangents/using-on-camera-bounce-flash-outside/
2. You could bounce into a reflector which you can handhold or have someone hold it for you. This isn’t really an option in bright light.
— https://neilvn.com/tangents/bounce-flash-outdoors-with-a-reflector/
But this isn’t an option in bright light, so you will be better served by:
3. direct on-camera flash, or better yet …
4. Off-camera flash.
Question, are you using auto ISO or manually changing it until it looks good?
For me, always manual ISO.
The only automatic element in all this is when I use TTL flash (and not manual flash.)
Hi Neil,
up to now, I never left a comment on your site. But I´m receiving your newsletter regularly since years.
Today I watched the bounce flash video of 2021 (and a bit of the new one) and I liked it very much. In a way I think, we´re sort of “related”:
I´m a photographer in Germany and since 20 years I´m also teaching for a German institution called “Peoples High School” – it´s for giving adults the opportunity to extend their skills in hobby or profession not only in art but in language, software etc. The catalogue for Nurnberg is about 200 pages. But this institution exists in Germany since the 1920s, when the governing Social Democrats wanted to help to educate the simple people and improve their education.
The lessons in photography for example are 10 evenings and field trips of about 90 minutes each. Because it´s a municipal job it´s not very well paid, but I have fun to help and teach people photography. I always look for better ways to explain the people photography.
So your videos and blog articles were always very helpful. Mainly because of the flash-techniques. I was sort of amused of the “down to earth” appearance of this video. No beautiful model or sophisticated location… Just a photographer who wants to share his knowledge and help people to improve their hobby or professional skills.
So this is what I had in mind too, when I advertised a private portrait workshop. But there weren´t enough registration, surely because of the much to simple, down to earth examples. There are a lot of people here who want to take beautiful shots of beautiful models in a workshop, but have no idea how to do the lighting. They think, the only thing a photographer does is to push the button. :-) So the photographer does the light for his “pupils” and they´re happy. But I wanted to teach the light… :-)
So I was inspired very much to use this technique on one of my rare wedding shoots when I could not use my studio strobes but need to work in a location with my Nikon flashes. It was a bit of fumbling, turning the head in every direction, but I always had you in mind. :-)
And short before christmas I used the same technique to light a factory hall with 150 people. This time with
two old 1500 Ws Balcars – to big for the Nikon flash ;-)
So – after all – thank you very much, I keep following you!
All the best to you, and take care! Always the best light when you need it!
Best regards
Gert
Excellent video, Neil. Thanks so much for putting it together. Even though I’ve read all of your books, there were several points that you helped reinforce. Time well spent.
What beam of light do you use? 24mm/200 from the flash?
With a white background and the model about one foot from it I get almost white when I use the 14mm pull out diffuser.
Paul Stewart
I usually zoom as tight as I can, for two reasons:
1. The bounce flash will already be a soft light source, even with a tight zoom.
2. When I use the black foamy thing as my flash modifier, a wide zoom setting would mean too much of the light gets eaten up by the black foam.
Bounce flash behind you — then you are very unlikely to blow out your subject from not being able to cut out the amount of light at close distances.
Great video! Even though I have all of your books, sometimes you just need to see it done live.
Neil, I have a couple of questions in regards to using Bounce flash and ETTL.
Question #1: From my understanding ETTL emits a small amount of light to determine the flash exposure, however if I have a black-foamy-thing attached to the flash and if the flash is pointing to the back wall, or side wall, how is ETTL going to determine the exposure if the subject is standing right in front of me ?
Question #2: Do I still have to calculate the (guide-number / subject distance) to determine the ‘f’ number when bouncing flash ? If not, then how exactly does ETTL determine this ?
Question #3: If I have a subject(s) standing directly in front of me and there is no back wall, or side wall, or the walls are unusable(this happens often on dance floors) then my only option is to bounce the flash off the ceiling at a 45 degree angle, but doesn’t this mean that the flash will hit the subjects eyes. I thought we should avoid this under all circumstances ?
Your answers will be greatly appreciated, I’m using a Canon 580 EX II by the way.
Hi there
You’re correct — there is a low power burst of flash right before the main burst of light (which gives the proper exposure). This is the pre-flash, and by measuring how much of the pre-flash is returned, the camera knows how much light to send out for the actual flash exposure.
When you bounce your flash, it is exactly this pre-flash that the camera uses to calculate what is hopefully the correct exposure.
So in theory, it shouldn’t matter whether the flash is pointed forward, or bounced. In practice though, you might find that a specific camera model tends to under-expose with bounce flash. In that case, you know about it, and can set a default FEC when you bounce flash.
Regarding Question 2:
When you bounce your flash, the calculation via the guide number isn’t relevant any more, because the flash doesn’t know the distances involved anymore. Then it relies on the pre-flash for calculation of the TTL exposure.
Regarding Question 3:
When bounce flash isn’t an option, we will be better served by:
__ direct on-camera flash, or
__ Off-camera flash.
But you’d be surprised by how often we can get away with bounce flash when we go to a higher ISO setting.
For example:
https://neilvn.com/tangents/wedding-reception-lighting-with-one-flash/
ISO is your greatest friend when using bounce flash. The aperture can also affect, but only if you are in range.
Can you bounce flash with an off camera flash just like you would with on camera flash using TTL if I have a wireless transmitter to trigger the flash. Will it work the same if I place the flash on a light stand beside me instead of having the flash on the camera using TTL?
Oh yes, it works very well that way. Here are some examples:
https://neilvn.com/tangents/off-camera-bounce-flash/
https://neilvn.com/tangents/directional-light-off-camera-bounce-flash/
I’ve been watching your bounce flash and BFT tutorials with great interest over the last few weeks. Also bought your book on bounce flash techniques. I hhave a burning question – in general, how far away from the walls can you be to execute this technique? If the wall is any highly saturated color, does this mean you’ll get a tint or color cast to your photo and if so, how would you deal with it?
My practice with the BFT and your bounce technique has produced my most satisfying flash pictures to date. (I’m fairly new to flash and its been a steep learning curve) Thanks so much for posting your videos and sharing your knowledge.
If the wall is a green or blue color, then the light bounced off it will miss the warm part of the color spectrum, and you’ll have a difficult time getting good skin tones out of it. So a white, or off-white, or warm colored wall or ceiling is the best option.
How far can the wall behind you be? That depends on your choice of ISO and aperture.
But you’d be surprised by how often we can get away with bounce flash when we go to a higher ISO setting.
For example:
https://neilvn.com/tangents/wedding-reception-lighting-with-one-flash/
Welcome back – your great blogs have been missed
First I want to say that this video is great. You have done a wonderful job explaining how to get rid of the flash look. I have learned a lot from this video.
I have a question concerning the pictures of the large groups. You used ISO 3200 at F3.5. When you show the shot without the flash still at ISO3200, it is severely underexposed. How do you arrive at the correct ISO and F stop to use when you then use the flash? Are you stopping down from the available light meter reading?
An additional question the came to mind concerning the Profoto flash is:
Do you use the Profoto A1 Zoom setting on Automatic, or do you manually set it to the corresponding focal length of your lens, or do you keep it at one particular setting regardless of lens used when bouncing from the walls?
Thanks again for the great instructional video.
How did I arrive at the correct ISO and f-stop settings? With a few test shots in manual flash before the reception started. Simple as that.
I also saw that TTL fiash somehow didn’t work properly in this large venue — possibly because the pre-flash was too muted. Anyway, manual flash it was, via a few test shots.
At the same time, I also worked out my angles — if I shot along the long side of this rectangular venue, it would be this particular set of settings. Shooting diagonally, it would be a different set of settings (possibly dialing the power down.) When I shot along the width of this venue (the shorter side) then it would be a different set of settings again.
So essentially, I just had to keep 3 different settings of flash power in mind, depending on the angle that I shot in.
As for my flash’s zoom setting — I usually zoom as tight as I can, for two reasons:
1. The bounce flash will already be a soft light source, even with a tight zoom.
2. When I use the black foamy thing as my flash modifier, a wide zoom setting would mean too much of the light gets eaten up by the black foam.
Hi Neil,
I noticed you have some shots taken at slower shutter speeds. Since “PAID” shutter speed doesn’t affect exposure, what considerations are there for choosing your shutter speed below maximum sync speed?
You would choose a slower shutter speed when using flash in locations where the ambient light is low, so that you can bring in the ambient light for context. (Instead of a black, under-exposed background.)
Hi Neil,
Firstly, what a good video! You have a really good manner. First time viewer.
I have been bouncing flash like this (obviously in my own way but largely the same). I do not use a black card, but will experiment with it now. Thanks for the tip. I find that a Flashbender works pretty well – the small thin one can be kept on the flash and bent out of the way when you are straight bouncing, and brought into play when there is no bounce area or people are blocking the bounced light.
I shoot events in London and often have very little time and only one chance at getting the shot. I find that if you use too high an F number, I don’t get the same recycle time on my flash ( I use Nikon speed lights), but have been often using prime lenses at, say, F2. The flash doesn’t need to use too much power then. Or, as you said, you can up the ISO. However, you need to bear in mind the max flash sync speed as if limited at 1/250th or 320th, the ambient can then start being too strong.
Gelling the flash is very important – the only slight downside I find is with full CTS or CTO the sclera or whites of the eyes tend to go red. (Luckily Lightroom enables one to deal with this easily, now with AI masking). I am surprised how few people seem to use gels. The old nikon SB900s came with a clear filter holder which was very useful, especially if light sources are different in the same shoot.
Excellent video – truly a master of your craft. Some of the wider wedding shots are just gorgeous!
I find the Nikon SB-910 on a Z9 underexposes quite a lot in iTTL.
Thank you for the kind words.
That’s imperative — to become familiar with the behavior and quirks of your gear, and anticipate how it is going to behave.