Photography – Observing and using the available light
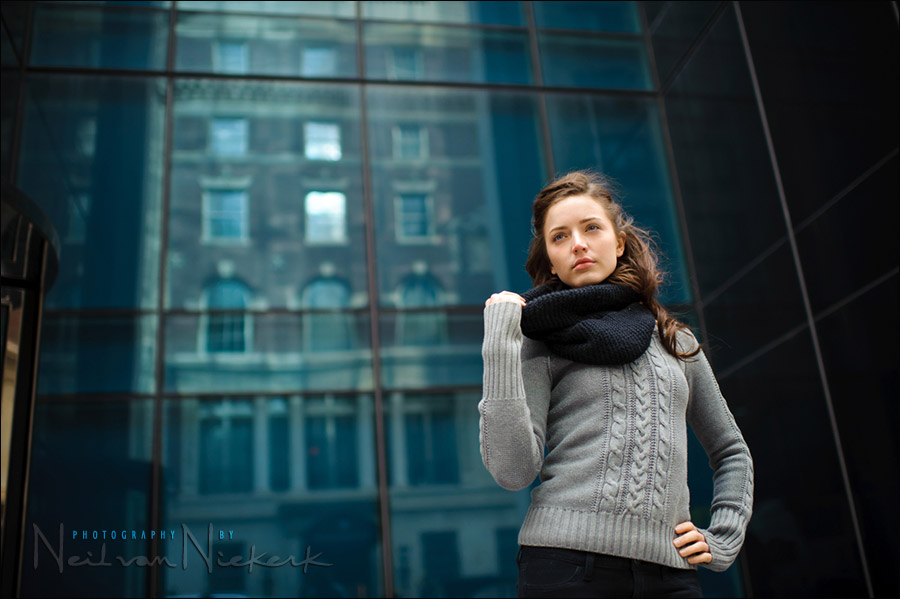
With a few top-end point & shoot cameras to test, I met up with Anelisa on this crisp late-Fall afternoon in New York. Similar to how I often work, the idea was to walk around and explore and find interesting places and interesting light to take photographs in. So when at this particular spot in Bryant Park, and I saw the light was just incredible, I ditched the point & shoot cameras, and grabbed my Nikon D3 with the Nikon AF-S 35mm f/1.4G (affiliate) on it.
Since the idea with today’s photo shoot was to *find* interesting and flattering light – as opposed to creating it with off-camera flash – I had no additional lighting with me. Not even a speedlight. It was all about observing and using the available light. And this is how we found ourselves here in this particular spot …
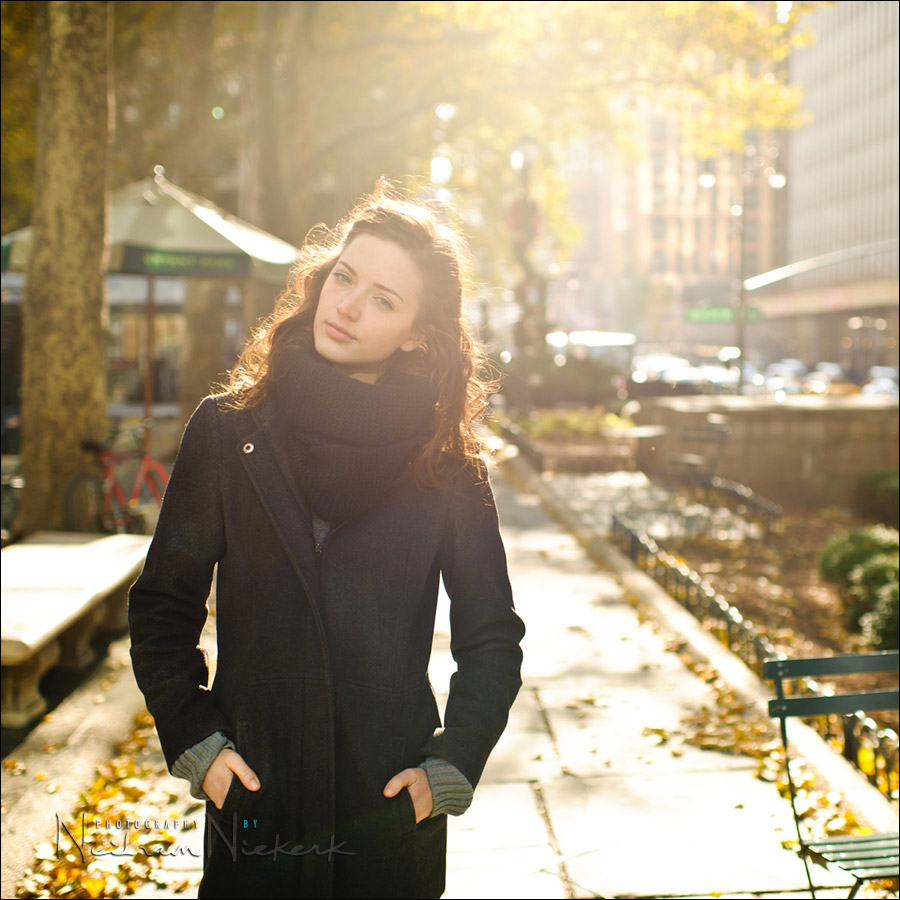
The photograph at the top was taken in this spot with the light from the sun coming from behind. The spotlight effect on Anelisa’s face is from the sun reflecting off a building behind me. That hard reflection of the sun created this fantastic light on her.
camera settings: 1/1000 @ f2 @ 200 ISO
Nikon D3; Nikon AF-S 35mm f/1.4G
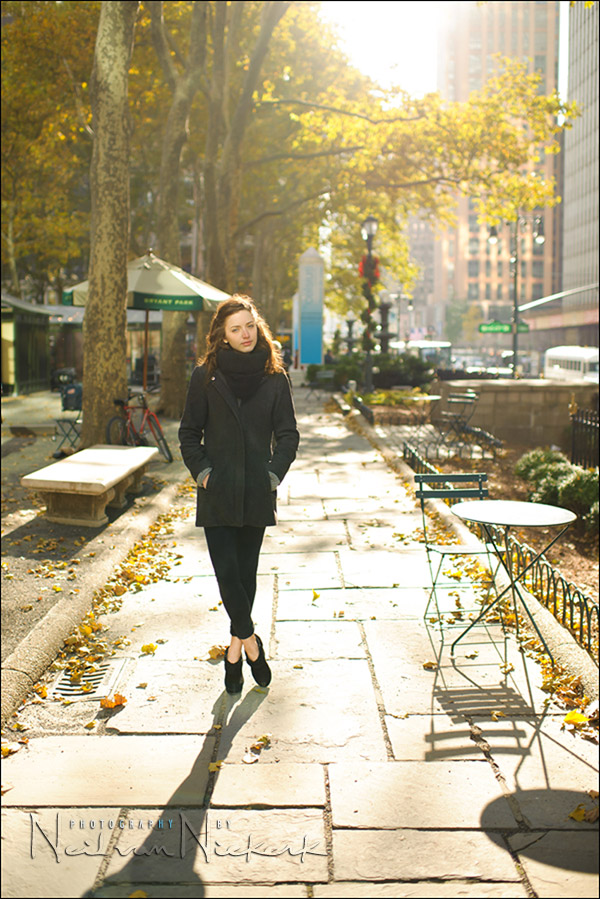
Turning Anelisa around, the photograph looks very different as that sun’s reflection in the building creates a hot-spot in the image that just blows out completely.
The light falling on Anelisa now is the light filtering through the leaves. I positioned her so that there were no splotchy highlights on her face.
camera settings: 1/500 @ f2 @ 200 ISO
Nikon D3; Nikon AF-S 35mm f/1.4G
So with both those images, it was a careful observation where the light was coming from – and in this instance we had two light sources – the sunlight, and the reflection in the building’s glass facade. When we moved away for other photos, the light just looked bland and undramatic.
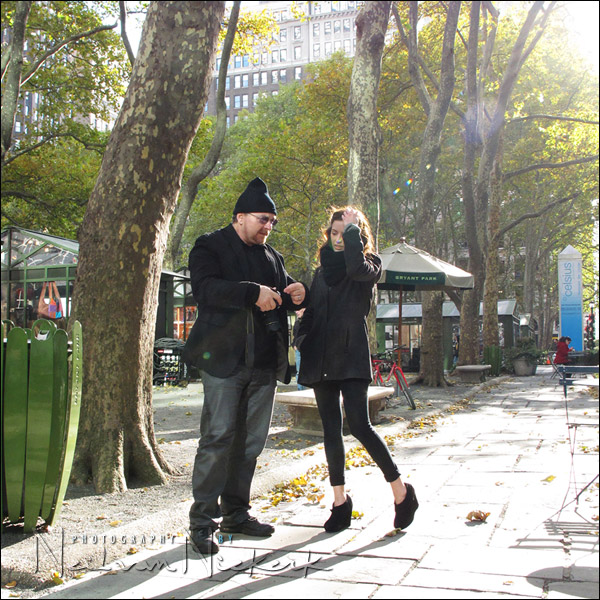
And here I am, showing Anelisa what we’re getting. And don’t laugh at the woolen hat. It was cold! Comfort trumps style when it becomes cold. And I just know I’m going to be asked about the pointy tip – I had to pull the hat up so that it doesn’t cover my ears, otherwise I couldn’t hear Anelisa while shooting there.
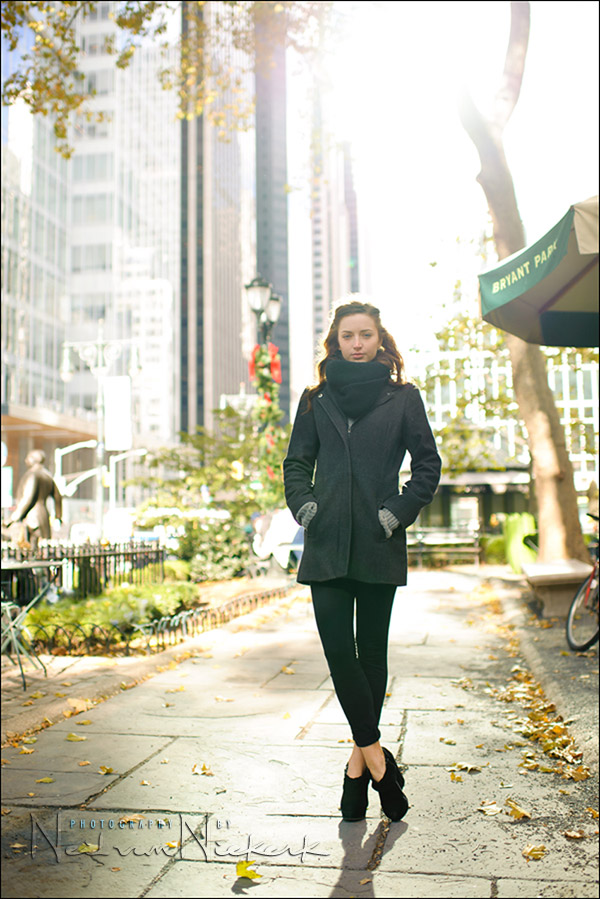
Another example from earlier on in the day. Having Anelisa step away from the sidewalk into this entrance area outside a building, I was able to “force” the light to come from a direction that I wanted … in addition to getting a pretty awesome background. The idea here in how I positioned Anelisa is quite similar to that described in the article, “using the available light” is not random.
camera settings: 1/1000 @ f2 @ 200 ISO
Nikon D3; Nikon AF-S 35mm f/1.4G
This article is a continuation in the theme of specifically working with the available light in how we photograph our subjects. Observing and using the available light is also reliant on how we position and direct our subjects.
Related articles
- “Using the available light” is not random
- Exposure metering & observing the available light (model: Aleona)
- Using interesting available light & white balance options (model: Olena)
- Finding interesting available light
- Looking at the available light
- Direction of light & choice of background (model: Catherine)
Photo gear used with this photo session – 35mm f/1.4
The photos here have a specific look – there’s a sense of place. Context. It’s a fairly wide view, but without spatial distortion that you get from super-wideangle lenses. That’s the effect of the 35mm lens. Also, the background gently melts away with the shallow depth-of-field. That’s the wider apertures that a 35mm f/1.4 lens allows you.
In this case, I used the Nikon AF-S 35mm f/1.4G. The Canon equivalent, the Canon EF 35mm f/1.4 EF USM, is a legendary performer. But if you want this quality at a more affordable price, then Sigma’s ART series is something to look into: Sigma 35mm f/1.4 DG (for Nikon) / Sigma 35mm f/1.4 DG (for Canon)
Here’s my review: Sigma 35mm f/1.4 ART lens, with sample images.
Great shot. Could you walk us through how you metered for your exposure.
Neil – great use of direct and indirect light. Wondered if you were tempted to add fill flash? and, where can I get a hat like that?
Thanks,
Bob
Regarding your last picture: The warm colored skintones against the cool blue background. Very nice. Was that something you enhanced in post or did it come straight out of the camera like that?
You are one of my heroes ;-)
Once again a great article. I love that last photo.
Great photos Neil, great tutorial. Thank you. I especially love the last one, the light on her face is sooo perfect. Such a great exposure too. How did you ‘force’ the light there to come from the direction you wanted? Was it by putting her in a setting where there was only one way for the light to get to her? Only one direction it could have come from given that she was in entryway? Where was the sun really?
I happen to like your hat … :-)
Neil you always make it look so effortless!
Great shot, I think the first one is beautiful and I LOVE the last one!
like the pictures –
and a tip (-: you can roll the edge of the hat, then there is no funny tip
Hi Neil-
You mentioned using the Nikon 35mm f/1.4G yet the first few shots in this post have the apurture dialed down to f2. Would I get the same result from my Nikon 35mm f/1.8G at a fraction of the price?
Cam .. in terms of depth-of-field alone, yes, it would look quite similar.
However, the 35mm f1.8G is meant for the DX sized sensor. And to get the same field of view .. ie, the same composition, you’d have to stand further back, and then your perspective and apparent DoF changes. So while the lens might be similar-ish, the size of the sensor affects the final image.
Neil
Do you mind writing a review of 35mm f/1.4 and how it is superior to the old model 35mm f/2.
Thanks.
-MP
>Mohanpreet, I don’t have the 35mm f/2 to compare. But I have seem comparisons between the 35mm f/2 and the Nikon 24-70mm f/2.8 where the zoom towered over the f2 prime in terms of optical quality, contrast, and distortion.
So I don’t think the 35mm f/2 would compare favorably to the much more modern 35mm f/1.4G
…and where is your flowery lens???? would be a perfect match for your hat :))
btw great pics as always, thanks for inspiration!
Katarina … the flowery lens will make its appearance again. ;)
Gorgeous and diverse set of images Neil. Thanks for the inspiration.
Neil.
How did you get great exposure on Anelisa’s face in the second shot as you can see your pretty much shooting towards the sun, are you using any fill light i.e reflectors etc or does the lens in this case make all the difference as i mainly use the 24-70 2.8?
Anthony, nope. No reflectors. Not even an etcetera.
The choice of lens also had nothing to do with this.
I was walking downtown in New Orleans yesterday scouting for locations and I saw the same exact light…at 1.30 pm BRF (building reflected fill) materalized! :) Love that too…