Lighting for on-location headshot photography
For headshot photography in New York, where we might roam around, a static setup with light-stands isn’t that feasible. It would slow us down from getting a variety of images when we are on the move. For that, I like to keep the lighting setup small and portable. My preference for lighting for on-location headshot photography, is the Profoto B10 flash (B&H / Amazon) coupled with the Profoto OCF Beauty Dish (24″) (B&H / Amazon).
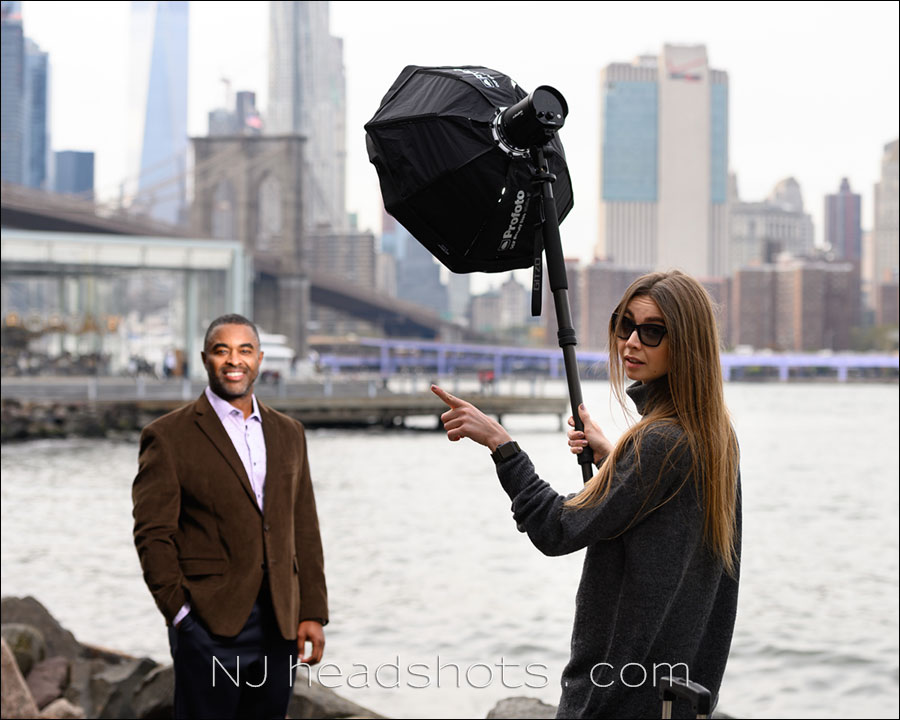
Here is a pull-back shot to show the lighting setup for the on-location headshots with a client, Tim. My assistant on the day on lighting duty, was Claudia – seen here holding up the light with a 75″ tall Gitzo monopod (affiliate). Claudia was just confirming something — she isn’t quite as bossy as it amusingly might appear in this photo.
In the same way that my lighting setup is fairly simple, the positioning of my light is also straight-forward, and easy for an assistant to fluidly change as I instruct.
I don’t go for overly dramatic light, or anything complex. I just want good light on my subject. For this, the flash with the softbox is rarely more than 30 degrees off to my side. Similarly, the light is slightly less than 30 degrees above than my subject’s face. The key here is to be conservative in how I position the light in relation to my subject.
I explain this to my assistants beforehand, and then it is a quick “to my left”, or “to my right” instruction. I also check that they hold the light high enough — or not too high. There is a tendency to sag when holding the light up.
That’s it – simplicity itself. But the results look consistent and good.
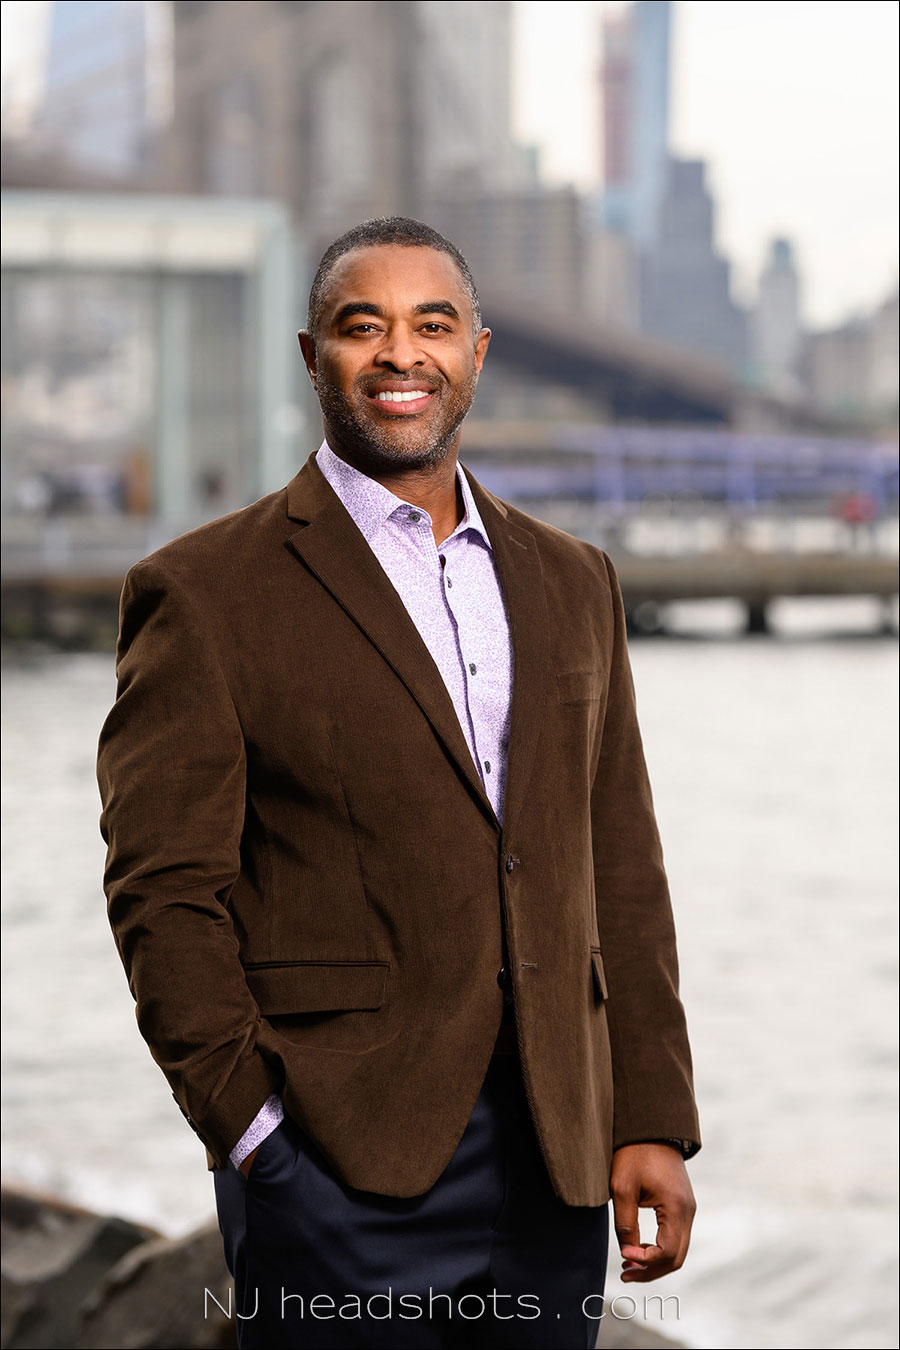
Don’t let the NJ Headshots watermark make you think otherwise — I also offer headshot photography in New York.
With the images here, I kept to an aperture of f/4 because I knew it would give me enough “bite” to the sharpness of the photo, but still allow that shallow depth-of-field. I kept to 100 ISO, and then ranged the shutter speed up for correct exposure for the background. Then added flash to light up my subject properly.
It’s a simple algorithm that just works.
What makes the Profoto B10 flash (B&H / Amazon), and the other Profoto flashes so easy to work with in scenarios like this — I can switch bak and for the between TTL and manual flash exposure, by just sliding a switch or pressing a button on the controller. No need to go into a menu and press buttons and a dial. Very simple and quick.
For static portraits like this, where my subject and the light are fixed in relation to one another, manual flash exposure will give me the most consistent results. Every time.
What makes the switching between TTL and manual flash so helpful, is that I can use the TTL exposure to get my basic flash exposure. Then I lock that setting by switching the Profoto flash to manual. Then I can nudge the flash exposure up or down by checking another test shot. This is quickly done, and then we are all set for the next sequence of photos to be exposed exactly the same.
I changed the shutter speed, but kept the aperture constant for all the photos we took. The Profoto B10 is powerful enough that it can easily handle the inevitable one-stop dip in power when you got into high-speed flash territory.
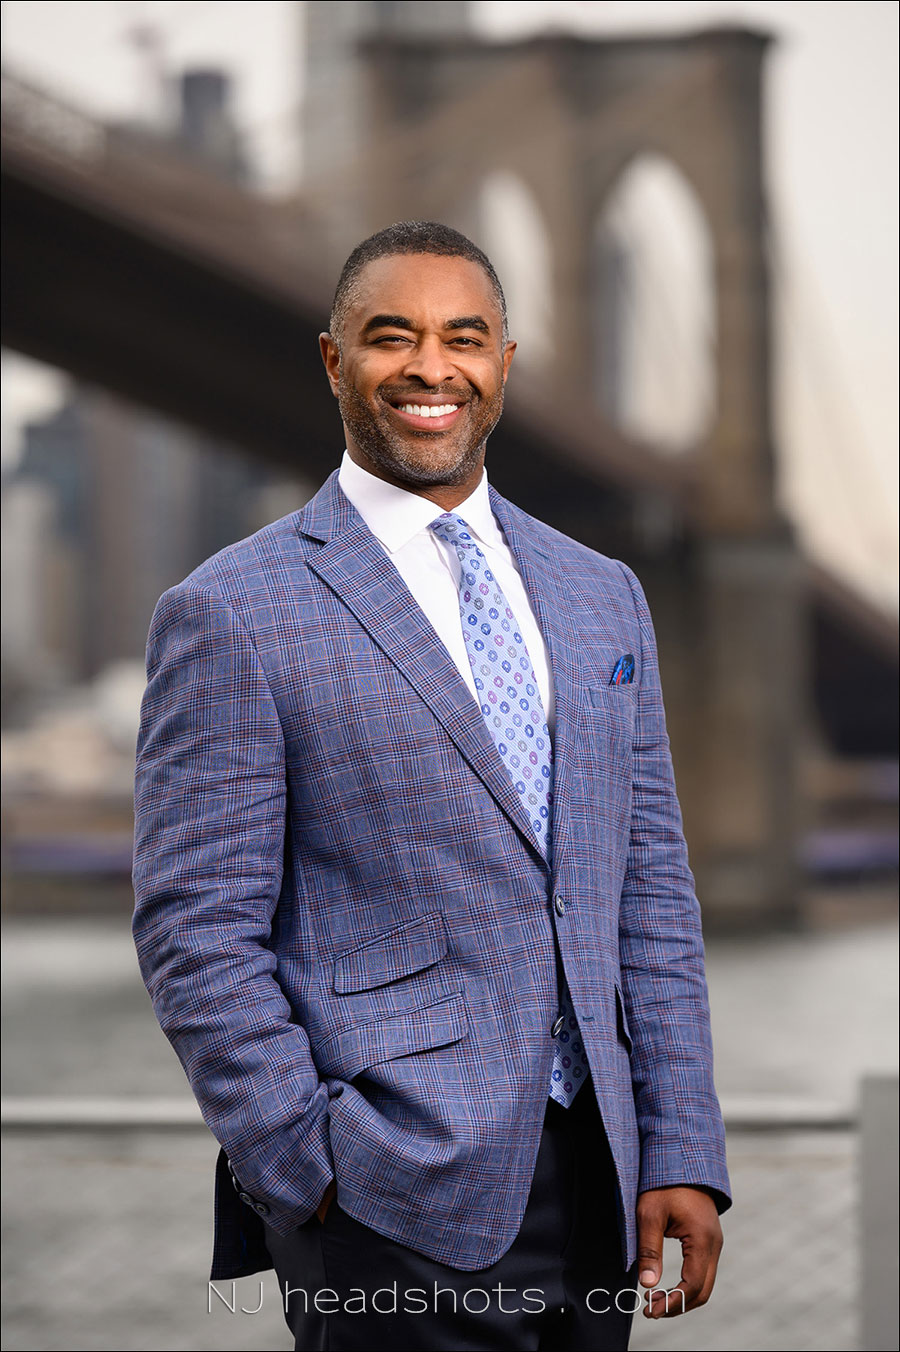
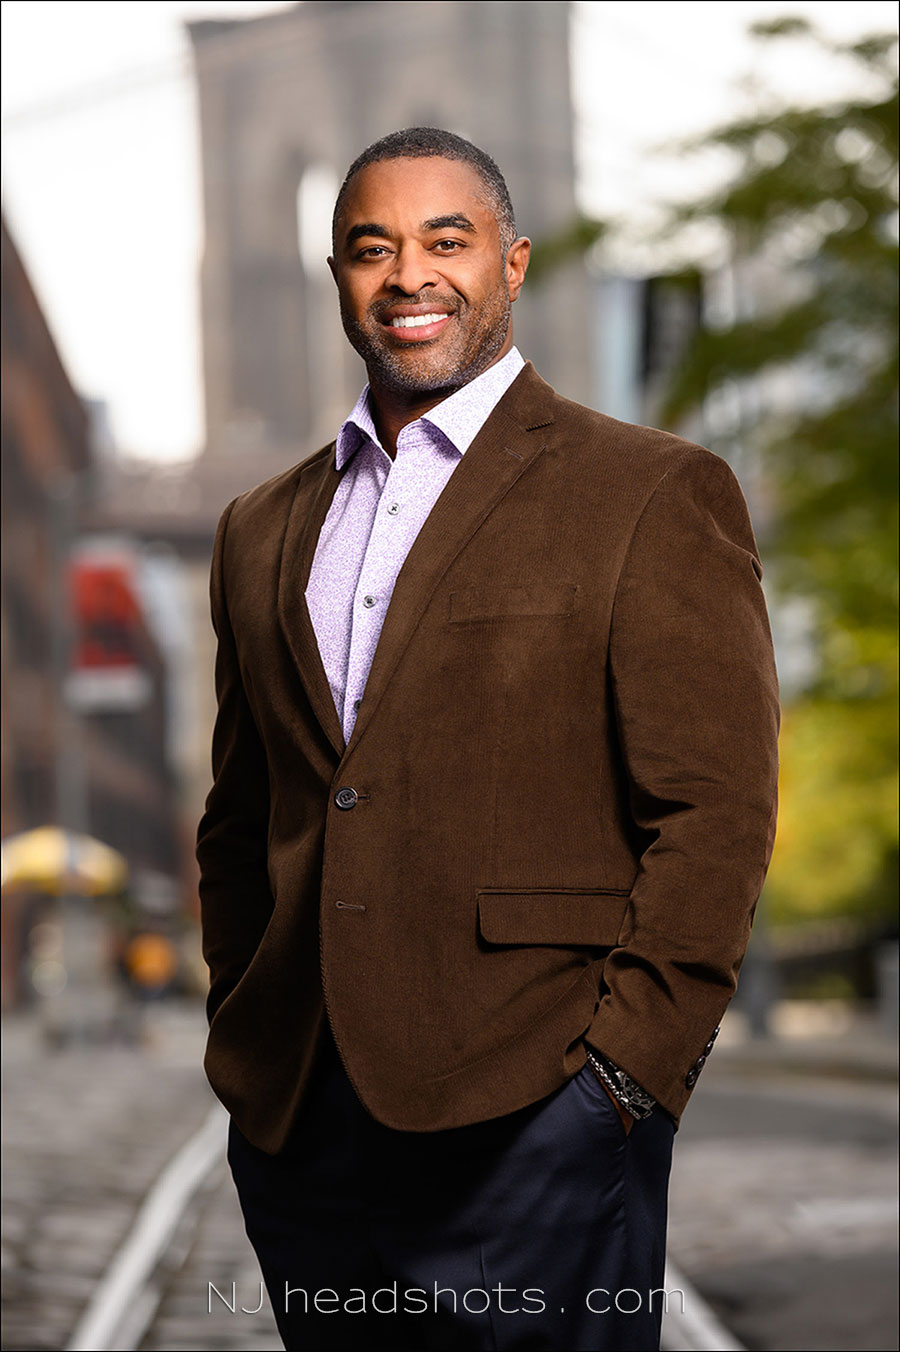
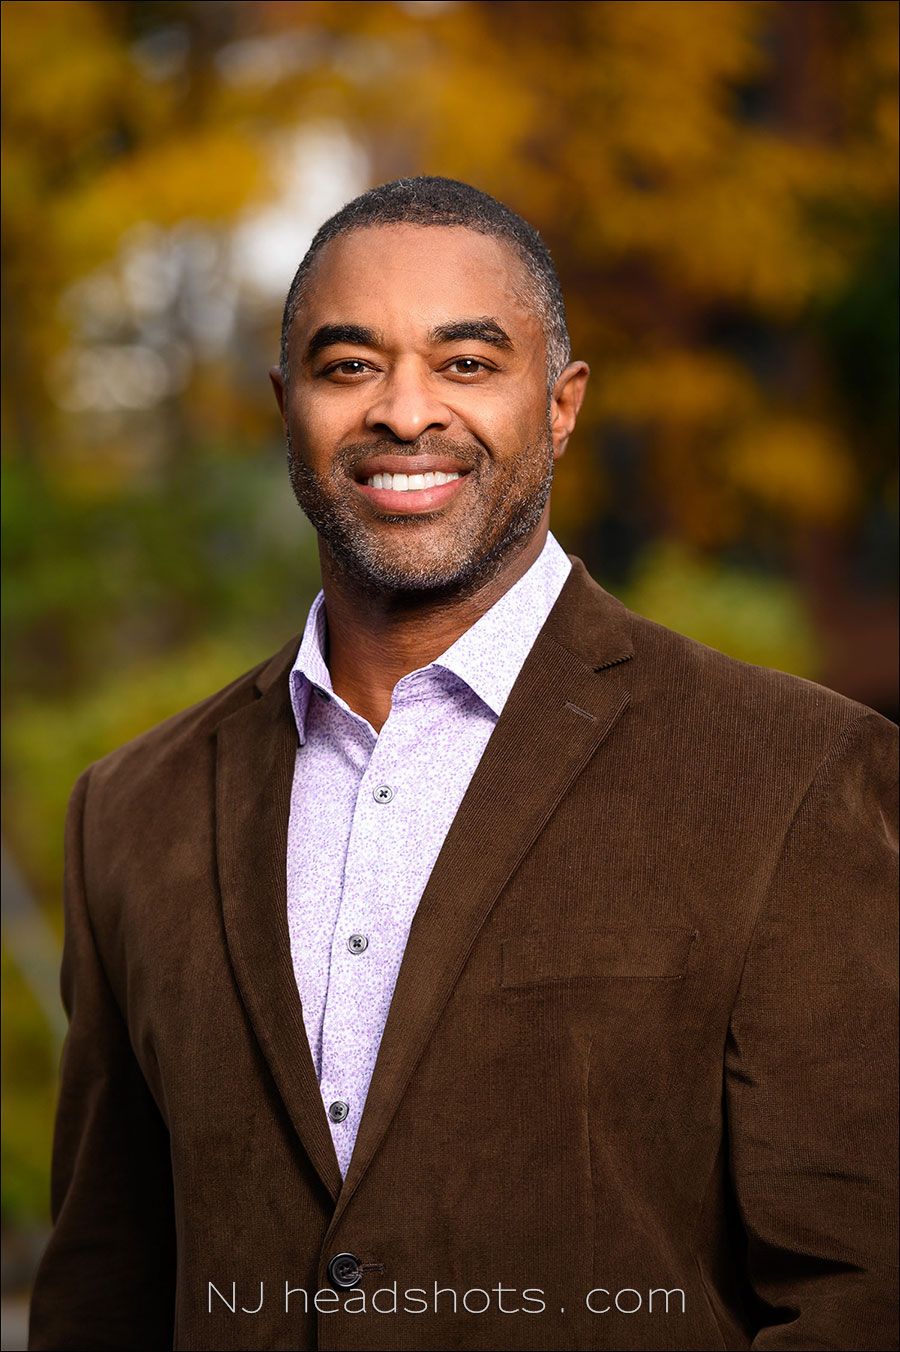
We met up with Tim at the Brooklyn waterfront to create new headshots that matches his branding and intent. We went with a bold, more colorful look. We also wanted a variety of backgrounds for different sequences.
Working in relation to different backgrounds is a topic we also cover in the checklist for portrait photography on location. There is a certain rhythm to working like this way: Effective on-location portraits.
The camera that I used here was the Nikon Z6 (B&H / Amazon), with the Nikon 70-200mm f2.8 AF-S VR II (B&H / Amazon).
The Nikon Z6 is superb for this kind of portrait work because the eye-focus works like a charm. I essentially just have to get the composition, and the camera finds the closest eye. It does struggle in heavy backlit situations, but for the most part it makes my life easier in that I can more easily concentrate on the composition.
For the lighting, I don’t think in terms of ratios or percentages between flash & ambient here. Neither do I use a light meter. I rely on the looking at the image in the viewfinder, instead of just the LCD on the back of the camera. This helps avoid glare, and I can better see if my flash exposure is good, and if it is balanced well with the available light. This is where using a mirrorless camera like the Nikon Z6 is a great help when working in bright light outdoors.

Camera settings & photo gear used during this photo session
- 1/4 @ 100 ISO @ 1/500 – 1/1000
- Nikon Z6 (B&H / Amazon)
- Nikon 70-200mm f2.8 AF-S VR II (B&H / Amazon)
- Profoto B10 flash (B&H / Amazon)
- Profoto Air Remote TTL-N for Nikon
- Profoto OCF Beauty Dish (24″) (B&H / Amazon)
- 75″ tall Gitzo monopod to hold up the light
Summary
As I also explained in another related article – Tips for posing your subject during a photo session – I also try to avoid that jarring disconnect with my subject by not spending much time on checking every image aside from the initial test exposure or two.
The thought-process and shooting workflow here is aimed at it being a fluent experience for my client. Photographing someone should be a relaxed, fun experience for them too.
Related articles
- On-location headshots (model: Andy)
- Checklist for portrait photography on location (model: Anastasiya)
- Effective on-location portraits (model: Anelisa)
- On-location headshots and promotional portraits (Jonathan A.)
- More articles on Headshot Photography
- NJ headshots / NJ headshot photographer
These are really great images. Perfectly balanced lighting and composition.
Great post Neil. I use the Profoto B2 with the OCF Beauty Dish on location & totally agree that the ability to take an initial test shot in TTL then switch to Manual, locking settings in makes such a huge difference to speeding up workflow.
Looks like a great setup. I’ve done similar with speedlights but it’s hard to get enough light out of them. Surely this much extra is very nice to have.
Interesting the DoF choice, and how much you see the background.
The real question is how did the client change his outfits multiple times on location?
He had an assistant with him that helped carry an additional outfit. The photo session was also in an area with a central restroom that was easily accessible. He changed there. This is very much part of the reason why I have photo sessions in this location.
What do you think of the Nikon Z6? I am an amateur and wanting to purchase a new camera. I am torn between an FX DSLR and the Z6/Z7. I have read about issues with banding with mirrorless cameras, but don’t fully understand what causes it. Also wondering if you have used the Nikon 24-70mm f/2.8 lens for mirrorless cameras and what you think of it.
HI there Chandni … I had the Z6, and loved it. I eventually upgraded to the Z7 because for certain studio work, I needed higher resolution. So it is a lovely camera. The only negative is that it only has one memory card slot. So that’s something to keep in mind.
Issues with banding only happen with certain kinds of artificial light. You will never find it when shooting available light outside, or with flash. So that’s only a concern if you take photos at events like corporate events where you don’t want to use flash, and you rely on the electronic shutter.
I haven’t used or tested the Nikon 24-70mm f/2.8 Z series lens, but every review I have seen of it was absolutely glowing with praise. So I think it should be a good investment.