Off-camera flash with a small softbox
Most of the images shot as part of the Sigma 35mm f/1.4 DG lens review, were with available light only. But for one sequence, I used off-camera flash. I didn’t intend carrying a lot of equipment, so I stripped it down to the minimum. That meant forgoing my usual softbox, the Lastolite EZYBOX 24×24″ softbox (affiliate). Instead, I opted for the much smaller Lastolite 8.75″ speedlight softbox (affiliate). And instead of a light-stand, Nicole’s friend, Andrew helped out on the day by holding the softbox and slave speedlight.
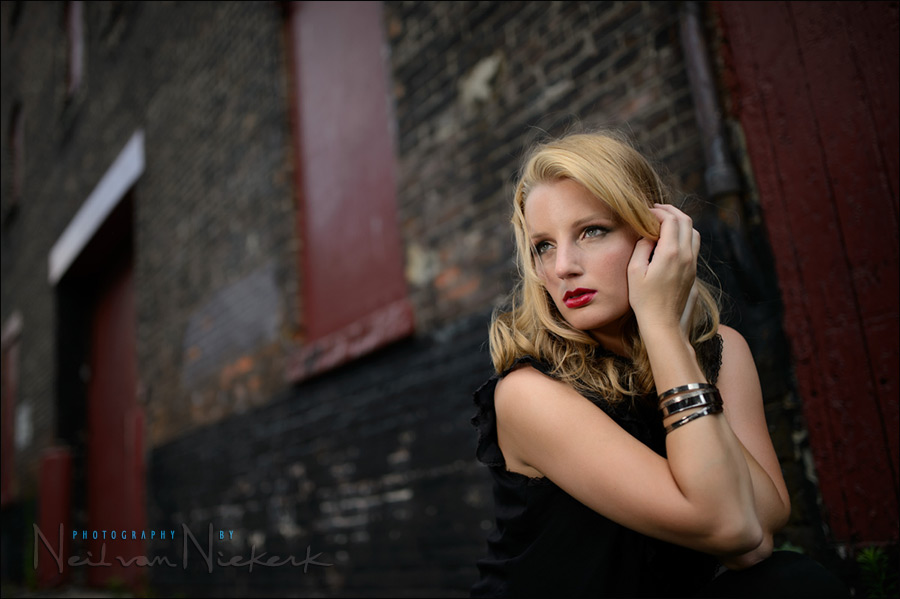
In getting to the final image, the thought-process was similar to that described in this article: off-camera flash for that extra bit of drama (model: Olena).
So let’s run through the sequence of images …
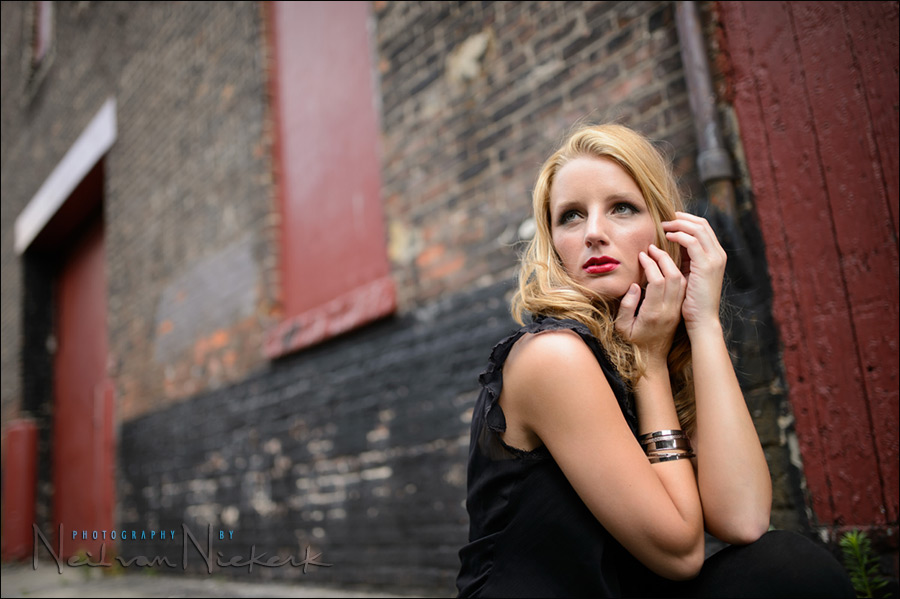
A comparison photo at the proper exposure for just the ambient light. While the exposure is good, Nicole’s eyes are shaded. We need to get light there to make it more flattering.
1/400 @ f/1.4 @ 100 ISO
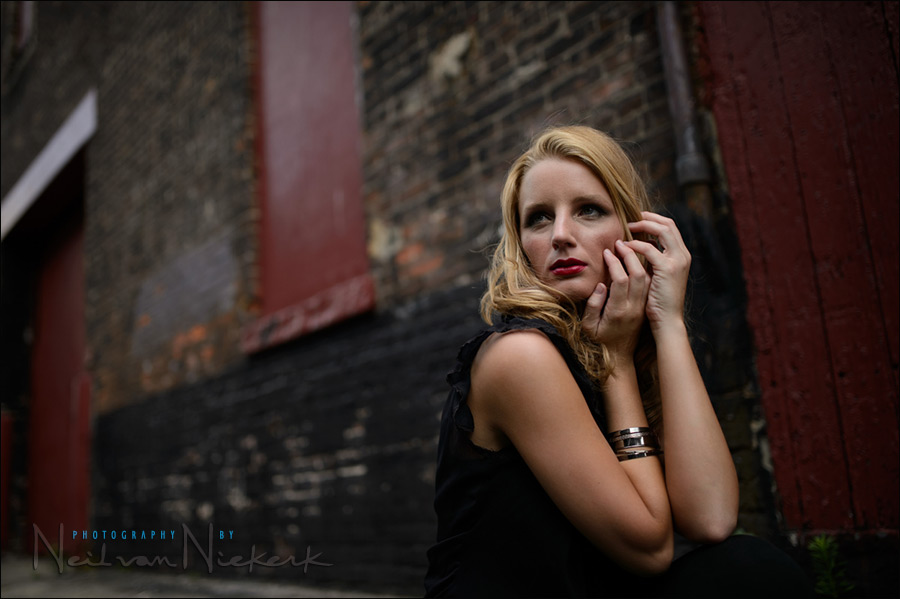
Pulling the ambient exposure down to 1/1000 @ f/1.4 @ 100 ISO. That 1.3 stops (or 4 clicks on the shutter dial), made enough of a difference to the ambient light, that the addition of flash looked dramatic.
And here, with a dramatic flourish – the pull-back shot to show the positioning of the hand-held mini-softbox.
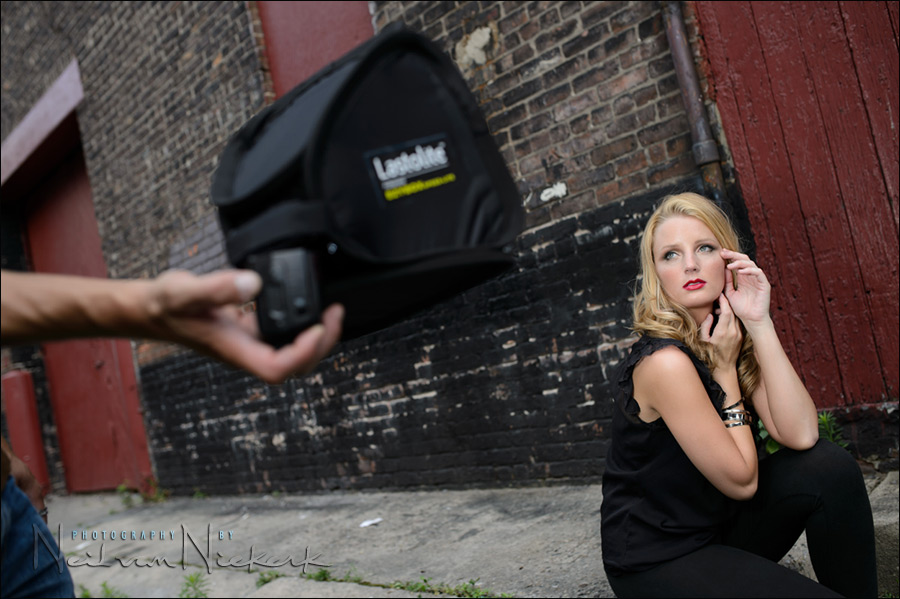
I wanted to use an off-camera TTL cord, but forgot that at home. Instead, I used Andrew’s Nikon SB-600 as the slave flash. My SB-910 was on my camera as the master. As a side-note: I had to pull down the FEC to -1.7 for the pull-back shot. That’s because with this composition, the darker tones dominated in the frame; and Nicole was so much smaller in the frame.
Summary
The way of working here is utter simplicity. By under-exposing the ambient light to an extent, the (TTL) flash can now pick up the slack in exposure … but more importantly, dramatic light.
Photo gear (or equivalents) used in this photo session
- Nikon D4
- Lastolite 8.75″ speedlight softbox
- Sigma 35mm f/1.4 DG (for Nikon)
- Sigma 35mm f/1.4 DG (for Canon)
- Nikon SB-910 Speedlight / Canon 600EX-RT Speedlite
- Nikon SD-9 battery pack / Canon CP-E4 battery pack
Related articles
- Hollywood Glamor style portrait (Natalie & Chris)
- Photo session – Shawna – semi-silhouette (model: Shawna)
- Using a small softbox for lighting an intimate photo session (model: Carly-Erin)
- Off-camera flash for that extra bit of drama (model: Olena)
- Photo shoot – Modern Gypsies
A little bit of homework
Why did I have to go up into High-Speed Flash sync, and why did it work here?
>Why did I have to go up into High-Speed Flash sync, and why did it work here?
Because you were shooting at 1/1000th which is faster than the max flash sync, and I’m guessing you were able to do it because you were pointing the flash straight forward and not bouncing it.
I was always curious as to whether or not HSS works off camera, but I guess it does!
Any reason you chose to go for 1/1000th at 100 ISO vs 1/500th and 50 ISO?
Why did I have to go up into High-Speed Flash sync, and why did it work here?
I think you HAD to go to high speed flash synch as you had no choice. If you didn’t raise the shutter speed the it would have meant altering the ISO or aperture which were both at baseline anyway – and that would pulled you away from the background exposure/depth of field that you were aiming for. It works in this cased because (I suspect) you were close to the model and you weren’t trying to overpower the sun.
That top image is superb!
Tien, I think he wanted to test the 1.4 sigma at ..1.4. Then , no choice. Imho.
I agree with Roy. If it were not for being at 1.4 the image would probably not have nice softness in the background and would feel very different.
Great post! I am actually working on taking the flash off the camera. I’m looking forward to giving this a shoot. Thanks Neil.
1. You had to go into HSS mode since the shutter speed exceeded the max sync speed.
2. It worked because the ambient light was not terribly bright (obviously not sunny conditions based on correct ambient exposure of 1/400 @ f1.4 and ISO 100). You lose some reach of your flash, but you have it positioned close to your subject and your aperture selection is allowing a lot of light from flash to reach sensor.
Hi Neil, how’d you decide the 1.3 stops was the best light reduction for this scene?
Did you reduce ambient for drama alone or also for technical reasons (for example would face have been overexposed had you not reduced ambient)? If you had not reduced ambient would you have knocked down the flash light via either ex comp or setting to fill?
Other than traveling light, was there another reason you chose to use the smaller soft box? Did it work as well as your usual bigger one? (Maybe that’s obvious as pix are gorgeous). Would you have done anything differently had you used your bigger usual soft box?
Thanks.
PS re homework: as others have said, HSS necessary because shutter speed exceeds max sync speed. As for why it worked, I don’t know. I’m wondering if it worked because there is less light output with HSS and so the model wasn’t blasted with too much light. But I don’t think that’s right since that would have been controlled by TTL.
“Why did I have to go up into High-Speed Flash sync, and why did it work here?”
You had to use high speed flash sync because the model kept blinking and it worked because you gave the little sb600 flash an inspirational pep talk that it needed. : )
High speed sync- shooting @ f1.4 will do that to your shutter speed
Efficiency of flash power- distance between subject / flash, need for only minimal kick to the shadws, and shooting @ f1.4 will do that.
Also note; Neil mentions that he had to dial -1.7 on the pull back shot to avoid blow out on the model. It goes to show that if needed in this situation, the off camera setup had more to give regardless of power loss in high speed sync. Oh, it also means he was using matrix metering and that sb600 pep talk really helped.
Thanks for posting Neil!
Homework:
1/1000s for darkening the ambient light
HSS – because you could place softbox close to the subject.