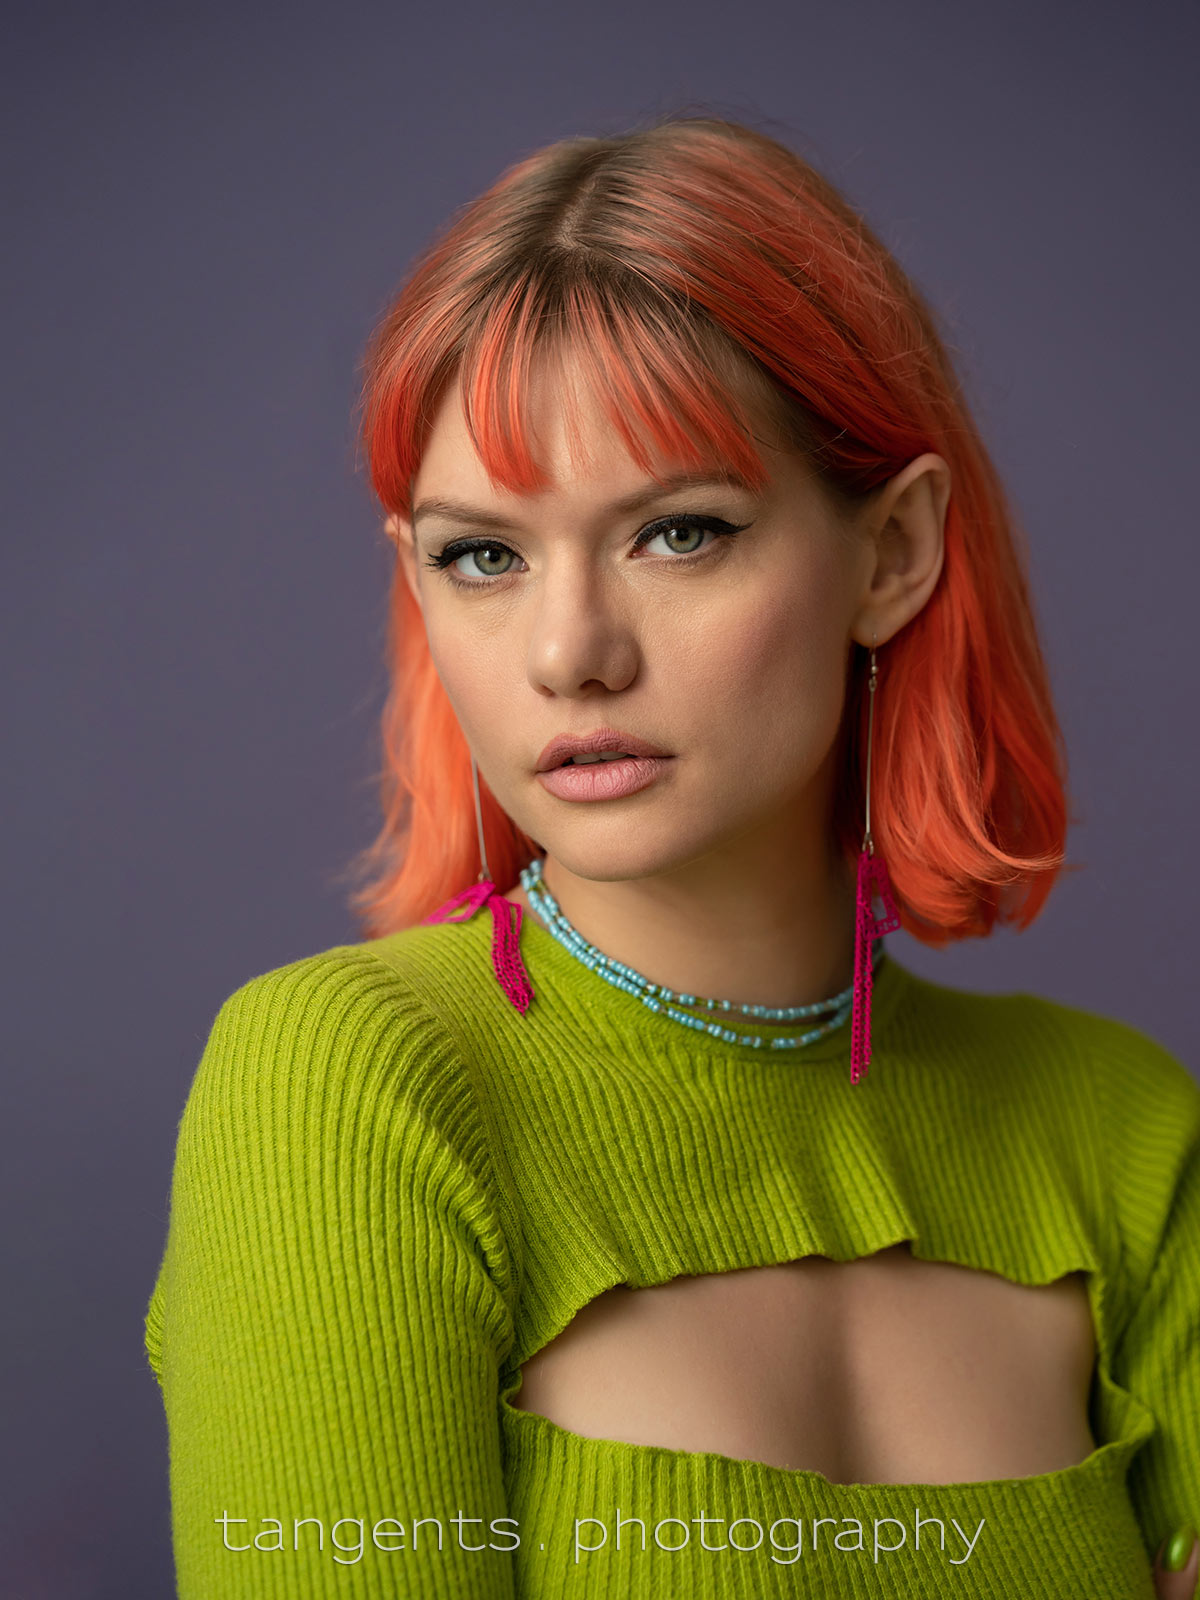
Short lighting with on-camera bounce flash
In the recent article — The simplicity of on-camera bounce flash — the flash was used as fill light to “clean up” the light and give a sparkle to the eyes. In that scenario, as fill-flash the flash didn’t really add directional light or shape the light on our subject. Where on-camera bounce flash is our only / main light source, then we can get creative with the direction of light and shape an interesting, dynamic light pattern on our subject. We can even create short lighting for our portraits created with only on-camera bounce flash. To get the beautiful directional light you see in this photo — where you get Short Lighting, and that gradient from light to dark on the broad side of the face … for that you need to bounce your flash with specific intent.
As part of my presentation — a home studio setup with speedlights — held at the semi-annual Camera Show at Unique Photo, I decided to take a quick detour into on-camera bounce flash photography as well. I wanted to show how good on-camera bounce flash could look when done properly. You can get close to studio quality portraits with on-camera bounce flash.
A few (strong) hints:
— bounce your flash into the direction you want your light to come from;
— get rid of those plastic on-camera bounce diffusers. They work AGAINST you most of the time, stopping you from getting amazing results.
The model and I were standing at the front of the classroom, and I bounced my flash into the white board to camera left, close to our model. However, (and this is important), to block any direct flash from hitting our model, I used a piece of black foam that I tie to the underside of my flash. Yes, it’s the infamous Black Foamie Thing. The BFT is a simple piece of black foam that I use as a flag to control how the light spills from my on-camera flash. For more info on that, follow the link to the Tangents blog — there are a number of articles on exactly that — how to get this result with minimum fuss with just an on-camera flash.
I bounced my flash to an area on the white board next to and above our model. The BFT acted as a flag and blocked any direct light from my from flash. This way only light bounced off that specific spot hit my subject. As simple as that to create beautiful dynamic portrait light with an on-camera flash.
If you need visuals to help understand how this works, here is a very thorough hour-long tutorial video on How To use On-Camera Bounce Flash.
Our model here is Martina, and she’s just a dream to work with. If you are a New York based photographer, I would recommend reaching out to her if you are looking for an exceptional model. And yes, the inspiration was Leeloo. Multipass!
Camera settings: 1/200 @ f/4 @ 1000 ISO
(For demonstration, I wanted to pull down any available light so that it doesn’t register much. Only the flash.)
Photo gear used with this photo session
- Sony A9ii (B&H / Amazon)
- Tamron 35-150mm f/2 – f/2.8 (for Sony) (B&H / Amazon)
- Profoto A10 flash for Nikon / Canon / Sony (Amazon affiliate links)
Profoto A10 flash for Nikon / Canon / Sony (B&H affiliate links)
Related articles
- Video tutorial: On-camera bounce flash photography
- Tutorial: Bounce flash photography
- My preferred bounce flash modifier : the BFT
- Flash Photography tutorials


I wish there was a “Like” button because I appreciate this article, but I don’t have a comment to make.
A totally stunning image on every level, by the Master.
Interesting. I usually use bounce only in events so I have not really tried this.
Having taken Neil’s workshop and read his books since 2010, it’s amazing how effective directional bounce flash and the BFT are. You absolutely don’t need those on-flash diffusers. Spend that money on a softbox instead.